
When the garden season winds down and frost creeps in, it’s easy to close the gate and forget about your raised beds until spring. But here’s a secret that seasoned gardeners know well: what you do before winter makes all the difference in how your garden performs next year.
Properly winterizing raised beds protects your soil, prevents nutrient loss, and sets the stage for lush, early spring growth. Think of it as tucking your garden in for a long, restorative nap.
Let’s go step-by-step through how to winterize your raised beds so they’re ready to burst back to life when the snow melts.
Step 1: Clean Out the Beds
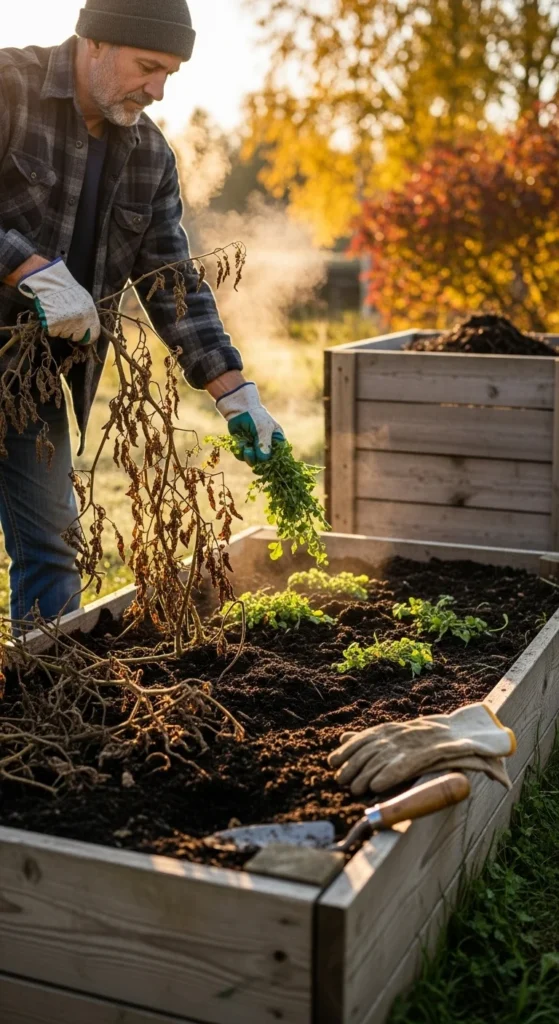
Before anything else, give your raised beds a good cleanup.
What to remove:
- Old vegetable plants and dead roots (they can harbor pests).
- Diseased or moldy plants—don’t compost these!
- Weeds and leftover debris.
Healthy plant matter can go straight into your compost pile, while diseased material should be discarded separately.
Once cleared, lightly loosen the top few inches of soil with a fork or hand tool to improve airflow and drainage before winter.
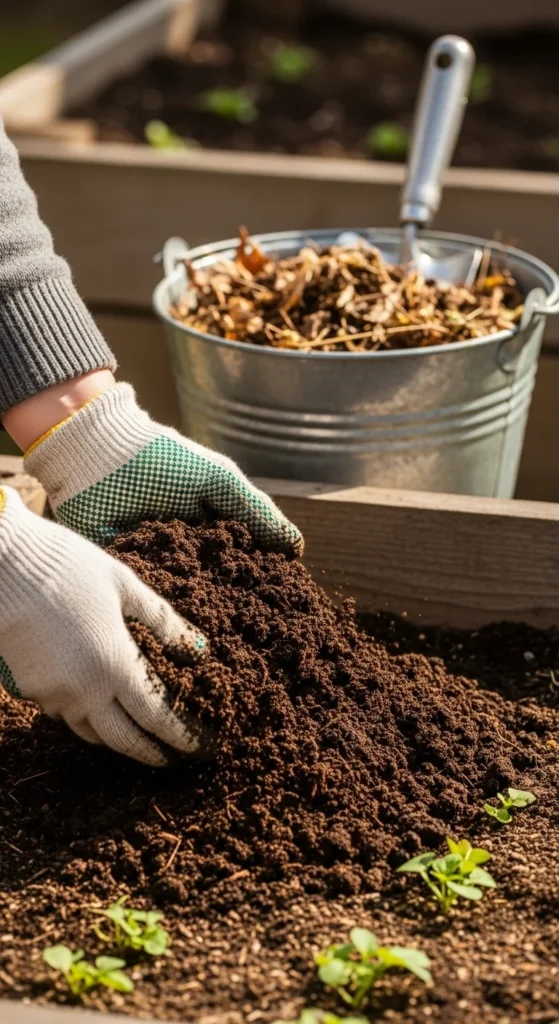
Step 2: Enrich the Soil
Winter is the perfect time to replenish nutrients and improve soil health. Think of this as feeding your soil before it rests.
How to enrich the soil:
- Spread a 2–3 inch layer of compost or well-rotted manure over the bed.
- Add organic matter like shredded leaves or grass clippings.
- Mix gently into the top layer or leave it as a mulch for the worms to work in naturally.
Optional boost: Sprinkle a light layer of bone meal, kelp powder, or rock phosphate for slow nutrient release over winter.
By spring, your soil will be soft, nutrient-rich, and ready for planting—no digging required.
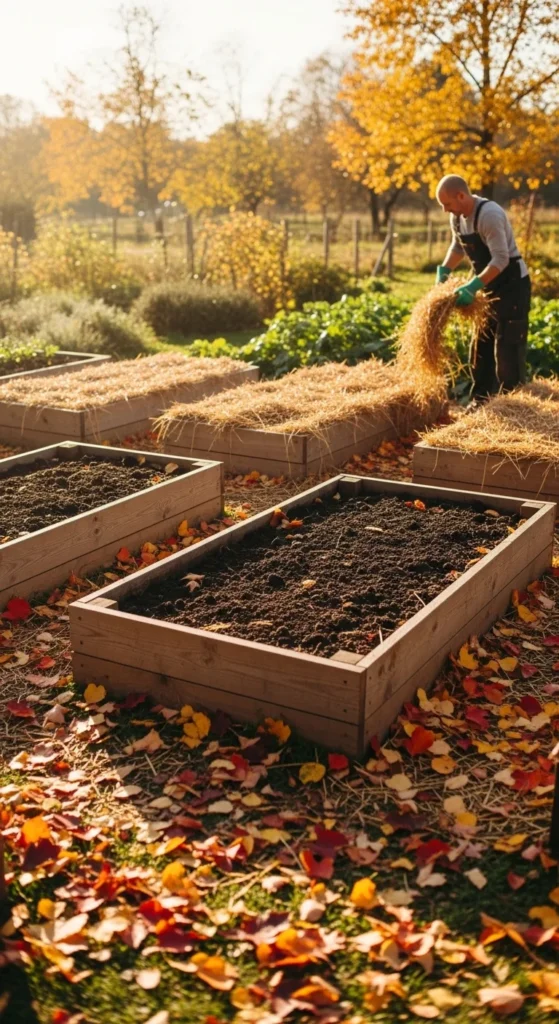
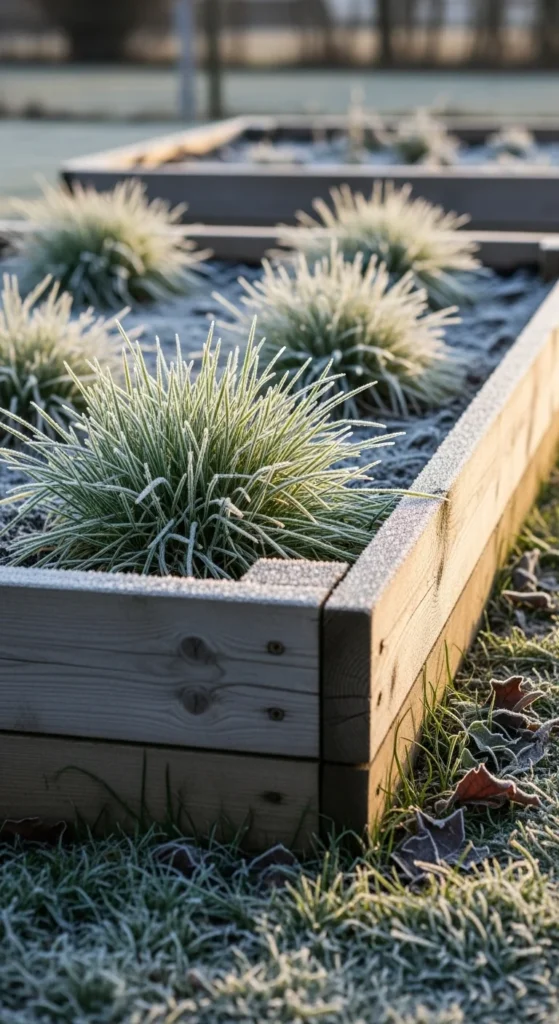
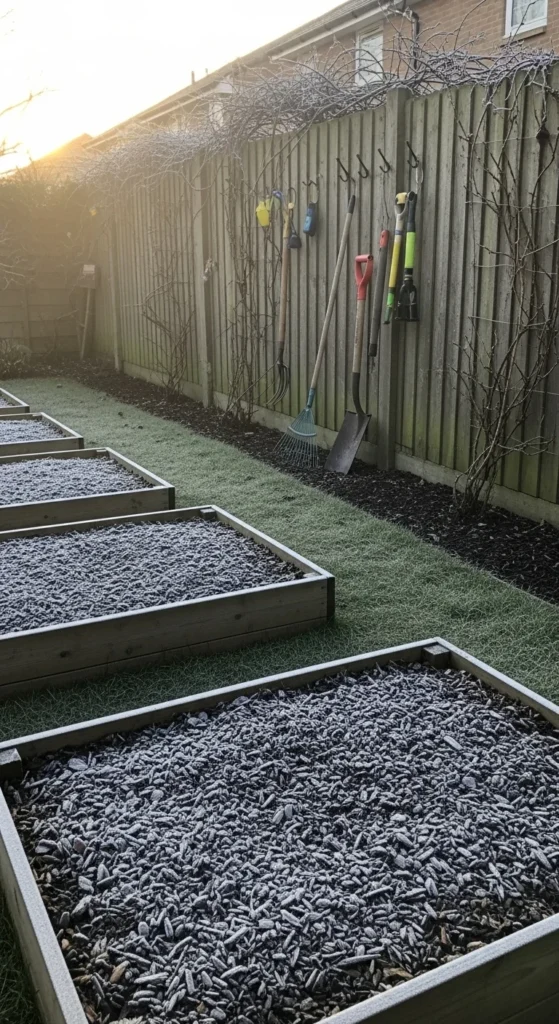
Step 3: Protect with a Winter Cover
Bare soil over winter is an invitation for erosion, nutrient loss, and weeds. Covering your raised beds shields the soil from harsh weather and keeps it fertile.
Cover options:
- Mulch: Use straw, shredded leaves, or pine needles. Apply a 3–4 inch layer for insulation.
- Compost + mulch combo: Great for both nourishment and protection.
- Tarp or garden fabric: Ideal for wet climates where excess rain could wash away nutrients.
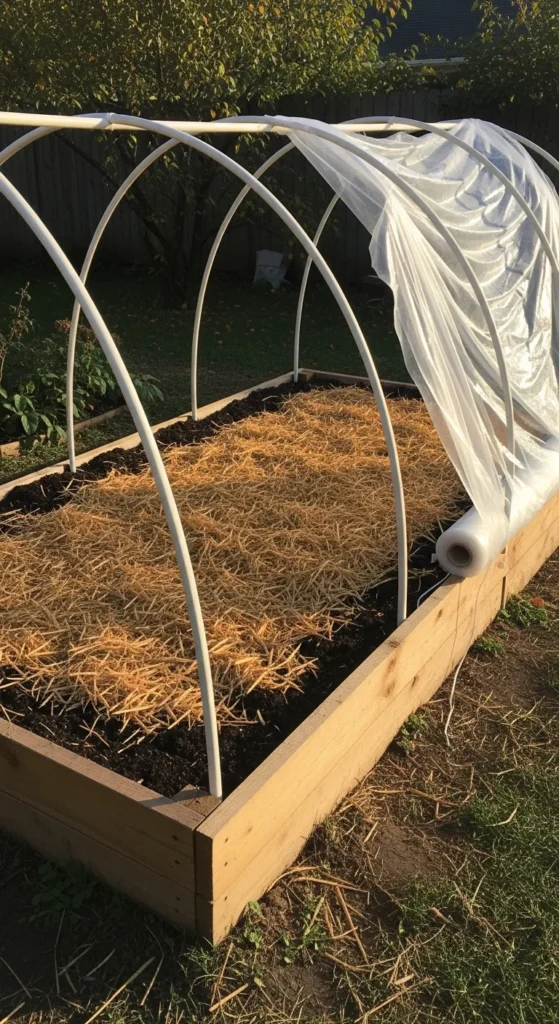
If you plan to plant early spring crops like spinach or peas, consider adding a cold frame or hoop house over your beds to extend the growing season.
Step 4: Plant a Cover Crop (Optional but Powerful)
If you want to take your soil health up a notch, sow a cover crop before winter. These “green manures” protect and feed your soil naturally.
Good options include:
- Winter rye
- Clover
- Hairy vetch
- Field peas
Cover crops prevent erosion, add organic matter, and fix nitrogen for next year’s plants. Simply till or cut them down in spring a few weeks before planting.
Pro Tip: For raised beds that freeze quickly, choose fast-growing cover crops planted in early fall (6–8 weeks before first frost).
Step 5: Maintain Bed Structures
Winter can be tough on raised bed materials. Take a few minutes to check your bed’s structure and make simple repairs.
Inspect for:
- Loose screws or nails
- Rotting wood boards
- Bowing sides due to soil pressure
If your wooden frames show wear, brush off dirt and apply a non-toxic wood sealer or linseed oil to protect them from moisture damage.
For metal or stone beds, clean and dry the surfaces before winter to prevent rust or cracking.
Step 6: Prepare for an Early Spring Start
Finally, think ahead to next season. A little prep now means a faster start when the snow melts.
Smart tips:
- Store your garden tools clean and dry for longevity.
- Label the beds or keep a notebook of what grew where (to plan crop rotation).
- Set up hoops or frames now—so you can add covers easily when spring arrives.
By having your raised beds tidy, covered, and nutrient-rich, you’ll be ready to plant as soon as the soil thaws.
Final Thoughts
Winterizing your raised beds is the best way to guarantee a strong start in spring. With just a few hours of cleanup, soil enrichment, and protection, you’ll save yourself days of work—and give your plants a nutrient-rich home to thrive in.

Leave a Reply