
Plain plastic buckets may be practical, but let’s be honest—they are not always pretty. The good news is that with the right paint and a few smart prep steps, you can turn basic gardening buckets into polished planters that look patio-ready without creating problems for your plants.
The trick is simple: paint the outside only, use products made for plastic, and give everything enough time to cure properly before planting or moving the buckets into full sun.
Why Painting Buckets Takes a Little Strategy
Painting a bucket sounds easy, but plastic can be tricky. If you skip prep or use the wrong paint, you may end up with:
- Peeling after a few rains
- Chipping in direct sun
- Flaking near the rim
- Paint drips and uneven coverage
- Brittleness from poor-quality finishes
And if you are using buckets for edible plants, safety matters too. That is why the goal is not just making buckets look good. It is making them look good safely.
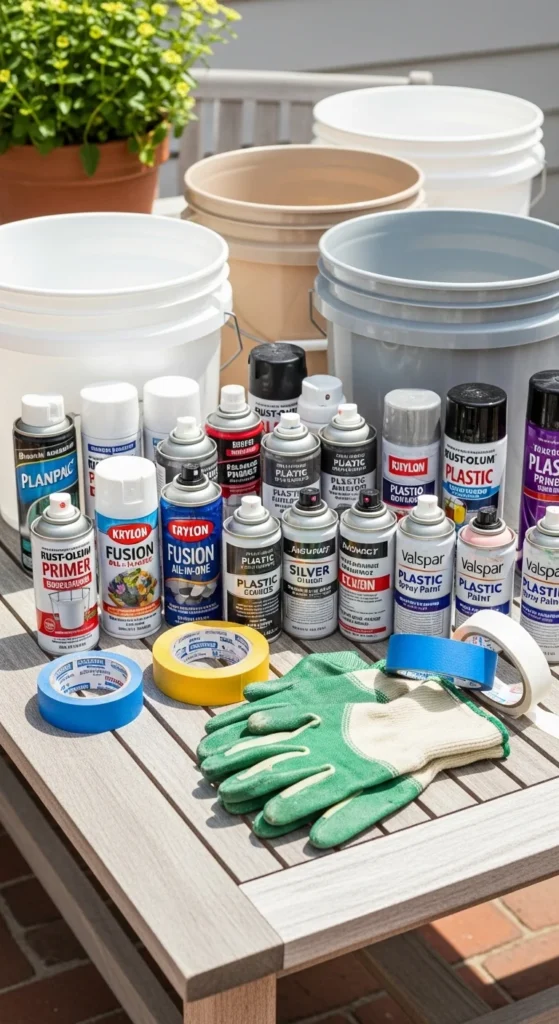
Start With the Right Paint
Not every paint sticks well to plastic. For the best results, use spray paint formulated for plastic or pair your color coat with a plastic adhesion primer.
Look for these features:
- Made specifically for plastic surfaces
- Exterior-grade or outdoor-rated
- UV-resistant for sun exposure
- Good adhesion without heavy buildup
Many gardeners like plastic-specific spray paints because they are fast, beginner-friendly, and easier to apply evenly on a curved bucket.
A few smart paint rules:
- Choose light colors if you want to reflect heat
- Choose dark colors if you need to block light, such as in hydro-style setups
- Avoid painting the interior, especially for food-grade gardening buckets
- Test one small patch first if the bucket is old or weathered
Clean the Bucket First or the Paint May Peel
Before you paint anything, clean the outside thoroughly.
Buckets often have oils, dust, fingerprints, residue, or manufacturing film on the surface. If you spray over that grime, the paint is much more likely to peel or bubble later.
A simple prep checklist:
- Wash the exterior with dish soap or an ammonia-based cleaner
- Rinse well
- Let the bucket dry completely
- Wipe away any remaining dust before painting
This step may not feel exciting, but it is one of the most important parts of the whole project.

Sand and Mask for a Cleaner Finish
If your bucket is very smooth and shiny, a quick light sanding can help the paint grip better.
Use:
- Fine sandpaper, around 220 grit
- Gentle pressure only
- Just enough to scuff the surface, not gouge it
After sanding, wipe the bucket clean again.
Next, protect the areas you do not want painted. This is especially important near the top edge and interior.
Mask these areas with:
- Painter’s tape around the rim
- Plastic or paper tucked inside the bucket
- Extra tape over handles if you want them left unpainted
This helps prevent paint flakes from ending up near your soil later, which is especially important for edible gardening.
The exterior-only rule
For plant safety, keep paint on the outside only. Do not paint:
- The interior walls
- The inside of the rim
- Surfaces that will directly touch potting mix if you can avoid it
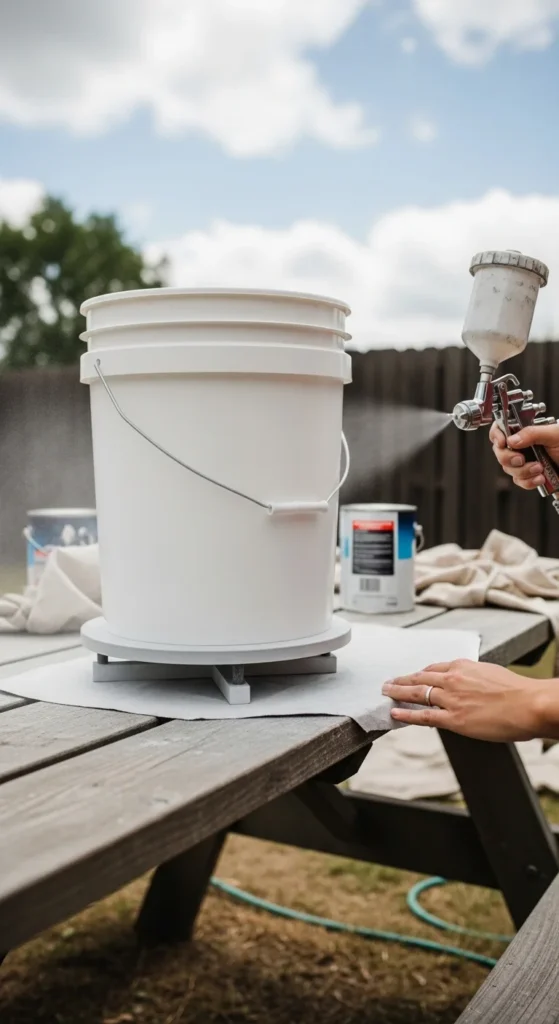
Apply 3–4 Light Coats, Not One Heavy One
This is the secret to a smooth, professional-looking bucket.
Instead of trying to cover everything in one pass, use multiple thin coats. Heavy spraying causes drips, runs, and tacky patches that take forever to cure.
A simple no-drip spray method:
- Shake the can well
- Hold it several inches from the bucket
- Spray in light, sweeping passes
- Rotate the bucket as you go
- Let each coat dry before adding the next
Most buckets need around 3 to 4 light coats for full, even coverage.
If you want a super clean finish, create a simple rotating spray station by setting the bucket on a box, upside-down pot, or lazy-susan-style base. That makes it easier to get even 360-degree coverage.
Let the Paint Cure Fully Before Planting
Dry and cured are not the same thing.
A bucket may feel dry to the touch quickly, but outdoor paint still needs time to harden properly. Rushing this step can lead to smudging, peeling, or sticking when the bucket heats up in the sun.
A good cure-time plan:
- Let each coat dry according to the label
- Give the finished bucket 24 to 48 hours before outdoor use
- Wait longer if the weather is humid or cool
- Keep buckets in a ventilated area while curing
This step matters even more if you plan to fill the bucket with soil right away. A fully cured finish is more durable and less likely to chip later.
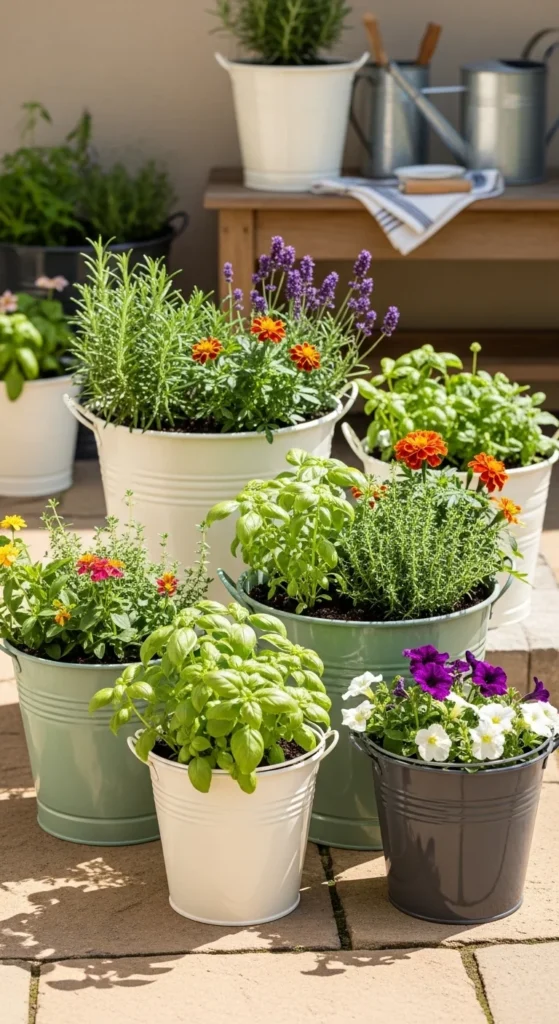
Pick Colors That Help, Not Hurt, Your Garden
Color is not just about style. It also affects how the bucket behaves in the garden.
Light colors
Best for:
- Hot patios
- South-facing balconies
- Heat-sensitive roots
- Reflecting sunlight
Dark colors
Best for:
- Hydro-style buckets that need light blocked
- Reducing algae growth
- Bold decorative looks
If you garden in a very sunny area, lighter paint colors are usually the safer choice for soil temperature. Dark shades may look dramatic, but they can absorb more heat.
You can also get creative with:
- Bright color-blocked buckets
- Stencils and patterns
- Metallic finishes for decorative corners
- Chalkboard paint sections for plant labels
Just keep the design to the exterior and use outdoor-friendly products.
Quick Tips to Make Painted Buckets Last Longer
Once your buckets are painted, a few extra habits can help the finish stay nice longer:
- Avoid scraping them across rough concrete
- Lift instead of dragging when possible
- Store empty painted buckets out of harsh winter weather
- Inspect yearly for chips or peeling
- Touch up small damaged spots before they spread
If you are unsure about a paint or primer combination, do a patch test on one bucket first and leave it outside for a few days before doing the whole batch.
Common Mistakes to Avoid
Here are the big ones:
- Painting a dirty bucket
- Skipping sanding on extra-slick plastic
- Using indoor-only paint
- Applying thick coats
- Painting the inside
- Using the bucket before the paint fully cures
Avoid those, and you are already most of the way to a long-lasting finish.
Final Takeaway
Painting gardening buckets is one of the easiest ways to make a container garden look more polished and intentional. The key is using plastic-friendly, outdoor-rated paint, prepping the surface well, sticking to thin coats, and keeping all paint on the exterior only.
Once you get the process down, even the most basic bucket can turn into a planter you are actually proud to display.
Save this guide for later before your next bucket makeover project!

Leave a Reply