
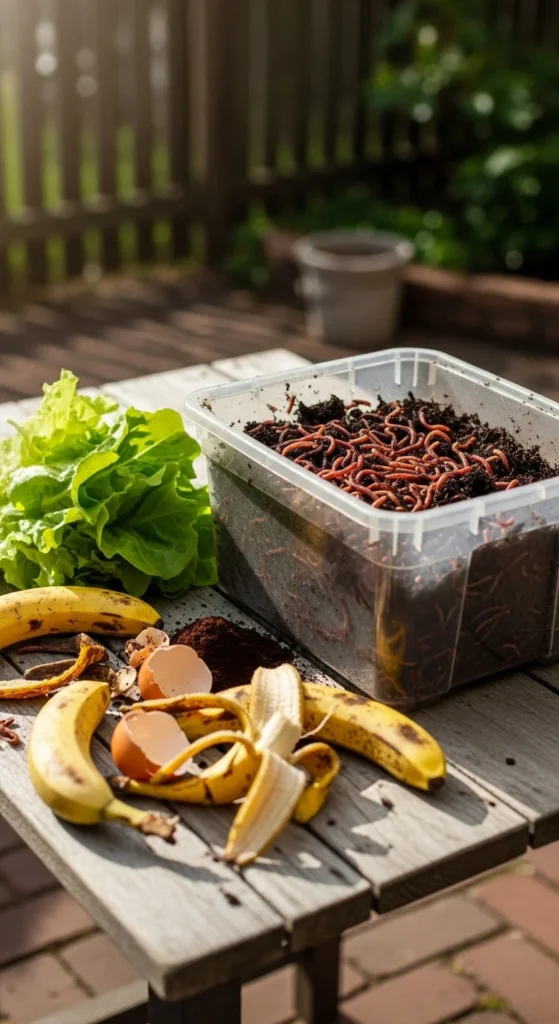
If you’ve ever wished your kitchen scraps could magically turn into nutrient-rich soil for your plants, worm composting—or vermicomposting—is exactly that magic. With just a bin, a few simple supplies, and some wriggly helpers, you can transform food waste into black gold for your garden.
Building your own worm bin is easy, eco-friendly, and surprisingly clean when done right. Ready to start your composting adventure? Let’s walk through how to make a worm bin step-by-step and keep it thriving year-round.
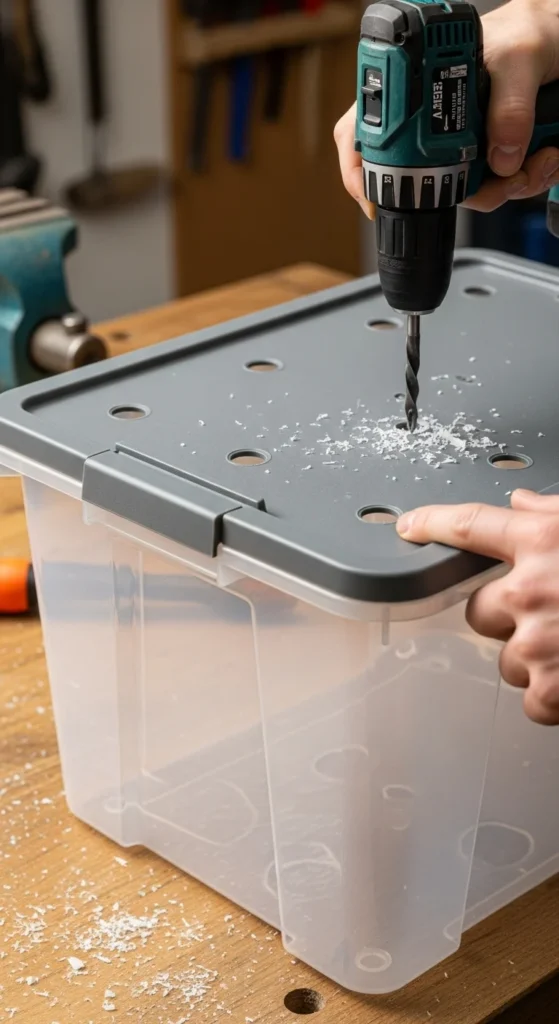
Step 1: Choose the Right Container
You don’t need fancy equipment—just a container that gives your worms room to breathe, eat, and multiply.
Here’s what works best:
- A plastic storage bin (around 10–20 gallons) with a tight-fitting lid
- A wooden crate or repurposed drawer (if you prefer natural materials)
Ventilation is key! Drill small holes (about ⅛ inch wide) on the top and sides of the bin to allow airflow. Also, add a few holes in the bottom for drainage.
Pro Tip: Place a tray or shallow pan under your bin to catch any moisture (worm “tea”) that drips out—it makes an amazing liquid fertilizer.
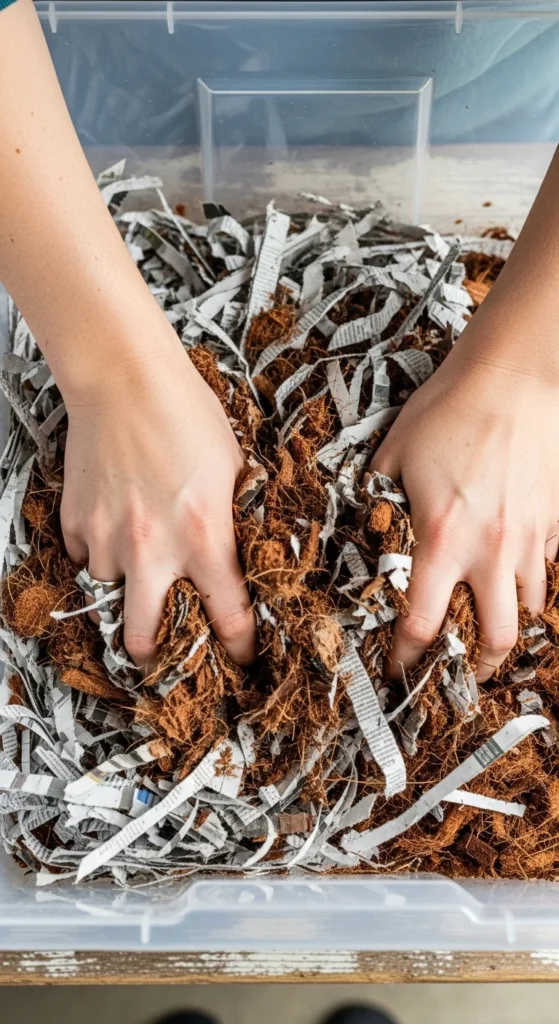
Step 2: Create the Perfect Bedding
Your worms need a comfortable home before the kitchen scraps start rolling in. Think of it as building their cozy mattress.
Best bedding materials:
- Shredded newspaper or cardboard
- Coconut coir (rehydrated with water)
- Dried leaves or straw
Moisten the bedding until it’s as damp as a wrung-out sponge—not dripping wet. Fluff it up so there’s plenty of air space inside.
Optional: Add a handful of garden soil or finished compost to introduce beneficial microbes.
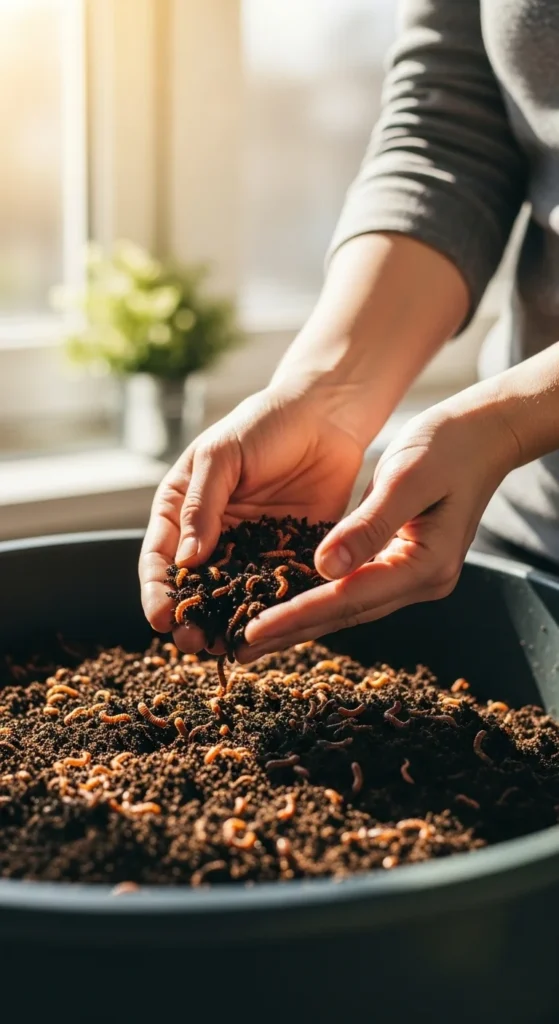
Step 3: Add the Worms
Not all worms are fit for composting. The best kind for this job are red wigglers (Eisenia fetida)—they thrive in decomposing organic matter and reproduce quickly.
You’ll need about 1 pound of worms (roughly 1,000 worms) to start an average-sized bin.
Gently spread the worms over the damp bedding and let them burrow down naturally—they’ll hide from light and settle in within minutes.
Where to get them:
- Local garden centers
- Online worm farms
- Fellow composting friends
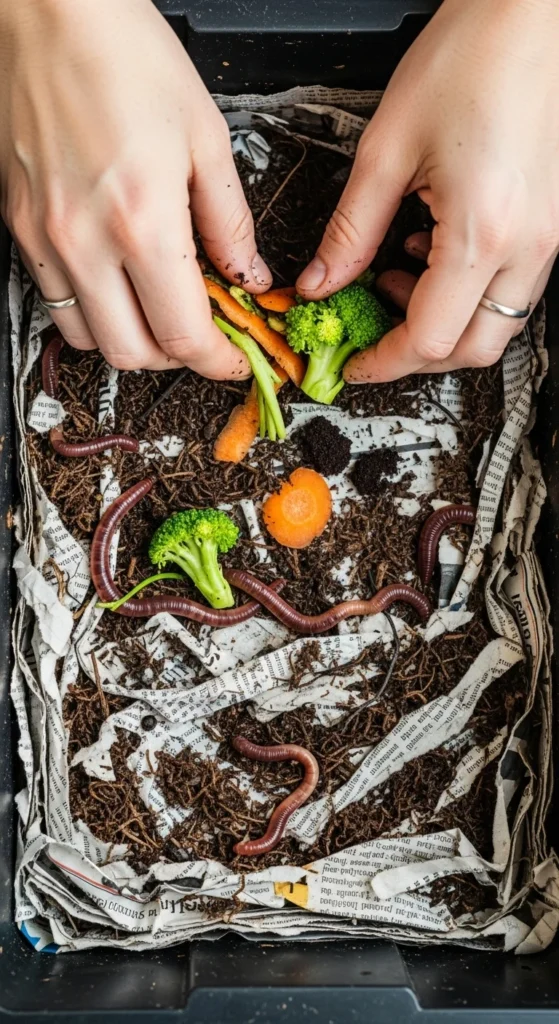
Step 4: Feed the Worms
Once your worms are cozy, it’s time to start feeding them!
Worm-approved foods:
- Fruit and vegetable scraps (chopped into small pieces)
- Coffee grounds and filters
- Tea leaves and paper tea bags
- Crushed eggshells
Avoid feeding:
- Meat, dairy, and oily foods
- Citrus or spicy foods (too acidic)
- Onions and garlic (too strong)
Start slow—add a small handful of scraps every few days until your worms adjust. Always bury the food under the bedding to reduce fruit flies and odor.
Pro Tip: When in doubt, think “plant-based and simple.” The worms will do the rest!
Step 5: Maintain Your Worm Bin
A healthy worm bin is nearly odorless and low-maintenance. Follow these simple habits to keep it thriving:
- Keep it moist: Check weekly; if too dry, mist lightly with water.
- Add fresh bedding: Replace or fluff bedding every month to keep airflow.
- Avoid overfeeding: If food piles up or starts to smell, pause feeding until it’s gone.
- Temperature range: Worms thrive between 55°F and 77°F (13–25°C)—avoid freezing or direct sunlight.
If your bin smells, it’s usually from too much moisture or rotting food. Simply stir things up, add dry bedding, and it’ll balance out quickly.
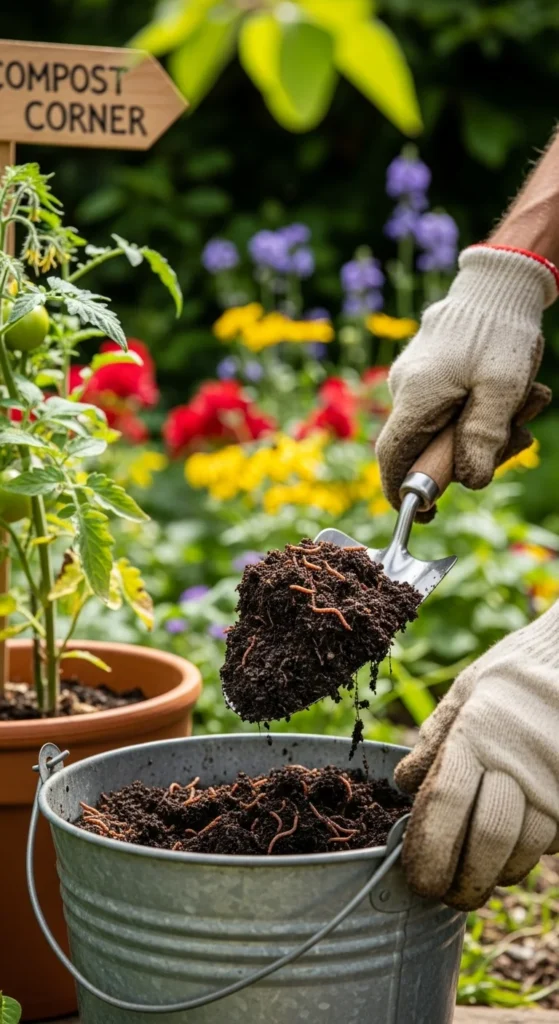
Step 6: Harvest the Compost
After 2–3 months, you’ll notice the bedding turning into dark, crumbly compost—that’s your cue to harvest!
Here’s how to separate the worms from the compost:
- Move fresh food to one side of the bin.
- Wait a week—worms will migrate to the food side.
- Scoop out the finished compost from the other side.
Alternatively, dump the bin contents on a tarp under light—the worms will burrow down, letting you collect the top layer of rich compost.
Use your worm castings for:
- Garden beds and potted plants
- Seed starting mixes
- Liquid fertilizer (by steeping in water for 24 hours)
Final Thoughts
Making your own worm bin is one of the simplest and most rewarding ways to recycle food scraps and boost your garden’s soil. The worms do the hard work, leaving you with nutrient-rich compost that your plants will love.
So grab a bin, invite a few red wigglers, and let nature take over—you’ll be amazed at how quickly those scraps turn into gardening gold.

Leave a Reply