
Bucket gardens are amazing for growing food in small spaces—but let’s be honest: if you don’t organize them well, they can quickly look like a random collection of plastic buckets scattered across your patio.
The good news? With a few simple layout tricks, your bucket garden can look intentional, tidy, and Pinterest-worthy while still being incredibly productive.
The secret isn’t buying fancy containers. It’s about smart grouping, vertical layouts, and simple labeling systems.
Start by Grouping Plants by Their Needs
One of the easiest ways to make a bucket garden look organized is to group similar plants together.
Instead of random placement, create mini zones based on plant needs.
Simple grouping ideas
Sun-loving crops
- Tomatoes
- Peppers
- Eggplant
- Cucumbers
Partial sun crops
- Lettuce
- Spinach
- Kale
Herb section
- Basil
- Parsley
- Chives
- Cilantro
This approach makes your garden look structured and also makes watering and care much easier.
When plants with similar needs sit together, you won’t accidentally overwater herbs while trying to keep tomatoes happy.
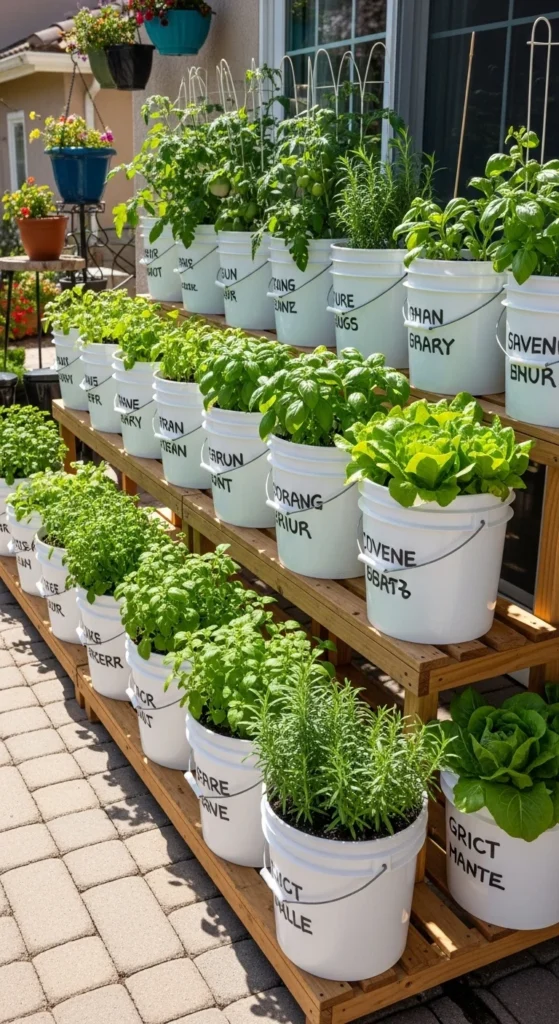
Use Stands or Vertical Layouts to Reduce Clutter
One big reason bucket gardens look messy is because everything sits on the ground.
Raising some buckets instantly makes the space feel more organized.
Smart vertical ideas
- Tiered bucket stands
- A-frame bucket racks
- Stacked shelving
- Wall-mounted bucket holders
Vertical layouts can hold 12–20 buckets in the space of just a few ground containers.
They also improve airflow and make harvesting easier.

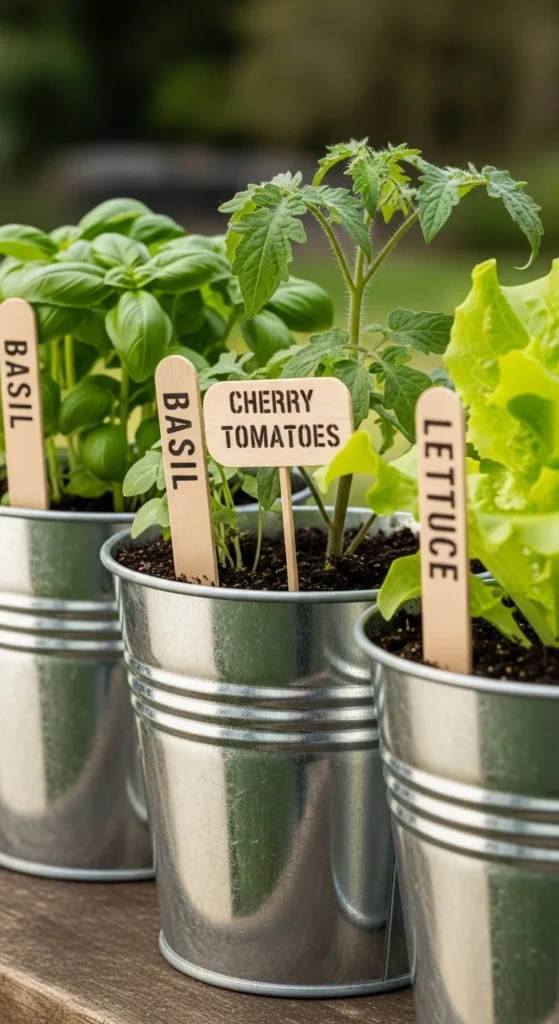
Label Every Bucket (Future You Will Thank You)
After a few weeks, many plants start to look similar. Labeling prevents confusion and keeps your garden organized.
Easy labeling methods
- Painter’s tape + permanent marker
- Plastic plant tags
- Chalk paint labels on buckets
- Weatherproof sticker labels
You can label by:
- Plant name
- Variety
- Planting date
This helps track growth and keeps everything looking intentional rather than chaotic.
Color-Code Buckets for Instant Organization
If you want a bucket garden that looks extra neat, color coding works surprisingly well.
You can paint buckets or simply use colored tape around the rim.
Example color system
- Green buckets – leafy vegetables
- Red buckets – tomatoes and peppers
- Blue buckets – herbs
- Yellow buckets – flowers or pollinator plants
This trick makes it easy to spot crops at a glance while giving your garden a cohesive look.
Bonus: painted buckets can actually make a container garden feel more like a designed garden space instead of a DIY setup.
Create Simple Rows or Themed Sections
A tidy garden usually follows some kind of visual pattern.
Instead of random bucket placement, try arranging them in clear rows or sections.
Easy layout ideas
Themed rows
- One row for vegetables
- One row for herbs
- One row for flowers
Companion plant clusters
- Tomatoes + basil
- Peppers + onions
- Lettuce + chives
Sun map layout
- Tall plants in back
- Short plants in front
This creates a mini “garden bed” look—even though everything is growing in buckets.

Add a Watering and Tool Station
Another way bucket gardens become messy is tools being scattered everywhere.
Instead, create a small garden station nearby.
What to include
- One dedicated tool bucket
- Watering can or hose wand
- Fertilizer container
- Pruning scissors
- Gloves
Keeping everything in one place makes maintenance faster and keeps the growing area clutter-free.
You can even hang tools on a small wall rack or attach hooks to a fence.
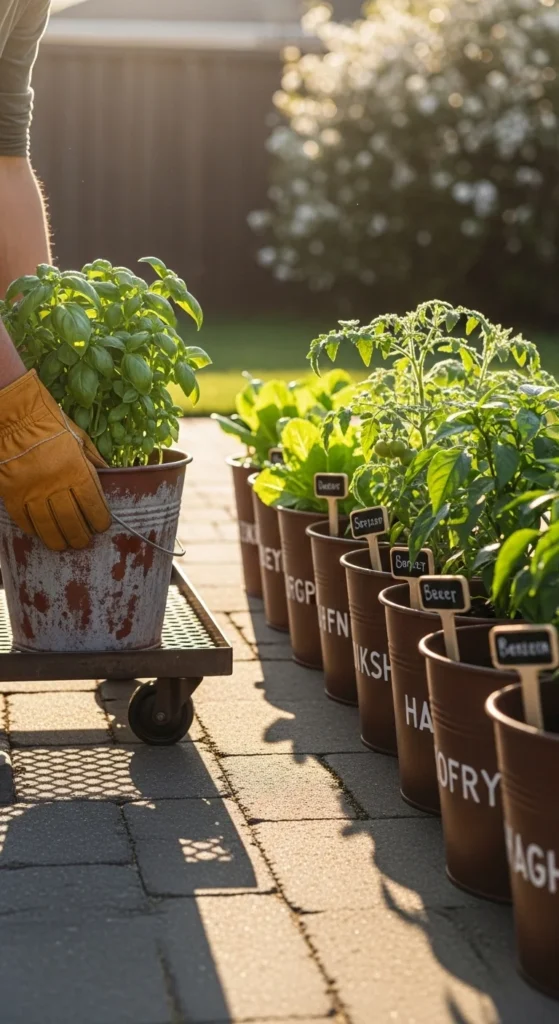
Rotate Buckets for Even Sunlight
Balcony and patio gardens often get uneven sunlight.
Instead of letting plants lean toward the sun, rotate them weekly.
Easy rotation trick
- Move buckets ¼ turn every few days
- Or keep a simple weekly rotation routine
Some gardeners place buckets on rolling plant caddies, which makes moving them effortless.
This keeps plants growing evenly and also helps maintain a balanced garden layout.
Keep the Top of the Soil Consistent
A small detail that makes a big visual difference: uniform soil surfaces.
When some buckets have bare soil and others have mulch, things can start looking messy.
Simple finishing touches
- Add mulch to every bucket
- Use straw or wood chips
- Smooth soil surfaces after watering
Not only does this improve the appearance, but mulch also:
- reduces evaporation
- keeps soil temperature stable
- helps prevent weeds
Final Thoughts
Bucket gardens don’t have to look like a scattered DIY project. With simple organization—grouping plants, labeling buckets, using vertical stands, and keeping tools centralized—you can turn even a small patio into a tidy, productive mini garden.
The best part? Once your layout is organized, watering, harvesting, and maintenance become much easier.
🌿 Save this guide for later and start organizing your bucket garden today—you’ll be surprised how much cleaner and more enjoyable your space feels!

Leave a Reply