
Plain plastic buckets do the job, but let’s be honest—they are not exactly giving “dreamy patio makeover.” The good news is that with a little creativity, even the most basic bucket planter can look charming, styled, and totally Pinterest-worthy. You do not need expensive pots or a huge garden budget. A rope wrap, a coat of paint, or a few textured details can completely change the look.
The secret is to treat your bucket planter like decor, not just a container.
Start With a Style Direction
Before you grab paint or glue, decide what kind of look you want. This makes decorating easier and helps your finished planters look intentional instead of random.
A few easy style directions:
- Rustic farmhouse with burlap, jute, and weathered finishes
- Modern patio with clean paint colors and simple labels
- Boho garden with macrame, ribbons, and earthy textures
- Vintage cottage with floral stencils, soft colors, and distressed details
- Statement glam with mosaic accents, metallic touches, or layered textures
Once you pick a style, it becomes much easier to choose materials that work together.
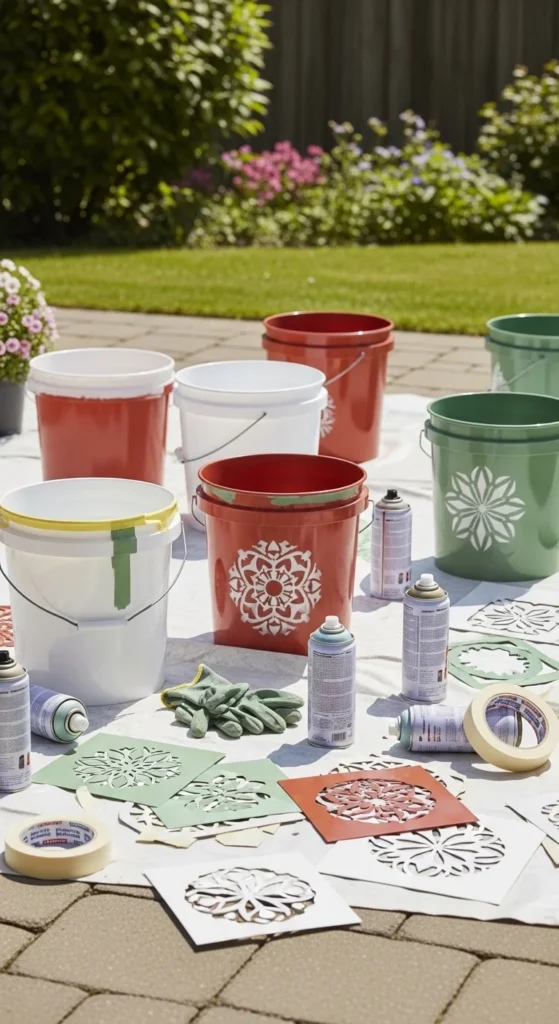
Try the Easiest Makeover First: Paint
If you want the fastest transformation, start with paint.
A plain bucket can go from industrial to pretty in less than an afternoon with the right exterior paint. Spray paint made for plastic is especially beginner-friendly because it goes on evenly and dries with a clean finish.
Easy paint ideas:
- Soft white for a fresh cottage look
- Sage green for a calm garden vibe
- Terracotta tones for a faux clay-pot feel
- Charcoal or black for a modern contrast
- Color blocking, like a terracotta base with a white rim
You can also add stencils after the base coat dries. Think:
- Flowers
- Leaves
- Geometric patterns
- Simple stripes
- Tiny bird motifs
For the cleanest result:
- Clean the outside first
- Use light coats instead of one thick coat
- Rotate the bucket while spraying
- Keep all paint on the exterior only
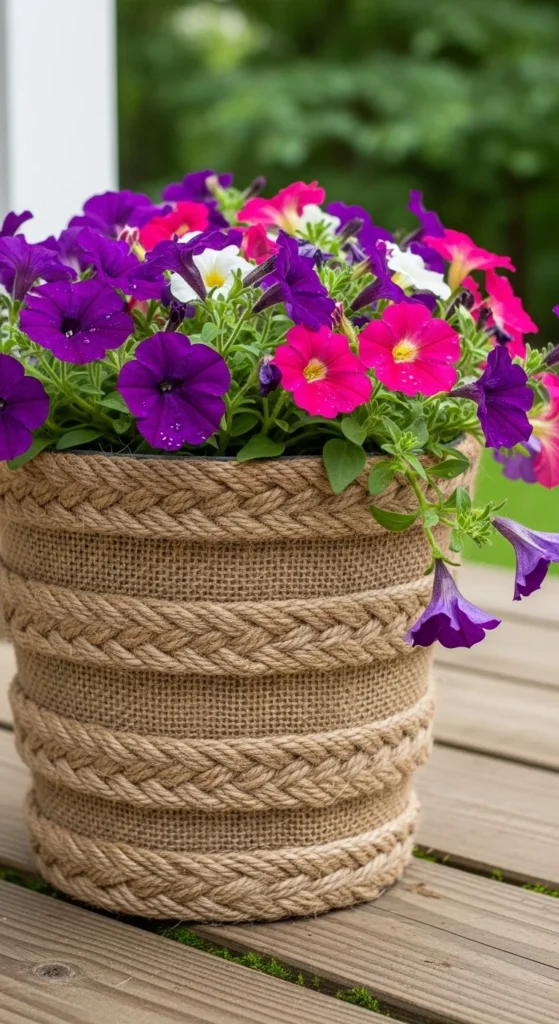
Add Texture With Rope or Burlap
If paint feels too flat, texture is the easiest way to make a bucket look expensive.
One of the most popular ideas is wrapping the planter in sisal or jute rope. This adds instant warmth and gives a simple plastic bucket a more handmade, rustic feel.
A rope wrap works especially well when:
- You want a natural, neutral look
- Your patio has farmhouse or coastal decor
- You need a beginner-friendly project
- You want to hide bright plastic colors fast
You can wrap:
- Just the rim
- The base
- The entire bucket
- Stripes in different sections
Burlap is another easy favorite. Wrap the middle of the bucket with burlap, secure it with rope, and you get that no-sew farmhouse look in minutes.
A few texture ideas to try:
- Jute wrapped around the whole planter
- Burlap band with a tied bow
- Rope around the rim and base only
- Twine layered over painted surfaces
- Macrame cords for boho detail
Use Decoupage for Custom Patterns
If you love pattern, decoupage is such a fun option.
This is where you cover the bucket exterior with things like:
- Fabric scraps
- Floral napkins
- Old maps
- Pretty paper
- Vintage-style prints
Using a decoupage medium like Mod Podge, you can turn a plain bucket into something that looks custom and artsy.
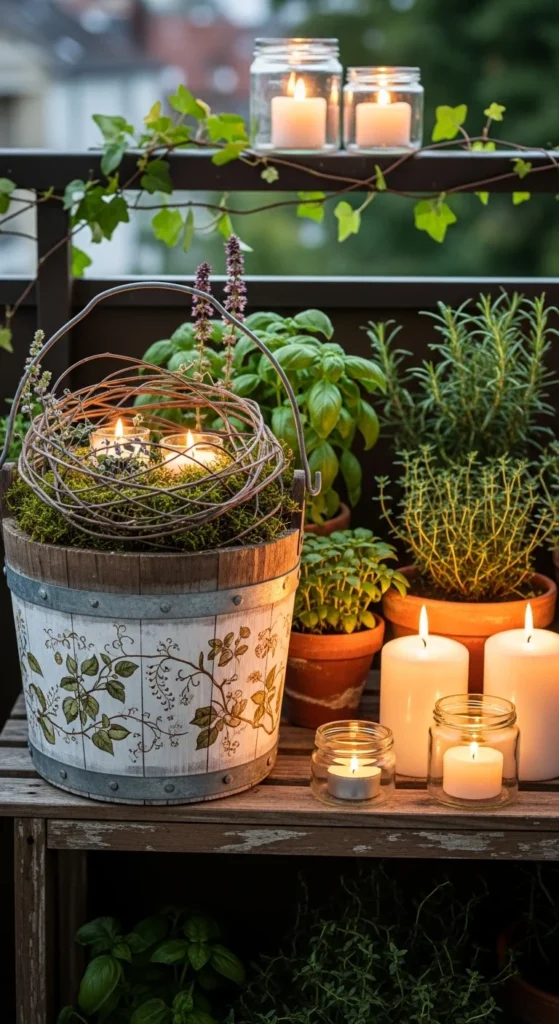
This works beautifully for:
- Balcony herb gardens
- Themed patio decor
- Gift planters
- Kids’ garden projects
- Cottage-style flower displays
Keep your design cohesive by choosing one color palette. Soft florals, neutrals, or botanical prints tend to look especially polished outdoors.
Make It Look High-End With Faux Stone or Concrete
If you want a more upscale planter look, try a faux stone finish.
A cement-style overlay or textured concrete coating can transform a bucket into something that looks much more like a designer garden pot. This takes a little more effort than paint, but the result can be stunning.
Why people love this look:
- It mimics expensive concrete planters
- It gives outdoor spaces a high-end feel
- It works beautifully with modern and Mediterranean styles
- It hides the “plastic bucket” look almost completely
If you go this route, keep the planting style simple. Think trailing ivy, herbs, or structured greenery for that clean, styled finish.
Add 3D Nature Details for Extra Charm
For a more crafty, one-of-a-kind planter, try layering dimensional materials onto the outside.
You can glue on:
- Faux moss
- Small twigs
- Faux succulents
- Shells or stones
- Tiny wood slices
This kind of design works best as an accent planter rather than an entire matching set. One or two textured statement buckets can add a lot of personality to a patio or porch.
You can also use chalk paint sections for writable labels. That is a cute way to mark:
- Basil
- Mint
- Lavender
- Tomatoes
- Flowers by color or variety
Think Beyond One Bucket: Create a Styled Display
Sometimes the bucket is not the whole wow factor. The arrangement matters just as much.
Instead of decorating one bucket and leaving it alone, style several together. This instantly makes the whole setup feel more designed.
Try these display ideas:
- A matching set in two or three painted colors
- A mix of rope-wrapped and painted planters
- Stacked or cascading bucket planters for vertical interest
- Buckets arranged on a wooden stand
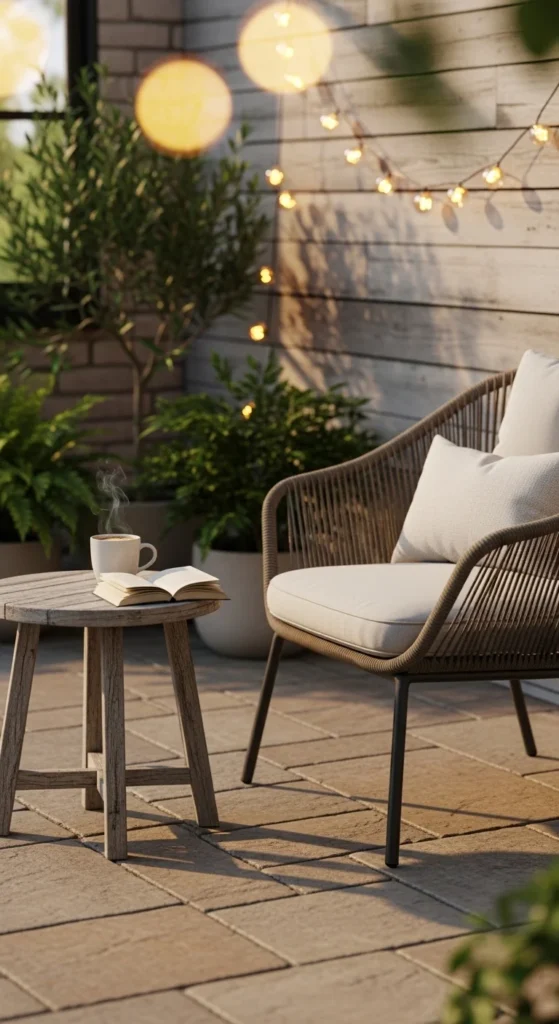
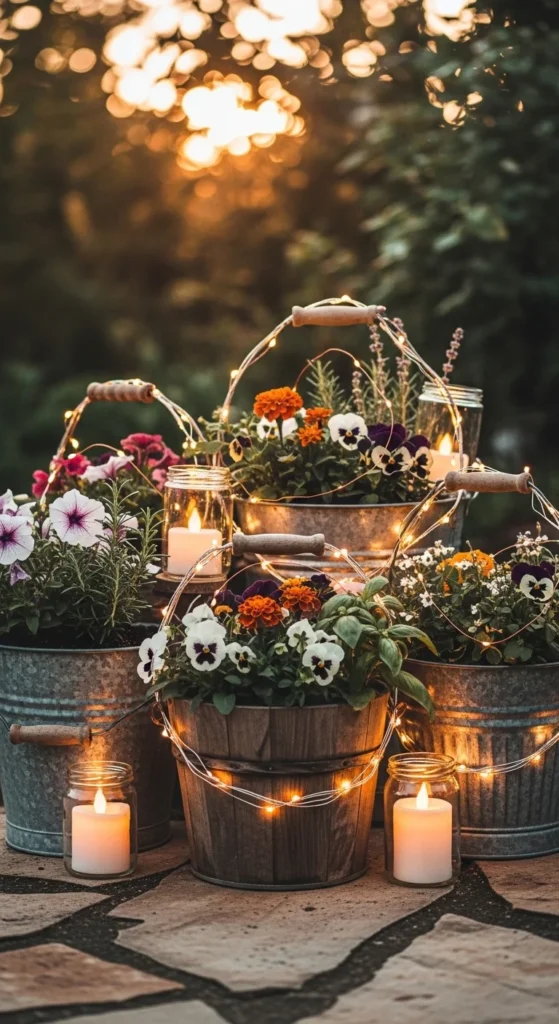
- A corner cluster with fairy lights for evening glow
You can even use hanging chains or hooks for dramatic vertical bucket displays. Trailing flowers like petunias look especially pretty in stacked or hanging designs.
Do Not Forget the Finishing Touches
The details are what make a project feel Pinterest-perfect instead of homemade in a rushed way.
Easy finishing touches:
- Tie on ribbons or macrame strands
- Add stencil labels
- Use coordinated plant choices
- Group planters by color palette
- Add fairy lights nearby for evening charm
- Pair decorated buckets with wood stools, crates, or stands
If your buckets will live outdoors, use materials and finishes that can handle weather. That helps all your hard work last longer.
Beginner-Friendly Ideas That Still Look Amazing
If you want something simple but pretty, start here:
- Spray paint one solid color
- Add a burlap wrap around the center
- Tie jute rope around the rim
- Use a chalk label patch for plant names
- Group three matching planters together
That alone can look incredibly polished.
Final Takeaway
You do not need fancy pots to create a beautiful container garden. With paint, rope, burlap, decoupage, or even a faux concrete finish, basic bucket planters can become stylish pieces that actually add to your outdoor decor.
Start with one easy makeover, then build a whole coordinated set from there. Sometimes the prettiest garden projects begin with the simplest supplies.
Save this idea for later before your next bucket planter makeover!

Leave a Reply