
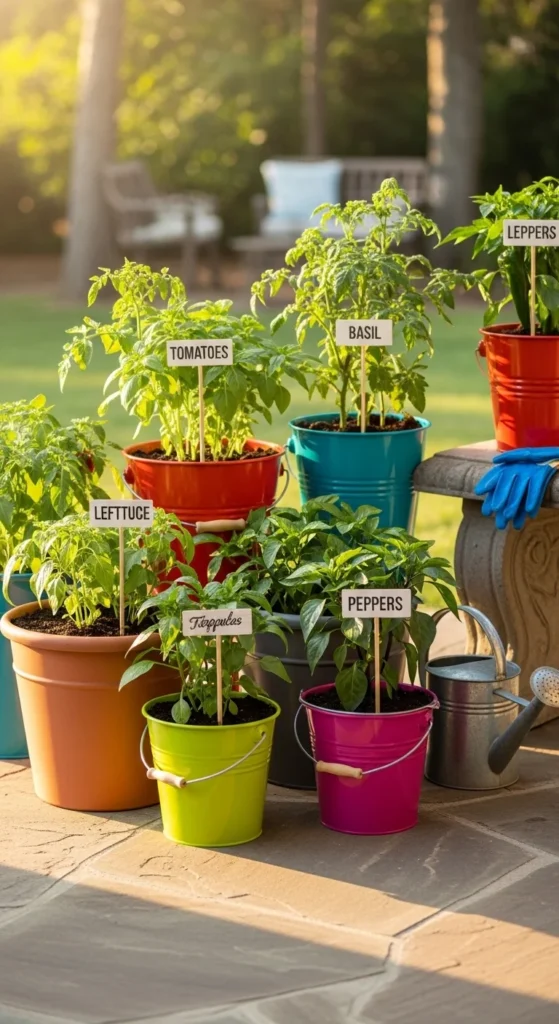
If you’ve ever planted tomatoes, peppers, and herbs in bucket gardens, you probably experienced this moment a few weeks later:
“Wait… is this basil or oregano?”
When plants are small, everything looks obvious. But once your bucket garden fills in with green leaves, it becomes surprisingly easy to forget what’s what. That’s why simple, weatherproof plant labels are one of the most underrated upgrades for container gardening.
The good news? Labels can be cheap, creative, and surprisingly stylish—especially when you make them yourself.
Why Labeling Bucket Plants Is So Helpful
Labeling isn’t just about remembering names—it makes your garden easier to manage.
What good labels help you track
- Plant varieties (cherry tomato vs heirloom tomato)
- Planting dates
- Companion planting groups
- Seed experiments
- Fertilizer or watering schedules
It also helps if you’re growing multiple varieties in a small space, which is common in bucket gardens.
Many gardeners say that unlabeled plants become a guessing game by mid-season—especially herbs and leafy greens.
The Best Materials for Long-Lasting Garden Labels
Not all plant markers survive sun, rain, and watering. Some fade quickly or rot in soil.
Here are some of the most durable labeling materials gardeners use.
1. Metal plant tags (most durable)
Metal tags—especially aluminum—are extremely weather resistant.
They can be labeled using:
- oil-based paint pens
- Sharpie paint markers
- embossed writing with a pen
Metal tags can last multiple seasons without fading.
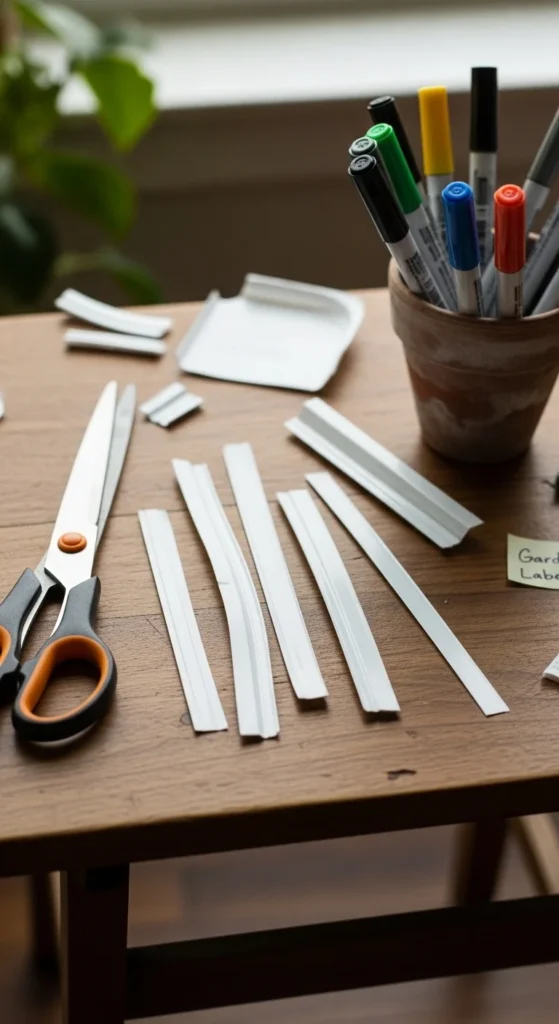
2. Plastic tags (easy and reusable)
Plastic markers are lightweight and simple.
Many gardeners repurpose materials like:
- yogurt containers
- milk jugs
- plastic packaging
Just cut them into strips and write on them with a paint marker.
Cute DIY Plant Label Ideas You Can Make at Home
Plant markers don’t have to be boring. Some DIY options add personality to your bucket garden.
Wooden stick markers
One of the easiest options.
Materials:
- craft sticks
- wooden paint stirrers
- bamboo skewers
Just write plant names with a waterproof marker.
Tip: sealing them with clear outdoor spray helps them last longer.
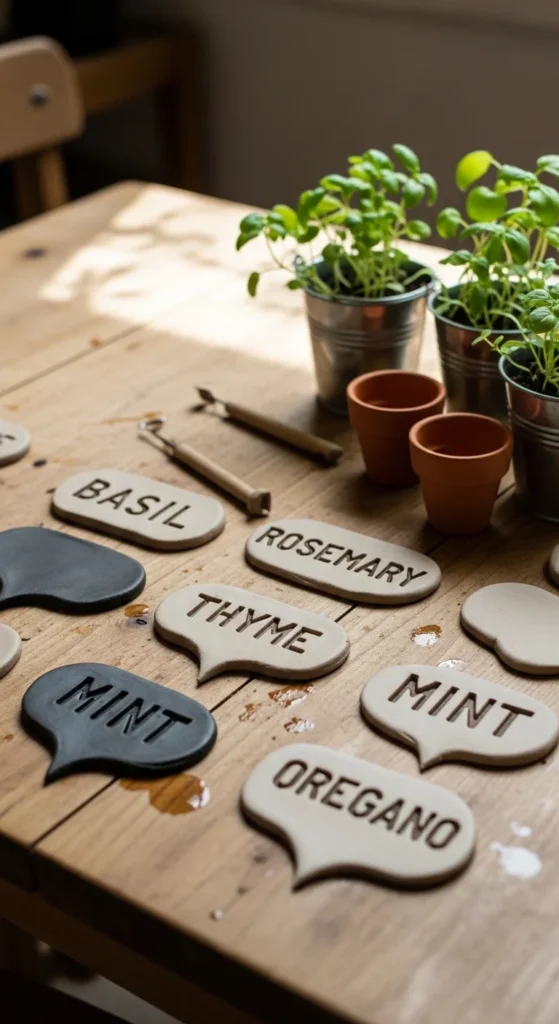
Terra cotta stamped labels
If you like a rustic look, clay markers are beautiful.
How they work:
- shape small clay pieces
- press letters using stamp tools
- bake or air-dry
- attach to small stakes or hooks
They add a handmade garden aesthetic that works beautifully in balcony or patio gardens.
Twig or branch labels (free + natural)
If you prune shrubs or trees, you already have labeling materials.
Simply:
- cut flat twig sections
- peel bark slightly
- write plant names with a wax pencil
These create a rustic natural look and cost nothing.
The Best Pens and Markers for Garden Labels
Even the best label material fails if the ink fades.
Best writing tools
- Oil-based paint pens
- Chinagraph wax pencils
- Industrial permanent markers
- Engraving tools for metal tags
Paint pens are especially popular because they stay visible in intense sunlight.
Regular Sharpies tend to fade after a few months outdoors.
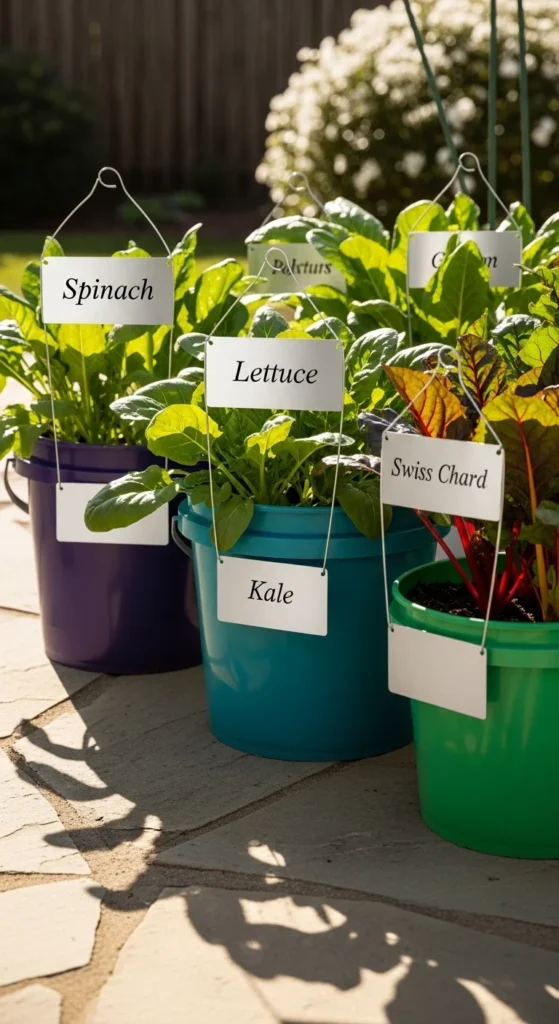
Smart Label Placement Tips
Where you place your labels matters just as much as what they’re made of.
Best placement ideas
- Stick labels near bucket edges (not the center)
- Keep them 4–8 inches tall for visibility
- Avoid burying labels under leaves
- Angle them slightly outward for easy reading
Some gardeners also use shepherd hooks or wire hangers to suspend labels above the plants, making them easier to see.
Try a Double-Label System (A Gardener’s Secret)
One clever trick experienced gardeners use is double labeling.
How it works
- One label inside the bucket
- One label in a garden notebook or photo log
Why this helps:
- Labels can get lost or fade
- Digital photos create a permanent record
- Helps track crop rotations and experiments
Some gardeners simply take a phone photo of each labeled bucket after planting.
It’s a simple backup system that saves a lot of confusion later.
Make Your Labels Part of the Garden Design
Labels can actually enhance the look of your garden instead of cluttering it.
Design ideas
- Use matching labels across all buckets
- Paint bucket rims to match labels
- Color-code labels by plant type
- Add decorative shapes or symbols
Example system:
- Green labels → leafy vegetables
- Red labels → tomatoes and peppers
- Blue labels → herbs
This creates a bucket garden that looks intentional and organized, not random.
Final Thoughts
Plant labels might seem like a small detail, but they make a huge difference in a bucket garden. With clear, weatherproof markers, you’ll always know what’s growing—and your garden will look more organized and professional at the same time.
Whether you choose metal tags, recycled plastic labels, or handmade clay markers, the key is simple: make them durable, visible, and easy to update.
🌱 Save this guide for later and try one of these label ideas in your bucket garden this season!

Leave a Reply