
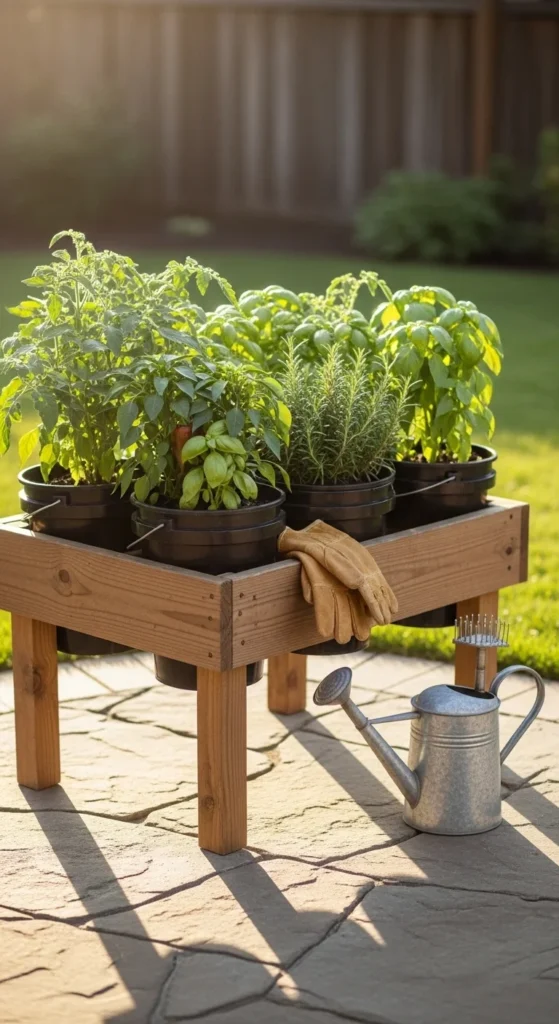
If you love bucket gardening but hate the two big problems—bending over constantly and buckets taking over your whole patio—a bucket garden stand is your next best DIY project.
A simple stand lifts your 5-gallon buckets up to a comfy working height, makes watering and harvesting way easier, and lets you grow more plants in less space (especially with tiered designs). Whether you build with 2×4 lumber or go for a modern EMT conduit frame, this is one of those “why didn’t I do this sooner?” upgrades.
Why a Bucket Stand Is a Small-Space Superpower
A stand isn’t just for looks—it actually improves how your plants grow and how you garden.
What you get instantly
- Ergonomic access (less back strain when watering/pruning)
- Better airflow around buckets (helps reduce damp, disease-prone spots)
- Neater layout (no “bucket maze” on the ground)
- Space efficiency (tiered or long-row designs multiply capacity)
- Easier drainage checks (especially if the stand has a slight slope)
If you’re a balcony grower, stands also make it easier to organize by sun—put sun lovers up top and shade-tolerant herbs lower.
Choose Your Build Style: Wood vs. EMT Conduit
Both work great—you just choose based on tools, weather, and vibe.
Option A: 2×4 Lumber Stand (Beginner-friendly)
Best for:
- simple tools (saw + drill)
- classic DIY look
- easy customization
Smart material choice:
- pressure-treated lumber for outdoors, or
- regular lumber + paint/stain for weather protection
Option B: EMT Conduit Stand (Clean + modular)
Best for:
- rust-resistant “metal frame” look
- modular resizing
- quick assembly using clamp systems
EMT stands can also be lighter—and easier to move—especially when you want portability.
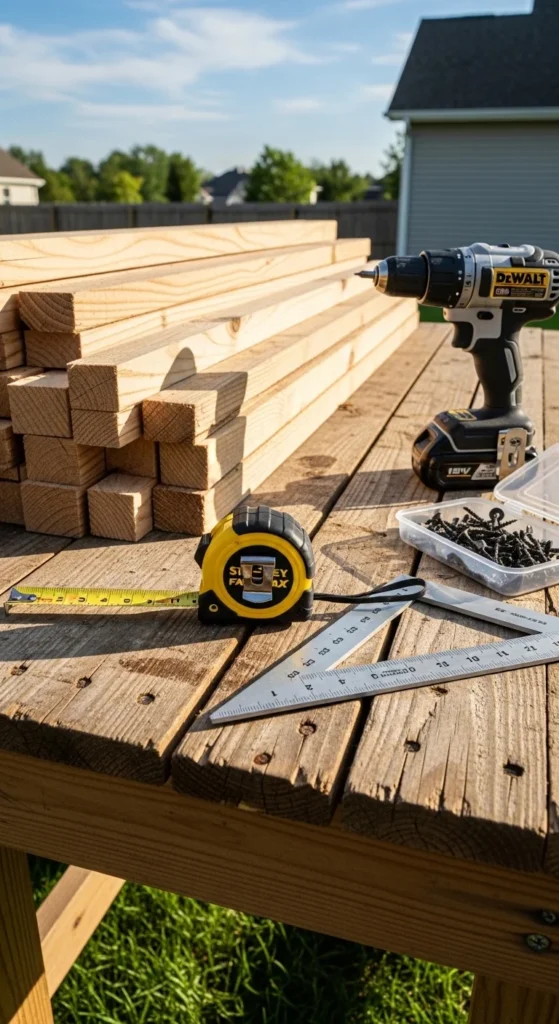
Materials + Tool List (The Fast Shopping Guide)
Here’s the common setup for a basic wood stand that holds a row of buckets. You can scale it longer or add tiers later.
Materials (wood build)
- 2×4 lumber (pressure-treated recommended)
- 2.5″ outdoor deck screws
- Sandpaper (optional but nice)
- Exterior paint or stain (optional but recommended)
Tools
- Saw (hand saw, circular saw, or miter saw)
- Drill/driver
- Tape measure
- Speed square (for clean 90° angles)
- Pencil
Step 1: Build the Side Frames First (The “Step-Zero” Trick)
Most sturdy bucket stands start with two mirrored side frames, then get connected by long cross pieces.
Why this matters
- Side frames keep the structure square
- You can test stability early
- The final assembly becomes way easier
Basic side-frame parts
- Back legs taller (creates a gentle slope and better access)
- Front legs shorter (adds A-frame stability)
- Braces between legs (locks the frame in)
Pro move: Use a speed square while screwing braces in place. Small angle mistakes multiply fast over a long frame.
Step 2: Use a Cut List (Because Wobbly Stands Usually Start Here)
If you want a stand that doesn’t wobble, your best friend is a precise cut list.
Many popular DIY plans use cut sizes like:
- long rails (multiple identical lengths)
- legs (front shorter than back)
- braces (same length for both sides)
Quick “cut list” tips
- Cut all identical pieces at once (keeps them truly identical)
- Label each piece with pencil (L = leg, B = brace, R = rail)
- Dry fit before screwing everything tight
This is the step that makes your stand feel “store-bought” instead of “oops.”

Step 3: Connect the Frames with Long Rails (Instant Stand Shape)
Once the two side frames are built, connect them using long 2×4 rails.
Assembly tips
- Attach the top rails first (this sets the stand width)
- Add a lower rail for strength and bucket support
- Keep checking for square as you go
If you’re building a longer stand (more buckets), adding an inner brace across the middle helps stop flex and sway.
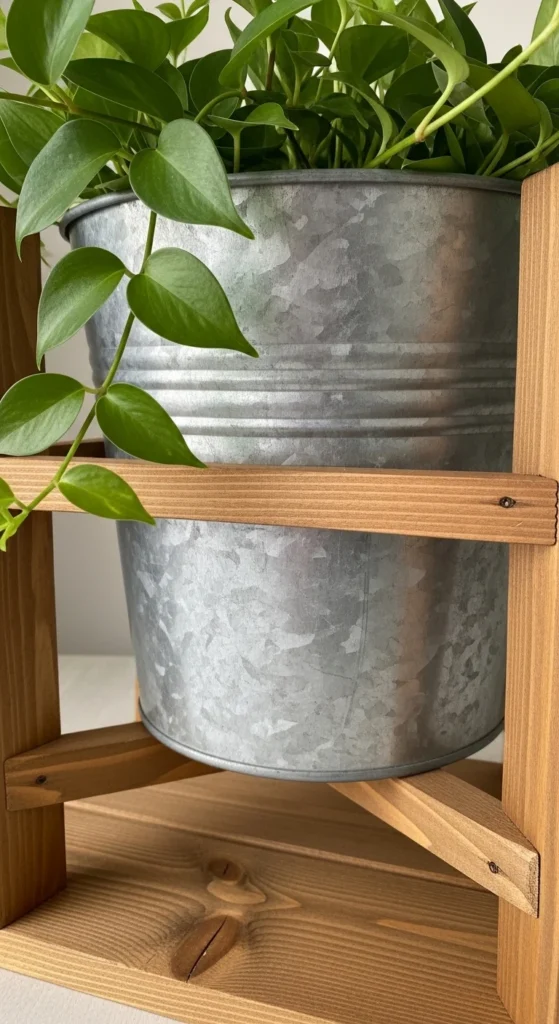
Step 4: Add Bucket Support Ledges (So Buckets Don’t Tip)
This is the feature that turns a “bench” into a real bucket garden stand.
What support ledges do
- cradle the bottom edge of each bucket
- prevent tipping when plants get heavy
- keep buckets evenly spaced
You can use extra cross pieces as “shelves” under the bucket bottoms. This is especially helpful for tomatoes, cucumbers, and any bucket with a tall trellis.
Step 5: Weatherproof It (So It Lasts More Than One Season)
Outdoor wood needs protection—especially where water drips from buckets.
Easy protection options
- Use pressure-treated lumber
- Or seal with:
- exterior paint
- deck stain
- outdoor wood sealer
Extra tip: If you’re placing buckets that drain a lot, consider adding a thin plastic strip or outdoor tray under the bucket row to reduce constant drips onto the wood.
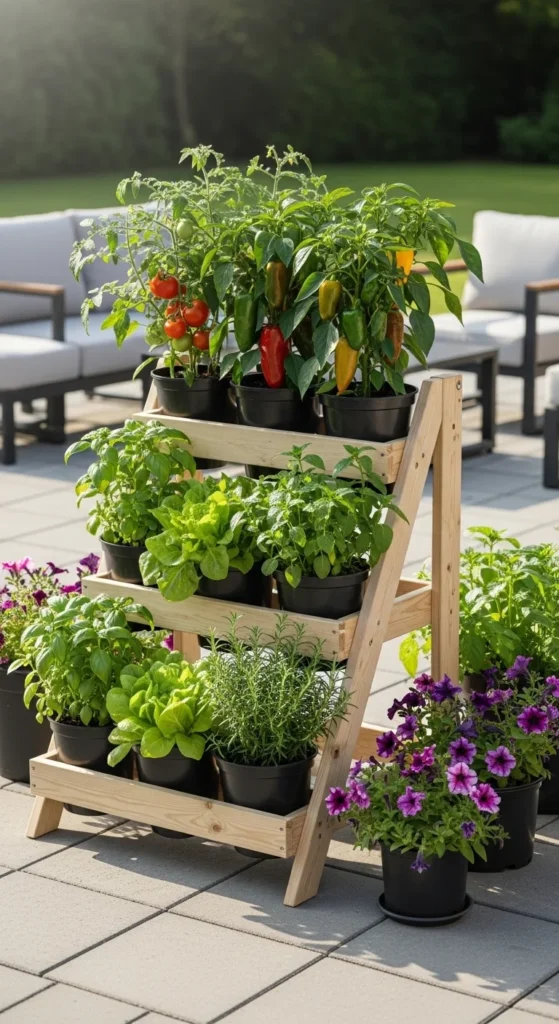
Space-Saving Upgrades (Tiered, Rolling, and Vertical)
Once you build one stand, upgrades are addictive. 😄
Tiered stand ideas
- 2 levels: top row for tomatoes/peppers, lower for herbs/greens
- A-frame or stair-step tiers for more sunlight distribution
Mobility upgrade
- Add heavy-duty casters or set the entire stand on a rolling platform
- Great for renters who “sun chase” across the patio
Metal alternative (EMT)
- Build a conduit frame with modular joints
- Resize anytime (longer row, taller legs, extra tier)
Final Takeaway
A bucket garden stand is one of the smartest ways to grow more in less space while making gardening easier on your back. Start simple with a sturdy wood frame, add bucket ledges for safety, and upgrade to tiered levels or wheels when you’re ready.
Save this DIY for later—and if you build one, start with the side frames first. Your future self will thank you. 🌿

Leave a Reply