
Starting your first vegetable garden can feel confusing. Too many plant choices. Too many layout ideas. Too many mistakes to avoid. The truth is simple: a beginner garden works best when the layout is easy to manage, easy to reach, and easy to maintain.
A smart vegetable garden layout focuses on sunlight, spacing, crop rotation, and access paths. When those basics are in place, growing tomatoes, lettuce, beans, and carrots becomes much simpler. Below are 22 easy beginner vegetable garden layouts that are practical, realistic, and proven to work in small yards or starter spaces.
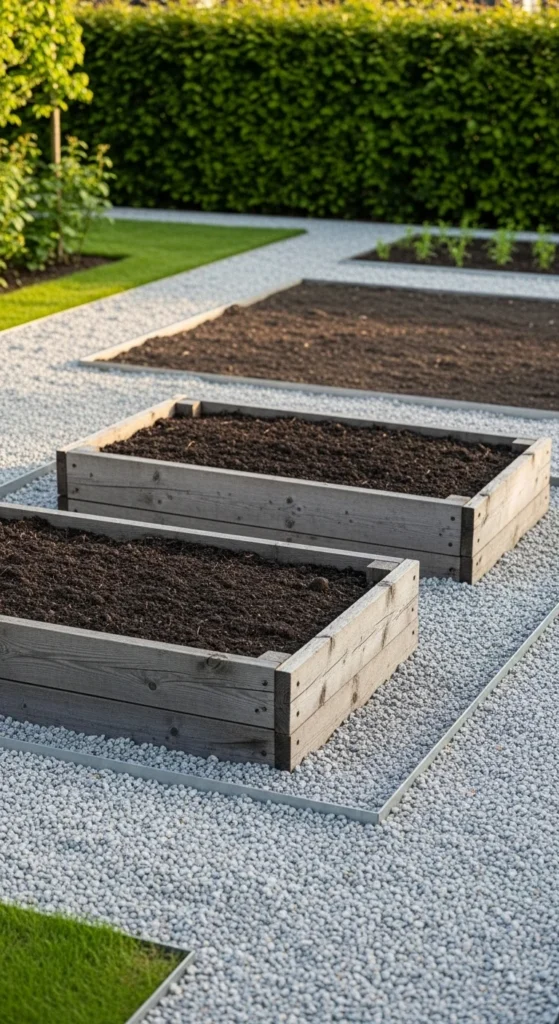
1. Simple 4×4 Starter Raised Bed
A 4×4 raised bed is perfect for first-time gardeners.
You can reach every part from the sides.
No stepping inside the soil.
Fill the bed 12–18 inches deep with compost-rich soil.
Divide the space into small sections.
Grow 8–12 crops at once.
Try lettuce, radishes, bush beans, carrots, and peppers.
Keep taller plants at the back.
Short crops in front.
This layout stays manageable.
It teaches spacing quickly.
You see results fast.
2. North–South Sunlight Layout
Arrange rows north to south.
This gives even sunlight across plants.
Put tall crops like tomatoes on the north end.
Short crops stay on the south side.
Avoid shading problems early.
Use a simple sun map.
Track where light hits during the day.
Six to eight hours works well for fruiting plants.
This small planning step prevents future frustration.
3. Square Foot Grid Plan
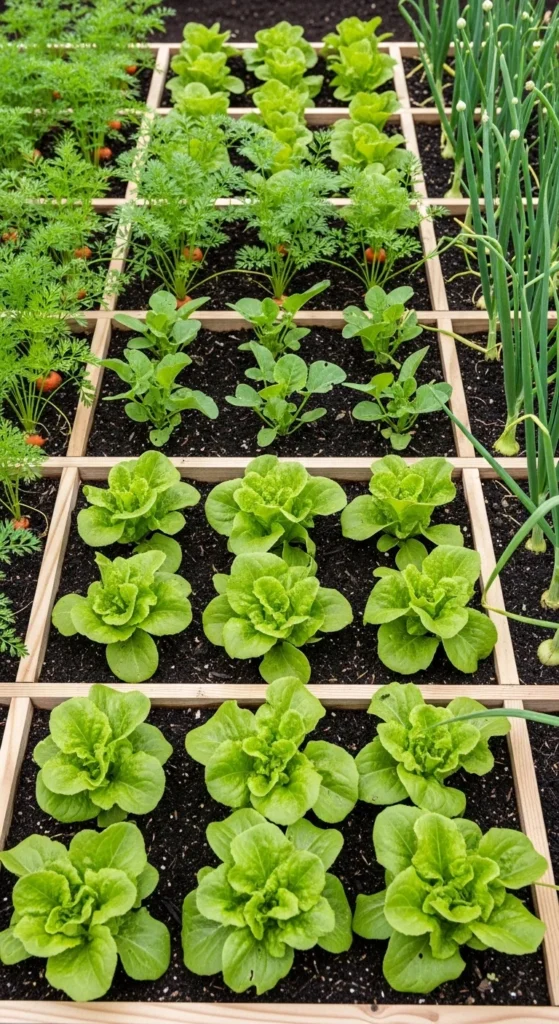
Square Foot Gardening divides beds into 1-foot squares.
Each square holds a specific number of plants.
Up to 16 carrots per square.
Four lettuce per square.
This reduces wasted space.
Weeds struggle to grow between crops.
DIY tip: Use thin wood strips to create a grid.
Label squares for easy rotation next season.
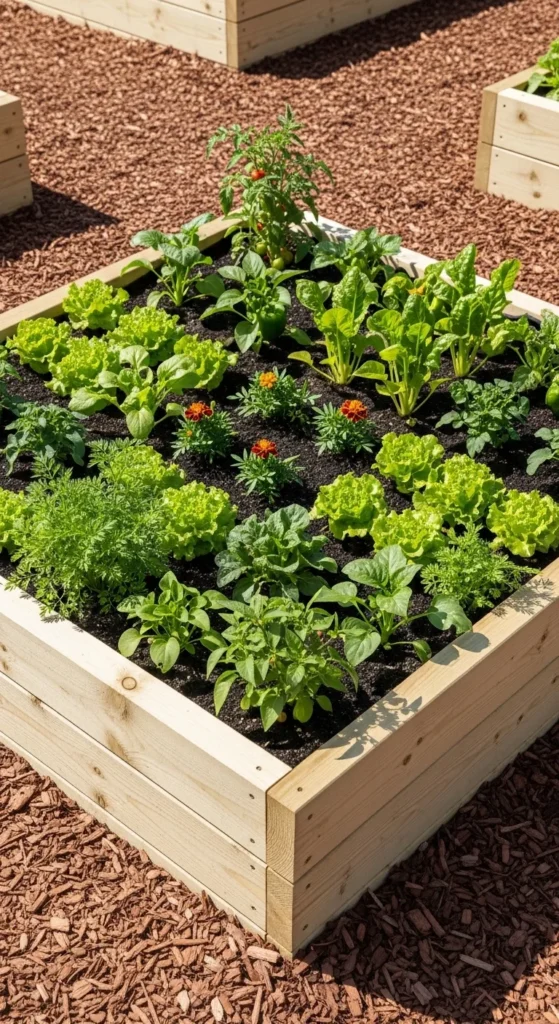
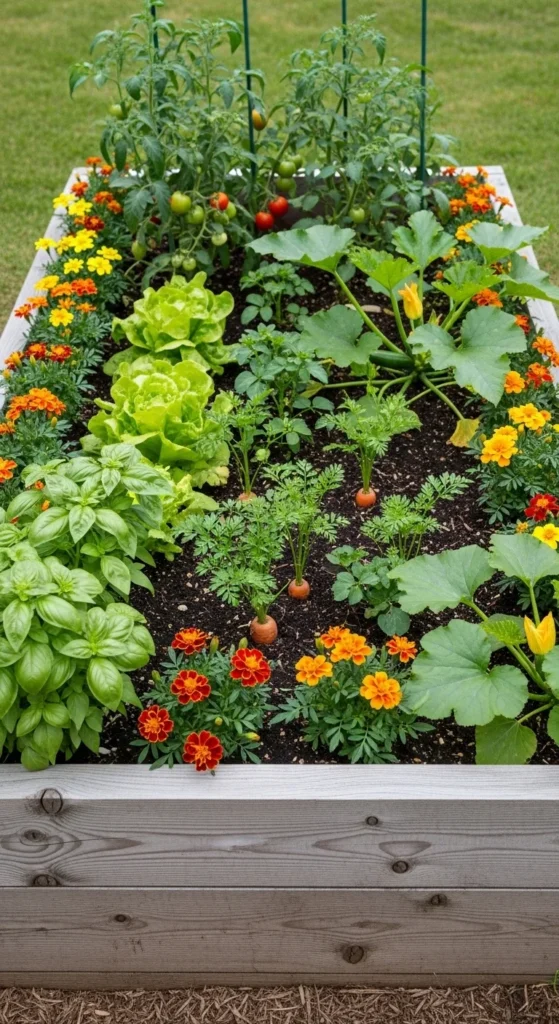
4. Companion Pairing Layout
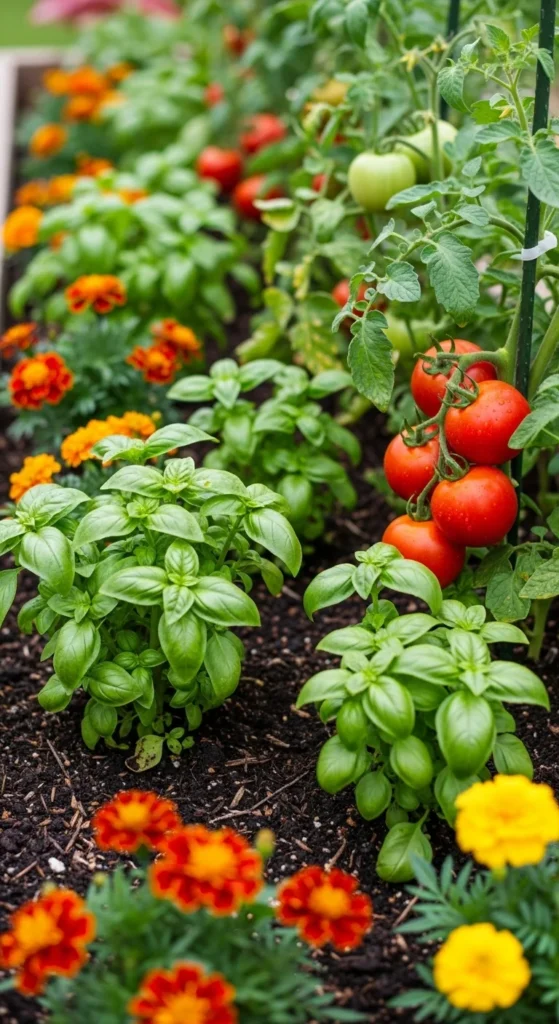
Companion planting keeps pests lower without chemicals.
Plant basil next to tomatoes.
Carrots grow well near onions.
Add marigolds around edges.
Group crops that support each other.
Avoid planting same families side by side yearly.
This layout works naturally.
It’s simple and effective.
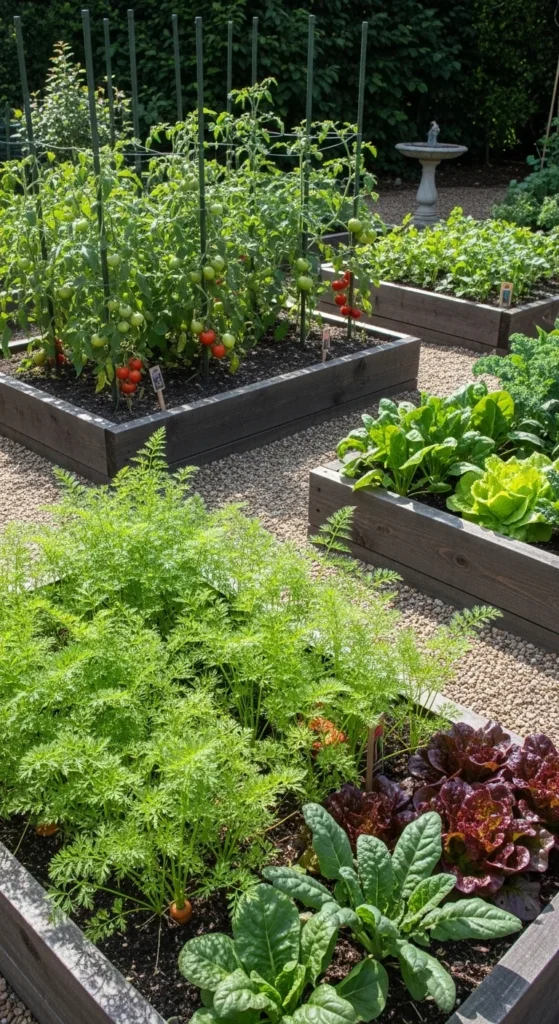
5. 30-Inch Pathway Garden Grid
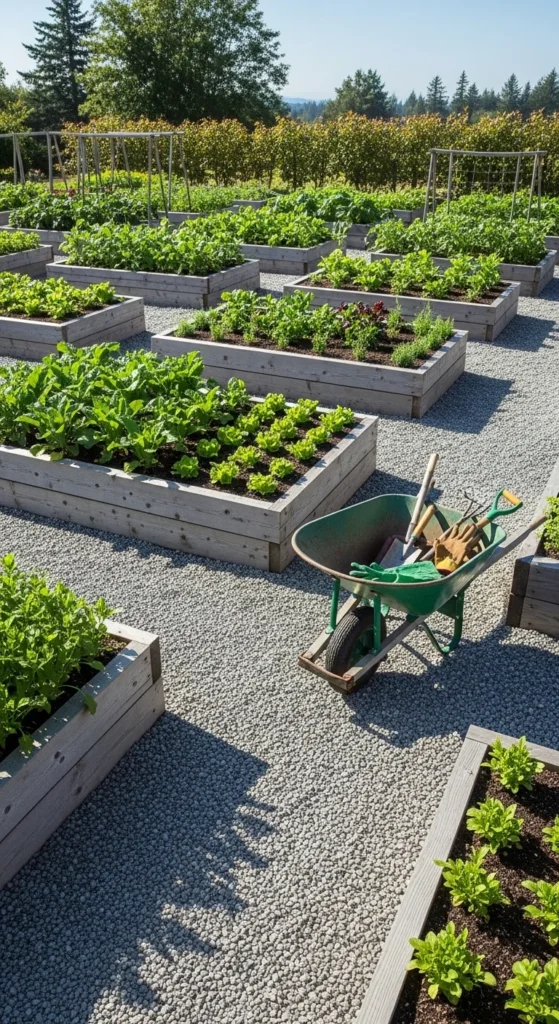
Leave 30-inch main paths.
Wide enough for a wheelbarrow.
Gravel or wood chips reduce mud.
Clear access encourages regular harvesting.
Beds stay neat.
You avoid stepping on soil.
Simple layout. Big difference.
6. Fast and Slow Crop Layering
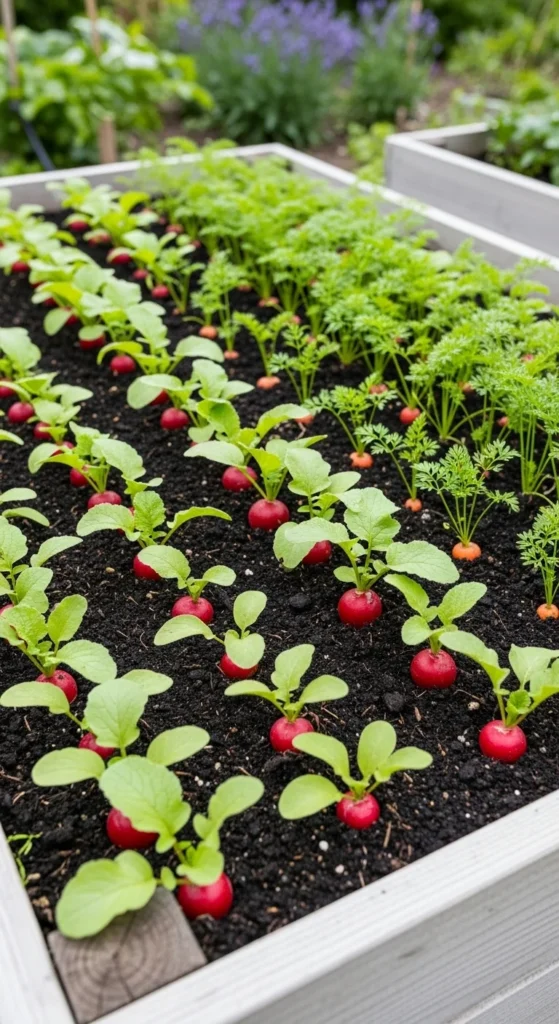
Plant quick crops between slow ones.
Radishes grow in 25 days.
Carrots take longer.
Harvest radishes early.
Carrots gain space afterward.
This doubles use of one area.
Smart and beginner friendly.
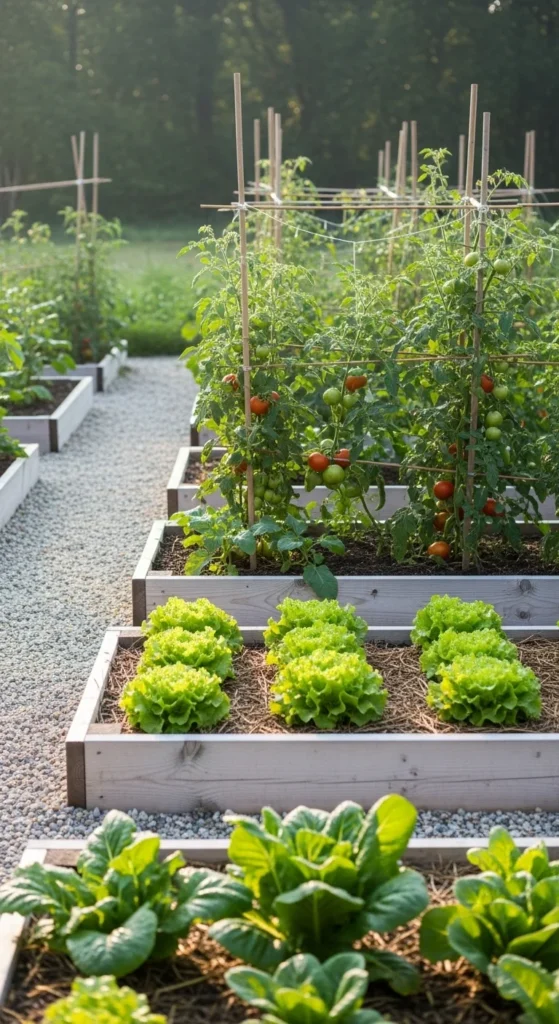
7. Vertical Trellis Support Layout
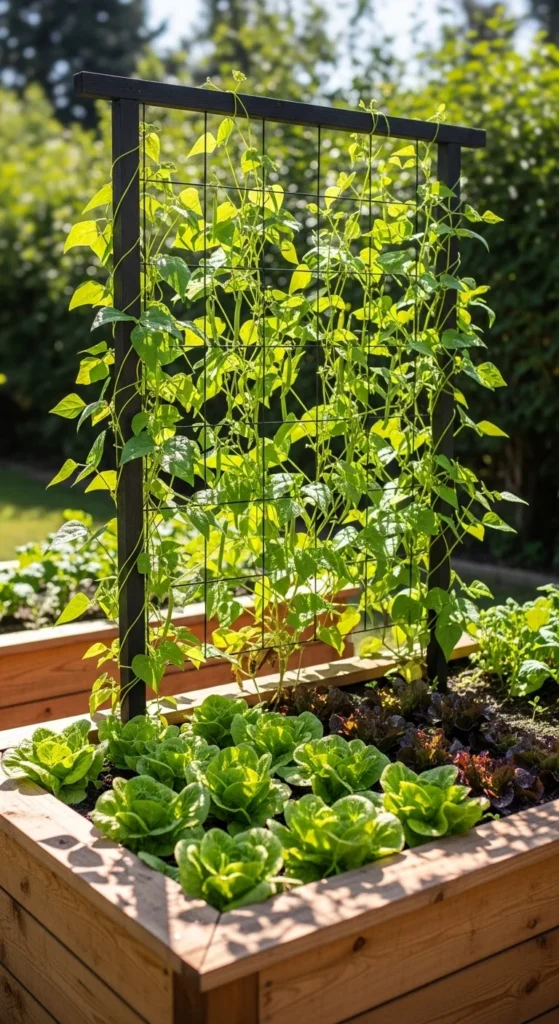
Install a trellis at the north side.
Grow beans or peas upward.
Plant greens below.
Vertical gardening saves ground space.
Use simple wood frames or metal panels.
Secure vines gently.
Easy way to expand capacity.
8. Mulch-Covered Weed Control Bed
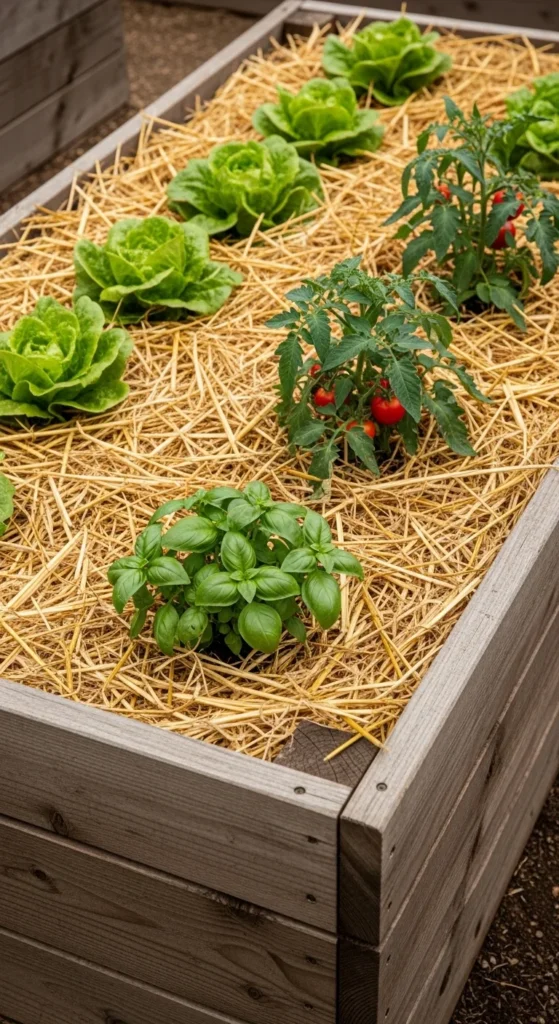
After planting, add straw mulch.
Two inches thick.
Blocks weeds.
Keeps soil moist.
Reduces watering frequency.
Mulch immediately after seedlings settle.
Simple habit. Major time saver.
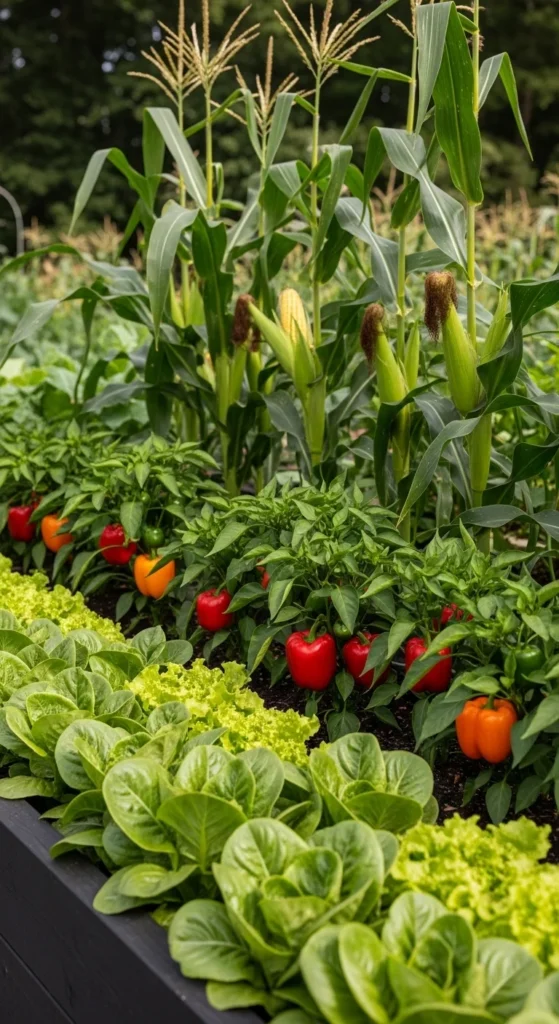
9. Three Sisters Starter Bed
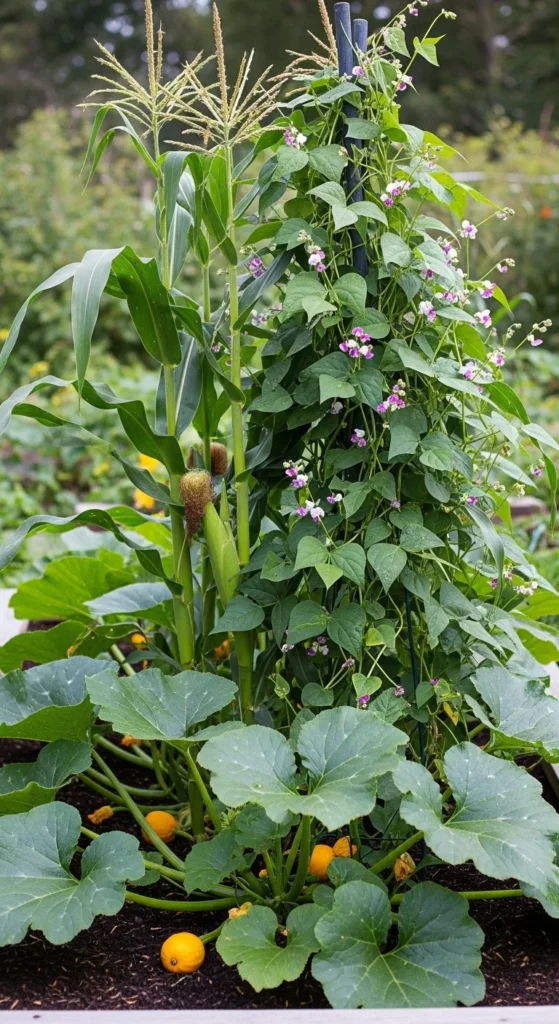
Three Sisters combines three crops.
Corn grows tall.
Beans climb.
Squash covers soil.
Teaches polyculture easily.
Kids love this setup.
Space plants carefully.
Fun and practical.
10. Succession Planting Layout
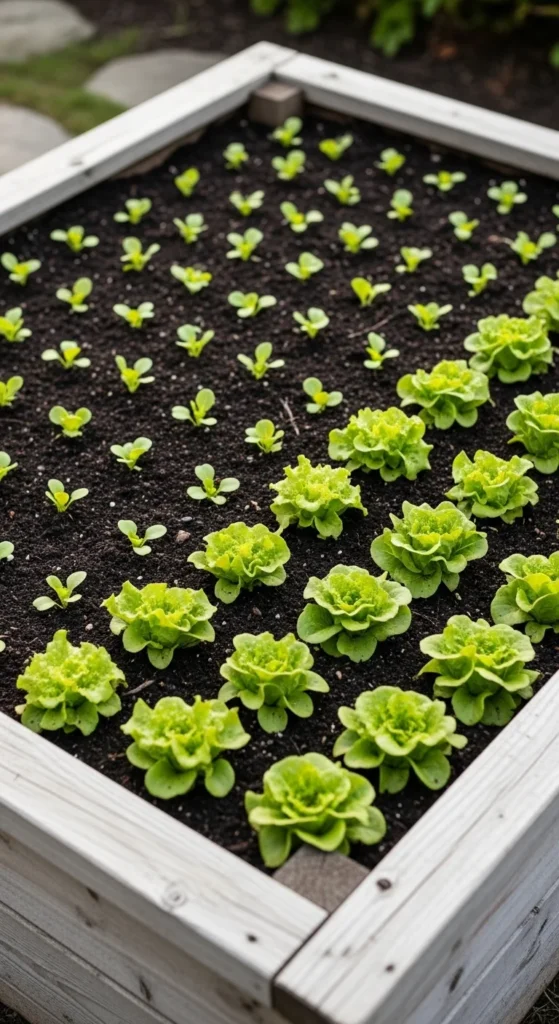
Plant lettuce every two weeks.
Harvest continuously.
This is called succession planting.
Avoid planting everything at once.
Use a calendar reminder.
Keeps food coming steadily.
Simple planning prevents waste.
11. Herb Border Layout
Plant herbs along borders.
Basil near tomatoes.
Marigolds near cabbage.
Herbs act as natural barriers.
Easy access while cooking.
Keeps center focused on vegetables.
12. Container + Raised Bed Hybrid
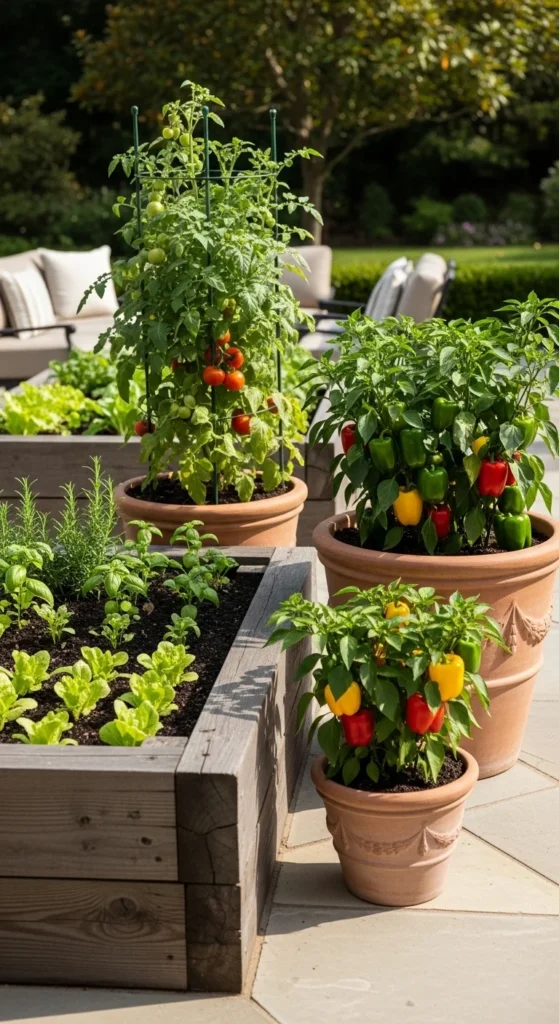
Use containers for extra crops.
Place tomatoes in large pots.
Keep beds for root vegetables.
This expands space without new beds.
Good for patios or decks.
Flexible and affordable.
13. Keyhole Circular Layout
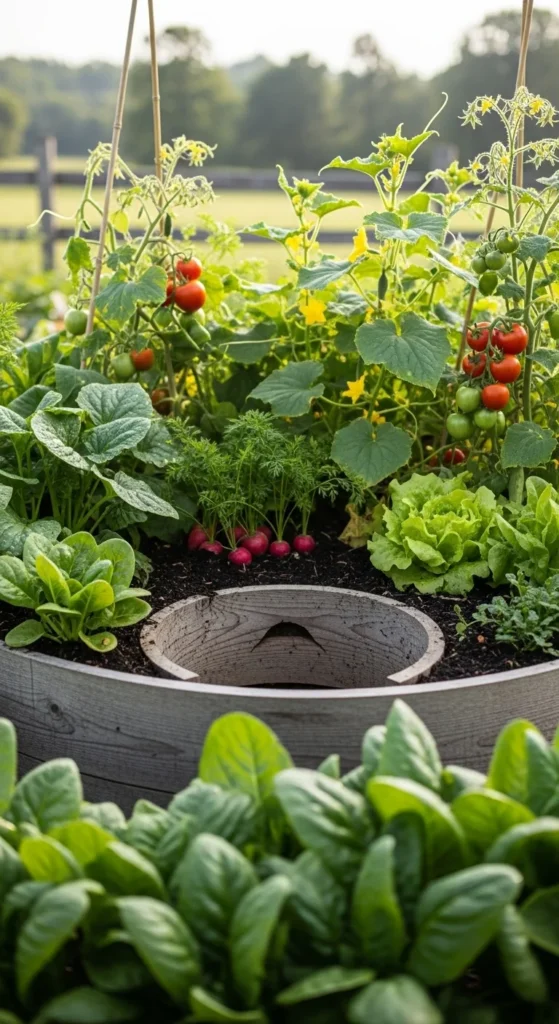
Keyhole beds allow center access.
You reach plants without stepping inside.
Saves path space.
Works well in tight yards.
Great for leafy crops.
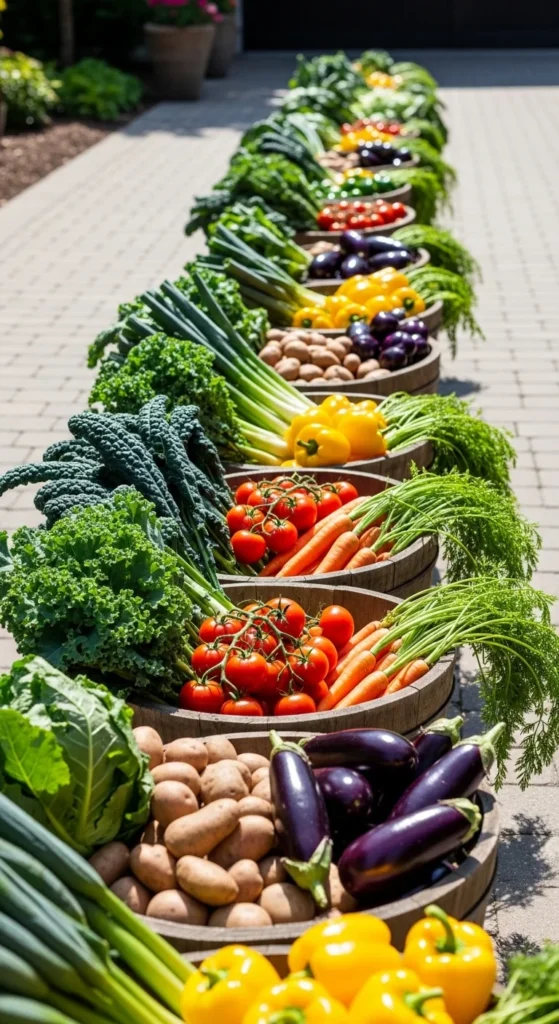
14. Crop Rotation Starter Plan
Divide crops by family.
Nightshades one year.
Roots next year.
Leafy crops after.
Rotate yearly.
Prevents soil issues.
Keep a notebook for tracking.
15. Compact Bush Variety Bed
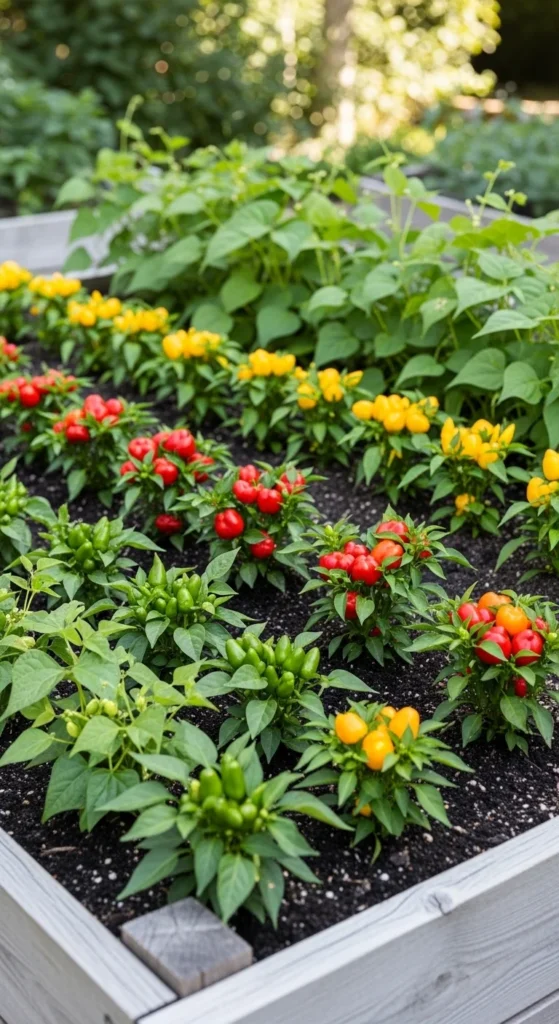
Choose compact varieties.
Bush beans instead of pole beans.
Patio cucumbers.
Dwarf peppers.
Small plants fit tight spaces.
Simple decision increases success.
16. Color-Coded Beginner Map
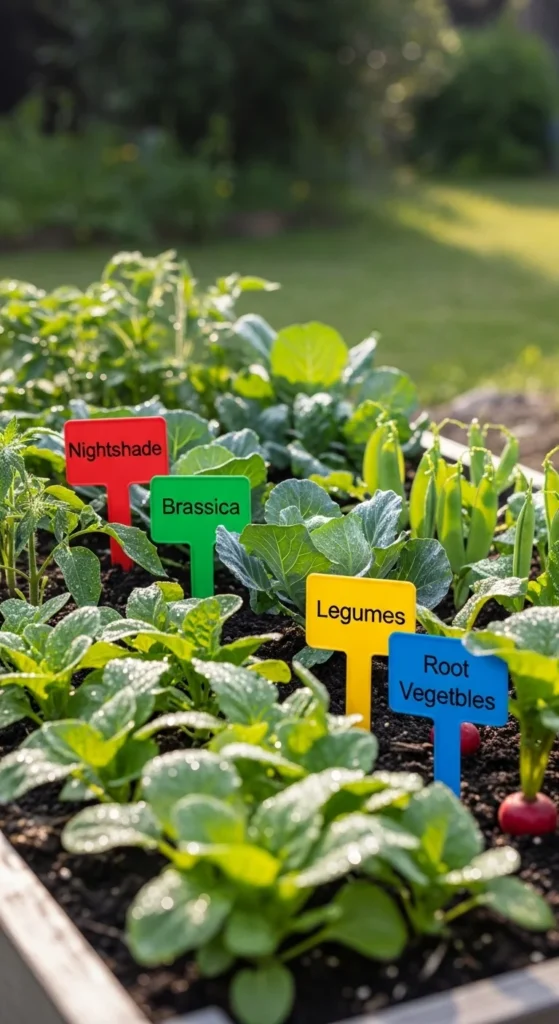
Group crops by color markers.
Leafy greens one color.
Roots another.
Brassicas separate.
Helps beginners learn families.
Makes rotation easy.
Visual planning works well.
17. Drip Line Center Layout
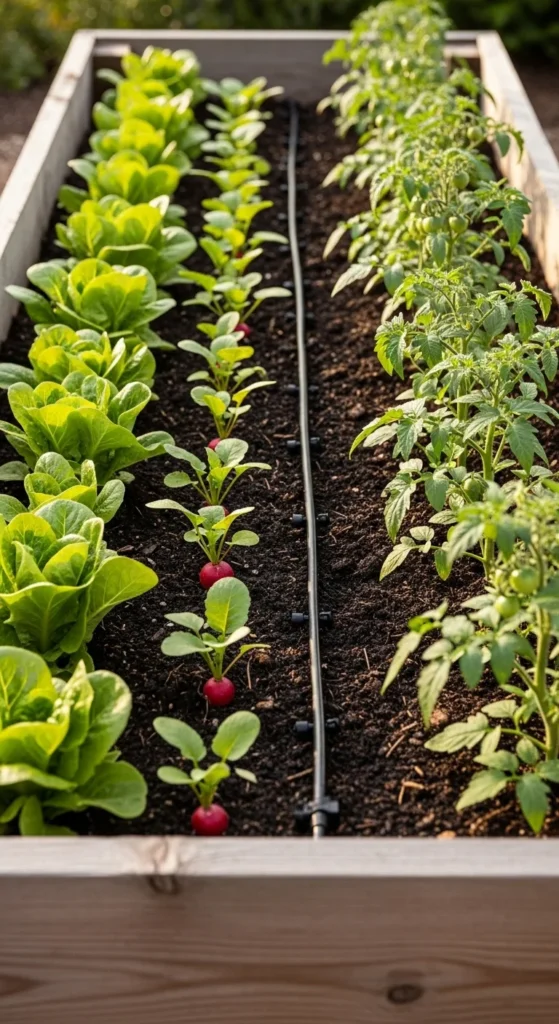
Place drip irrigation down the center.
Water spreads evenly.
Reduces leaf disease.
Affordable kits available.
Saves time during summer.
18. Compost-Next-To-Bed Plan
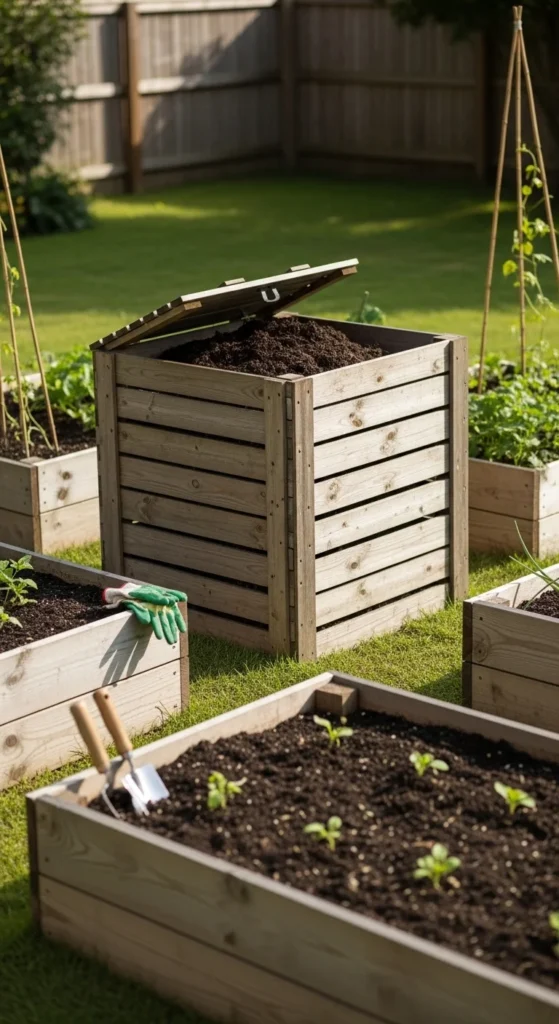
Keep compost bin close.
Easy soil feeding.
Less walking back and forth.
Add compost each season.
Improves structure naturally.
19. Driveway Container Conversion
No yard? Use driveway edge.
Large containers grow tomatoes and lettuce.
Arrange in neat rows.
Use saucers underneath.
Simple urban solution.
20. Mixed Height Layer Plan
Tall plants in back.
Medium in center.
Short in front.
Improves light exposure.
Looks organized.
Easy planning rule.
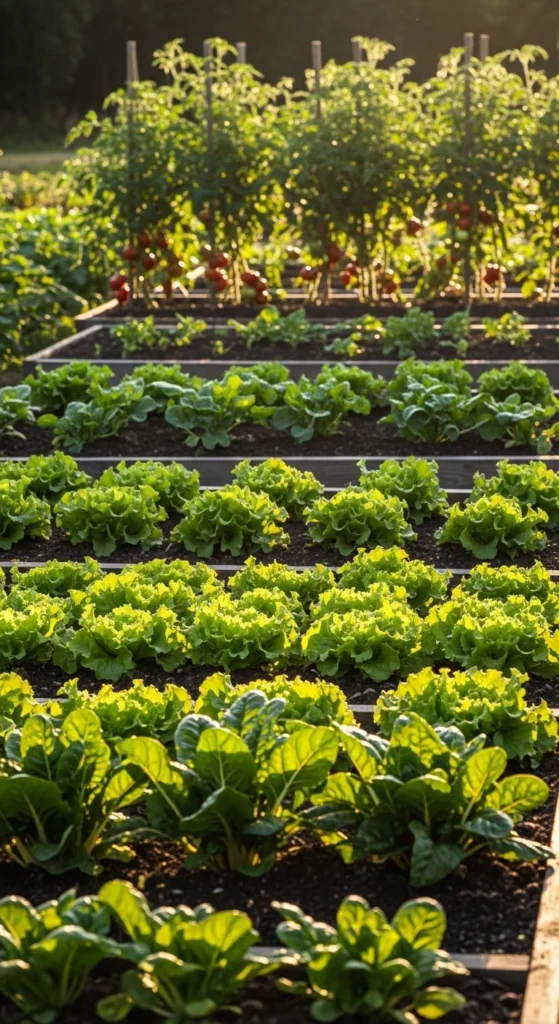
21. Simple Salad Garden Layout
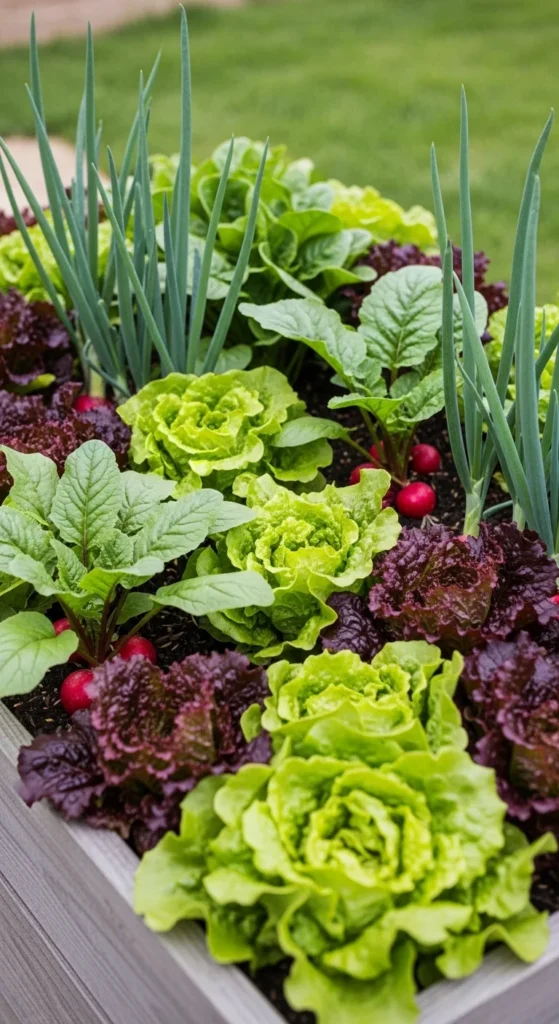
Dedicate one bed to salads.
Lettuce, spinach, radishes, green onions.
Quick growing.
High turnover.
Great beginner confidence builder.
22. Modular Expandable Plan
Start small.
Leave room for more beds later.
Add one bed each year.
Keep spacing consistent.
Growth stays manageable.
Conclusion
A beginner vegetable garden works best when the layout stays simple and practical. Focus on sunlight direction, spacing, vertical support, mulch, and crop rotation from the start. Begin with a small raised bed or grid system. Add pathways for access. Expand gradually as confidence grows. With a clear plan and manageable space, your first garden can produce steady harvests season after season.

Leave a Reply