
Composting kitchen scraps is one of the fastest ways to cut down on food waste while making dark, crumbly compost your plants love. If you’ve ever dealt with a smelly bin, fruit flies, or a slow pile, the fix is usually simple: better balance, better airflow, and a smarter routine in the kitchen. These practical hacks make composting easier in apartments, small yards, or full gardens—without buying expensive gear.
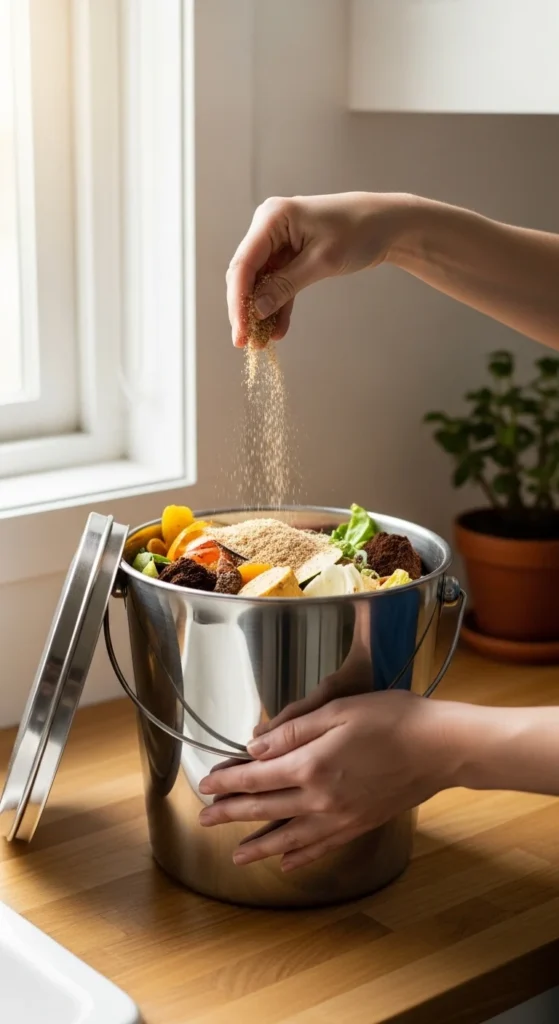
1. Keep a “Greens + Browns” Shortcut Basket
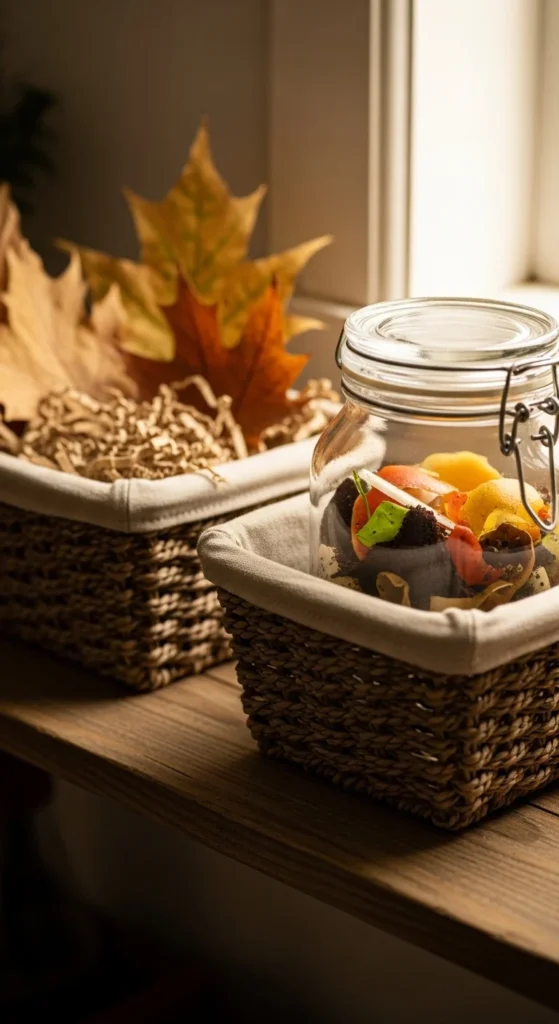
Most compost problems start with bad balance. Kitchen scraps are “greens.” They’re wet and nitrogen-rich. Browns are dry carbon, like leaves, shredded paper, or cardboard.
Make it easy on yourself. Keep a small bag of browns next to your scrap bin. Every time you dump scraps, add a handful of browns too.
This quick habit cuts odor. It also helps your pile heat up faster.
Budget tip: Save paper egg cartons, toilet rolls, and shipping boxes. Tear them up as browns.
If your pile looks wet or smells sour, add more browns right away. If it looks dry and nothing breaks down, add more scraps or a splash of water.
A simple “two-basket” setup keeps compost steady without complicated measuring.
2. Chop Scraps Small for Faster Breakdown

Smaller pieces break down faster. That’s it.
Instead of tossing whole cabbage leaves or thick melon rinds, chop them into bite-size bits. You can do this while you cook.
No time? Use kitchen scissors. Snip scraps right into the container.
Budget tip: Keep a cheap pair of scissors only for compost. Rinse and hang them.
If you freeze scraps first, they get soft after thawing. That makes them break down faster too.
Aim for pieces about the size of a coin. Your compost microbes can work quicker, and you’ll see less “old food” sitting around.
This hack also helps prevent pests, since smaller scraps are easier to bury under browns.
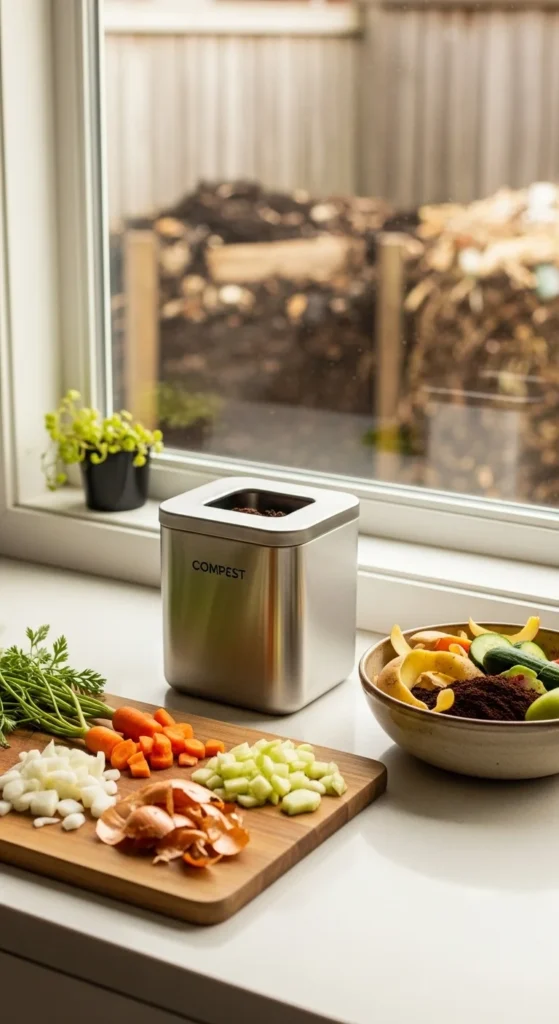
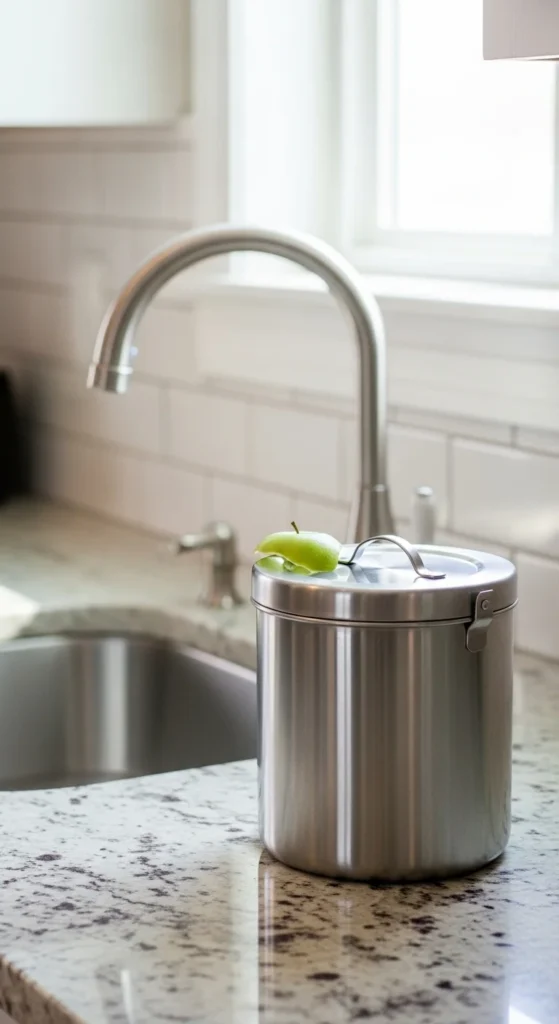
3. Use a Lidded Countertop Bin to Stay Consistent
If scraps end up in the trash, the system is too annoying.
A small countertop bin fixes that. Keep it near your prep area so it feels like a normal step in cooking.
Choose a lid that seals well. Odor control starts with keeping air from drifting around the kitchen.
Budget tip: A reused ice cream tub works fine. Just wash it often.
Empty it every 1–3 days. A smaller bin emptied often usually smells less than a big bin left too long.
If you hate cleaning, line the bin with a paper bag or a sheet of newspaper. It absorbs moisture and makes dumping easier.
Convenience is what keeps composting going.
4. Add a Charcoal Filter Upgrade for Indoor Odor Control
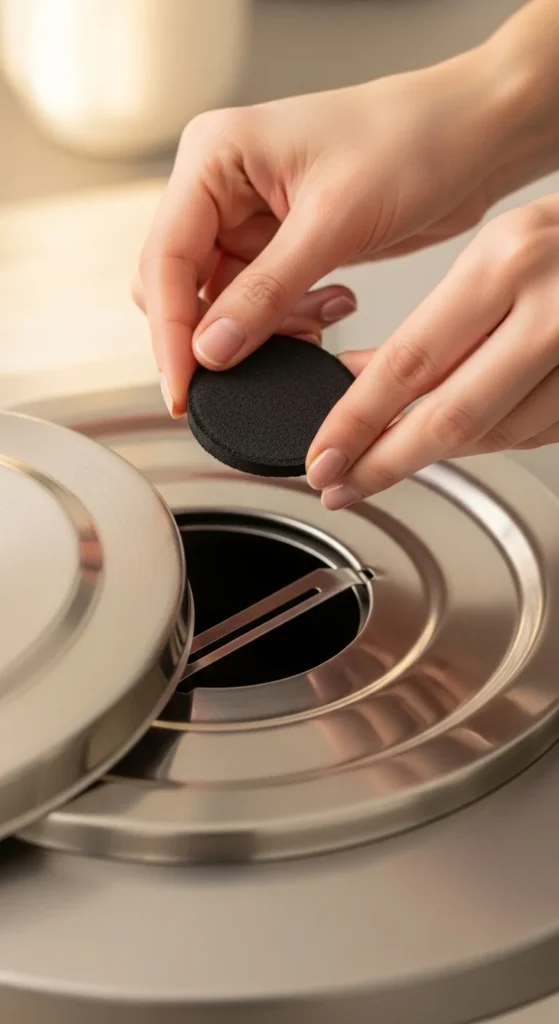
Indoor composting can smell if scraps sit too long.
A charcoal filter in the lid helps a lot. If your bin doesn’t have one, you can often add a universal filter pad and trim it to size.
Budget tip: If filters feel pricey, use baking soda in a small breathable pouch near the bin. Replace weekly.
Still getting odor? The issue is usually wet scraps. Add browns like shredded paper into the countertop bin itself.
Also avoid pouring liquids into the bin. Drain watery scraps first.
A cleaner-smelling kitchen makes composting feel normal, not like a chore you regret.
5. Follow the “No Meat, No Dairy” Rule for Outdoor Piles
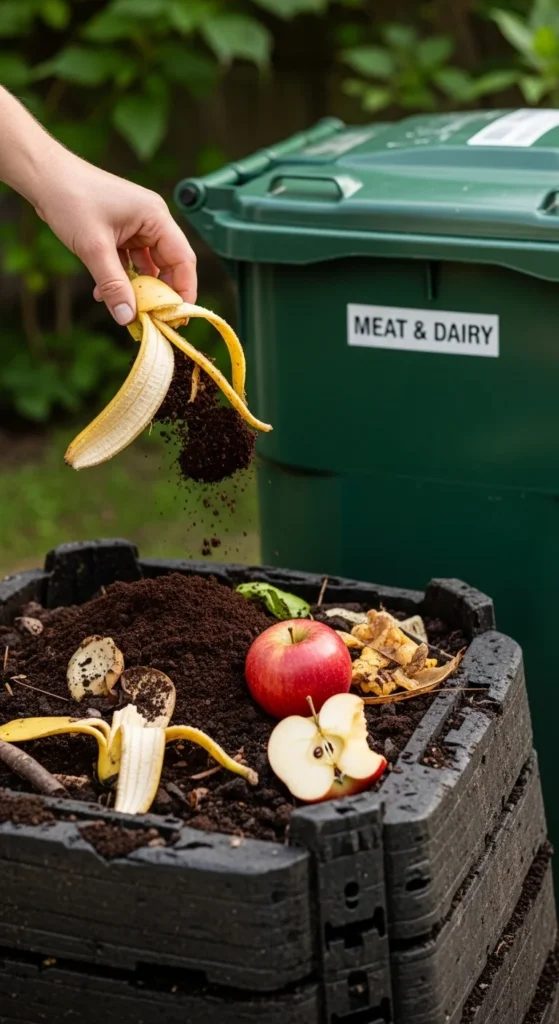
Meat and dairy attract animals. They also create strong smells.
For a basic backyard pile, stick to plant-based scraps: peels, cores, leafy greens, coffee grounds, and eggshells.
If you cook oily foods, scrape the plate clean before composting. Oils can slow compost and smell bad.
Budget tip: Keep a small “compost-friendly” bowl for prep scraps. Keep cooked leftovers separate.
If you really want to compost everything, use a sealed Bokashi system instead of tossing meat into a pile.
This one rule prevents 80% of beginner compost headaches.
6. Master the “Wrung-Out Sponge” Moisture Check
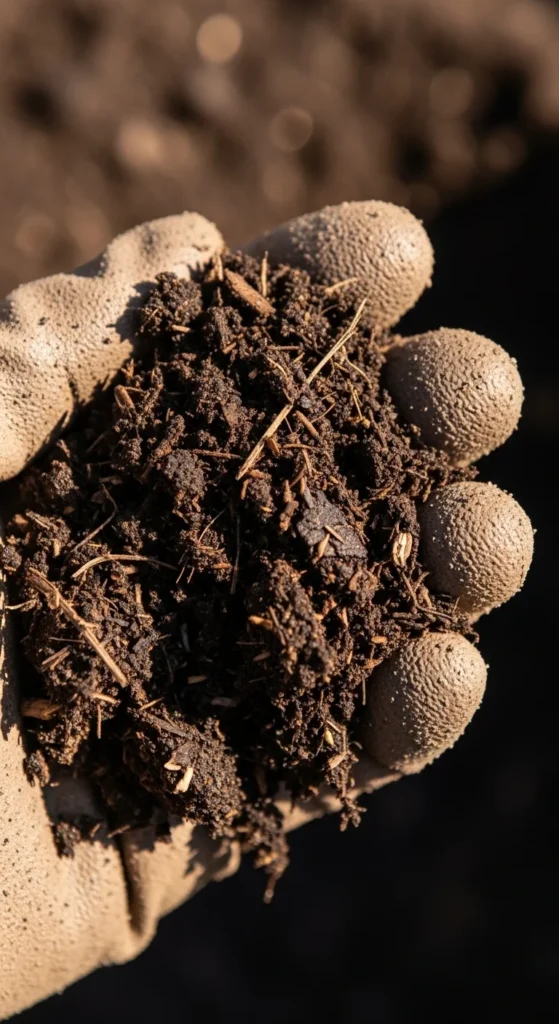
Moisture decides whether compost smells sweet or turns nasty.
Grab a handful of compost. Squeeze it. It should feel like a wrung-out sponge.
If water drips, it’s too wet. Add browns. Mix them in.
If it feels dusty and dry, add water slowly. A watering can with a sprinkle head is perfect.
Budget tip: Use saved rinse water from washing produce to moisten the pile.
Too wet leads to stink. Too dry makes compost stall.
Check once a week. It takes 10 seconds and saves you from a gross pile later.
7. Use a Simple Turning Schedule to Keep Air Moving
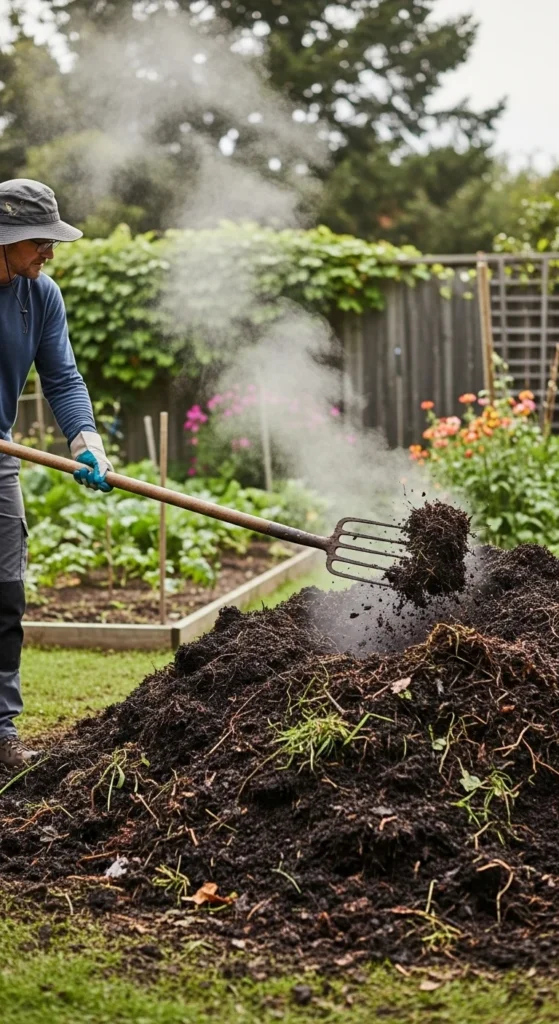
Air prevents smells. It also speeds breakdown.
Turn your pile once a week if you want faster compost. If you’re lazy-busy, turn every two weeks and accept slower results.
No pitchfork? Use a shovel. Or a sturdy stick to poke and mix.
Budget tip: Make a “turning reminder” on your phone for the same day each week.
If your pile smells like rotten eggs, it’s low on air. Turn it and add browns.
A little mixing goes a long way.
8. Build a “Lasagna Layer” Pile in Minutes
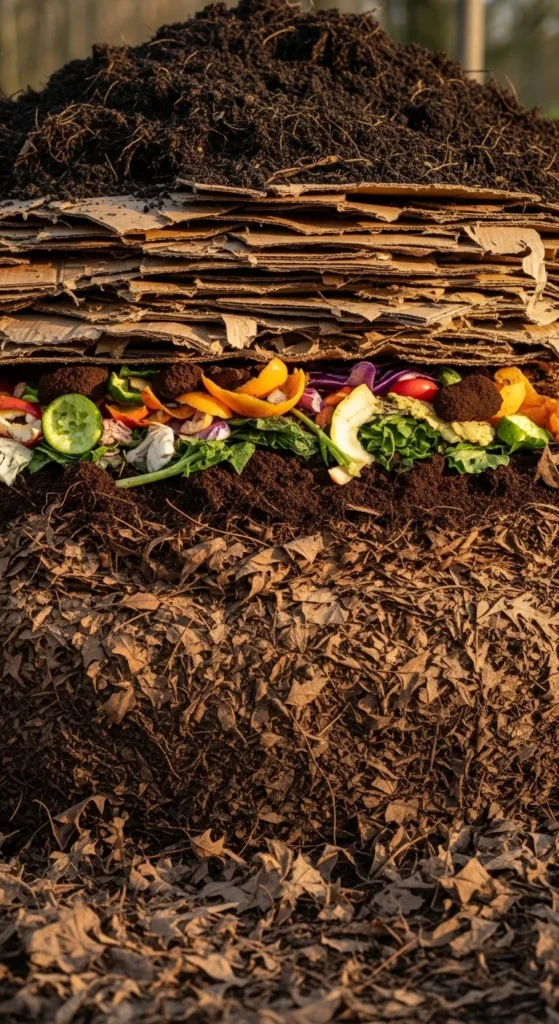
Layering makes compost beginner-proof.
Start with browns. Add scraps. Add browns again. Add a thin sprinkle of soil or finished compost.
Repeat as you go.
This keeps scraps covered, reduces flies, and balances moisture.
Budget tip: Save fall leaves in garbage bags. They’re gold all year.
If you add a big bowl of wet scraps, immediately cover with a thick brown layer.
“Lasagna” composting is simple and tidy, even if you don’t turn often.
9. Keep a “Scrap Superfoods” List on Your Fridge (Mentally)
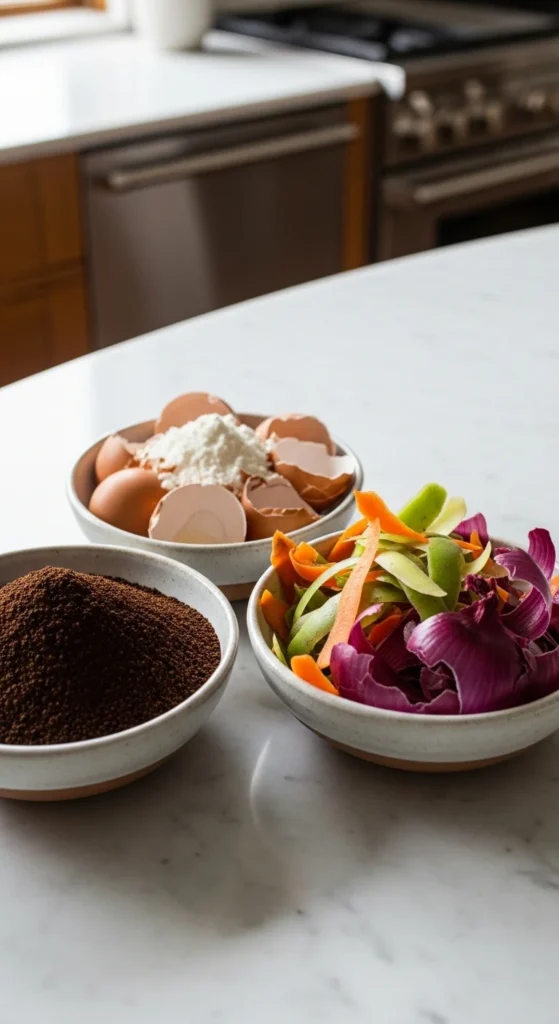
Some scraps are compost MVPs.
Coffee grounds add nitrogen. Eggshells add calcium and texture. Veg scraps add moisture and variety.
Crush eggshells before adding. They break down faster and won’t sit there for months.
Budget tip: Dry eggshells on a plate, then crush with a jar.
Use tea leaves too. Remove plastic “silk” tea bags first.
When your compost has a mix of “scrap superfoods,” it tends to break down smoother and smells better.
10. Go Easy on Citrus and Onion Piles
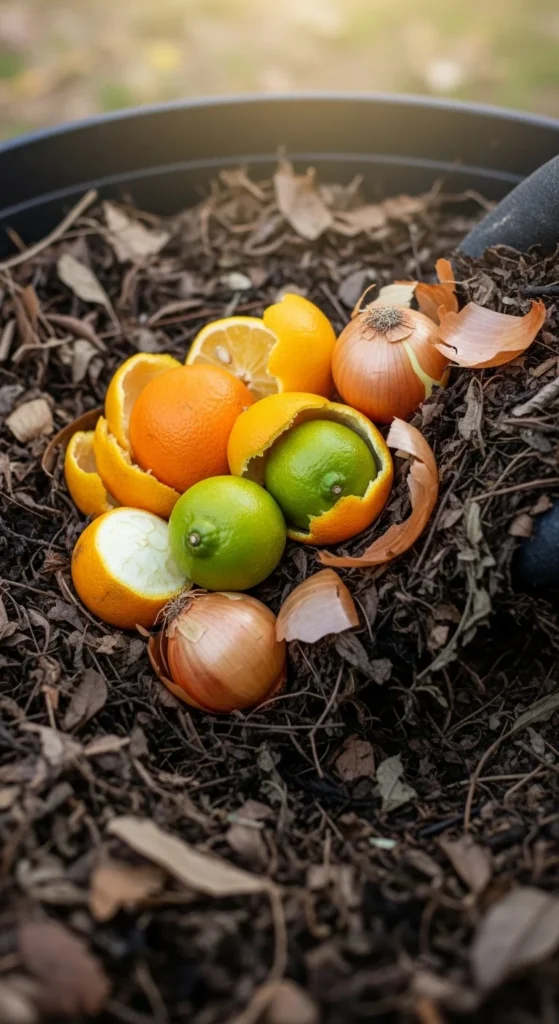
Citrus and onion skins can be composted, but don’t dump huge amounts at once.
If you juice oranges daily, spread peels out over time. Mix with lots of browns.
Budget tip: Dry citrus peels, then add a handful at a time. Dry scraps are easier to balance.
If your pile is slow and acidic-smelling, reduce citrus for a bit and add more leaves.
Moderation keeps compost happy and avoids weird smells.
11. Try Trench Composting When You Don’t Want a Pile
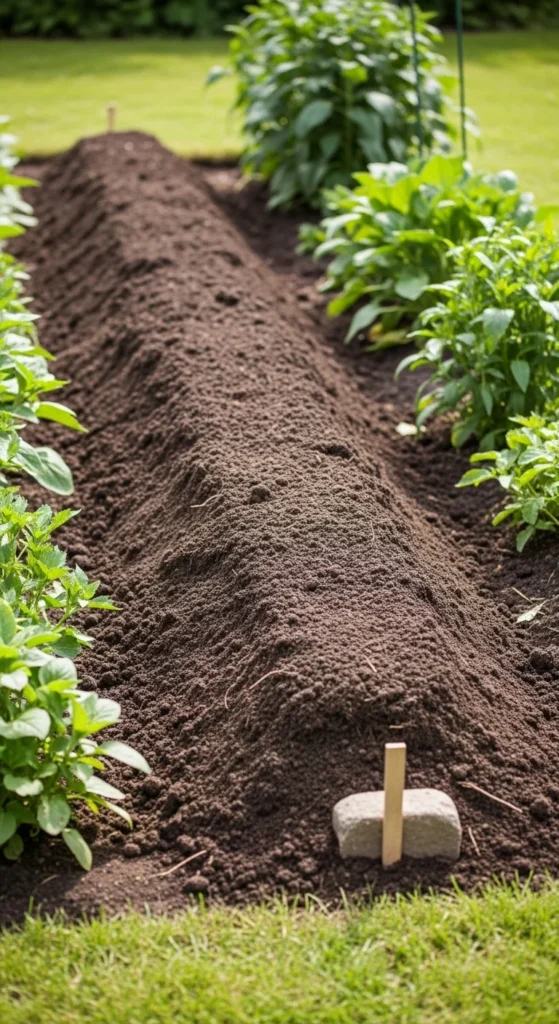
No space for a bin? Use the trench method.
Dig a trench 8–12 inches deep in an empty bed or between rows. Add kitchen scraps. Cover with soil.
Animals can’t smell it as easily. Flies can’t reach it.
Budget tip: Use a hand trowel and do a small trench each week.
Rotate spots so you’re not burying in the same place every time.
This is a great “lazy composting” option that still feeds your soil.
12. Freeze Scraps to Stop Smell and Speed Softening
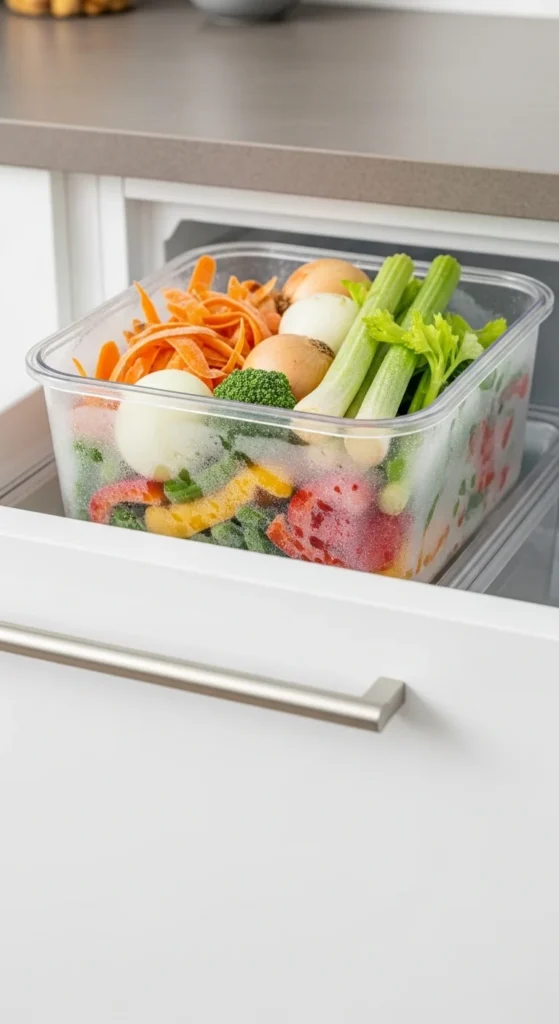
Freezing scraps is a quiet super-hack.
It prevents odor in the kitchen. It also breaks cell walls, making scraps softer after thawing.
When you add thawed scraps to compost, they break down quicker.
Budget tip: Use any old container with a lid. Even a reused yogurt tub works.
When it’s compost day, dump the frozen scraps into the pile and cover with browns.
This is perfect for apartments and hot climates.
13. Dry Wet Scraps Before They Hit the Pile
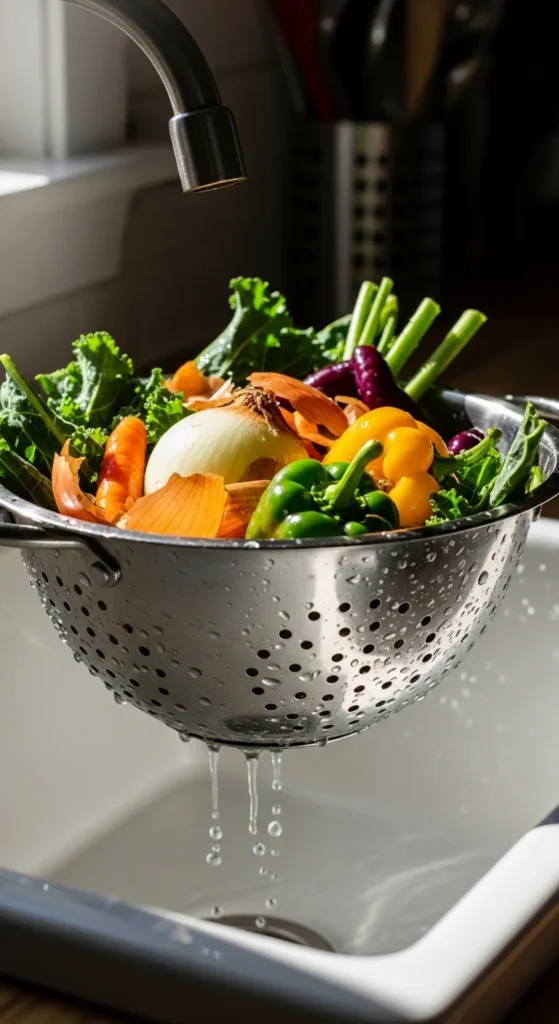
Watery scraps can make compost slimy.
Drain them in a colander for a minute. Or let them sit on a paper towel.
Budget tip: Save your paper towels and toss them in as browns afterward.
If you compost melon rinds or soup veggies, draining helps a lot.
Less water going into the pile means fewer smells and less compaction.
It’s a tiny habit with a big payoff.
14. Keep Browns Ready: Shred Cardboard While Watching TV
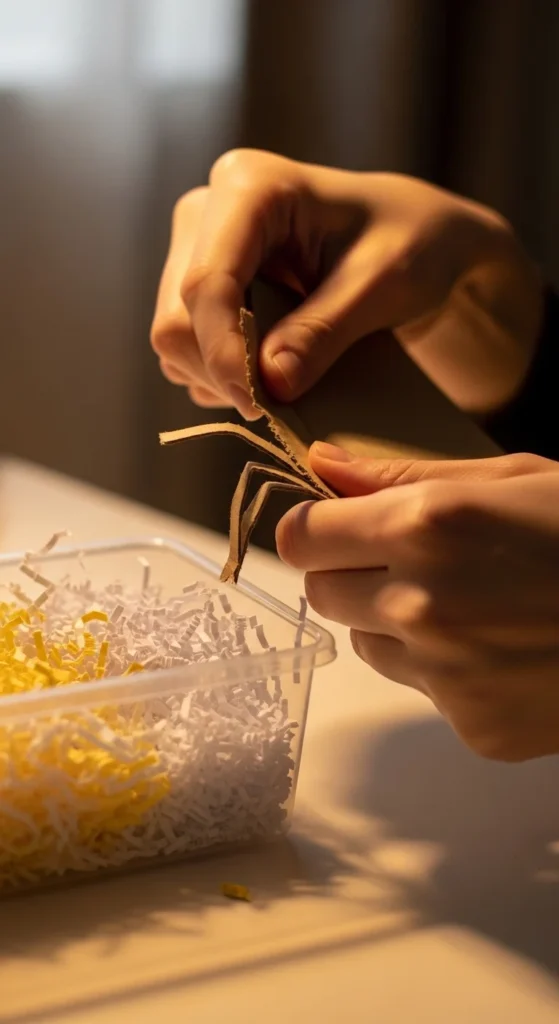
The biggest compost struggle is running out of browns.
Fix it with “lazy shredding.” Tear up boxes while you watch a show.
Store shreds in a tote near the compost spot.
Budget tip: Ask neighbors for their delivery boxes. Free browns for months.
Shredded browns mix faster than whole sheets. They also trap moisture and improve airflow.
When browns are always ready, compost gets easy.
15. Bury Scraps Every Time to Avoid Pests
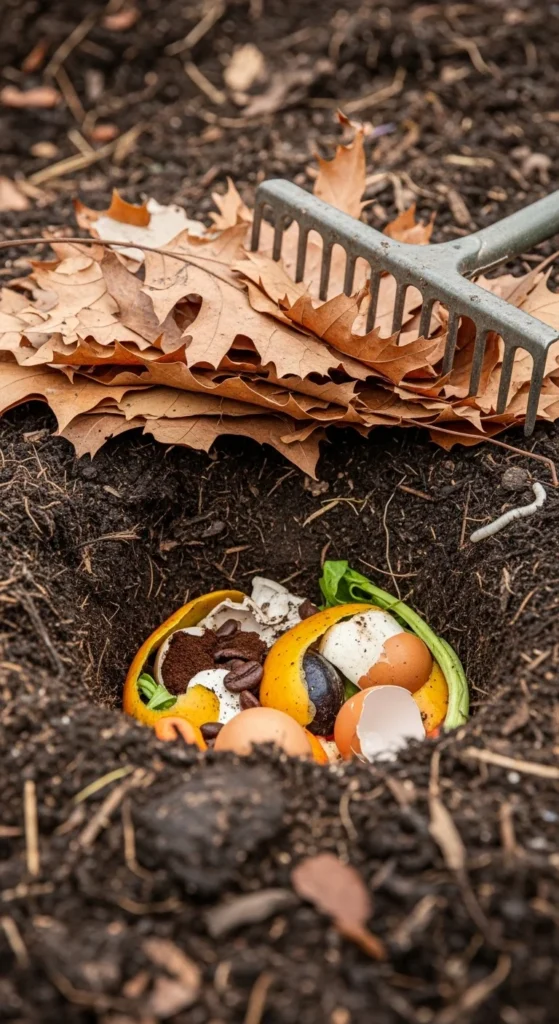
Leaving scraps on top invites flies and animals.
Make a quick “scrap pocket.” Dig a small hole in the center. Dump scraps. Cover fully with browns and a little compost.
Budget tip: Keep a cheap hand rake by the pile.
If you’re using a bin, bury scraps under the top layer every time.
Covered food disappears faster and smells less.
16. Use a Tumbler if Turning is the Problem
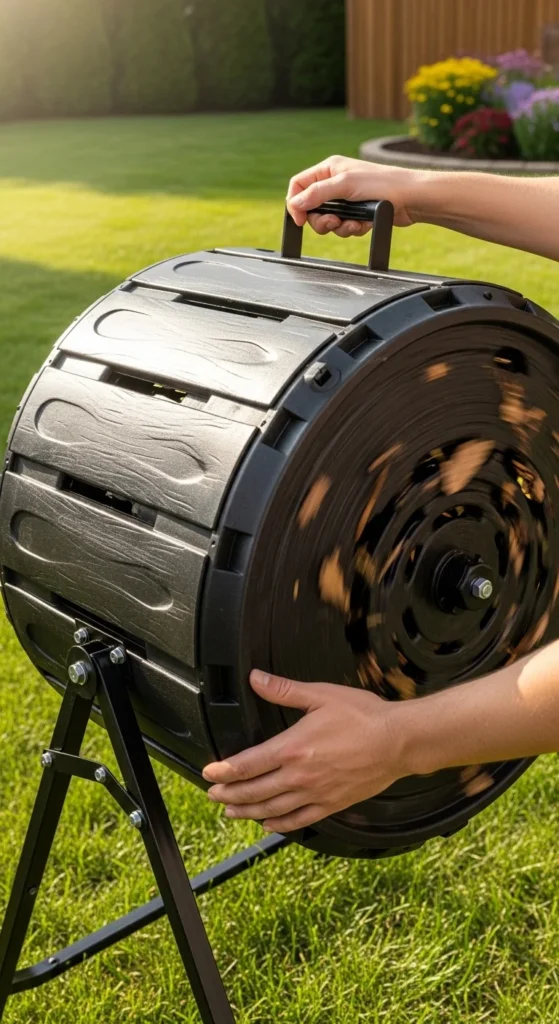
Turning helps compost break down faster, but not everyone wants to fork a pile.
A tumbler makes mixing simple. You spin it for a minute and you’re done.
Budget tip: Look for used tumblers locally. Many people sell them cheap after one season.
Keep tumbler contents balanced. Add browns whenever you add scraps.
If it smells, you added too many greens. Add shredded paper and spin again.
Tumblers are great for small yards and busy routines.
17. Use Bokashi When You Have Cooked Food Scraps
If you want to compost cooked foods, Bokashi is a solid option.
It’s a sealed bucket system that ferments scraps using bran.
Add scraps. Sprinkle bran. Press down. Close lid.
After fermenting, bury the material in soil for about 8–10 days before planting in that spot.
Budget tip: Start with one small bucket and refill bran as needed.
This method can fit apartments and handles items that outdoor piles shouldn’t get.
18. Try a “Mini Pile” for Apartment Balconies
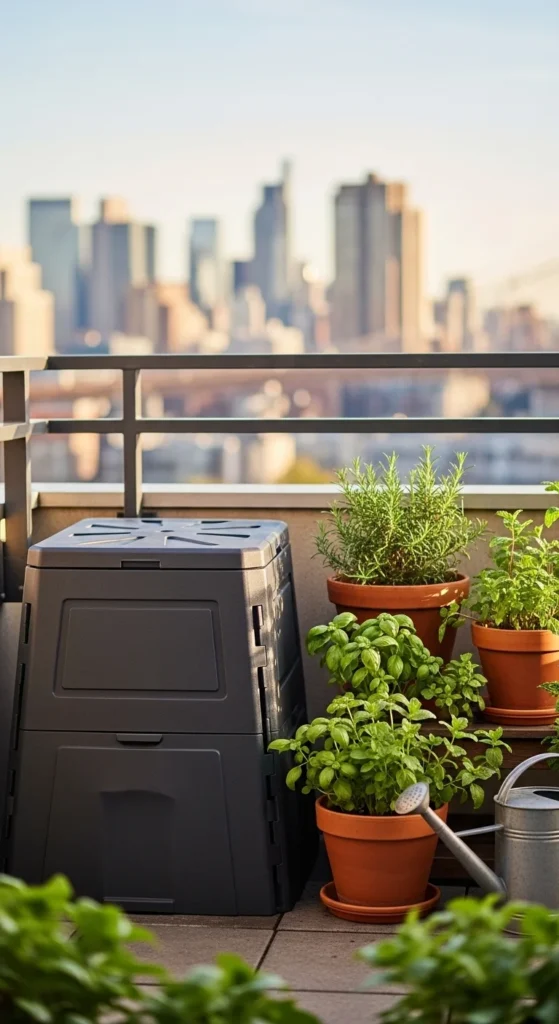
Small spaces can still compost.
Use a sealed bin or small outdoor container. Keep it shaded to prevent overheating.
Add scraps in small amounts. Add browns every time.
Budget tip: Use a sturdy bucket with holes and a tight lid.
If you can’t turn it much, poke air holes with a stick once a week.
Even a mini system can handle daily veggie scraps.
19. Compare Electric Composters vs. Traditional Composting

Electric composters can reduce waste volume fast. They’re tidy for indoor use.
But many are food recyclers or dryers, not backyard-style compost piles.
Budget tip: If cost is high, start with freezing scraps + a simple outdoor bin first.
If you go electric, still plan a next step. The output often works best mixed into soil or added to a compost pile.
Traditional composting costs less and makes true compost over time.
Pick what fits your space and routine, not what looks fancy.
20. Join a Community Compost Drop-Off if Space is Tight
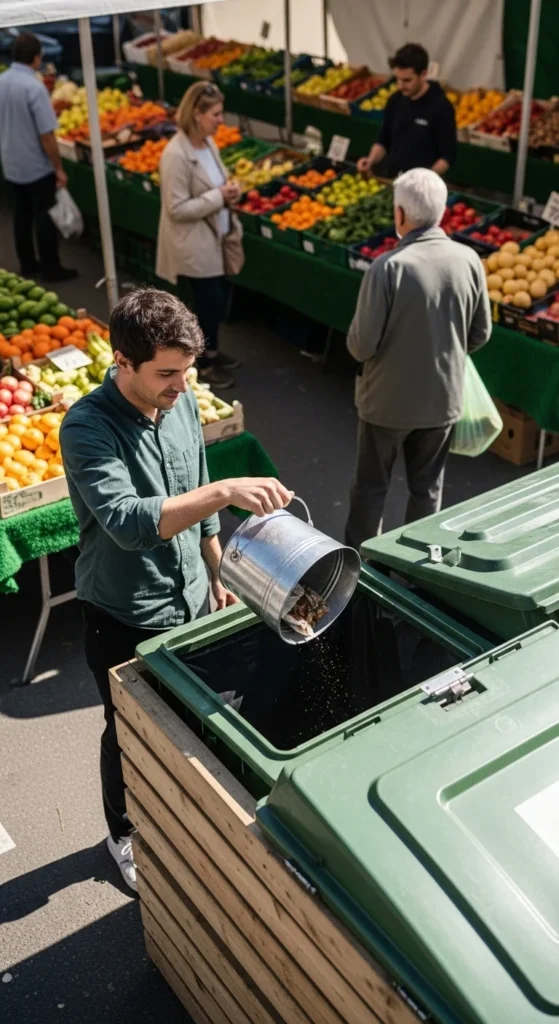
If you live in a city, community composting can be the easiest win.
You collect scraps. You drop them off weekly.
No backyard required. No turning. No smell at home if your bin is sealed.
Budget tip: Ask local markets, city offices, or gardening groups about drop-off sites.
Even if you compost only part-time, you reduce food waste and keep it out of landfill.
It’s a great option for renters.
21. Track Your “One-Week Compost Win” to Stay Motivated
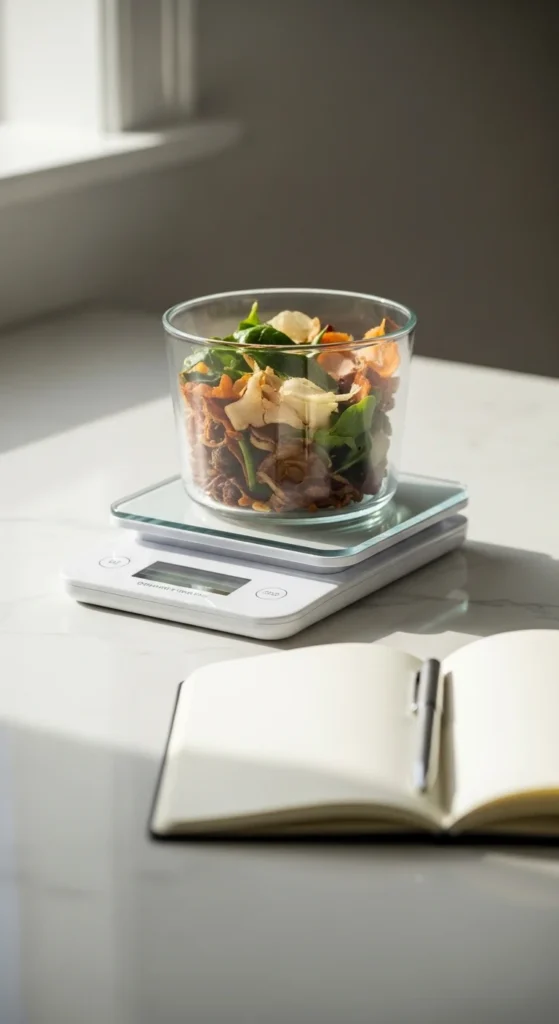
Composting sticks when you can see progress.
Try a one-week challenge. Collect all compostable scraps for seven days and measure the total.
You’ll be surprised how much you keep out of the trash.
Budget tip: No scale? Estimate by counting how many containers you filled.
Write down what caused problems. Too wet? Too smelly? Too many flies? Then adjust next week with browns and better covering.
Small tracking keeps you consistent, and consistency makes composting feel easy.
Conclusion
Composting kitchen scraps doesn’t require fancy gear or a perfect backyard setup. A small countertop routine, steady greens-and-browns balance, and a little airflow can cut smell, reduce pests, and turn food scraps into compost you can actually use. Pick two or three hacks from this list, try them this week, and you’ll see your waste shrink while your soil gets richer.

Leave a Reply