
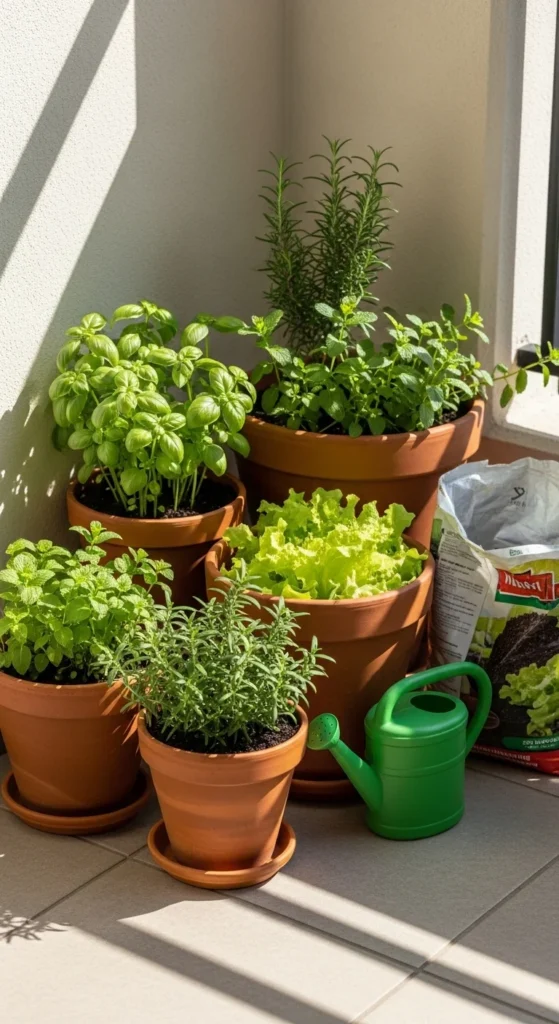
Container gardening is the easiest way to start growing plants when you have limited space, limited time, or both. A few pots on a patio can produce herbs, greens, and even tomatoes if you get the basics right. Most beginner problems come from three things: no drainage holes, using garden soil instead of potting mix, and not enough sun. The tips below are simple, low-cost, and beginner-friendly. Start with 2–3 containers, learn your watering rhythm, then add more pots once you see what works in your space.
1. Drainage-First Pot Setup
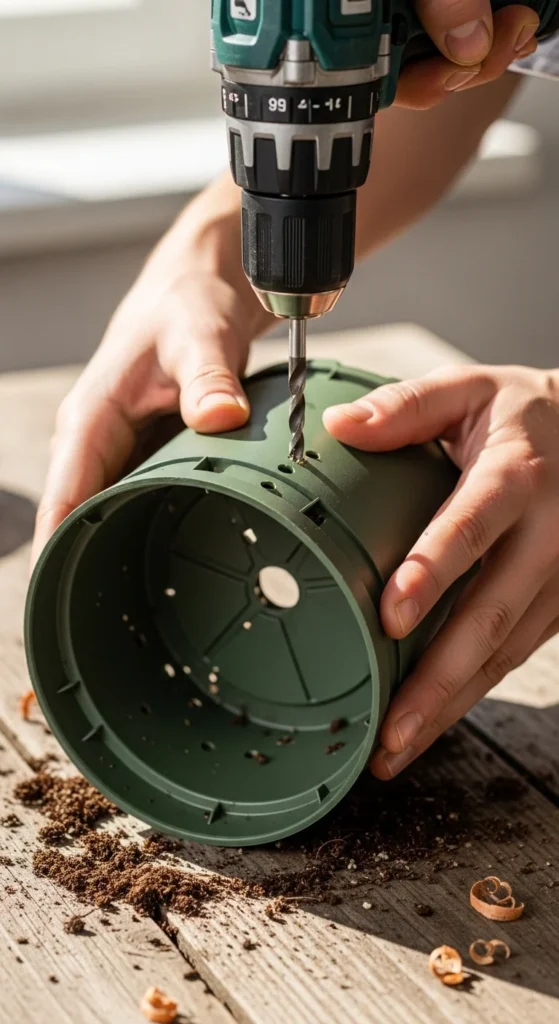
Drainage holes are the difference between a healthy container and a soggy mess. If water can’t escape, roots sit in wet soil and plants decline fast.
- Pick a pot you can drill (plastic, resin, wood)
- Add 6–10 holes across the base, not just one
- Set the pot on “feet” or small wood blocks so water can drip out
Budget tip:
- Reuse nursery pots from plant shops. They already have holes.
Simple setup:
- Place a small square of weed fabric or a coffee filter over the holes.
- It keeps soil from washing out.
- Skip rocks at the bottom. They don’t fix drainage and waste space.
If your pot sits on concrete, slide a shallow tray under it. Empty the tray after watering so the pot never stands in water. This one habit prevents many beginner failures.
2. Potting Mix Only Rule
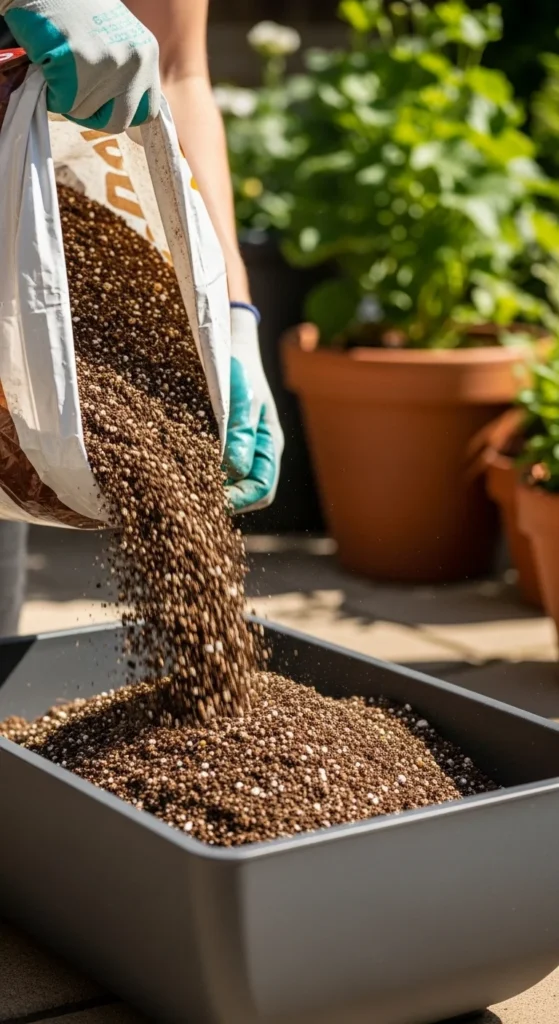
Garden soil compacts in containers. Potting mix stays light and keeps roots breathing.
- Use a quality potting mix for most edibles
- Look for a mix that feels fluffy, not heavy
- Add compost for nutrition, but keep the mix airy
Budget tip:
- Make a simple blend:
- 2 parts potting mix
- 1 part compost
- 1 part perlite (or rice hulls)
Quick check:
- Grab a handful. Squeeze.
- It should clump lightly, then break apart easily.
If your containers dry too quickly, mix in coco coir. If they stay wet too long, add extra perlite. Keep notes on what you used in each pot. That makes your next planting easier and cheaper.
3. Find Your 6–8 Hour Sun Spot
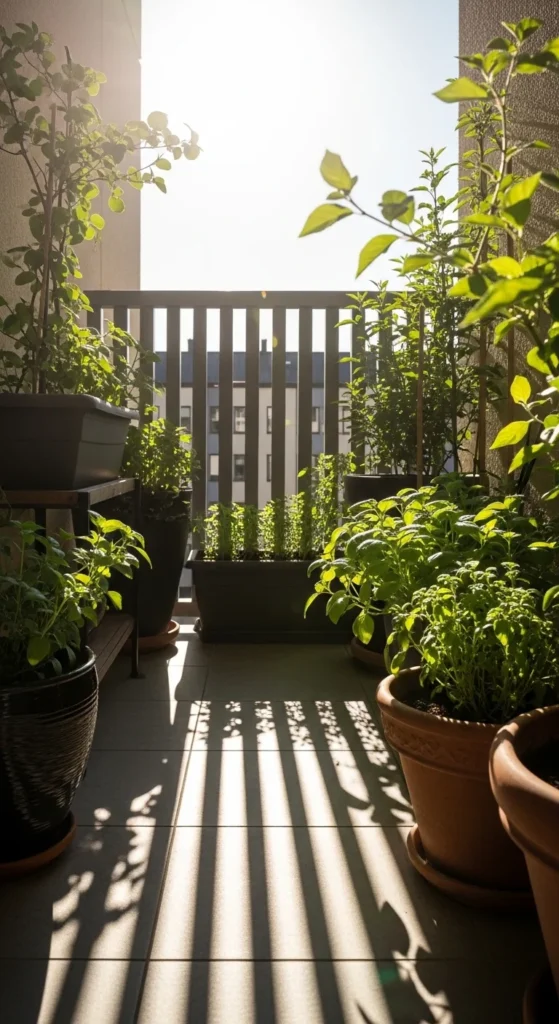
Most veggies and herbs want long sun hours. Light drives growth, flavor, and flowering.
- Watch your space for one day
- Note where sun hits at 9am, noon, 3pm
- Aim for 6–8 hours for tomatoes, peppers, basil
Budget tip:
- If you only get 3–5 hours, grow shade-friendly picks: mint, parsley, lettuce, arugula.
Easy hack:
- Put pots on a rolling plant caddy.
- Move them with the sun instead of guessing.
If your balcony has intense afternoon heat, shift leafy greens to morning sun and afternoon shade. That keeps them from bolting quickly.
4. Start With 2–3 Pots Only
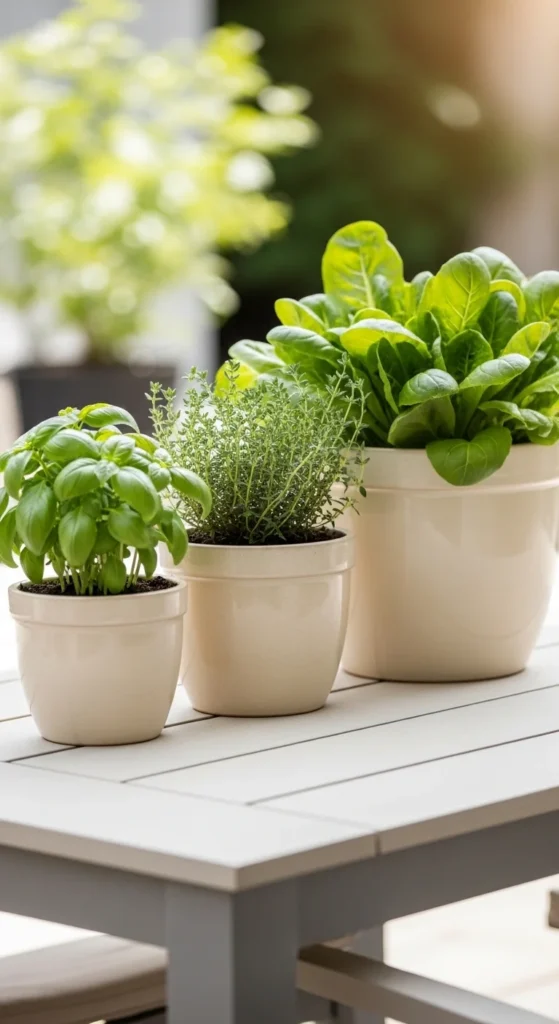
Starting small helps you learn watering, sun patterns, and plant behavior without stress.
- Pick 1 herb pot (basil or mint)
- Pick 1 greens pot (lettuce mix)
- Pick 1 “fun” pot (cherry tomato or pepper)
Budget tip:
- Buy small seedlings, not large ones. They adapt faster and cost less.
Simple routine:
- Check soil daily with a finger test.
- Water when the top inch feels dry.
Once you keep those pots thriving for two weeks, add more containers. This step-by-step approach builds confidence fast and prevents the “too many pots, not enough time” problem.
5. The Finger-Test Watering Habit
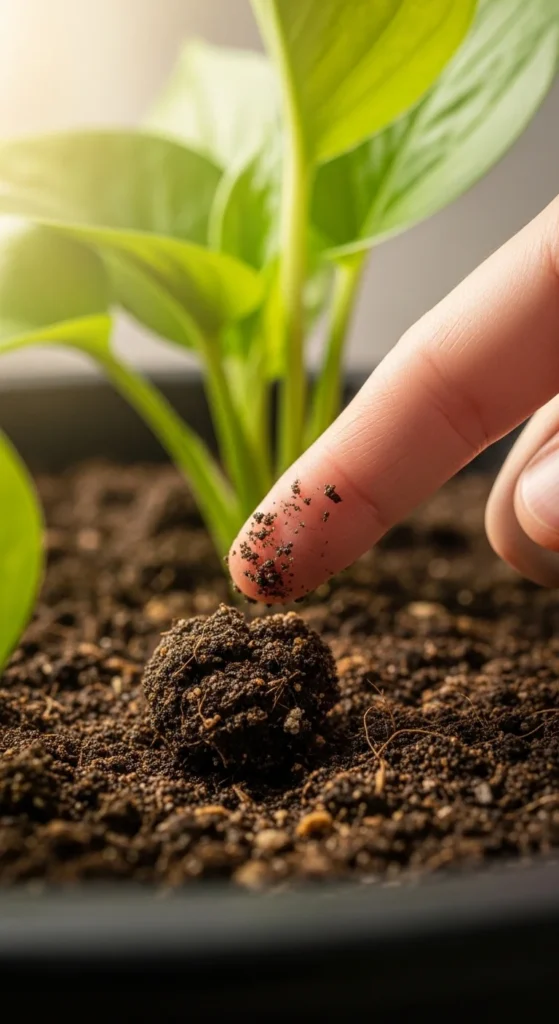
Beginners often overwater. The finger test is quick and reliable.
- Stick a finger 1–2 inches into the soil
- If it feels dry, water deeply
- If it feels cool and moist, wait
Budget tip:
- Use a cheap wooden chopstick as a moisture probe. Soil sticks when it’s wet.
Watering method:
- Water slowly until it runs out the bottom.
- Pause for 30 seconds.
- Water again lightly.
This reduces dry pockets in the pot and helps roots grow evenly.
6. Go Bigger: 12–18 Inch Pots
Bigger pots hold more moisture and give roots more room. That makes plants easier to manage.
- Tomatoes and peppers: 12–18″ wide
- Basil: 10–12″ wide
- Lettuce: wide and shallow works well
Budget tip:
- Use food-grade buckets (with holes drilled) as large planters.
Quick win:
- Add a 1–2 inch mulch layer on top (straw or shredded leaves).
- It slows evaporation.
Small pots dry fast and punish mistakes. Larger pots give you more room to learn.
7. Self-Watering Container Starter
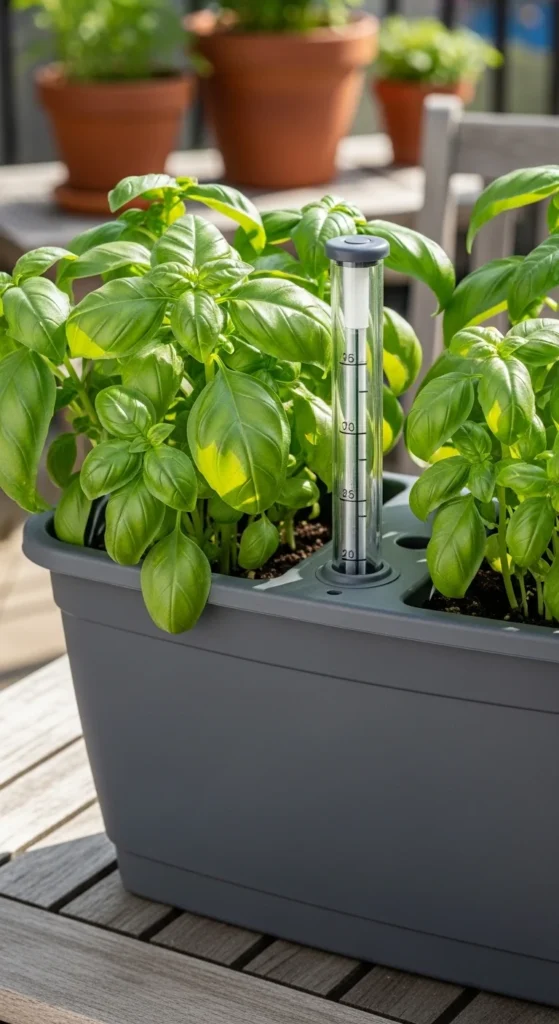
Self-watering containers help beginners keep moisture steady, especially in heat.
- Water reservoir at the bottom
- Soil pulls moisture upward
- Less daily guessing
Budget tip:
- Make a DIY version with two stacked buckets:
- Bottom bucket holds water
- Top bucket holds soil with wicking holes
Simple rule:
- Still check the soil surface.
- Refill the reservoir before it goes empty.
This setup works well for tomatoes, peppers, and herbs, especially if you miss a watering day.
8. Foolproof First Plants to Try
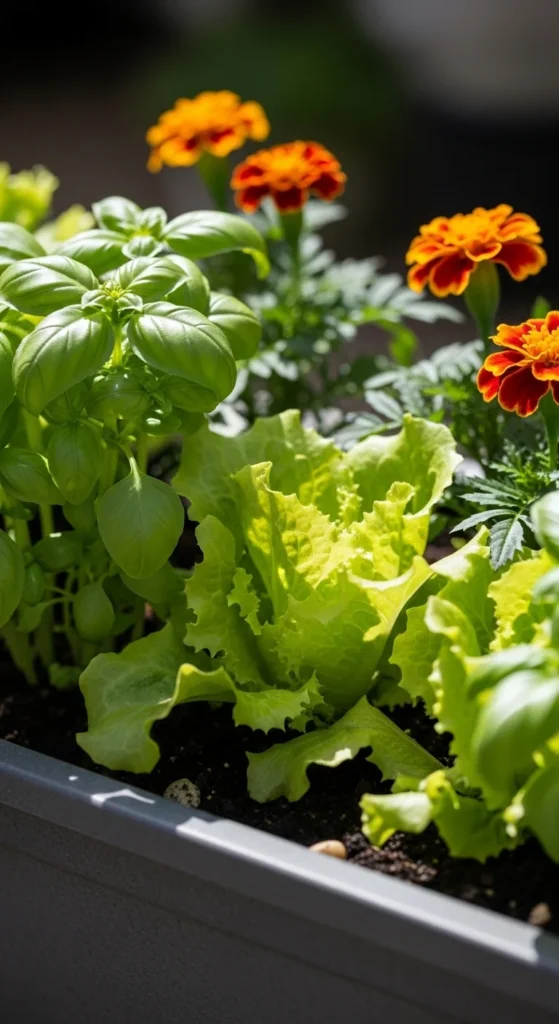
Start with forgiving plants that grow quickly and handle small mistakes.
- Herbs: basil, mint, chives, parsley
- Greens: lettuce, arugula, spinach
- Veggies: cherry tomatoes, compact peppers
- Bonus: marigolds for color and pest confusion
Budget tip:
- Grow herbs from cuttings (mint and basil root easily in water).
Planting tip:
- Match plant size to pot size.
- Don’t cram too many big plants into one container.
Fast harvests keep beginners motivated. Greens and herbs give results quickly.
9. Fill 2/3 First, Then Plant
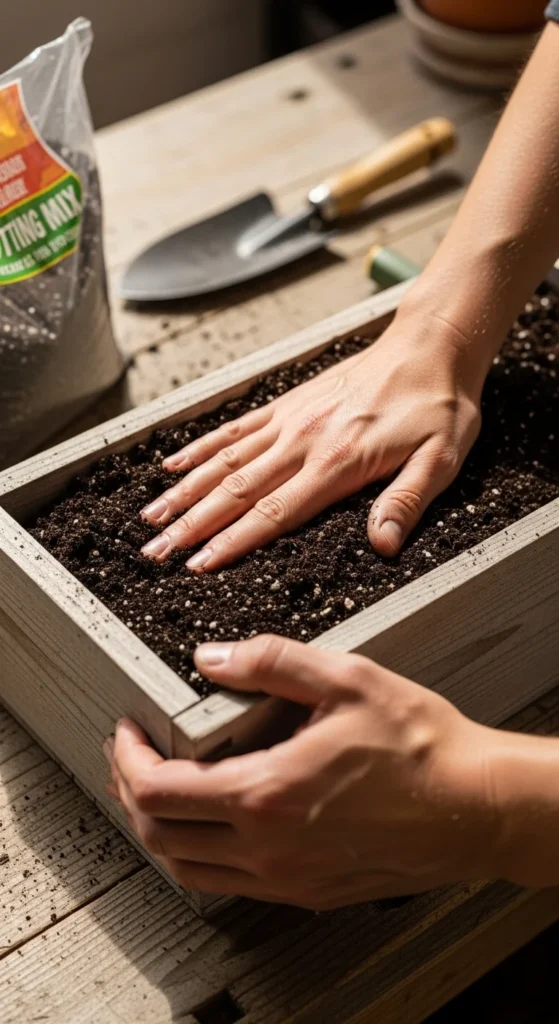
This simple step keeps planting tidy and prevents soil overflow later.
- Fill pot about two-thirds with potting mix
- Place the plant, check height
- Add more mix around the sides
Budget tip:
- Pre-moisten potting mix in a bucket before filling. It reduces dust and helps water soak in evenly.
Planting height:
- Keep the plant at the same depth it was in the nursery pot.
- Avoid burying stems too deep unless it’s a tomato.
Finish with a light press around the plant, then water slowly.
10. Root-Teasing in 30 Seconds
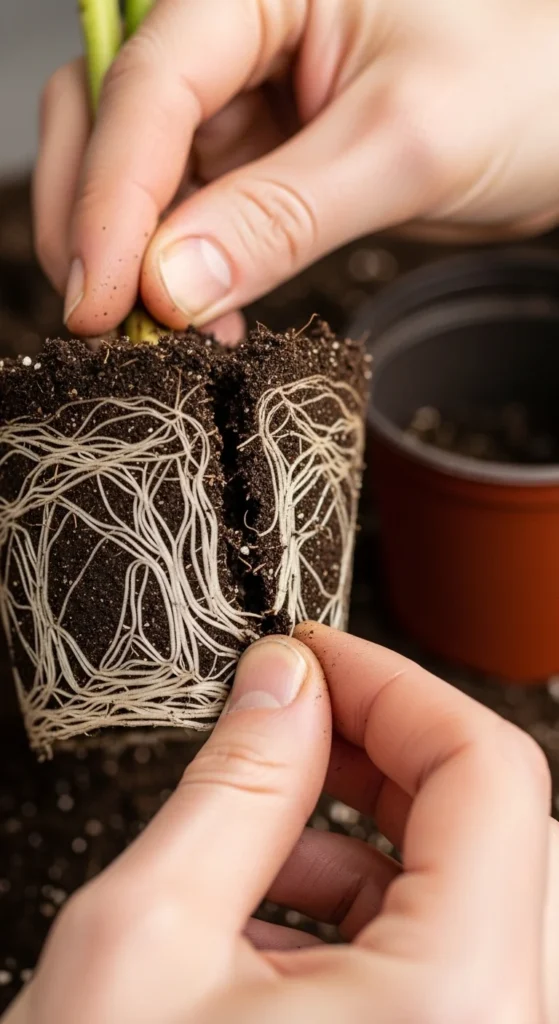
Many nursery plants are root-bound. Loosening roots helps them spread into the new soil.
- Slide plant out of nursery pot
- Gently loosen the outer roots
- Trim only if roots circle tightly
Budget tip:
- Buy smaller seedlings. They’re less root-bound and adapt faster.
After planting:
- Water well.
- Keep the pot in gentle morning sun for a day if the plant looks stressed.
This tiny step often leads to faster growth in containers.
11. Simple Feeding Schedule for Containers

Containers lose nutrients faster because watering washes nutrients out.
- Add compost at planting
- Use slow-release fertilizer (as label says)
- For heavy feeders, add a weekly liquid feed
Budget tip:
- Use compost tea from a small bucket of compost soaked in water overnight.
Easy routine:
- Feed leafy greens lightly
- Feed tomatoes and peppers more often once they flower
Watch leaves:
- Pale leaves often mean low nutrition
- Burnt leaf edges can mean too much fertilizer
A simple schedule beats random feeding.
12. Mobility Hacks for Heavy Pots
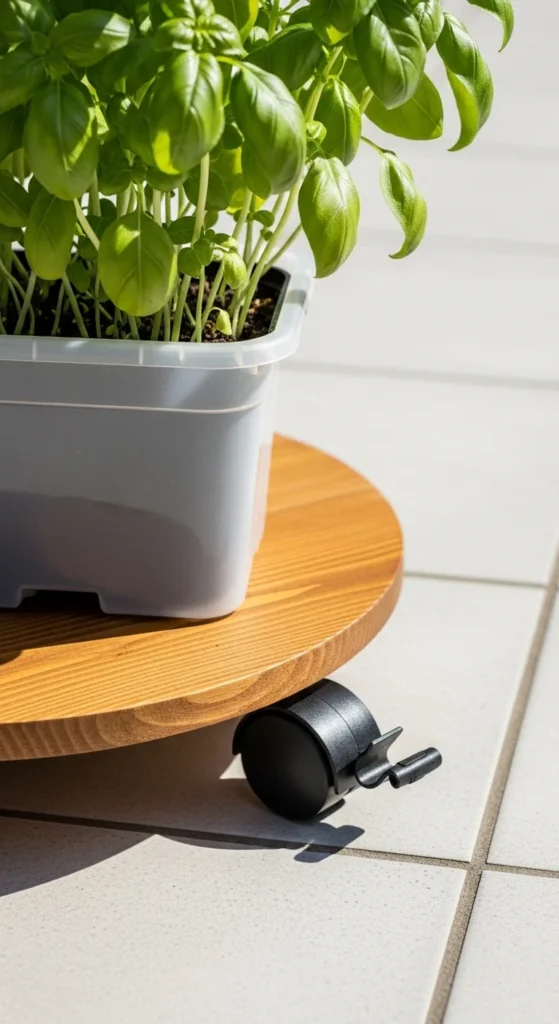
Big containers can get too heavy to move once filled.
- Put pots on wheeled caddies before filling
- Use lightweight potting mix
- Avoid filling huge pots with rocks
Budget tip:
- Use clean plastic bottles (capped) in the bottom of very large decorative pots to reduce weight. Keep enough soil depth for roots.
If wind is strong on your balcony, place heavier pots at corners to act as anchors.
13. Thriller–Filler–Spiller Combo
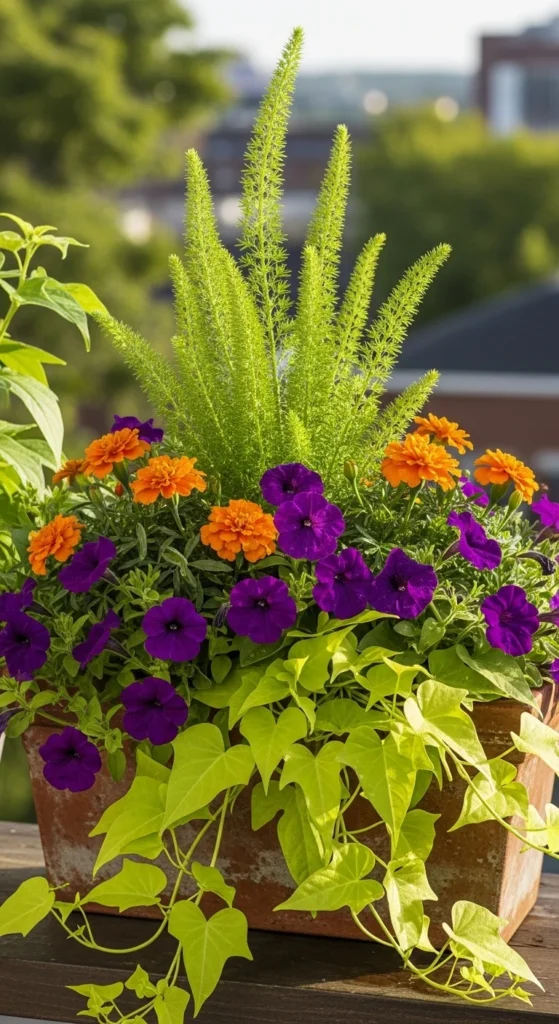
This formula makes containers look full and balanced.
- Thriller: one taller focal plant
- Filler: medium plants to fill space
- Spiller: trailing plant over the edge
Budget tip:
- Use one “feature” plant and fill the rest with smaller starts.
For edible combos:
- Thriller: dwarf tomato
- Filler: basil
- Spiller: trailing nasturtium
Keep water and sun needs similar across the pot. Mixed requirements cause uneven growth.
14. Water Deeply, Not Little Sips
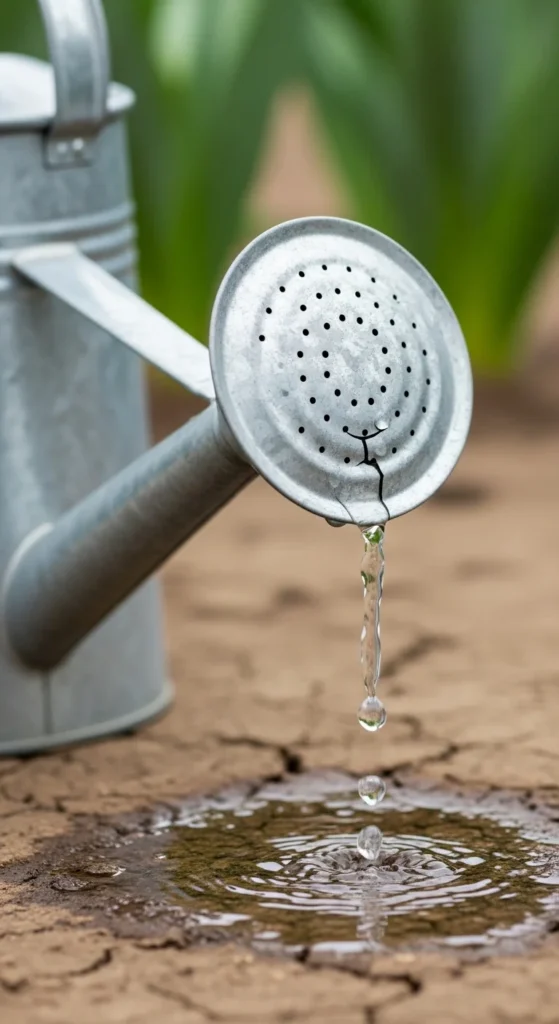
Small sips keep roots shallow. Deep watering encourages strong roots.
- Water until you see drainage
- Pause
- Water again lightly
Budget tip:
- Use a cheap moisture meter only as backup; rely on the finger test first.
If water runs straight through too fast, your mix may be too dry and pulling away from the pot. Fix it by watering slowly in stages so the mix rehydrates.
15. Mulch for Easy Moisture Control
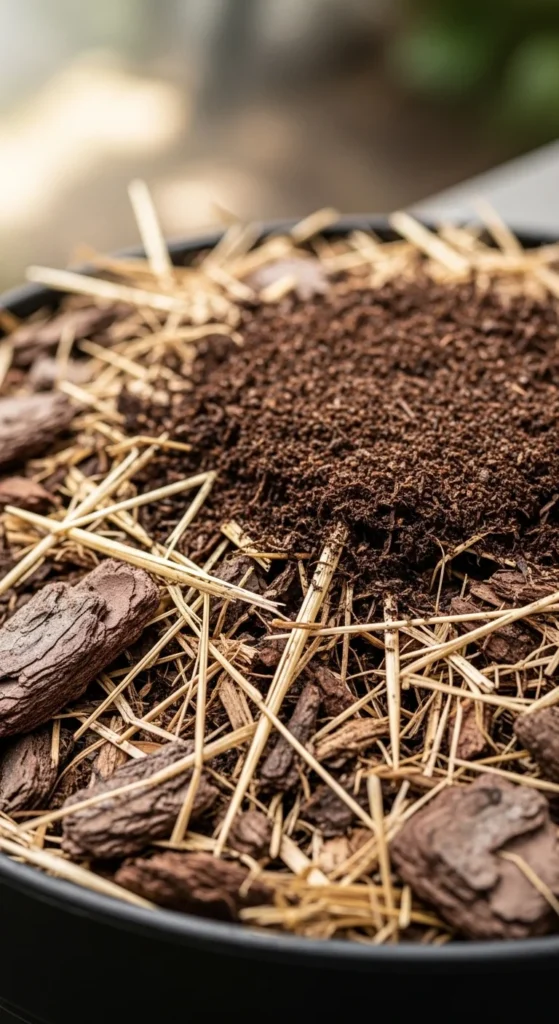
Mulch is a beginner-friendly shortcut that reduces watering stress.
- Straw, shredded leaves, or bark chips work
- Keep mulch 1–2 inches thick
- Leave a small gap around stems
Budget tip:
- Use chopped dry leaves from your yard as free mulch.
Mulch also reduces soil splash onto leaves during watering, which helps keep plants cleaner.
16. Reuse Containers Safely
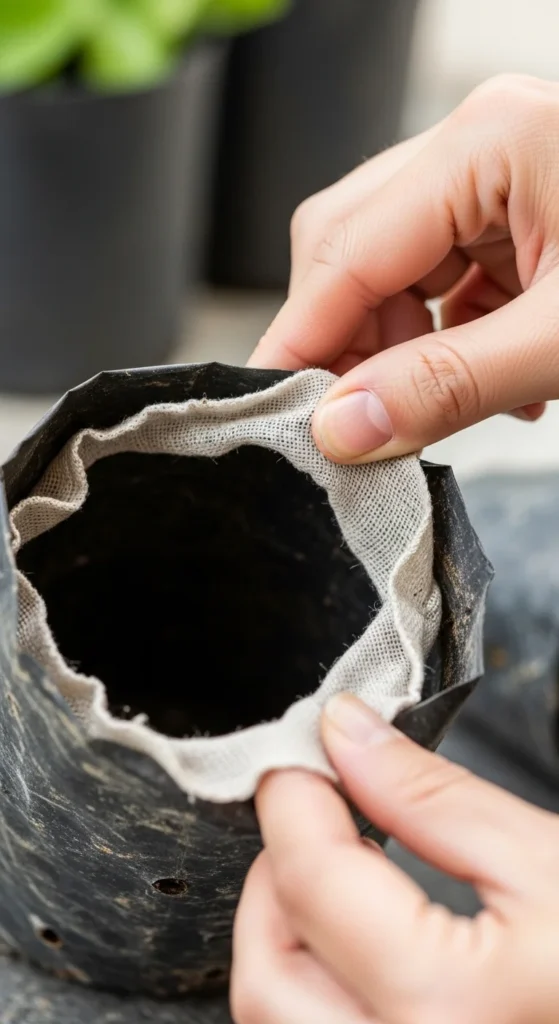
Reused containers save money, but they need a quick clean.
- Wash with soapy water
- Rinse well
- Add drainage holes if missing
Budget tip:
- Ask local nurseries for empty pots. Many give them away.
Use weed fabric or a coffee filter inside the bottom to reduce soil loss. This makes reused pots feel like “new” without the cost.
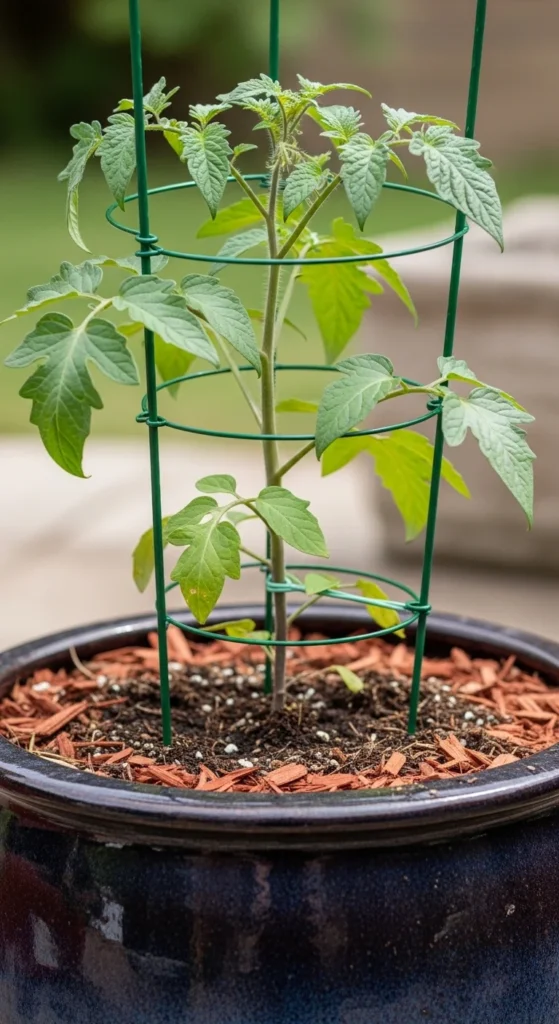
17. Stake Early to Prevent Breaks
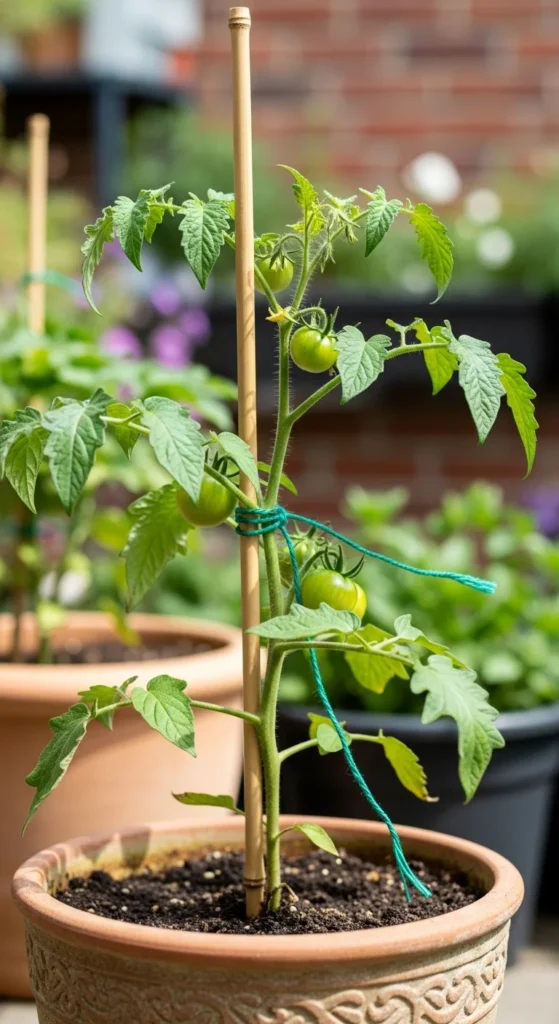
Container plants can snap in wind or under fruit weight.
- Add a stake or small cage at planting time
- Tie stems loosely with soft ties
- Check ties weekly
Budget tip:
- Use bamboo stakes or trimmed branches as supports.
Early support keeps plants upright and reduces stress. It also makes balcony gardens look neat and easy to manage.
18. Group Pots by Water Needs
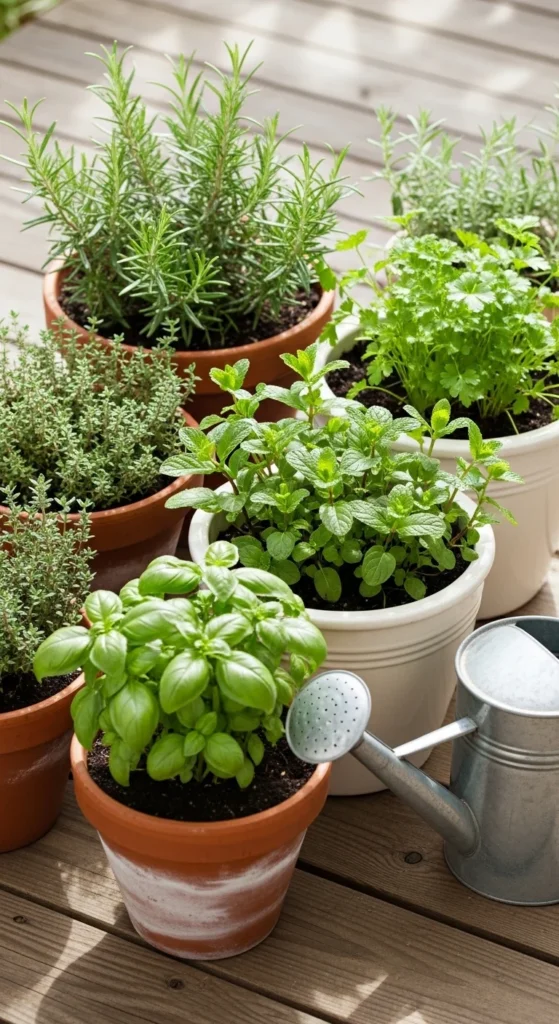
Mixing thirsty and drought-tolerant plants can lead to constant problems.
- Put thirsty plants together (greens, basil)
- Put drier plants together (rosemary, thyme)
- Water each group on its own schedule
Budget tip:
- Use a tray for the thirsty group and water from below sometimes. Empty extra water after 20 minutes.
This keeps your routine simple and reduces plant loss.
19. Cut-and-Come-Again Greens
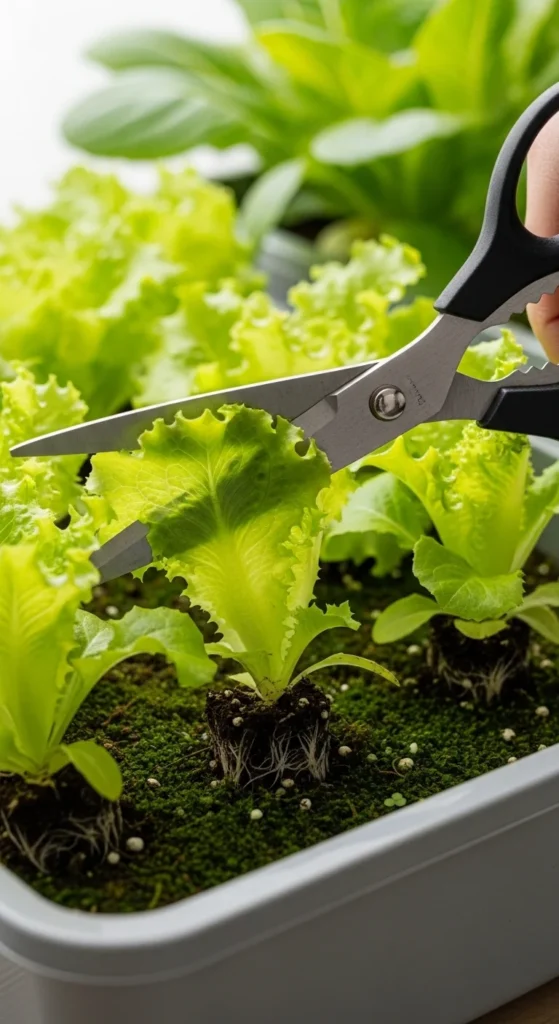
Greens are perfect for beginners because you can harvest many times.
- Snip outer leaves first
- Leave the center growing point
- Harvest every few days
Budget tip:
- Start greens from seed in a wide container. It’s cheaper than buying many seedlings.
Keep greens in morning sun if your location gets intense afternoon heat. That slows bolting and keeps leaves tender.
20. Olla Watering Upgrade for Even Moisture

An olla is a small clay pot that releases water slowly into the soil.
- Bury a small unglazed clay pot near roots
- Fill it with water
- Cover the top to slow evaporation
Budget tip:
- Use a small terracotta pot and matching saucer as a simple olla-style setup.
This helps during hot weeks and reduces watering swings that cause cracking tomatoes or bitter greens.
21. Apartment Balcony Starter Layout

A simple layout keeps your space organized and your plants thriving.
- Put tallest pots at the back
- Keep frequently harvested herbs closest to the door
- Leave a walking path so watering is easy
Budget tip:
- Use a sturdy shelf to create vertical space instead of buying more floor planters.
Add a small bin for tools, ties, and fertilizer. A tidy setup makes daily care faster.
22. Simple Pest Checks for Beginners
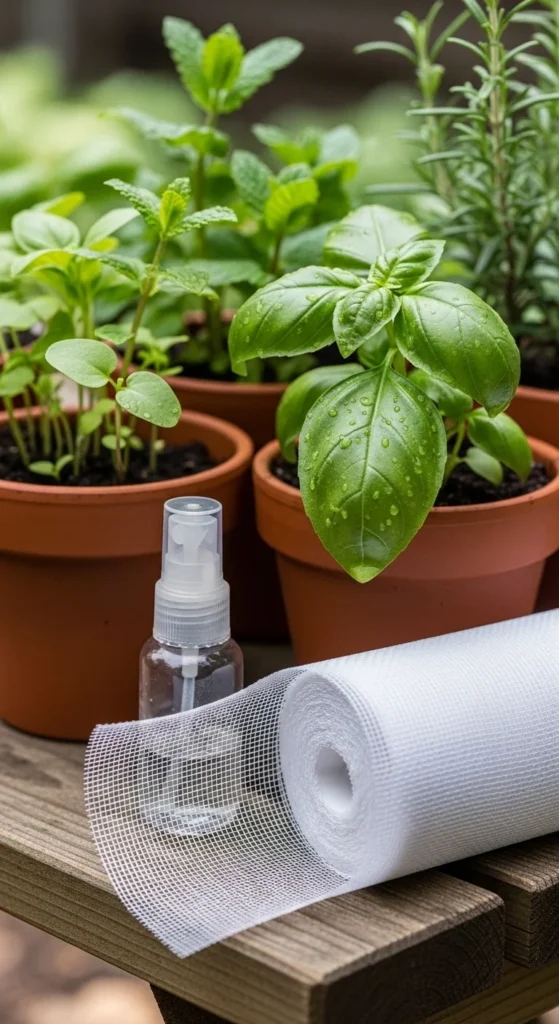
Pests happen, even on balconies. Quick checks save plants.
- Look under leaves twice a week
- Rinse pests off with water spray
- Use insect netting for leafy greens if needed
Budget tip:
- A mild soap-water mix can help with soft-bodied pests. Test on one leaf first.
Healthy plants handle pests better, so keep light, water, and feeding steady.
23. Keep a Tiny Garden Notes Log
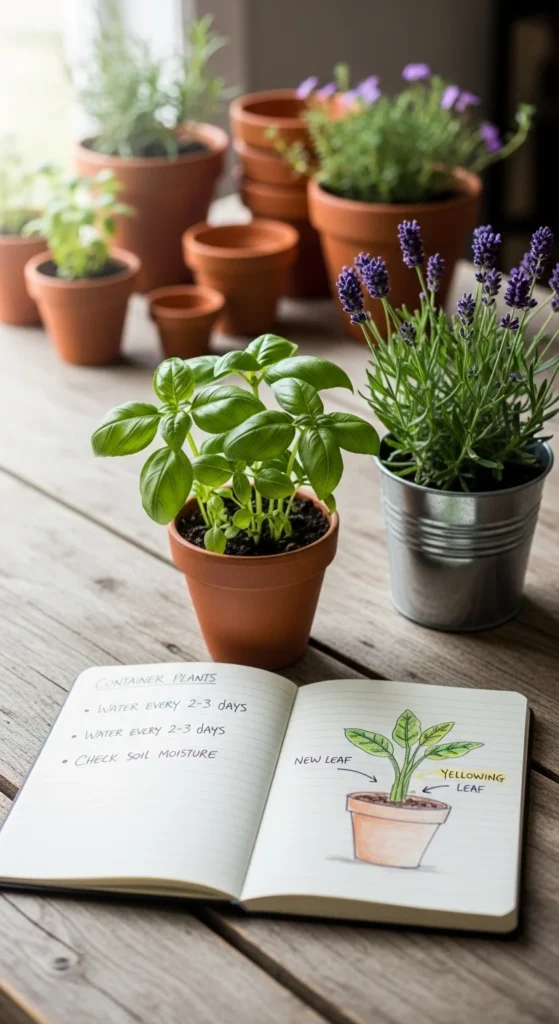
A few notes make you better fast, especially as seasons change.
- Write pot size, plant name, planting date
- Note sun hours and watering rhythm
- Record what worked and what failed
Budget tip:
- Use your phone notes app and add one photo per week.
This helps you repeat wins next season. You’ll also spot patterns like “this corner gets less sun” or “this pot dries fast.” Over time, your container garden becomes predictable and easy.
Conclusion
Container gardening gets simple when you lock in the basics: drainage holes, potting mix, and enough sun. Start with a small set of pots, practice the finger-test watering habit, and choose forgiving plants like herbs and greens. Add upgrades like mulch, self-watering setups, or an olla once you have a routine. Pick 2–3 ideas from this list today, set up your containers this weekend, and you’ll be harvesting sooner than you think.

Leave a Reply