
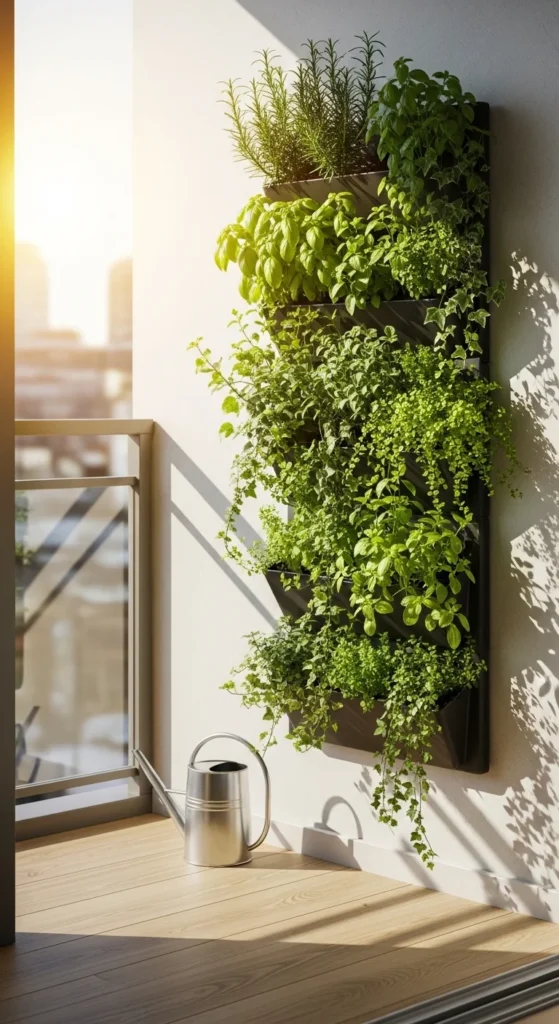
If you’ve ever looked at your tiny balcony, bare wall, or sunny kitchen corner and thought, “I wish I could grow something here,” a vertical garden is your secret weapon. It’s one of the easiest ways to fit herbs, greens, flowers, or even strawberries into small spaces—and it instantly makes your home feel more alive.
The best part? You don’t need a backyard or fancy tools. You just need a plan.
Step 1: Pick the Best Spot (Light Comes First)
Before you buy anything, stand where you want to hang or place your garden and check the light.
Quick sunlight checklist
- 6–8 hours of sun = great for herbs, tomatoes, many flowers
- 3–5 hours = leafy greens, some herbs like mint
- Mostly shade = ferns, pothos (ornamental), shade plants
If you’re indoors, place it near the brightest window you have. For balconies, pick the wall that gets the most consistent sun.
Tip: Group plants with similar light needs together so they grow evenly.
Step 2: Choose Your Vertical Garden Style
There are a few beginner-friendly options. Choose based on your space and whether you’re renting.
Easy vertical garden types
- Wall pockets (felt or fabric): lightweight, great for herbs
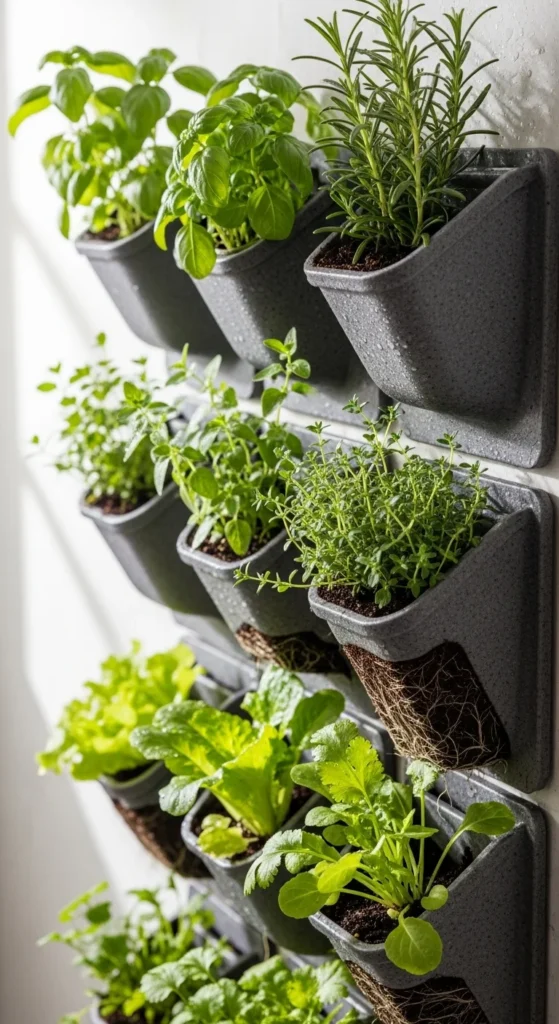
- Stackable vertical planters: easy expansion, great for small patios
- Trellis system: best for climbers (beans, peas, flowering vines)
- Pallet garden: budget-friendly DIY with a rustic look
- No-drill system for renters: lightweight pots secured with strong wall attachments (only for very light containers)
Start simple. You can always upgrade later.
Step 3: Gather Your Materials (Keep It Light + Practical)
Here’s a basic starter list:
What you’ll need
- Vertical planter or wall system
- Lightweight potting mix (not heavy garden soil)
- Compost or compost-enriched mix (small amount boosts nutrients)
- Small seedlings (easier than seeds for beginners)
- A tray or drip catcher (especially indoors)
- Hooks, anchors, or mounting hardware (based on your wall type)
Drainage is non-negotiable
- Make sure every container has a way for water to escape
- Add a drip tray or catch system so water doesn’t ruin walls/floors
If your planter doesn’t have drainage, either drill holes (if possible) or choose a different system.
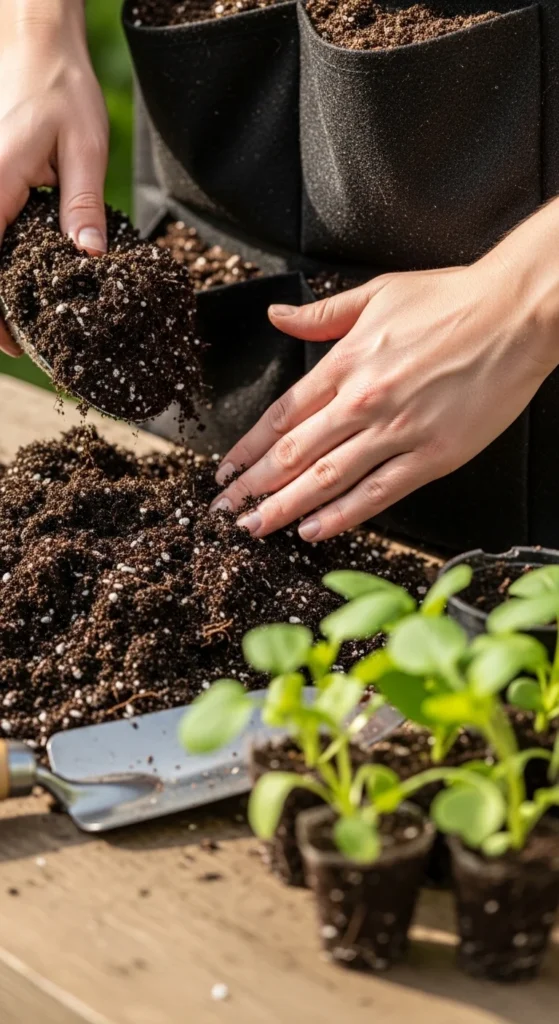
Step 4: Build Your Soil Mix for Vertical Success
Vertical planters dry out faster than regular pots, so you want soil that holds moisture without staying soggy.
Simple soil recipe
- 70% quality potting mix
- 20% compost (nutrients)
- 10% perlite/coco coir (keeps it airy + well-draining)
Pack soil gently—don’t compress it too hard, or roots struggle.
Step 5: Pick Foolproof Plants (Start Low-Maintenance)
The fastest way to love your vertical garden is choosing plants that want to grow.
Beginner-friendly vertical plants
- Herbs: basil, mint, rosemary, thyme
- Greens: lettuce, spinach, arugula
- Succulents: great for sunny walls and low watering
- Trailing plants for “wow” effect: ivy, petunias, trailing nasturtium
Simple planning tip
- Put thirstier plants lower (they catch extra water)
- Put drought-tolerant plants higher
Avoid starting with super-heavy feeders (like big tomatoes) unless you have strong support and full sun.
Step 6: Plant in the Right Order (Top-to-Bottom Works Best)
When you’re ready to plant, work in a way that keeps things neat and balanced.
Planting steps
- Add soil to containers/pockets
- Plant your largest seedlings first
- Fill in smaller plants around them
- Water slowly until you see drainage
- Step back and check spacing
- Add labels (optional, but helpful for herbs!)
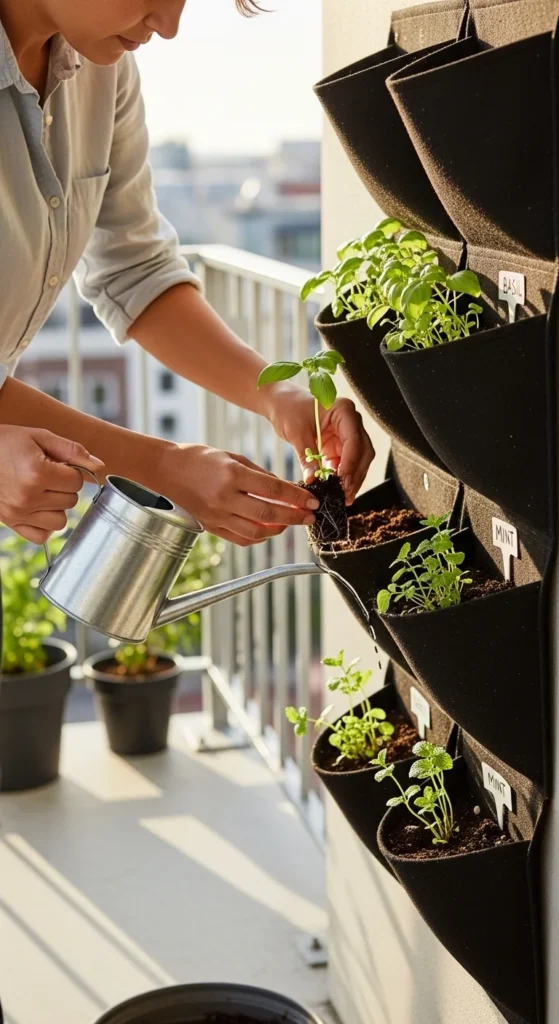
Step 7: Water Smart (Vertical Gardens Dry Out Fast)
Vertical gardens often need more frequent watering, especially in warm weather.
Easy watering rules
- Check moisture daily in the beginning
- Water from the top down so it flows through the system
- If soil is dry 1 inch down, it’s time to water
- Morning watering is best outdoors
Want low-maintenance?
Try a simple drip system or timer irrigation. Even a basic setup can save you from daily watering stress.
Step 8: Maintain With a 5-Min Weekly Check
A quick routine prevents most problems.
Weekly vertical garden audit
- Look for pests under leaves
- Trim dead or yellowing growth
- Rotate or swap plants that aren’t thriving
- Check drainage and drip trays
- Add a light feed (especially for herbs/greens) every few weeks
If it’s winter or your outdoor light drops, shift to an indoor herb wall near a bright window.
Final Takeaway
A vertical garden is one of the easiest ways to grow more in less space—whether you’re working with a balcony, patio, kitchen wall, or sunny corner.
Start with:
- the brightest spot
- a simple system
- beginner plants
- good drainage + lightweight soil
Then build from there.
🌿 Save this guide for later, and start your first vertical garden this week—you’ll be surprised how quickly it becomes your favorite part of the home.

Leave a Reply