
Drying herbs in winter gives you rich flavor long after outdoor plants slow down.
With indoor air naturally drier during the colder months, this season is ideal for preserving aroma, color, and essential oils.
The following tips focus on simple indoor setups, gentle drying methods, low-cost storage tricks, and flavor-saving habits that anyone can adopt—even in small kitchens.
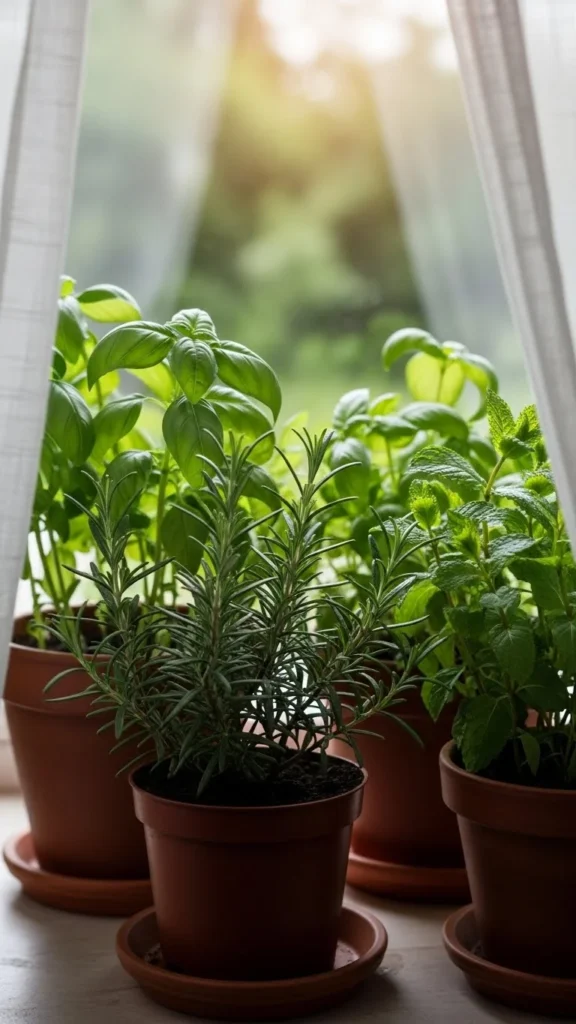
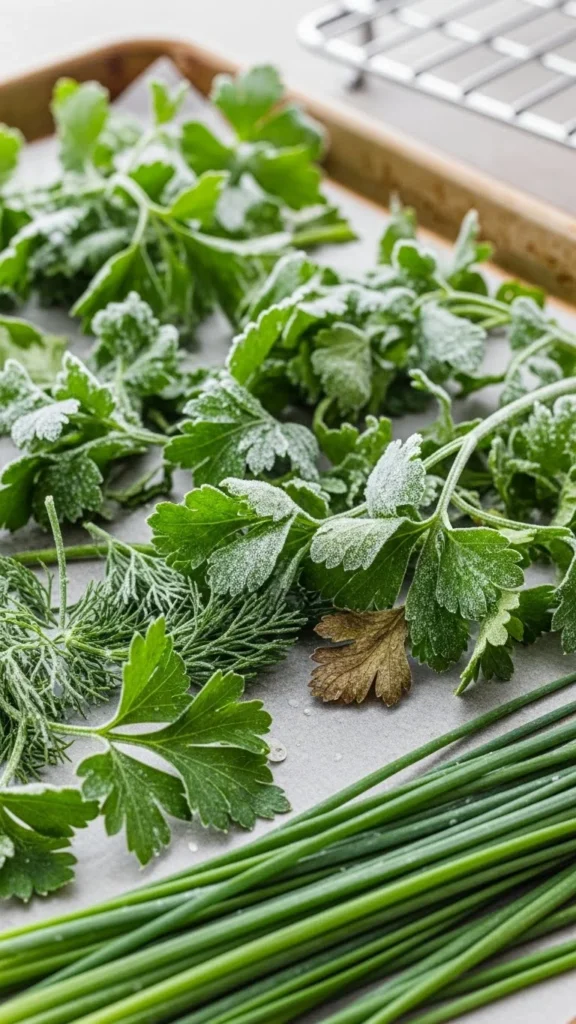
1. Harvest Herbs at the Right Time of Day

Picking herbs when their oils are most concentrated helps preserve strong aroma during drying.
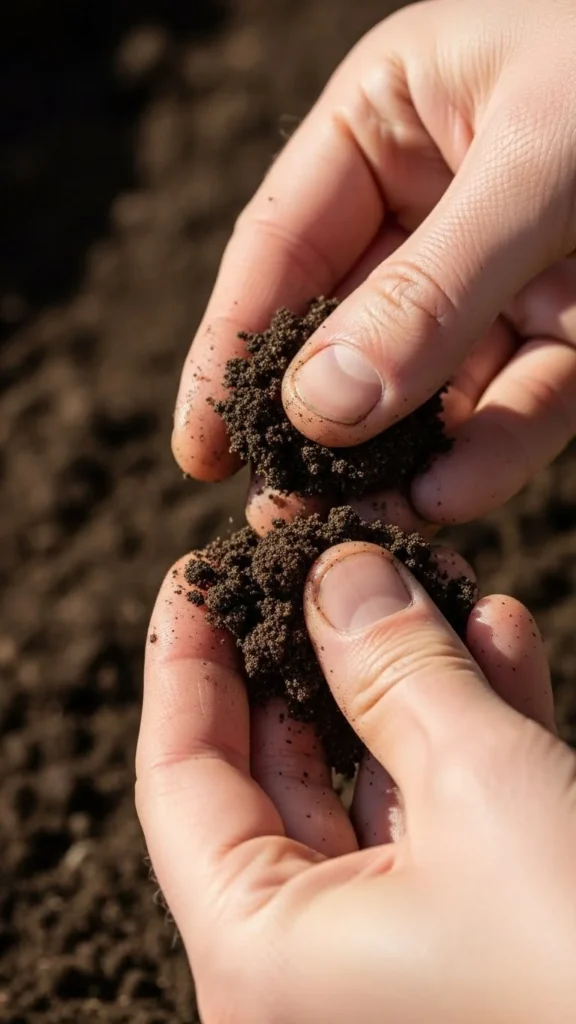
Harvest in the late morning after dew dries but before sunlight becomes intense.
This timing keeps flavors steady and prevents moisture-related issues during drying.
Snip clean stems using sharp scissors.
Avoid collecting leaves after rain or watering because excess moisture slows drying.
Gently shake off dust or insects rather than rinsing whenever possible.
Place harvested stems in a breathable basket.
Avoid stacking them too deeply to prevent early wilting.
This small routine sets the stage for high-quality dried herbs that stay flavorful for months.
2. Use Air-Drying Bundles for Low-Maintenance Preservation
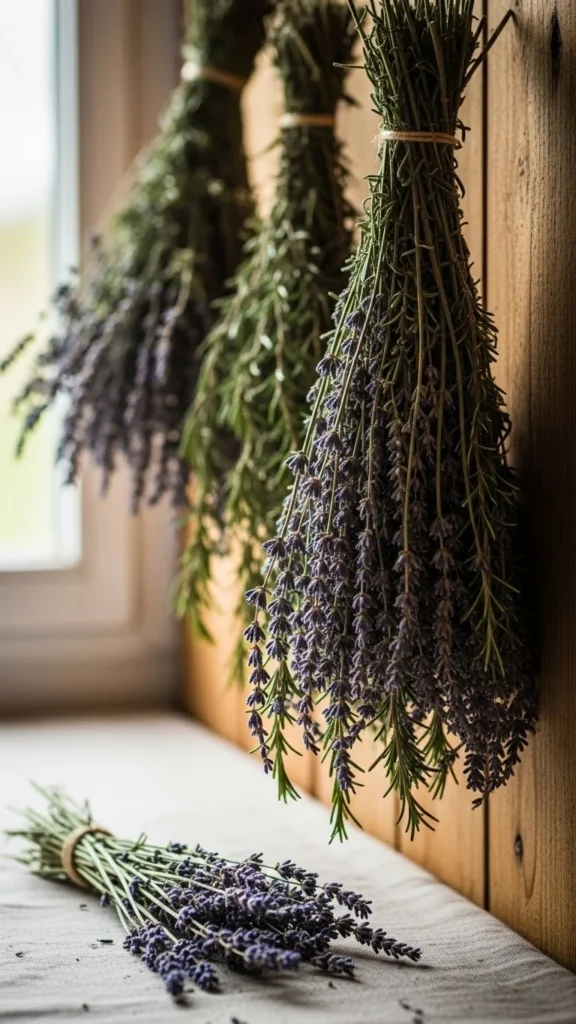
Air-drying is one of the simplest winter methods.
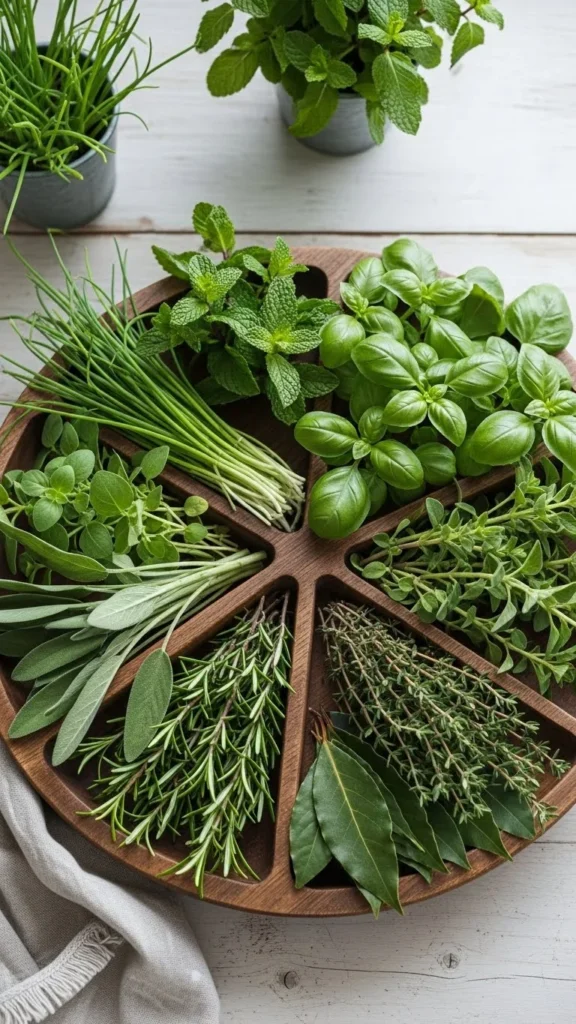
Gather herbs with long stems—like rosemary, thyme, sage, or oregano—and tie small bundles with twine.
Keep bundles modest in size so air can move freely.
Hang them upside down in a dry, shaded room with good airflow.
High humidity slows drying, so avoid basements or laundry areas.
Paper bags placed loosely over each bundle help catch falling leaves and protect herbs from dust.
Check progress every few days.
Once leaves feel crisp and snap easily, they’re ready for storage.
This no-fuss technique works particularly well during winter’s naturally dry indoor months.
3. Make a Simple Herb-Drying Rack From Old Frames
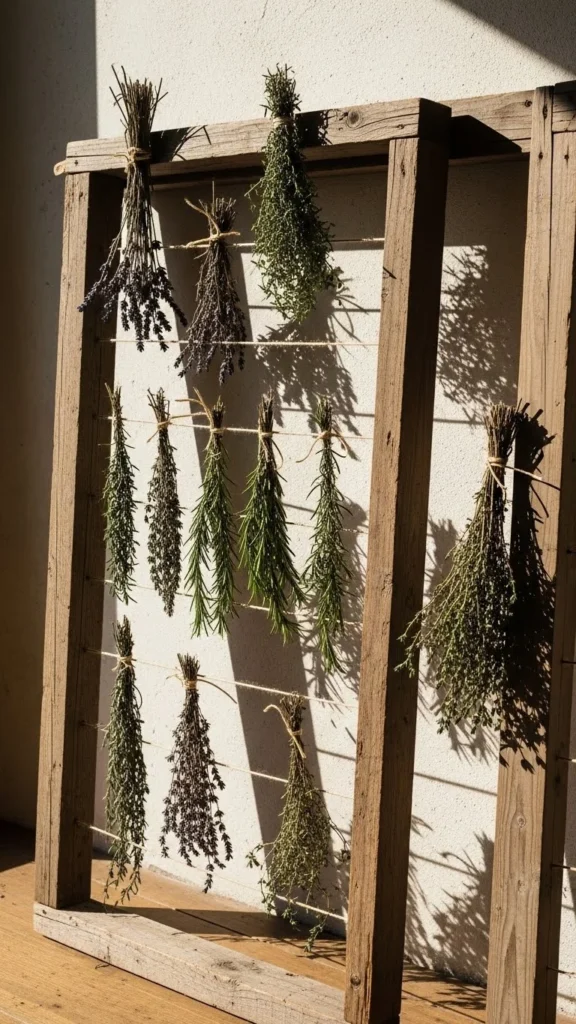
Repurpose old photo frames into a functional drying rack.
Remove the glass and stretch mesh or clean window screen across the frame.
Secure it with staples or small nails.
Lay herbs in a single layer on the mesh.
Keep the rack elevated on blocks or books so air circulates above and below.
Rotate herbs gently every two days to keep drying even.
You can stack multiple frames with spacers for a compact vertical system.
This quick DIY project saves counter space and supports slower-drying herbs like mint or lemon balm.
4. Use a Dehydrator on the Lowest Setting

Electric dehydrators make winter drying predictable.
Set the temperature to the lowest heat setting, usually around 35–40°C.
High heat drives away delicate flavors, so slow and steady works best.
Spread herbs loosely on dehydrator trays.
Do not overlap leaves.
Check them hourly for smaller herbs to avoid over-drying.
This method is helpful when air is damp or when you want quick batches for cooking or gifting.
It also keeps herbs dust-free while drying.
5. Dry Small Herb Batches in the Oven Carefully
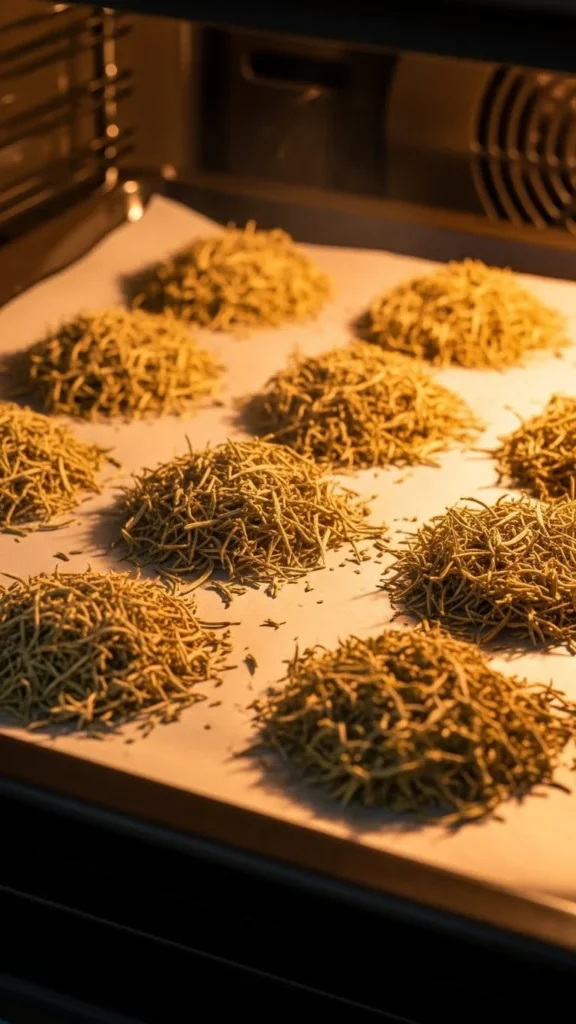
Ovens work well for small quantities but require gentle handling.
Set the temperature to the lowest available, often around 80–90°C, and crack the door slightly for airflow.
Spread herbs on parchment-lined trays.
Position trays in the middle rack to avoid sudden browning.
Check every 10 minutes for delicate herbs like cilantro or parsley.
Oven drying is quick but can overheat easily.
Use this method when you’re short on time or drying hardy herbs that tolerate a bit more warmth.
6. Try Microwave Drying for Ultra-Fast Results
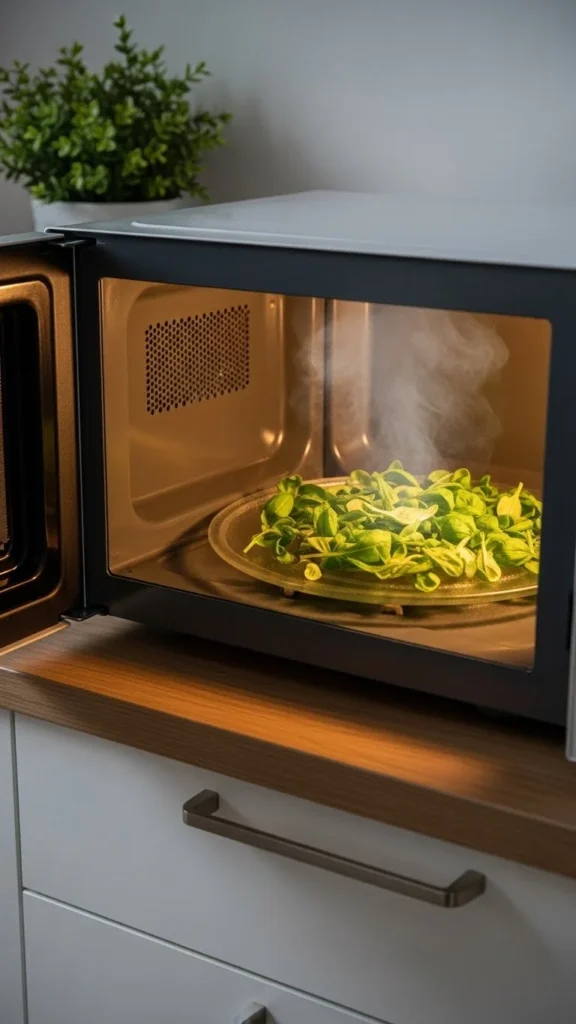
Microwave drying is surprisingly effective for small, delicate batches.
Place leaves between two paper towels on a microwave-safe plate.
Heat for 20–30 seconds at a time.
Check progress often—herbs can go from perfect to burnt quickly.
Once leaves crumble easily, they’re ready for storage.
This method is ideal for preserving flavor when you need herbs right away or have limited space for hanging or rack drying.
7. Wash Herbs Only When Necessary
Washing herbs introduces extra moisture that slows drying.
If they’re grown indoors or picked cleanly, a gentle shake is often enough.
When herbs do need rinsing, use cool water and pat them dry thoroughly with towels.
Spread them out for an hour before drying begins.
Less surface moisture reduces mold risk and helps herbs dry evenly, especially in winter’s shorter daylight and cooler indoor rooms.
8. Strip Leaves From Stems for Faster Drying
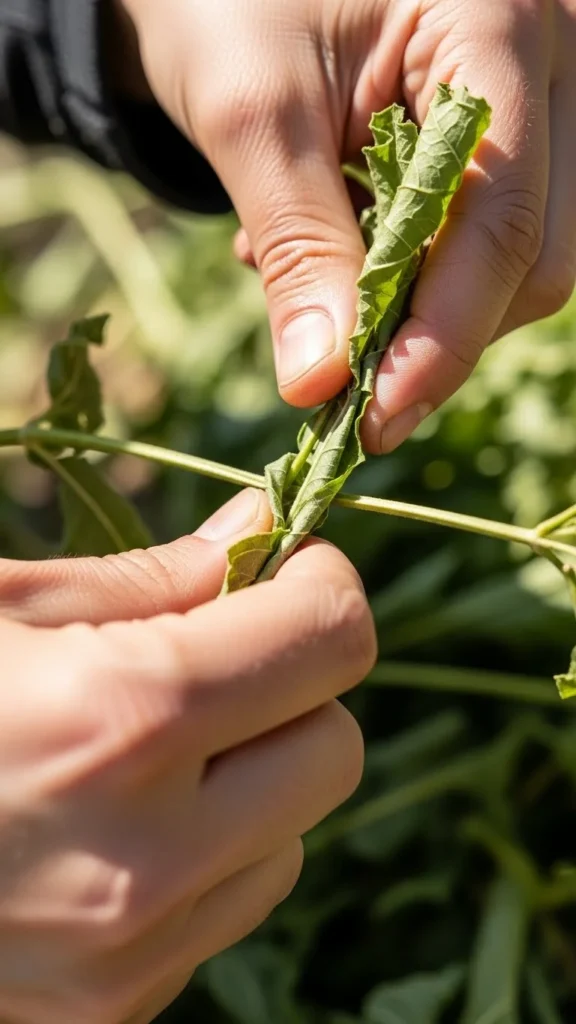
Some herbs dry better when leaves are removed from thicker stems.
Rosemary, thyme, oregano, and mint strip easily using your fingers.
Spread leaves evenly on a mesh rack or cloth.
Avoid piling them too deeply.
Leaves dry faster and more evenly without woody stems slowing the process.
Save stems for broths or fire starters.
This simple prep step speeds drying and keeps your stored herbs lightweight and easy to crumble.
9. Keep Herbs Away From Direct Sunlight
Sunlight drains color and aroma from drying herbs.
Place racks, bundles, and trays in shaded, well-ventilated areas.
Kitchens with soft window light work well, as long as herbs aren’t placed directly in the sunbeam.
Even artificial lighting can bleach herbs if too bright or close.
Keeping herbs shaded helps them retain deeper color and richer aroma long after storage.
10. Test Dryness With the “Crumble Check”
Proper dryness prevents mold during storage.
Rub a leaf between your fingers—if it crumbles easily, it’s ready.
Stems should snap cleanly rather than bend.
If they still feel flexible, give the herbs more time.
Testing dryness carefully avoids storing herbs too early and keeps jars safe from hidden moisture.
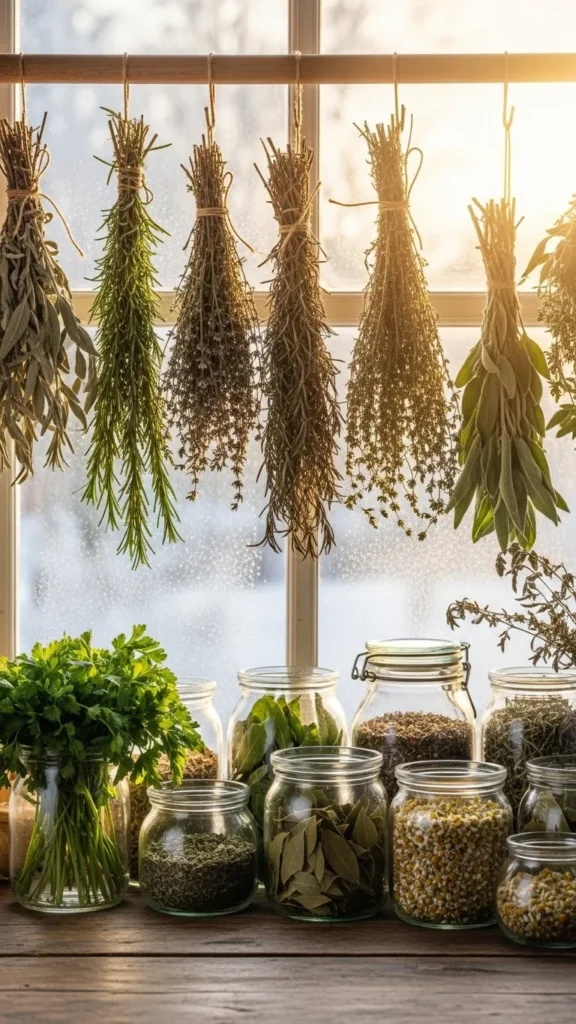
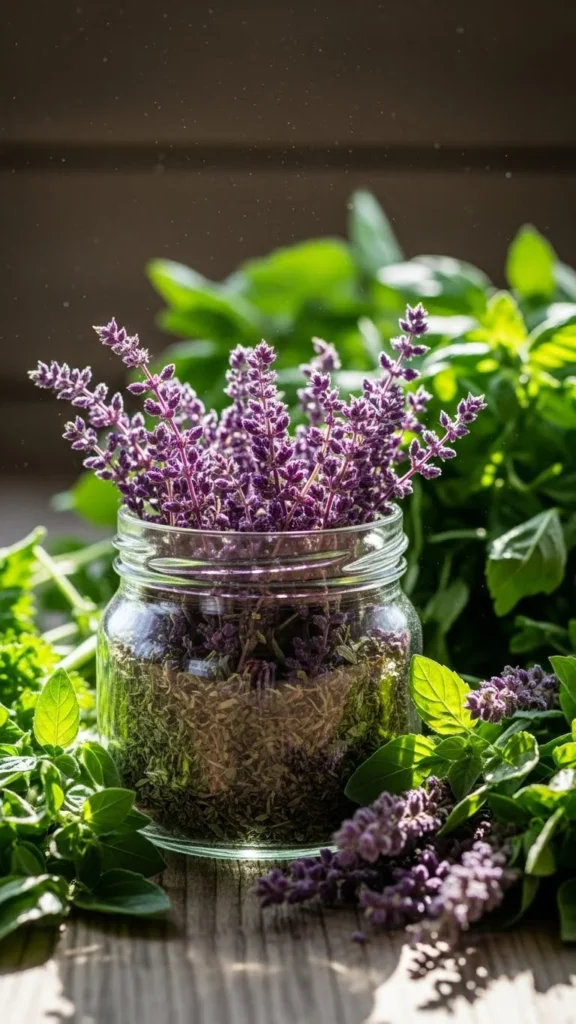
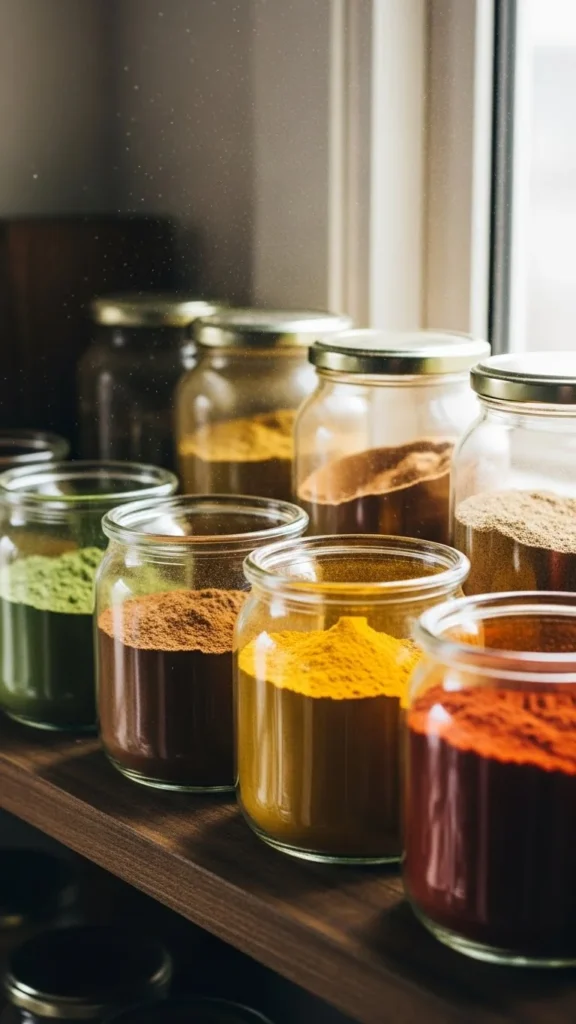
11. Store Herbs in Airtight Glass Jars
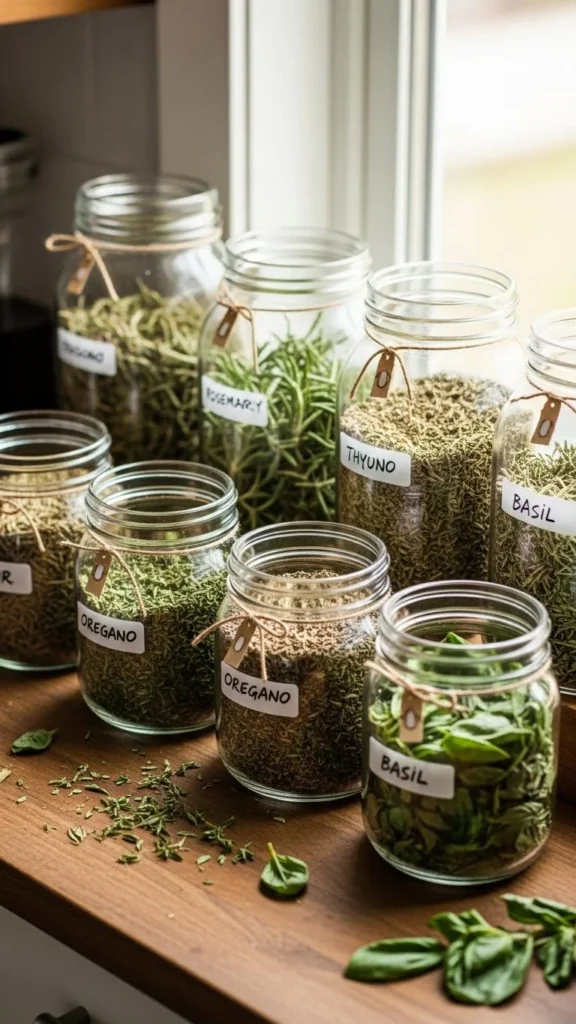
Glass jars protect herbs better than plastic.
They block odors, resist staining, and maintain a tight seal.
Fill jars loosely to avoid crushing leaves.
Label each with the herb name and drying date.
Place jars in a cool cabinet away from appliances.
This method extends shelf life and keeps flavors strong for cooking all winter and spring.
12. Add Silica Packs to Control Moisture
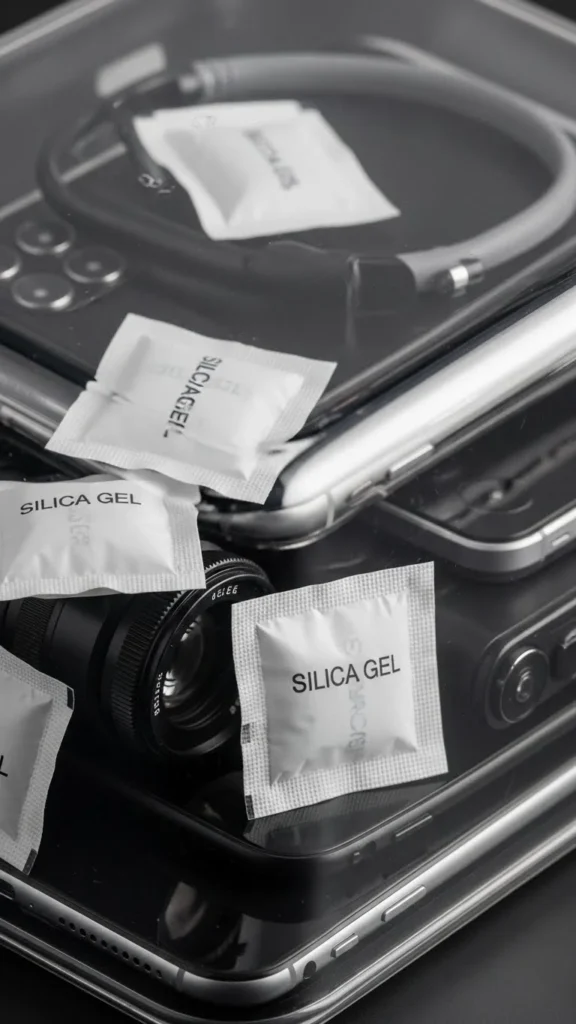
Silica packs help maintain dryness inside storage jars.
Place one small packet at the bottom of larger jars.
Avoid direct contact with herbs by placing a mesh layer between them.
These packets absorb leftover humidity and prevent mold.
They’re especially helpful for leafy herbs like basil or mint, which retain moisture longer.
Use food-safe silica packs for best results.
13. Crush Herbs Only When You Use Them
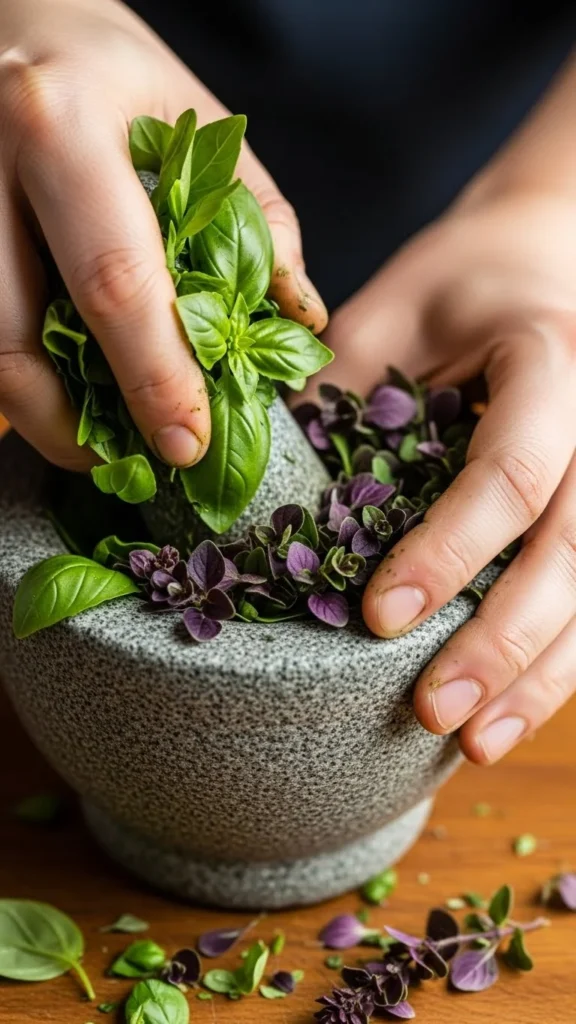
Whole leaves retain flavor far better than pre-crushed herbs.
Store leaves intact and crush them between your fingers during cooking.
This preserves aroma and keeps herbs from losing potency over time.
If you need crushed herbs for storage, keep the batches small and refill as needed.
This one small habit enhances both fragrance and flavor in your dishes.
14. Freeze Herbs When Drying Isn’t Ideal
Freezing preserves herbs that lose flavor when dried, like basil, cilantro, or parsley.
Chop herbs lightly and pack them into ice cube trays.
Top with olive oil or water.
Once frozen, pop cubes into bags for easy storage.
Use them in soups, sauces, or sautés.
This method keeps vibrant flavor intact when drying isn’t the best option.
15. Make Herb-Infused Oils for Long Storage
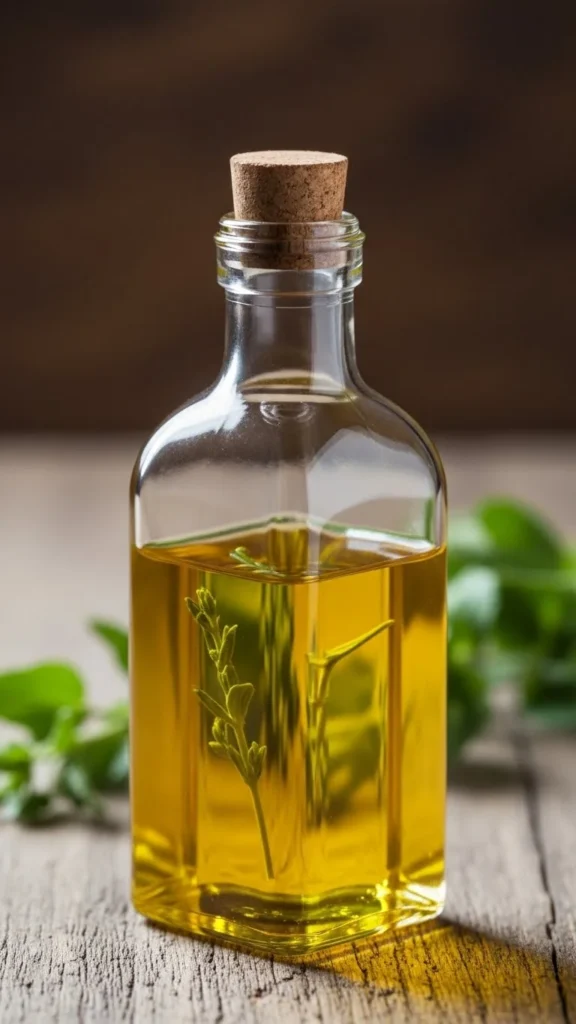
Infused oils are a flavorful alternative to dried herbs.
Dry herbs completely to avoid moisture issues, then place them in clean jars.
Cover with olive oil.
Let jars sit for 1–2 weeks in a cool cabinet.
Strain solids and transfer oil to dark bottles.
Use within a few months.
This method captures aroma in a ready-to-use liquid form that complements winter cooking.
16. Use Brown Paper Bags for Quick Small Batches

Brown paper bags dry herbs gently while protecting them from dust.
Place a small handful of herbs inside.
Fold the top and poke a few ventilation holes.
Shake the bag daily to prevent clumping.
Great for small batches or delicate herbs.
Their breathable nature keeps mold away while promoting slow, even drying.
17. Keep Storage Jars in the Dark
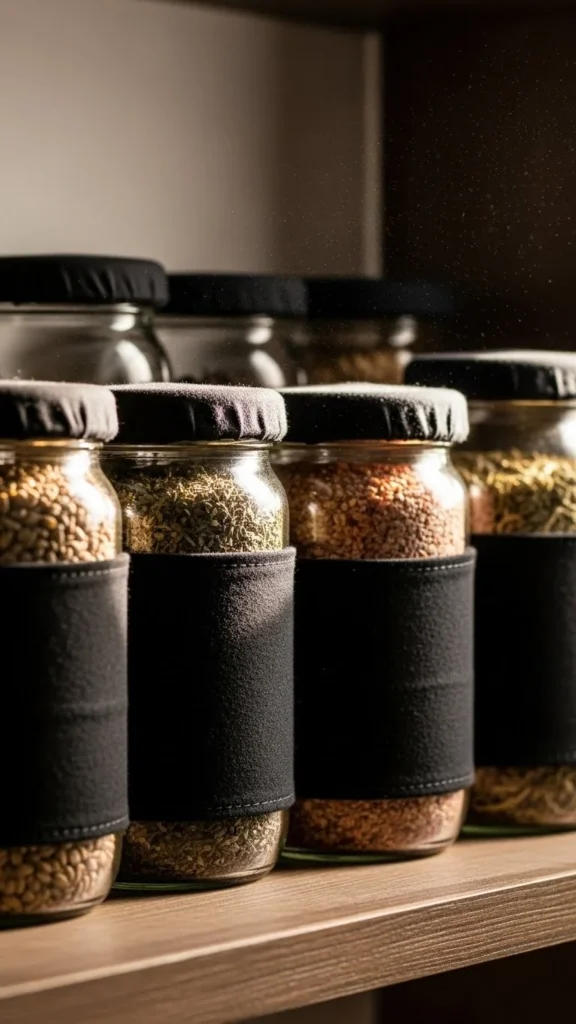
Light fades herbs quickly.
Store jars in a drawer, pantry, or opaque container.
Avoid open shelving near windows.
Sunlight drains color and aroma, shortening shelf life.
Cool, dark storage keeps flavor strong well into the next growing season.
18. Create Mix-and-Match Herb Blends
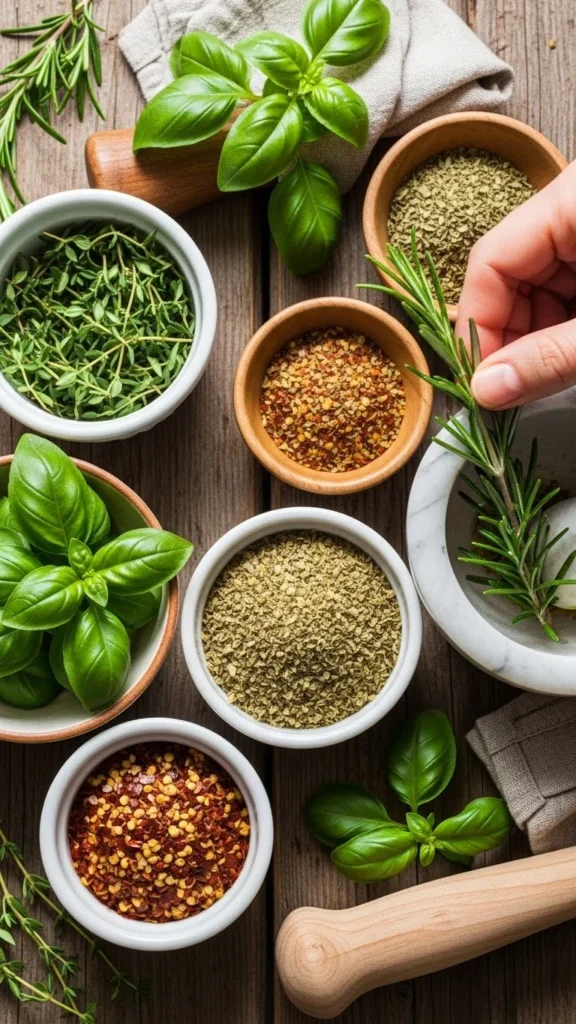
Homemade herb blends help you use dried herbs efficiently.
Combine thyme, rosemary, oregano, or sage for savory dishes.
Mix small amounts at a time to preserve potency.
Label blends clearly so you remember what’s inside.
Seasonal winter blends also make great handmade gifts.
19. Use Mesh Bags for Long Stem Storage

Long stems like rosemary or bay store beautifully in mesh bags.
Hang bags in a cool pantry or from hooks in a kitchen corner.
Mesh keeps airflow steady while protecting stems from dust.
This setup works well for herbs you frequently add whole to soups or stews.
20. Store Powdered Herbs Separately
If you powder herbs, keep them in airtight spice jars.
They lose potency faster than whole leaves, so store smaller amounts.
Label jars with grinding dates.
Use powders within a few months for the best flavor.
This keeps your spice rack organized and prevents mixing old batches with new ones.
21. Refresh Stored Herbs With a Quick Aroma Test
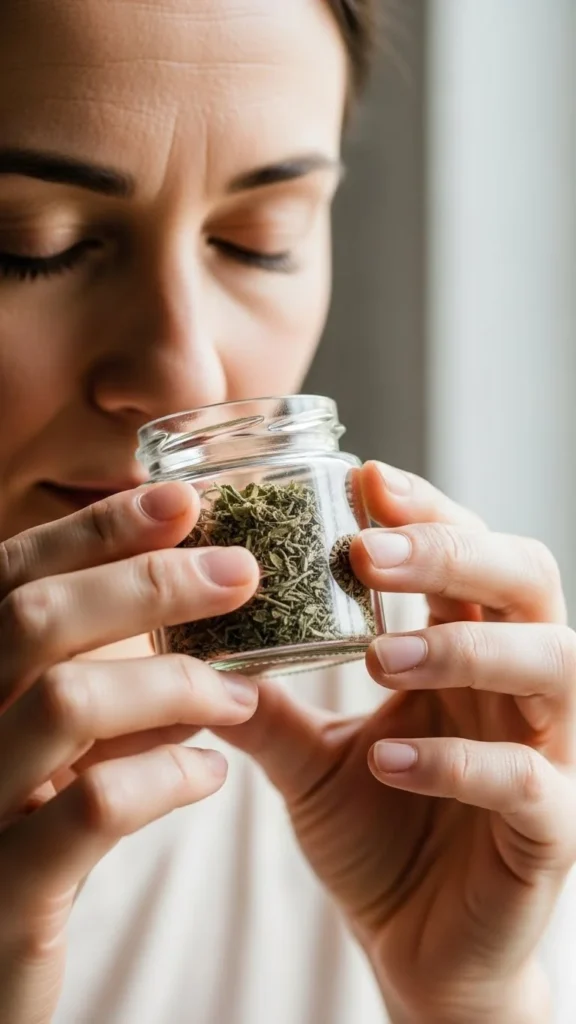
Before using stored herbs, rub a small amount between your fingers.
If aroma feels faint, use a slightly larger pinch in cooking.
This simple ritual helps you gauge potency and adjust seasoning confidently.
It also keeps you aware of which jars might need replacing soon.
22. Rotate Herb Stock Each Season
Use older herbs first before opening new jars.
Store jars with the earliest dates at the front of your cabinet.
This rotation system minimizes waste and keeps your cooking vibrant.
It also guides your next drying season—helping you learn which herbs you use most frequently.
Conclusion
Winter herb-drying is simple, satisfying, and incredibly useful for year-round cooking.
With gentle drying methods, careful storage choices, and small habits like aroma testing and stock rotation, you capture the essence of your herbs long after garden beds frost over.
Start with a few techniques—perhaps air-drying bundles, using glass jars, or making frozen herb cubes—and expand as your winter pantry grows.
These consistent steps bring aromatic, flavorful herbs into your kitchen any time of year.

Leave a Reply