
That free bucket behind the bakery might look like garden gold—but before you plant tomatoes in it, there is one big question to answer: is it actually food-safe? When you are growing herbs, lettuce, peppers, or anything else you plan to eat, the type of plastic matters more than most beginners realize.
The good news is that you do not need to guess. A few simple checks can help you figure out whether a bucket is safe to reuse for edible gardening, and which ones should go straight to the non-garden pile.
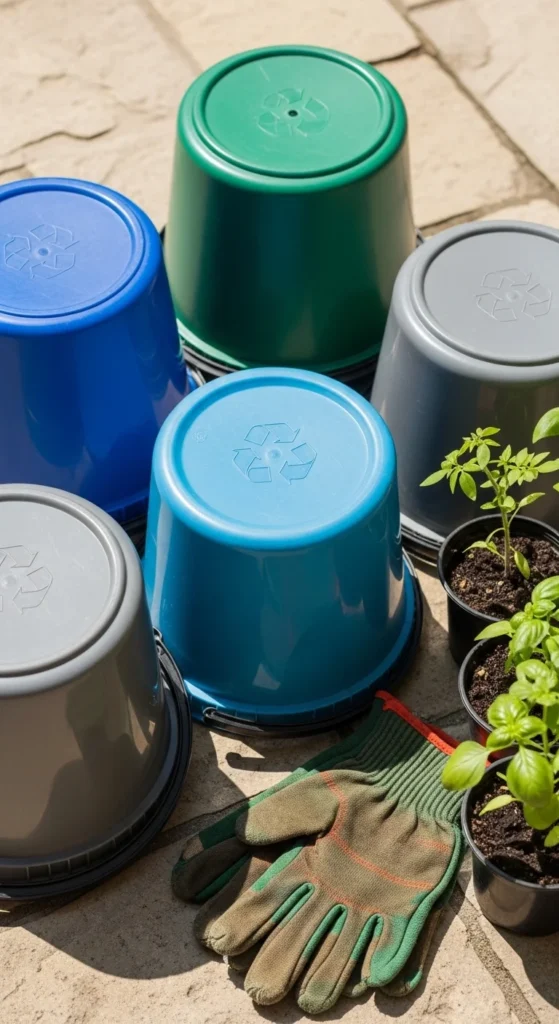
Start With the Bottom of the Bucket
The fastest way to check a bucket is to flip it over and inspect the base.
Look for the recycling triangle and the number inside it. For edible gardening, the safest codes to look for are:
- #2 HDPE
- #1 PET
- #4 LDPE
- #5 PP
These plastics are commonly associated with food-safe use. Out of the group, #2 HDPE is usually the favorite for bucket gardening because it is durable, stable, and widely used for food storage.
If you see these codes, that is a good start—but do not stop there. A safe code is helpful, but it is not the only thing that matters.
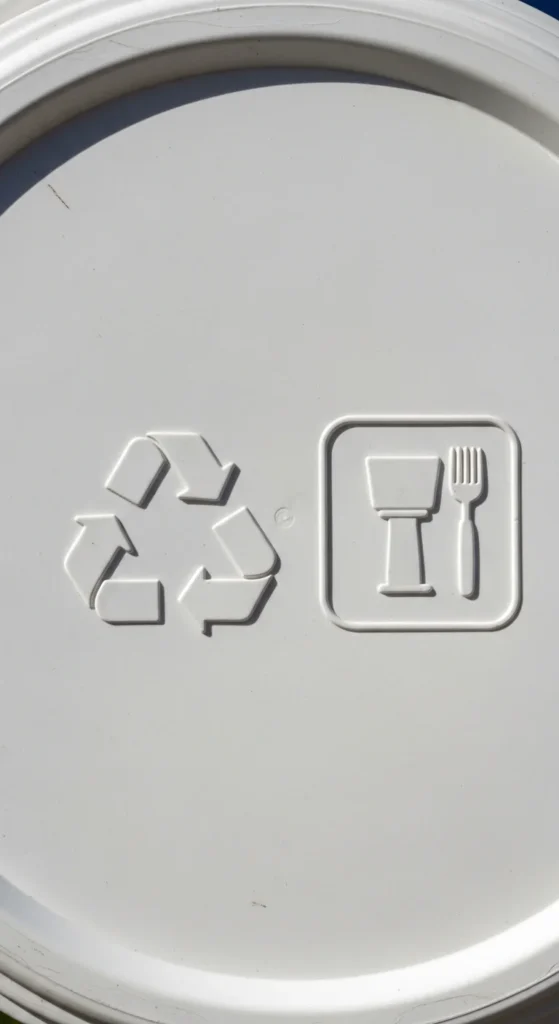
Look for the Cup-and-Fork Symbol
One of the best visual clues is the cup-and-fork icon. This symbol means the plastic is approved for direct food contact.
If your bucket has both:
- a safe plastic code, especially #2 HDPE
- and the cup-and-fork symbol
that is about as reassuring as it gets for edible gardening.
You can think of it as the “double-check” method. One symbol tells you what kind of plastic it is. The other tells you it was meant to touch food.
Check for Clear Safety Wording
Some buckets make things even easier by printing their status directly on the container.
Look for wording like:
- Food-grade
- Food safe
- FDA approved
- Approved for food contact
You may also see a certification mark such as NSF, which adds another layer of trust.
If the lettering is faded or hard to read, try:
- Wiping the area clean
- Using a flashlight at an angle
- Taking a photo and zooming in
- Checking the manufacturer’s website for the same model
This part is especially important with reused buckets, where markings can wear down over time.
Know Which Plastic Codes to Avoid
Just as important as knowing what is safe is knowing what to skip.
For edible gardening, avoid buckets marked:
- #3 PVC
- #6 PS
- #7 Other
These are the codes most often flagged for higher leaching concerns, especially when exposed to heat and sunlight over time. Since bucket gardens usually sit outside, that extra risk is not worth it for edible crops.
A simple rule: if the bucket has one of these codes—or no readable code at all—move on unless you can confirm the material another way.
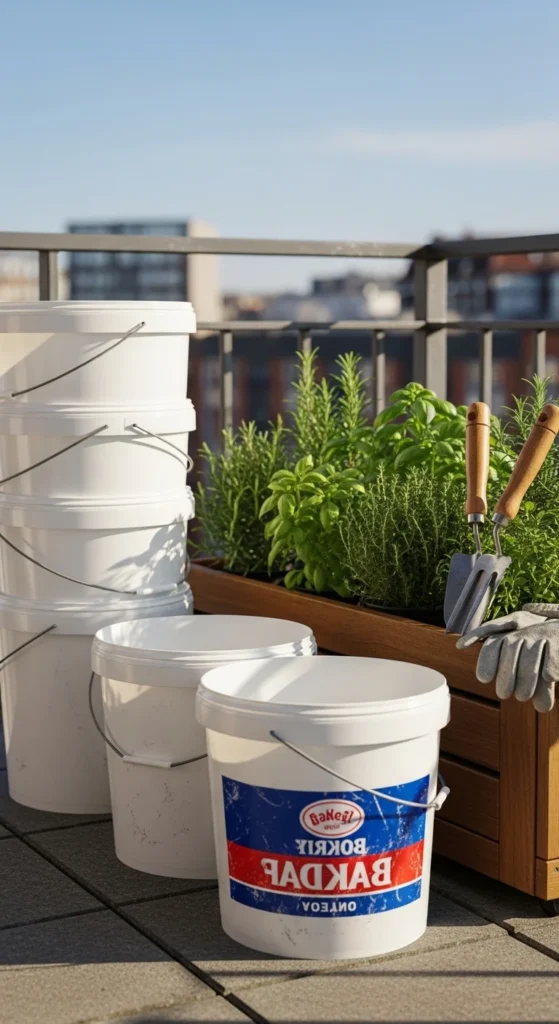
Verify What the Bucket Was Used For Before
Even a food-safe plastic bucket is a bad choice if it previously held something you would never want near your vegetables.
The bucket’s history matters just as much as the plastic type.
Good prior uses include:
- Pickles
- Frosting
- Syrup
- Deli ingredients
- Bakery fillings
Bad prior uses include:
- Paint
- Chemical cleaners
- Solvents
- Automotive products
- Unknown industrial materials
If you got the bucket from someone else, ask a few quick questions:
- What was stored in it?
- Was it ever used for chemicals?
- Was it cleaned right after use?
- Has it been stored in direct sun for a long time?
If the answers are vague, treat that as a red flag.
Use Your Eyes, Nose, and Hands
Sometimes the markings are faded, and the only clues left are physical ones.
Give the bucket a quick “touch-test” before you trust it:
- Does it smell like chemicals?
- Is the plastic brittle or chalky?
- Does it feel unusually thin and flimsy?
- Are there cracks, deep stains, or warped areas?
- Does it still hold a strong odor after washing?
Buckets that smell odd, flex too easily, or seem sun-damaged are not great candidates for edible gardening. Even if they were once safe, age and UV exposure can wear plastic down.
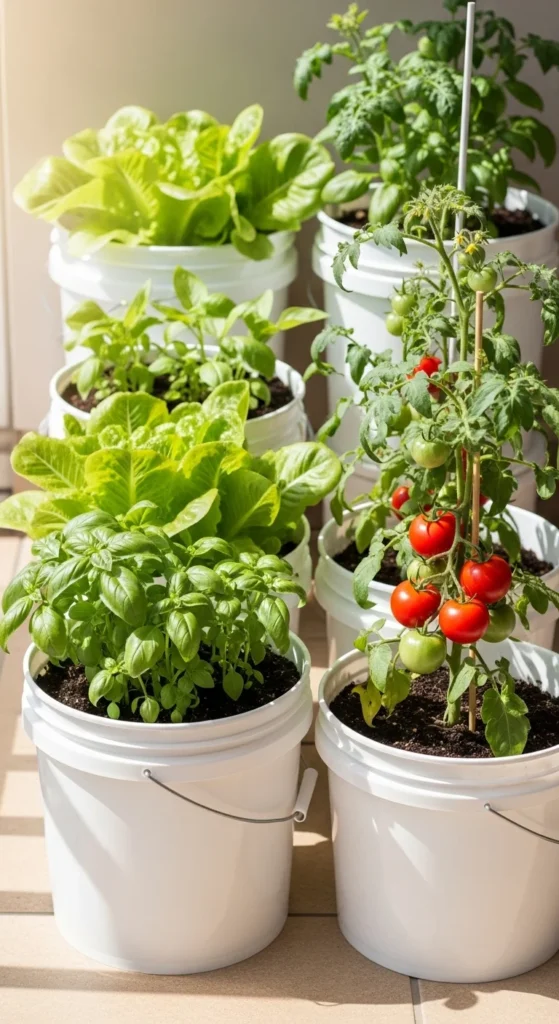
White buckets are often a better clue than brightly dyed ones, since many food buckets are plain white. That is not a guarantee, but it can be a helpful visual hint when combined with the other checks.
Clean It Before You Plant Anything
Once a bucket passes your safety check, clean it thoroughly before adding soil.
A simple cleaning routine:
- Wash with warm soapy water
- Rinse with a vinegar solution
- Scrub away residue
- Let it dry fully before use
Even buckets that once held food can leave behind oils, brine, sugar, or smell. A proper wash gives your plants a cleaner start and helps you notice any lingering odor or damage before planting.
Choose Buckets That Are Safe and Durable
A bucket can be food-safe but still be a poor garden bucket if it is too thin or weak.
Look for containers that are:
- Thick enough to hold heavy wet soil
- Not warped or dented
- Sturdy enough to drill for drainage holes
- Still flexible, but not flimsy
This matters because bucket gardens are heavy. Wet potting mix, mature roots, and summer heat can stress plastic quickly, so durability is part of the safety equation too.
A Simple Food-Safe Bucket Checklist
Before you reuse a bucket for edible gardening, run through this checklist:
- Does it have a safe code like #2, #1, #4, or #5?
- Is there a cup-and-fork symbol?
- Does it say food-grade or FDA approved?
- Do you know what was in it before?
- Does it smell clean and normal?
- Is the plastic thick, sturdy, and not brittle?
- Can you verify the manufacturer if the markings are faint?
If you can answer yes to most or all of these, you are in much better shape.
Final Takeaway
The safest bucket for edible gardening is one you can verify, not one you hope is fine. Start by checking the bottom for a safe recycling code, look for the cup-and-fork symbol, confirm food-grade labeling, and always consider what the bucket held before.
When in doubt, skip it. There are plenty of safe buckets out there, and your edible garden is worth the extra check.
Save this guide for later before your next bucket-hunting trip.

Leave a Reply