
That empty food bucket in your garage might be the start of your next vegetable garden. Reusing buckets for gardening is budget-friendly, space-saving, and surprisingly practical—but only if you set them up the right way. The last thing you want is poor drainage, mystery residue, or the wrong plastic touching your edible plants.
The good news? With a few simple checks and prep steps, food-grade buckets can become safe, sturdy planters for herbs, vegetables, flowers, and even self-watering setups.
Start With the Right Bucket
Not every bucket is a good gardening bucket.
Before you reuse one, check for two important details:
- The #2 HDPE recycling symbol
- A clear food-grade marking or known food-use source
This matters because food-grade buckets are designed for safe contact with food, while non-food containers may not be ideal for growing edibles over time, especially in heat and sun.
Good bucket sources include:
- Bakeries
- Delis
- Grocery store frosting buckets
- Pickle buckets
- Food-safe packaging suppliers
Be cautious with random construction buckets or hardware-store buckets unless the material and intended use are clearly confirmed.
Quick bucket safety checklist
- Look for HDPE #2
- Confirm it was used for food, not chemicals
- Avoid cracked, brittle, or sun-damaged plastic
- Skip buckets with unknown residue or strong odors
- Replace buckets that become fragile after a season or two
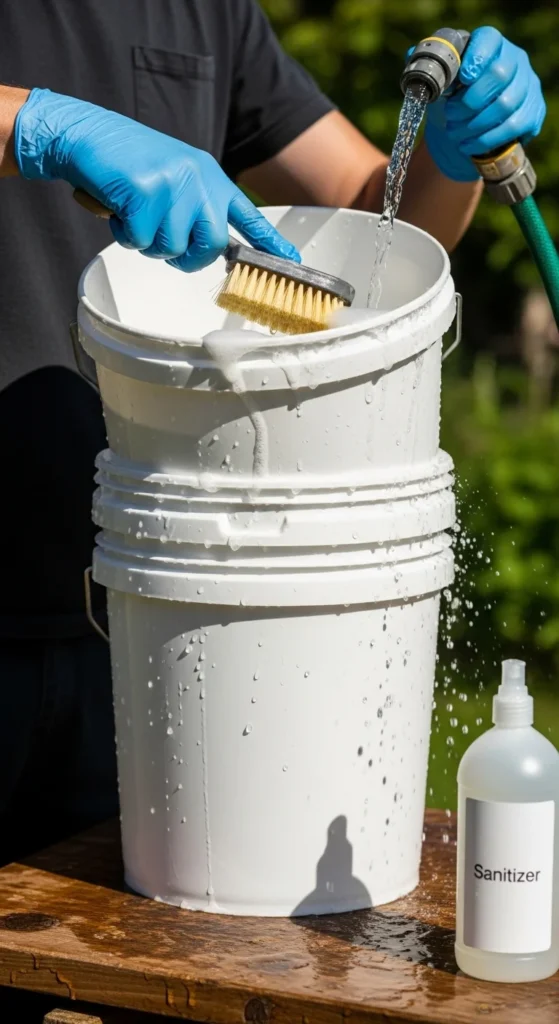
Clean and Sanitize Before Planting
Even if the bucket once held food, it still needs a thorough cleaning before you add soil.
Residue from frosting, brine, oils, or other contents can linger, and that is not something you want around fresh roots.
A simple 3-step sanitize routine:
- Wash with hot water and soap first
- Scrub with a vinegar-and-water rinse to remove residue
- Sanitize with a mild bleach solution, then rinse well and air dry
This extra step is especially useful if the bucket has been sitting in storage for a while.
If a bucket still smells strange after cleaning, do not use it for edibles. It is better to be picky now than disappointed later.
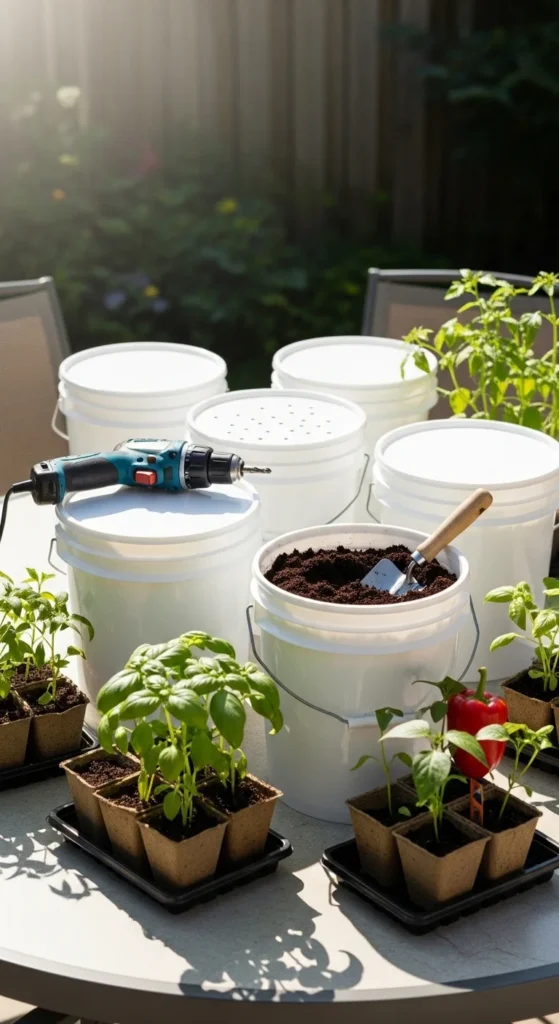
Drill Drainage Holes the Right Way
Drainage is one of the biggest reasons bucket gardens succeed or fail.
Without holes, extra water collects at the bottom, roots stay wet too long, and plants can end up with root rot. A few minutes with a drill can prevent a whole season of frustration.
For most 5-gallon buckets, a solid starting point is:
- 5 to 15 drainage holes
- About 1/4 to 1/2 inch wide
- Mostly in the bottom, with a few low side holes if needed
A helpful trick: drill from the inside out when working with thin plastic. That can reduce cracking and give you cleaner holes.
Easy drainage tips
- Space holes evenly
- Add a few near the lower sides for better flow
- Check that no holes are blocked after filling
- Set the bucket on bricks or risers so water can escape freely
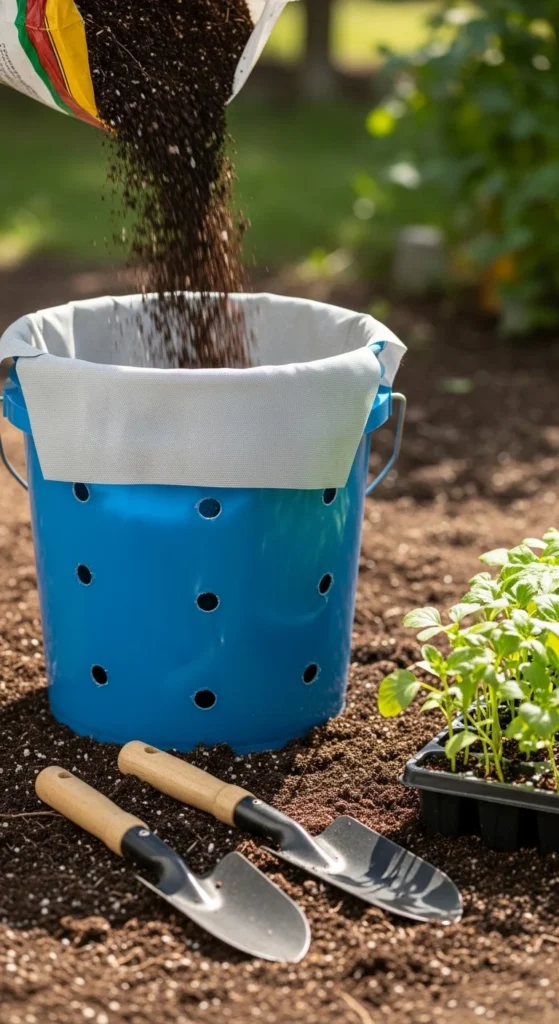
Build a Better Base Inside the Bucket
Once the holes are done, you can improve the setup with a few optional layers.
Many gardeners like to add:
- A thin layer of gravel at the bottom
- Landscape fabric or burlap above that layer
- Potting mix on top
This can help keep soil from washing out too quickly and improve overall structure inside the planter.
That said, the most important thing is not the gravel—it is using the right growing medium.
Use Potting Mix, Not Garden Soil
This is one of the most important bucket-gardening rules.
Garden soil is usually too dense for containers. In a bucket, it can compact, drain poorly, and create conditions that stress plant roots. Potting mix is lighter, fluffier, and better suited for container growing.
A good bucket-friendly mix should be:
- Loose and well-draining
- Rich in organic matter
- Light enough for healthy root growth
- Easy to water without becoming hard and compacted
You can also leave the bucket only about three-quarters full at first. That makes it easier to move and gives you room to top up later if the mix settles.
Add Safe Upgrades for Better Performance
Once your basic bucket planter is ready, you can keep things simple—or make it a little smarter.
Popular bucket upgrades include:
- Self-watering wick systems using a reservoir setup
- Lids turned into saucers for catching runoff
- Non-toxic exterior paint for UV protection
- Burlap or fabric wraps for a prettier look
- Grouping buckets by sun and water needs for easier care
If you like low-maintenance gardening, a self-watering conversion can be especially useful. These setups help reduce daily watering and work well for hot patios and balconies.
You can also get creative with how you plant. Some gardeners use buckets for upside-down tomatoes or vertical growing ideas, though standard upright planting is usually best for beginners.
Test, Watch, and Maintain Over Time
A reused bucket is not a forever planter. Sun, heat, and weather slowly wear plastic down, so it is smart to check your containers regularly.
Keep an eye out for:
- Fading or brittleness
- Cracks near the bottom
- Warping from heat
- Drainage holes clogging
- White salt buildup from repeated watering
It is also a good idea to test soil pH from time to time, especially if you are growing vegetables. Many edible crops do best in the 6.0 to 7.0 pH range, so a quick soil check can help you catch problems early.
Simple seasonal maintenance routine
- Wash and inspect buckets between plantings
- Clear blocked drainage holes
- Refresh potting mix as needed
- Rotate out damaged buckets
- Store clean empties out of harsh sun in the off-season
If you are stacking empty buckets, use spacers so they do not wedge together too tightly.
Smart Safety Reminders for Edible Gardening
When in doubt, keep your setup simple and safe.
Use buckets you can verify. Clean them well. Drill proper drainage. Fill them with potting mix, not backyard dirt. Then pay attention as the season goes on.
That small amount of prep makes a huge difference in plant health and peace of mind.
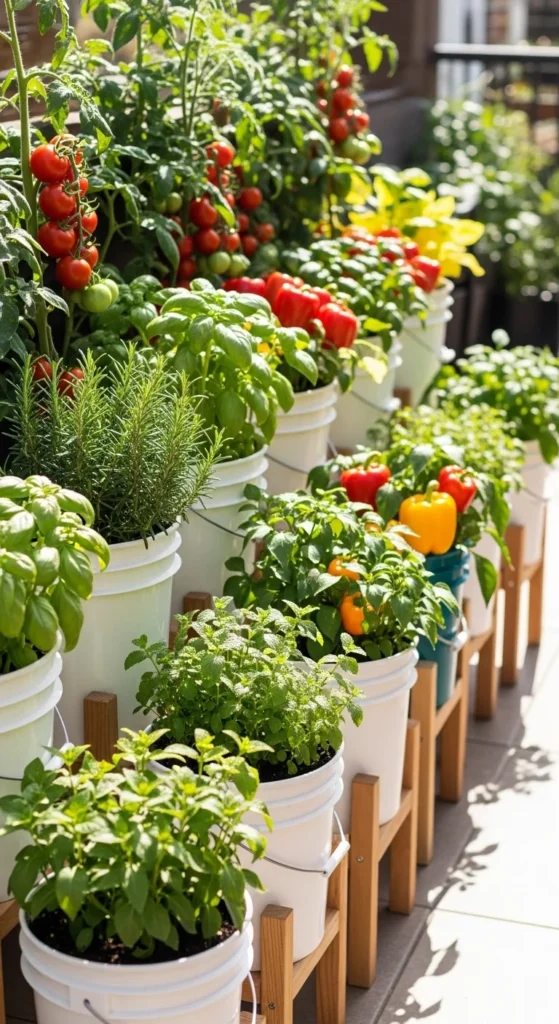
Final Takeaway
Reusing food-grade buckets for gardening is one of the easiest ways to build a productive container garden without spending much money. As long as you choose safe buckets, clean them thoroughly, and prep them for drainage and healthy soil, they can work beautifully for vegetables, herbs, and flowers.
Start with one bucket, do it right, and build from there.
Save this guide for later before your next bucket-garden project!

Leave a Reply