
If your bucket garden looks healthy one week and leggy the next, sunlight is usually the reason. In small spaces, a few feet can make a huge difference. A sunny balcony edge, a bright patio corner, or a spot that catches soft morning light can turn a struggling bucket into a thriving mini garden.
The best part? Bucket gardens are portable, which means you can move them, rotate them, and fine-tune your setup as the season changes.

Why Sun Placement Matters So Much
Bucket gardens are easy to start, but they depend heavily on smart placement. Unlike in-ground beds, buckets have limited soil and dry out faster, so the amount of sun they get directly affects growth, watering needs, and overall plant health.
Most vegetables and herbs do best with:
- 6–8 hours of direct sunlight daily
- Bright, open exposure without heavy shade
- Even light from multiple angles over time
- Enough airflow to prevent damp, crowded conditions
For sun-loving plants like tomatoes and peppers, more light usually means stronger stems, better flowering, and better harvests.
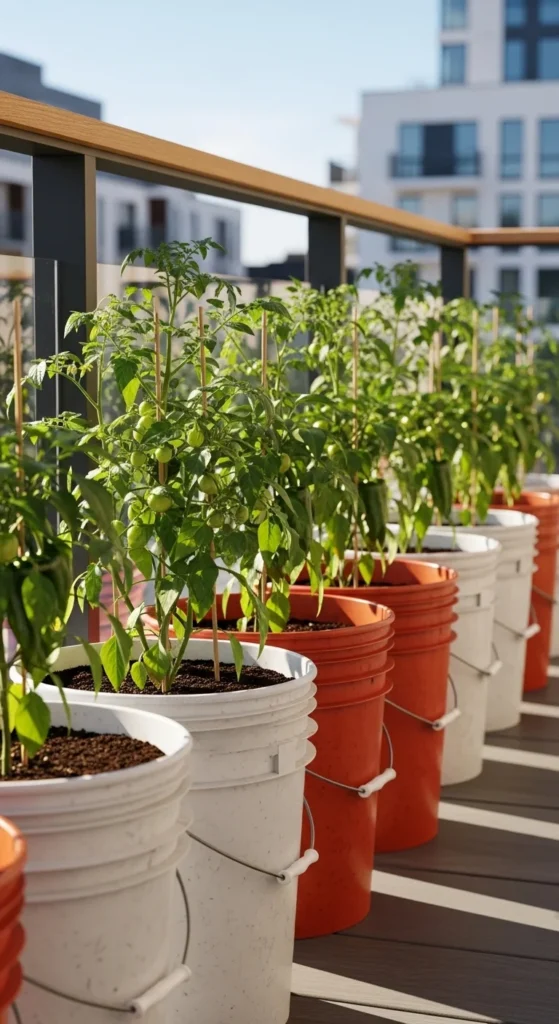
Choose the Sunniest Spot First
Before you arrange a single bucket, look for the brightest area in your outdoor space.
The best spots are usually:
- South-facing balconies or patios
- Open edges that are not blocked by walls or tall railings
- Areas that get long stretches of morning to early afternoon sun
- Level ground where buckets can sit evenly
If you are gardening in a tight urban space, balcony edges often get the strongest light. Just be sure your buckets are secure and not shading one another.
A simple rule: place your full-sun crops in the brightest zone first, then work the lower-light plants around them.
Match Plants to the Right Positions
Not every plant needs the exact same level of sun, which is why grouping your buckets strategically makes such a difference.
Try this smart layout:
Put full-sun plants on the edges
These are your highest-light crops, such as:
- Tomatoes
- Peppers
- Basil
- Eggplant
They should go where they get the most uninterrupted direct sun.
Cluster lower-light plants together
Plants that can handle a bit less intensity do well slightly farther back, including:
- Lettuce
- Spinach
- Cilantro
- Parsley
This kind of grouping keeps your garden more efficient and makes it easier to manage watering too.
Morning Sun Is Often Better Than Harsh Afternoon Heat
A lot of gardeners focus only on total sun hours, but the timing of that sun matters too.
Morning sunlight is often ideal because it is bright without being as harsh as late afternoon heat. That means:
- Less heat stress on leaves
- Slower moisture loss
- A gentler environment for herbs and tender greens
- Better comfort for south-facing balcony setups in hot weather
If your buckets sit in an especially hot location, watch dark-colored containers carefully. They can heat up fast and dry out the soil sooner than expected.
A quick heat-tolerant placement checklist:
- Use mulch to slow drying
- Check moisture daily in sunny spots
- Elevate buckets for better airflow
- Move heat-sensitive plants slightly back from the hottest edge
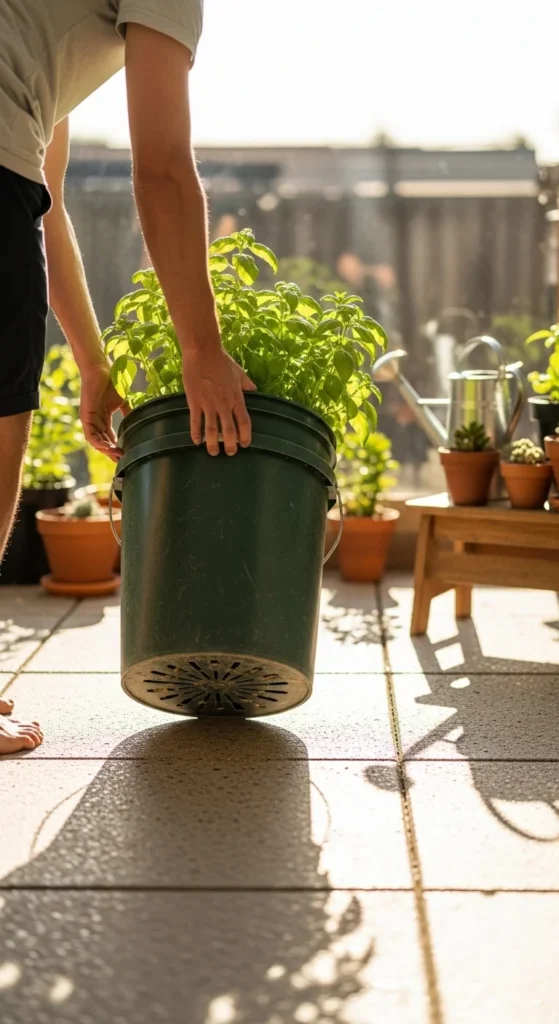
Elevate Buckets for Better Light and Airflow
Sometimes the fix is not moving your bucket across the balcony. It is lifting it a few inches.
Placing buckets on bricks, stands, or risers can help in a few useful ways:
- Improves airflow around the base
- Helps plants catch more early light
- Prevents buckets from sitting in pooled water
- Makes the garden feel more organized and intentional
This is especially helpful on patios where railings, low walls, or nearby furniture cast partial shadows.

Rotate Buckets for Even Growth
One of the easiest bucket garden habits is also one of the most effective: rotate your containers regularly.
If a bucket gets light mainly from one side, plants can become:
- Leggy
- Lopsided
- Weak-stemmed
- Bent toward the sun
A simple solution is to give each bucket a quarter-turn once a week.
To make rotation easier:
- Pick one day each week as your garden reset day
- Mark the bucket rim with a small dot or stick for tracking
- Rotate in the same direction each time
- Watch how your plants respond over two to three weeks
This tiny habit can make your garden look fuller, stronger, and much more balanced.
Chase the Light if Your Buckets Are Portable
One of the biggest advantages of bucket gardening is mobility. If your sunlight shifts during the day, use that to your advantage.
Portable buckets let you:
- Follow the daily sun path
- Move plants away from temporary shade
- Test different spots without replanting
- Adjust as seasons change and shadows shift
If your balcony or patio only gets partial sun, moving buckets even a short distance can help you collect extra hours of light.
This works especially well in small urban spaces where buildings, trees, and railings create changing patterns of sun and shade.
What to Do if You Do Not Get Enough Sun
Not every home has a perfect south-facing balcony, and that is okay. If you get less than 6 hours of direct light, you still have options.
You can:
- Grow more shade-tolerant herbs and greens
- Place buckets in the brightest available edge spots
- Rotate and move them more often
- Add supplemental grow lights indoors or in covered spaces
This is especially helpful for apartment gardeners dealing with nearby buildings or narrow balconies.
A Quick Sunlight Checklist for Bucket Gardens
Before you settle on your final layout, run through this list:
- Does the spot get 6–8 hours of direct sun?
- Are full-sun plants placed in the brightest area?
- Are lower-light plants grouped together?
- Can you rotate buckets weekly?
- Are buckets elevated for airflow and better access to light?
- Do you need to move containers during the day to chase sun?
- Is the area too hot in late afternoon, especially for dark buckets?
A few small adjustments can make a big difference in growth.
Final Takeaway
The best bucket garden setup is not always the biggest one. It is the one that uses sunlight wisely.
Start with your brightest spot, place full-sun plants on the edges, rotate buckets every week, and do not be afraid to move things around as the season changes. Bucket gardens are meant to be flexible, and that is exactly what makes them so effective in small spaces.
Save this guide for later and use it next time you set up your balcony or patio garden!

Leave a Reply