

Early winter is the perfect time to start flower seeds indoors so blooms arrive long before outdoor conditions warm.
Short days and cold weather make indoor setups especially valuable, allowing you to control light, temperature, and moisture with simple tools.
This guide focuses on practical, space-smart techniques that help seeds sprout steadily and grow strong until they are ready for transplanting.
The steps below cover lighting, soil care, humidity control, workflow organization, and budget-friendly tricks using recycled items.
Pick a few methods that match your space, and you can enjoy earlier color, sturdier seedlings, and a calmer spring planting routine.
1. Start With Quality Seed and a Clean Tray Setup
Good germination begins with clean tools and reliable seeds.
Before sowing, wash trays, pots, and humidity domes with warm soapy water.
Rinse well and let them dry completely.
Choose seed packets from reputable sellers or your own saved stock stored in cool, dry places.
Discard packets that show moisture damage or clumping.
Fill trays with a light seed-starting mix, not heavy garden soil.
It should feel airy when squeezed.
Level the surface with your hand and lightly moisten the top.
Working clean reduces early damping-off issues.
It also gives you a tidy base that makes winter seed-starting feel more controlled and predictable.
These simple steps shape the foundation for helpful habits later in the season.
2. Pre-Moisten Soil Before You Sow
Dry mix repels water, making early watering tricky.
Moisten your soil before placing it in trays.
Add water a little at a time in a big bowl, mixing with your hands until the soil feels like a wrung-out sponge.
It should clump lightly but break apart with a poke.
Fill the trays with this damp mix and tap the bottom lightly to settle it.
Avoid packing it tightly; loose texture encourages root spread.
Pre-moistened soil helps tiny seeds sit safely on the surface without floating away when watered later.
It also reduces the need for heavy overhead watering during early germination.
This small habit helps you start with consistent moisture across all cells.
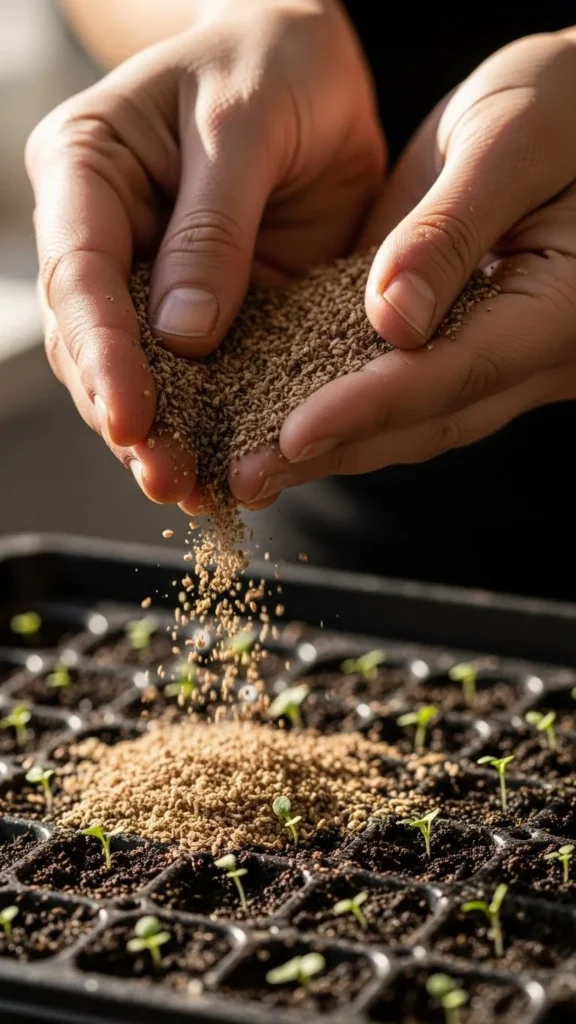
3. Match Sowing Depth to Seed Size
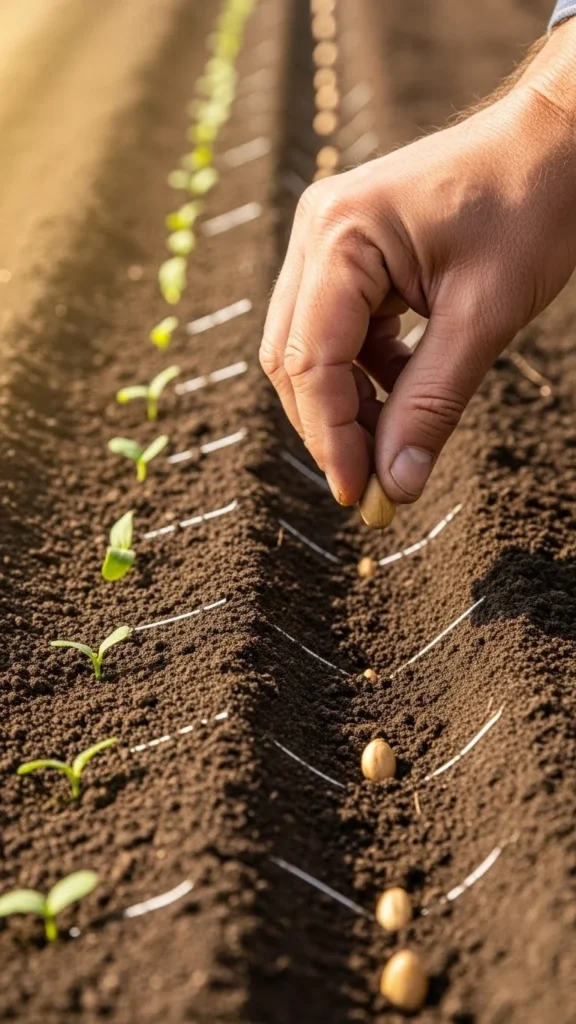
Seed depth makes a real difference in winter.
Small seeds struggle when buried too deep, while large seeds need cover for darkness and moisture.
A simple rule: tiny seeds stay on the surface, medium seeds go about twice their thickness down, and large seeds sit deeper.
Use a pencil tip or dibber to guide depth.
Mist surface-sown seeds gently after planting.
Use fine vermiculite or sifted soil to top-dress lightly if instructions require it.
Accurate depth gives seedlings a smooth start and avoids delays in harsh indoor-winter conditions where light is limited.
This attention to detail saves guesswork later.
4. Label Everything Immediately
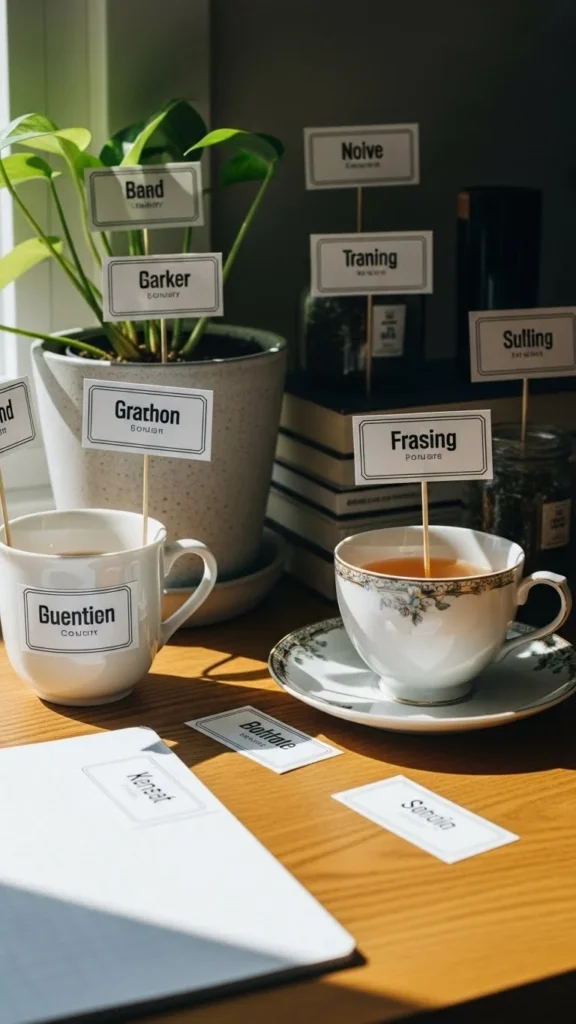
Winter trays often contain many varieties that germinate at different speeds.
Without labels, confusion arrives fast.
Use weatherproof markers, plastic tags, or cut pieces of old yogurt lids.
Write variety, date, and any special notes like “light-required” or “surface-sown.”
Place labels along the tray edges rather than the middle to avoid dislodging them as seedlings grow.
If you keep multiple trays, snap quick phone photos for backup.
Accurate labeling supports your workflow later when thinning, transplanting, and planning bloom timing for early spring.
5. Create a Warm Germination Zone

Many flower seeds sprout more easily with warm soil.
Use a seedling heat mat or warm household spot such as the top of a fridge.
Set trays on the heat source until most seeds sprout.
Keep domes slightly vented to avoid excess condensation.
Check moisture daily; warm soil dries faster.
Mist lightly rather than drenching.
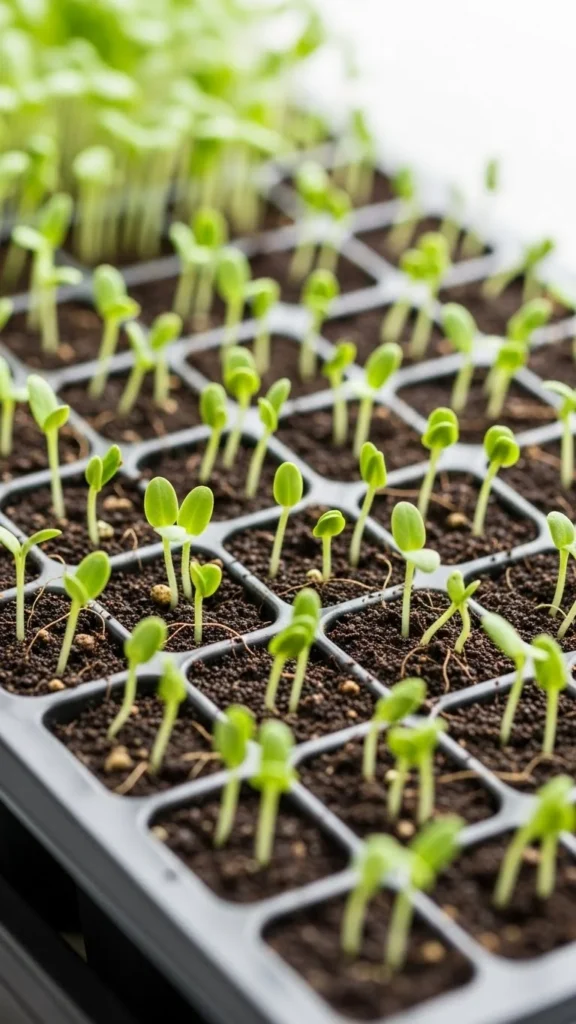
Once sprouts appear, move trays to a cooler, well-lit area.
This step prevents leggy seedlings.
Building a focused germination area is simple and helps seeds wake up confidently in early winter’s dark months.
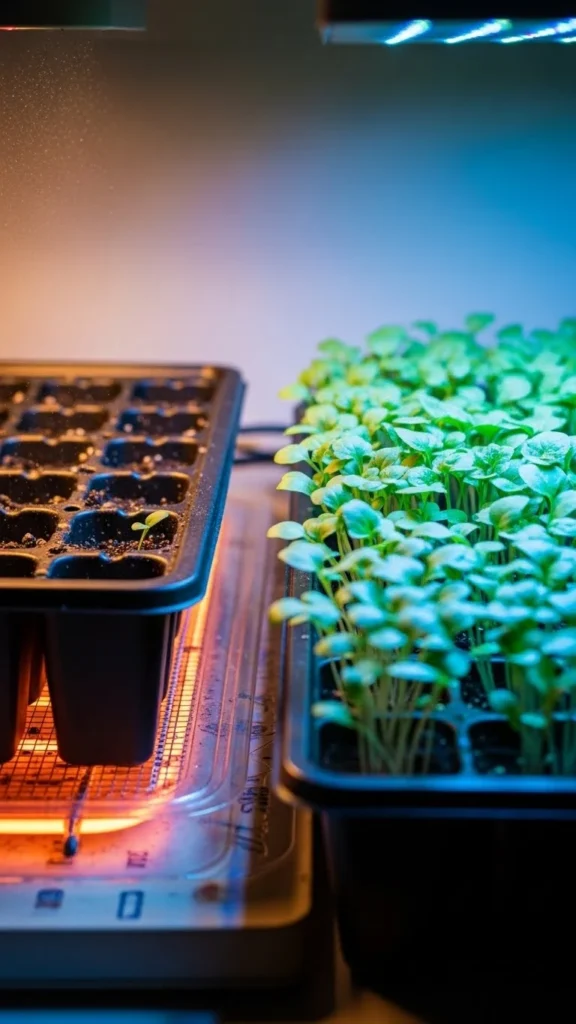
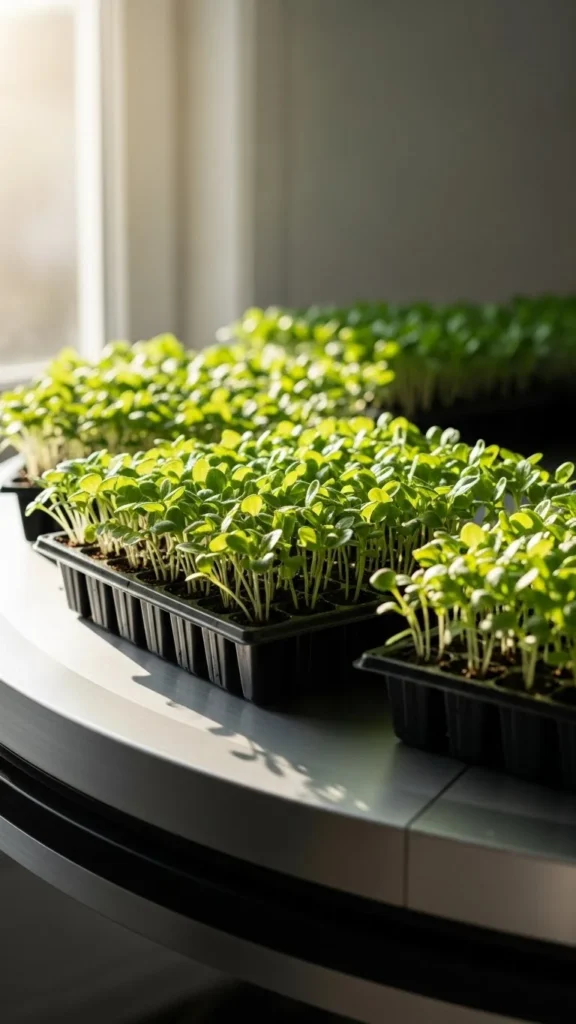
6. Give Sprouts Strong Light From Day One
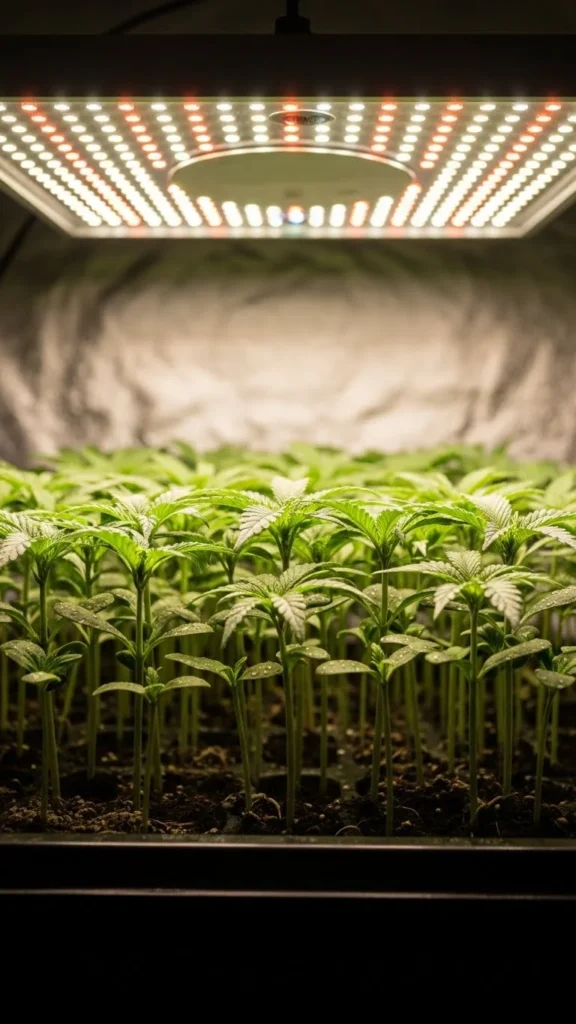
Short winter days rarely offer enough light power.
Set up LED grow lights to keep sprouts compact and strong.
Hang lights close to seedlings—about 10–15 cm above the tops.
Adjust height as plants grow.
Run lights 12–14 hours daily using a basic timer.
If you rely on a window, choose a south-facing one and rotate trays often.
Still, aim to supplement with artificial light to prevent stretching.
Consistent brightness encourages leafy, sturdy seedlings that move to garden beds with confidence later.
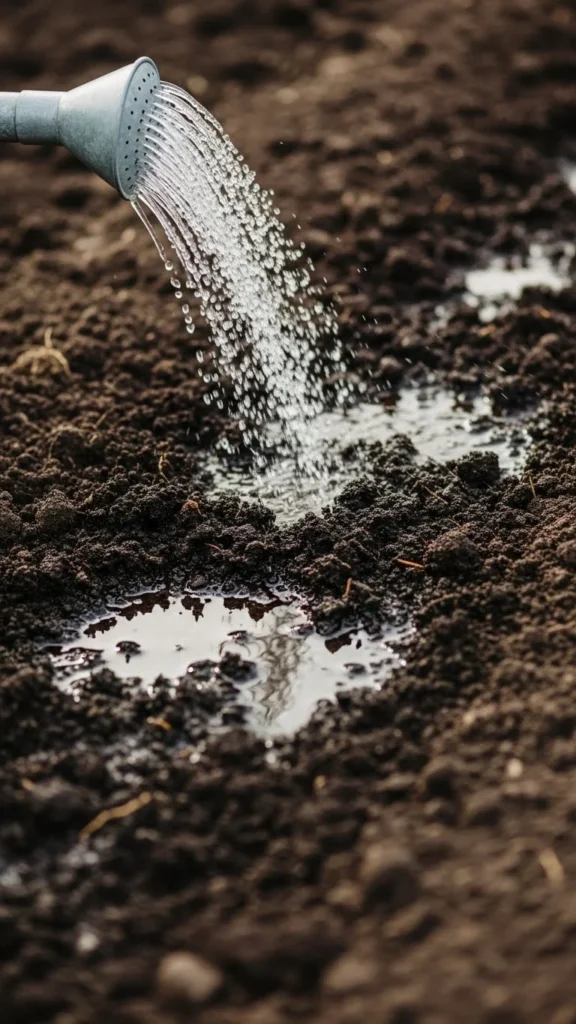
7. Use Bottom Watering to Avoid Seed Disturbance
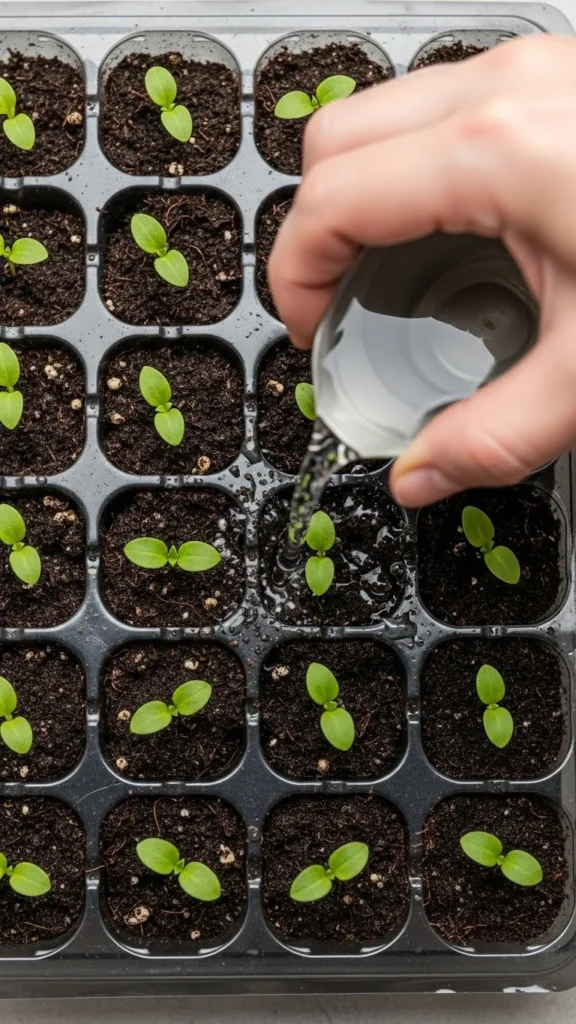
Heavy top watering can shift seeds or flatten seedlings.
Bottom watering keeps the surface intact.
Place your seed tray into a shallow water-filled tray for 10–20 minutes.
The soil absorbs moisture upward.
Remove trays once the top looks evenly darkened.
Repeat when the surface lightens.
This cycle prevents soggy soil, keeps roots oxygenated, and limits fungal trouble.
Bottom watering suits busy growers with many trays and gives consistent, gentle moisture ideal for early winter starts.
8. Vent Humidity Domes Gradually

Humidity domes trap warmth and moisture, perfect for germination.
But they require careful venting.
As soon as you spot sprouts, open vents halfway for a day or two.
Next, lift the dome slightly with a pencil or small block.
After two more days, remove it completely.
This staggered approach prevents sudden drying while lowering fungal risk.
Domes work best as early-care tools, not long-term covers.
Use them with intention and your seedlings stay balanced.
9. Thin Seedlings Early for Better Airflow
Crowded seedlings compete for light and airflow.
Thinning avoids stress later.
Once sprouts form two true leaves, check each cell or pot.
Clip extra seedlings at the base with scissors instead of pulling them.
This avoids root disturbance.
Leave the strongest, most compact seedling in each space.
Better airflow lowers humidity buildup and keeps leaves from touching too closely.
These small trims give remaining seedlings room to thrive indoors during winter’s short days.
10. Use Fans to Encourage Strong Stems
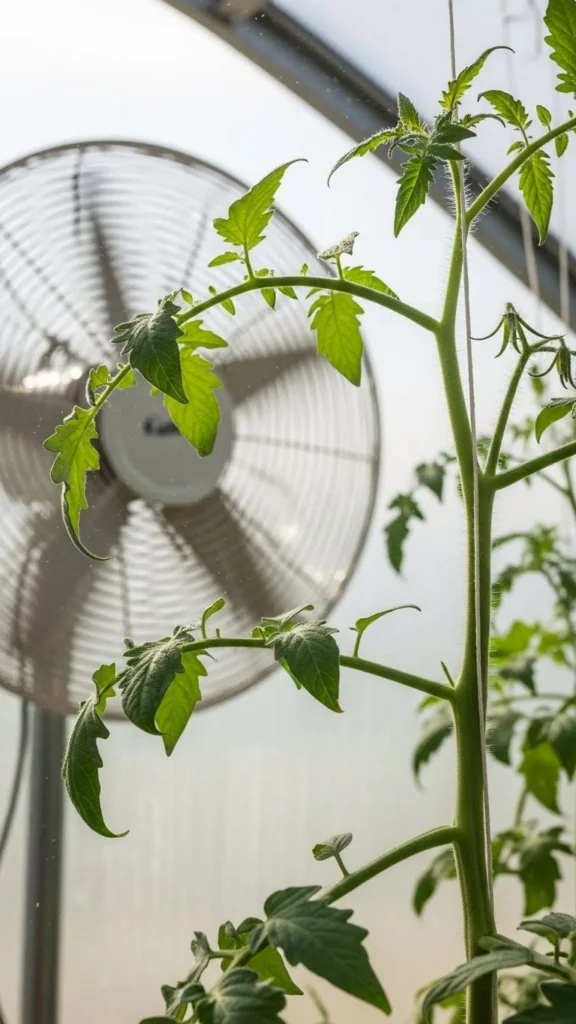
Still indoor air creates weak seedlings.
A light breeze encourages sturdier stems.
Set a small fan a short distance from trays.
Run it on low for 20–30 minutes a few times a day.
Airflow should be gentle, not gusty.
You can also brush your hand lightly across seedlings once or twice a day.
This mimics movement and encourages thicker stems.
Improved airflow limits fungal growth and keeps moisture from lingering on soil surfaces.
11. Reuse Household Items as Seedling Pots
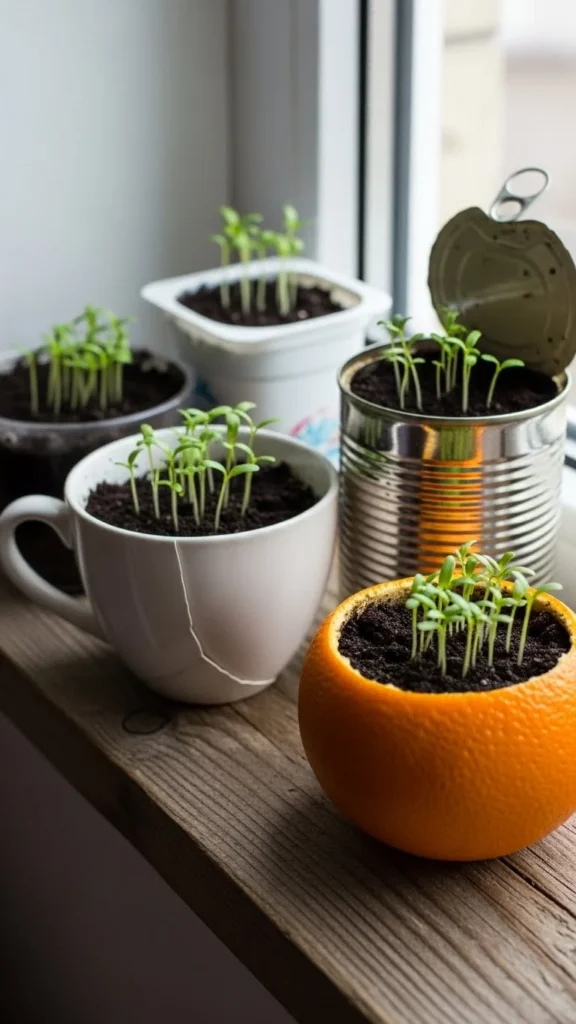
You do not need expensive containers.
Plenty of household items make excellent seedling pots.
Use yogurt cups, paper cups, egg cartons, or cut-down milk jugs.
Punch holes in the base for drainage.
Set them inside trays to catch water.
Decorative tins or tea cans can also work if cleaned thoroughly and lined with paper.
Group same-height containers together under lights for even illumination.
Reusing containers saves money and gives winter seedlings steady homes while reducing clutter.
12. Keep Seeds Warm but Seedlings Cool
Many seeds sprout better in warm soil, yet seedlings grow sturdier in cooler air.
Separate these two stages.
Use heat mats during germination only.
Once you see green, move trays off the heat into a cooler, bright area.
Aim for slightly lower room temperatures to prevent tall, weak stems.
Good airflow and strong light pair well with cooler air.
This shift helps create compact seedlings tailored for early blooms when spring arrives.
13. Track Germination With a Simple Chart
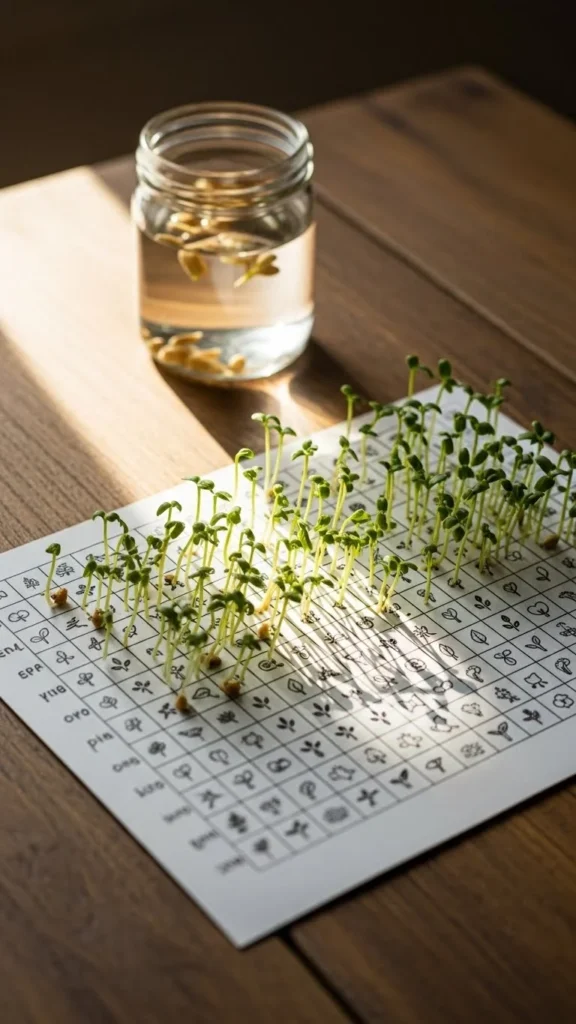
Each flower species germinates at its own pace.
Tracking progress removes guesswork.
Make a chart listing variety, sowing date, expected germination time, and actual sprout date.
Hang it near your grow area or keep it in your phone.
If a tray falls far behind expected timing, check moisture, depth, and seed age.
This record helps you learn which varieties thrive under your indoor winter conditions.
It also guides future planting schedules.
14. Keep a Balanced Moisture Cycle
Indoor winter air can be dry, yet soil must avoid waterlogging.
Create a measured cycle.
Water when the top centimeter of soil turns lighter in color.
Use bottom watering when possible.
Let surface layers breathe between cycles.
Avoid letting trays sit in water for long stretches.
Roots need oxygen as much as moisture.
Balanced watering supports steady root growth and prevents issues like damping-off.
Simple observation keeps everything aligned.
15. Add Fine Vermiculite for Surface-Sown Seeds
Surface-sown seeds require light yet appreciate slight cover to stay moist.
Fine vermiculite provides the perfect layer.
After sowing, sprinkle a thin dusting of vermiculite across the surface.
It holds moisture gently and prevents seeds from drying too fast.
This layer stays airy and transparent enough for light-required germinators.
It also limits algae growth often seen on wet seed tray surfaces.
A small bag lasts many seasons and improves germination consistency.
16. Use Recycled Clear Lids as Mini Propagators
Not every tray needs a commercial dome.
Recycled clear lids from bakery containers or takeout boxes make excellent alternatives.
Place them lightly over trays to trap humidity.
Lift them once or twice daily to vent moisture.
Remove them entirely when seedlings show strong stems.
These makeshift propagators cost nothing and reduce plastic waste.
They also let you customize cover sizes for oddly shaped containers.
17. Group Plants by Growth Speed
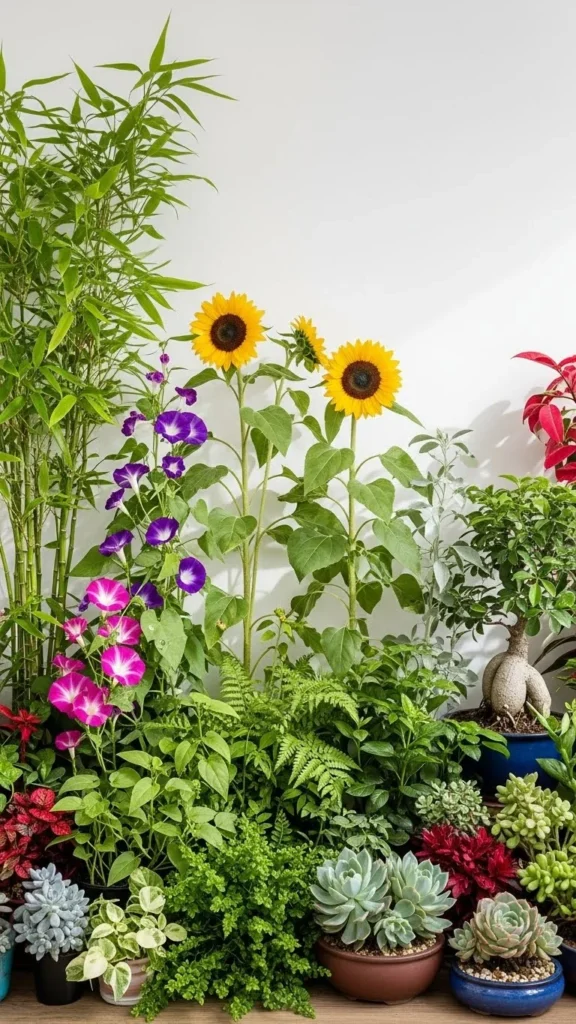
Mixing fast and slow growers in one tray creates uneven care.
Group seeds with similar growth speeds.
Fast sprouters like cosmos or marigolds pair well together.
Slower varieties like delphinium or lavender prefer their own trays.
This makes thinning, lighting adjustments, and watering easier.
It also stops vigorous seedlings from shading slow starters.
Organized grouping creates smoother workflow and cleaner early winter seed-starting habits.
18. Rotate Trays for Even Growth
Seedlings lean toward light sources.
A simple rotation prevents one-sided growth.
Turn trays a quarter turn every day or two.
If using shelves with fixed lights, rotate containers between shelves for consistent intensity.
Even rotation creates balanced stems and avoids plants bending dramatically.
This becomes especially important for taller varieties that grow fast under indoor lights.
19. Repot Early to Avoid Root Binding
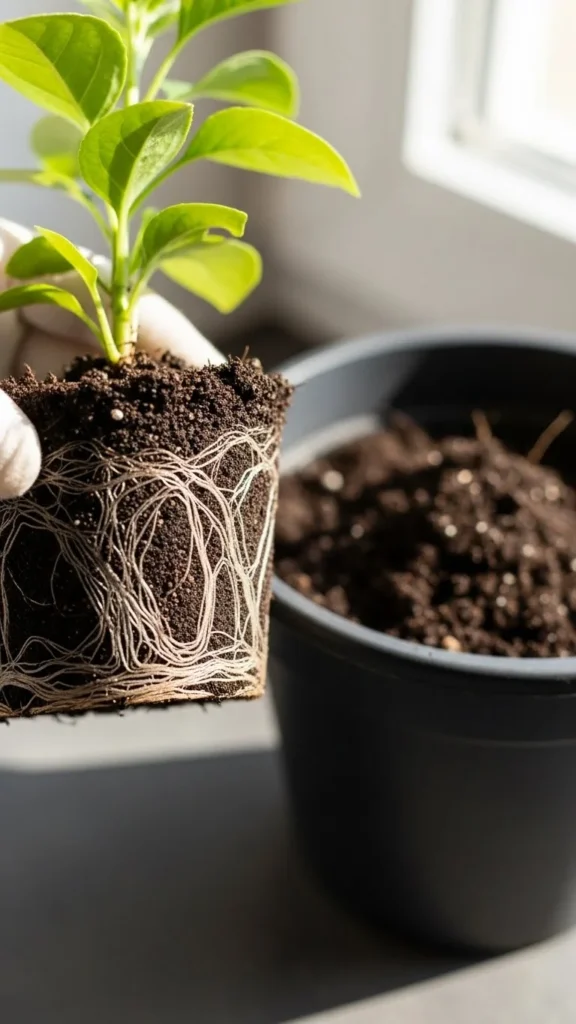
Some seedlings outgrow starter cells quickly.
Check roots by gently lifting a plug.
If white roots circle the edge, it’s time to up-pot.
Move seedlings into slightly larger pots with light potting mix.
Avoid giant pots; slow, steady size increases work best.
Repotting early supports stronger root systems and healthier flowering when transplanted outdoors.
It also gives you time to correct spacing long before spring.
20. Keep a Stable Temperature Range
Winter homes often have fluctuating temperatures.
Seedlings prefer steadier conditions.
Keep trays away from drafty doors, heaters, or cold windows overnight.
Aim for a consistent cool-but-not-cold environment.
Use simple thermometers near seed shelves to track daily swings.
Adjust placement if temperatures vary dramatically.
Stable conditions support slow, steady development, which leads to earlier blooms outdoors.
21. Feed Seedlings Lightly After True Leaves Form
Young seedlings need gentle feeding, not full-strength fertilizer.
Wait until two true leaves appear.
Then mix a diluted liquid feed—about one-quarter strength—and water lightly around the root zone.
Feed every 10–14 days depending on growth.
Avoid feeding when soil is very dry or very wet.
Light, steady nourishment supports even foliage growth without overwhelming delicate winter seedlings.
22. Harden Off Indoors Before Outdoor Exposure

Before seedlings meet outdoor light, practice a mild indoor hardening routine.
Place trays in a cooler room near a bright window for an hour or two daily.
Increase exposure gradually across a week.
Then begin short outdoor sessions on mild days.
Shade, wind protection, and gentle light reduce transplant shock.
A careful indoor-to-outdoor shift gives plants resilience long before they face real spring weather.
Conclusion
Indoor seed-starting in early winter helps you build a strong pipeline of young plants ready to flower far earlier than waiting for spring sowing.
By controlling moisture, light, airflow, and temperature with simple, affordable steps, you set each seed on a steady path toward healthy growth.
Pick a few techniques from this list—maybe stronger lighting, bottom watering, or homemade propagators—and add more as your setup expands.
With steady habits through winter, your garden rewards you with earlier color, healthier plants, and smoother spring planting.

Leave a Reply