
Winter bulb-planting sets the stage for early spring color long before warmer days arrive. Many gardeners place bulbs into the ground without a clear plan, but simple adjustments can shape stronger bloom cycles. This guide breaks down practical, repeatable techniques that help bulbs settle well during cold months. Each idea works for small yards, patios, or container gardens, and every method focuses on spring color that appears right when you want it. Whether you’re planting tulips, daffodils, hyacinths, or crocuses, these methods give you predictable results without extra equipment.
1. Deep Layering for Multi-Stage Blooms
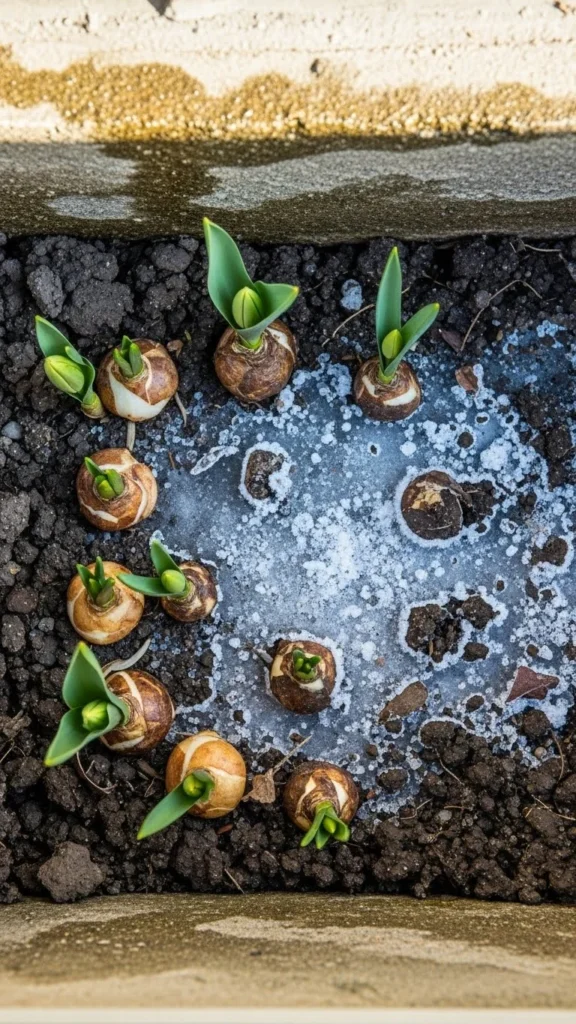
Layering bulbs in one spot helps create waves of spring color. Start by digging a wider hole than usual. Add the largest bulbs at the bottom. Add soil, then place mid-size bulbs, followed by the smallest ones near the surface. This approach uses one patch of soil to deliver several bloom periods. It’s helpful for smaller yards where space matters. You also waste less soil because everything sits in one zone. If you’re planting on a tight budget, try mixing leftover bulbs from different bags. They don’t need to match. Once planted, add straw or dried leaves for insulation. Water lightly so soil settles without becoming soggy. As temperatures warm, color appears layer by layer. This method fits raised beds, containers, or ground-level gardens.
2. Mulch-Heavy Insulation for Colder Regions
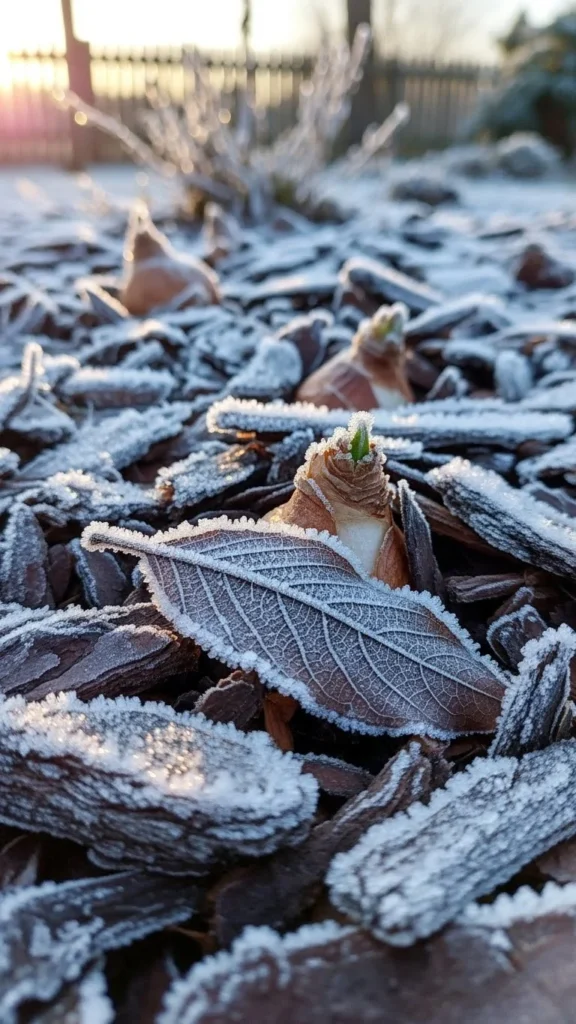
Thicker mulch acts as a blanket for bulbs that sit closer to the soil surface. Spread about three to five inches of mulch over your planting area. Wood chips, shredded leaves, or straw work fine. This helps bulbs stay stable when temperatures jump around. It also keeps moisture steady during dry winter spells. If you already have a mulch pile from fall cleanup, use it instead of buying new bags. For small gardens, mulch also cuts down on early weed growth. When spring arrives, gently rake the top layer aside so shoots can push through easily. This method works well for bulbs planted late because mulch protects them from fast freezes. Try using darker mulch if your area warms slowly, as it absorbs heat faster.
3. Using Raised Beds for Warmer Soil
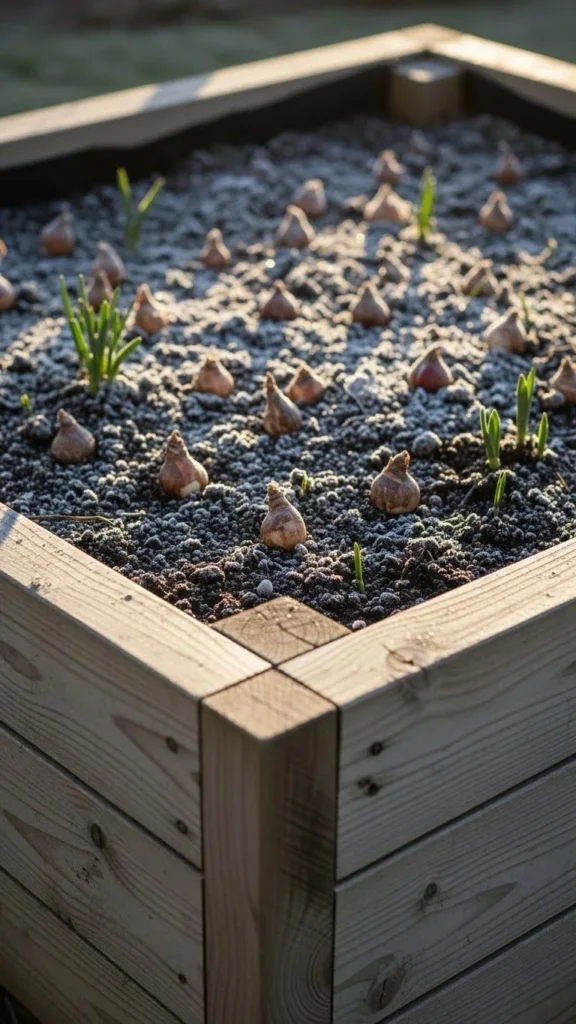
Raised beds warm faster than ground soil. This benefits bulbs that require early root activity. Fill your bed with loose soil that drains well. Mix in compost before placing bulbs. Space bulbs slightly closer than usual if your raised bed is shallow. This setup works for small lawns or patios where ground digging is limited. Raised beds also prevent waterlogging, which helps bulbs avoid rot during thaw cycles. If building a new bed feels expensive, repurpose old wooden crates or stack reclaimed boards. Keep an eye on moisture because raised beds dry faster. Add a light mulch layer if your area gets strong winter winds. When spring sun hits the higher soil, bulbs sprout earlier.
4. Cold-Frame Bulb Planting for Early Emergence
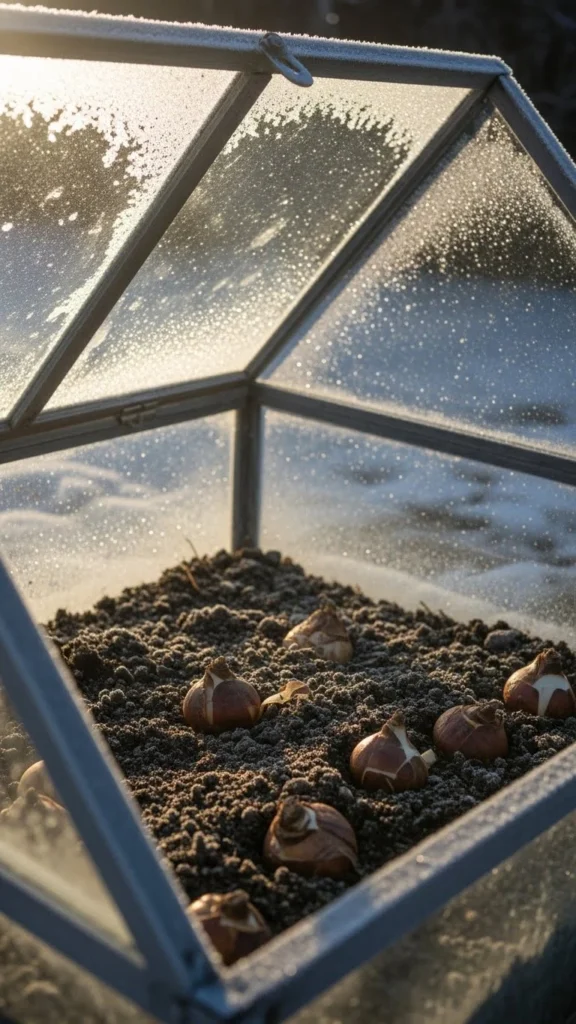
A cold frame functions like a small greenhouse. It traps heat while still allowing natural cold exposure. Plant bulbs inside the frame using the same spacing as an outdoor bed. Close the lid during very cold nights. This helps bulbs develop roots earlier than those in open soil. It’s helpful for gardeners who want the first splash of color. Many people build cold frames from scrap windows and boards, which keeps costs low. Remember to air it out on warmer days so bulbs don’t overheat. Water lightly and check soil frequently. If your yard faces strong winds, secure the frame with bricks or stakes. By late winter, tiny shoots often appear earlier than expected.
5. Pot-in-Pot Winter Storage for Container Bulbs
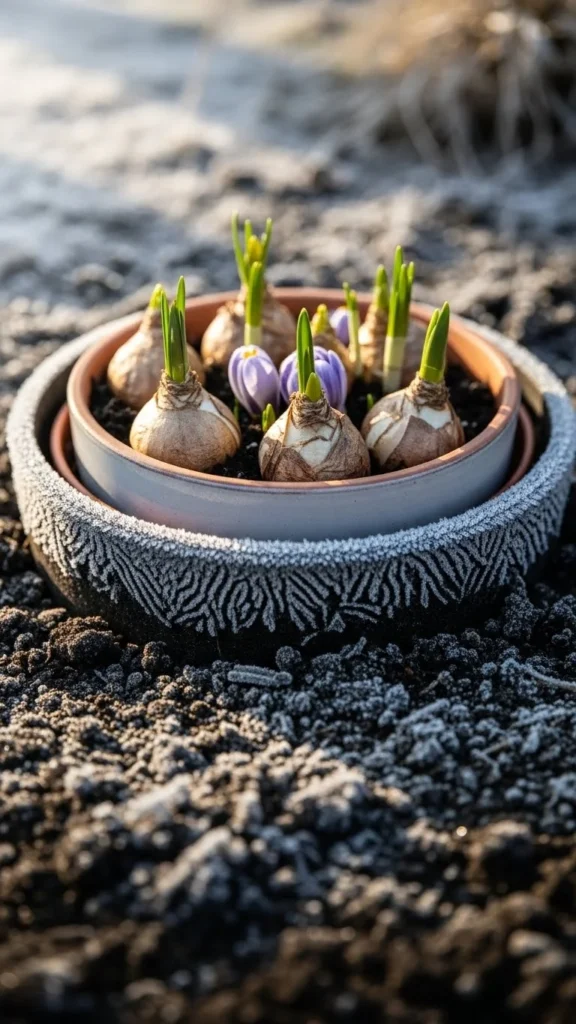
This method works well for gardeners who want to rearrange display pots quickly in spring. Place bulbs in a decorative pot and bury it inside a larger pot sunk into the ground. The soil insulates both pots through winter. When spring arrives, lift the inner pot and place it wherever color is needed. This system also prevents rodents from reaching the bulbs. Use inexpensive plastic pots inside so the outer pot stays clean. Add gravel at the bottom to help drainage. This is useful for renters because you can remove pots easily when moving homes. Store extra pots nearby so you can swap displays quickly. Keep soil slightly moist during long dry spells.
6. Sand Mix for Improved Drainage
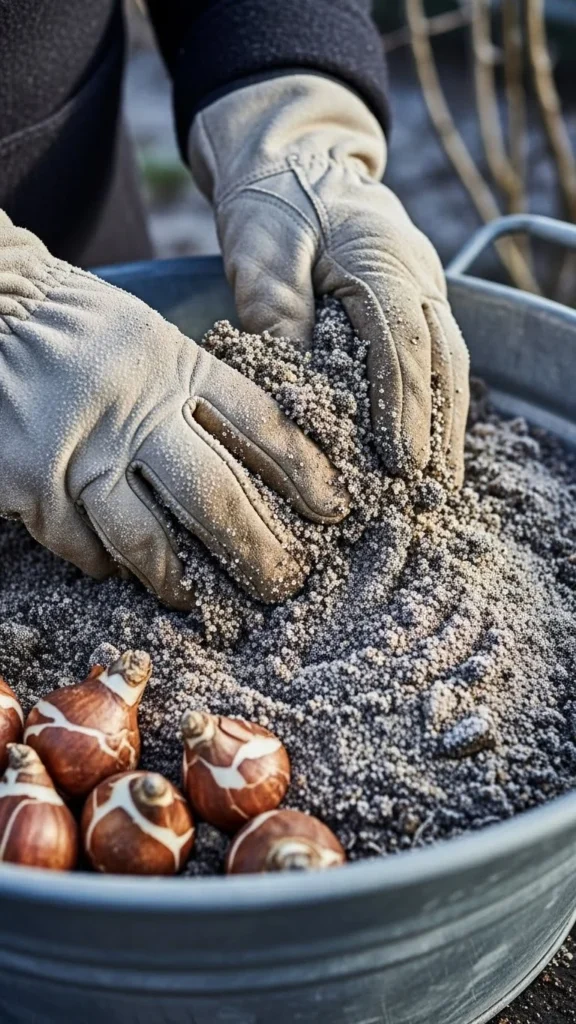
Bulbs dislike soggy soil. Adding coarse sand keeps water moving. Mix two parts soil with one part sand. This creates a lighter texture that helps roots spread. It’s an easy fix for clay-heavy yards. Sand also helps bulbs settle evenly when the temperature shifts. If buying sand feels expensive, use leftover paver sand from old landscaping work. Plant bulbs slightly deeper when using a sand mix because the soil settles more. Water gently after planting, since sand drains quickly. In spring, blooms often come out stronger because the roots develop well during winter.
7. Grouping Bulbs in Tight Clusters
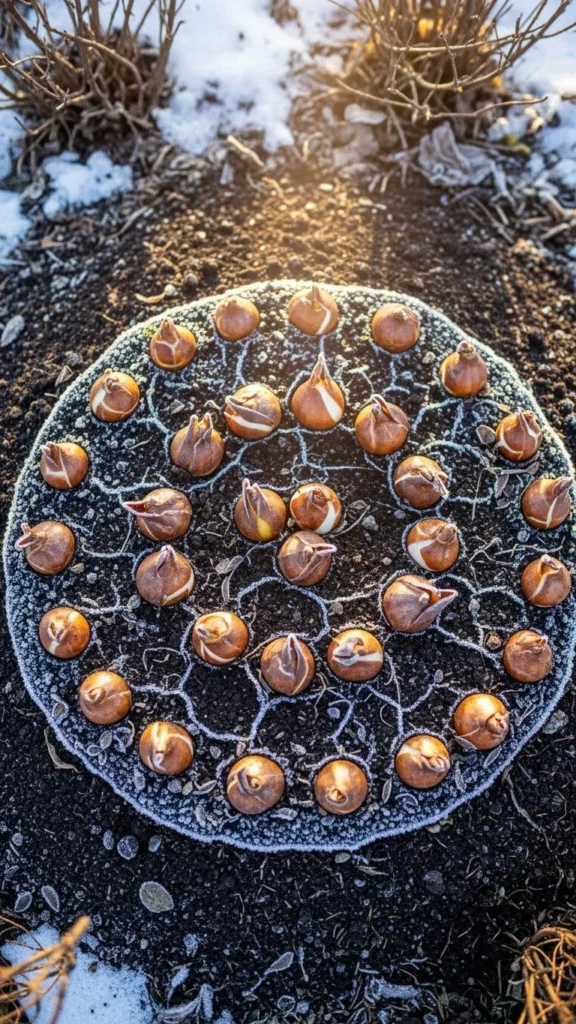
Tight clusters create strong color patches. Instead of spacing bulbs far apart, place them in small groups of five to ten. This approach works well for small yards or corners that lack structure. The visual effect is stronger when flowers bloom close together. It also reduces wasted soil space. Gardeners who buy bulbs in mixed bags often benefit from cluster planting because it makes random colors look intentional. Add a compost scoop into the hole so bulbs get some organic matter. Cover with soil and press lightly. Water enough to settle the soil but avoid soggy conditions. This simple method brings a bold look with minimal effort.
8. Gravel Base for Bulbs in Wet Areas
If your yard stays wet, a gravel base keeps bulbs safe. Dig a hole deeper than usual and pour in one inch of small gravel. Place bulbs on top, then cover with soil. The gravel prevents water from pooling under bulbs. This helps reduce rot in water-heavy regions. It’s a low-cost trick for gardeners dealing with soggy spots. You can use leftover aquarium gravel or landscaping gravel. Check soil height so bulbs don’t sit too shallow. Add mulch if your winter wind is strong. When warmer days arrive, sprouts pass easily through soil because the gravel sits below, not above.
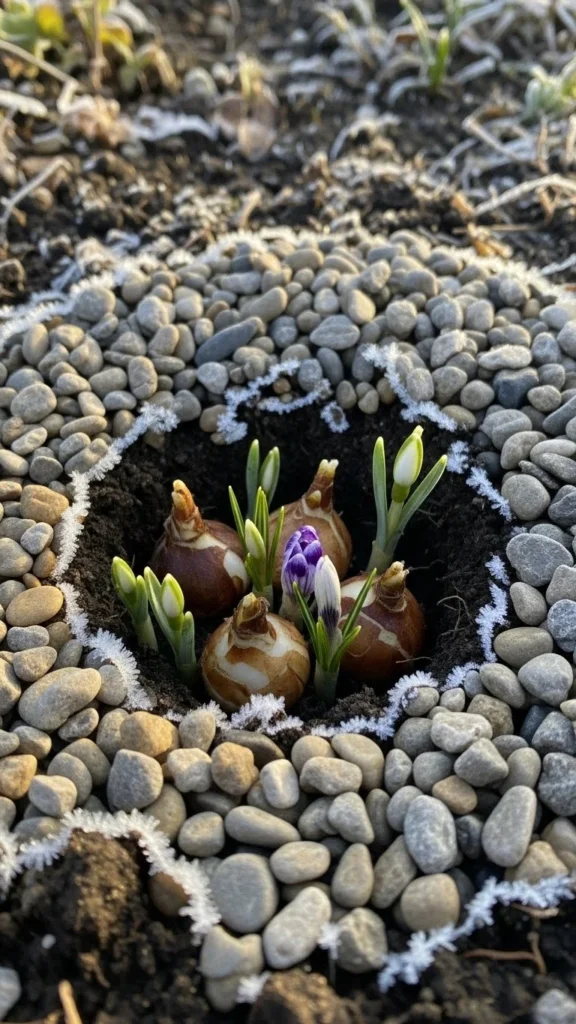
9. Planting Early-Blooming Varieties Together
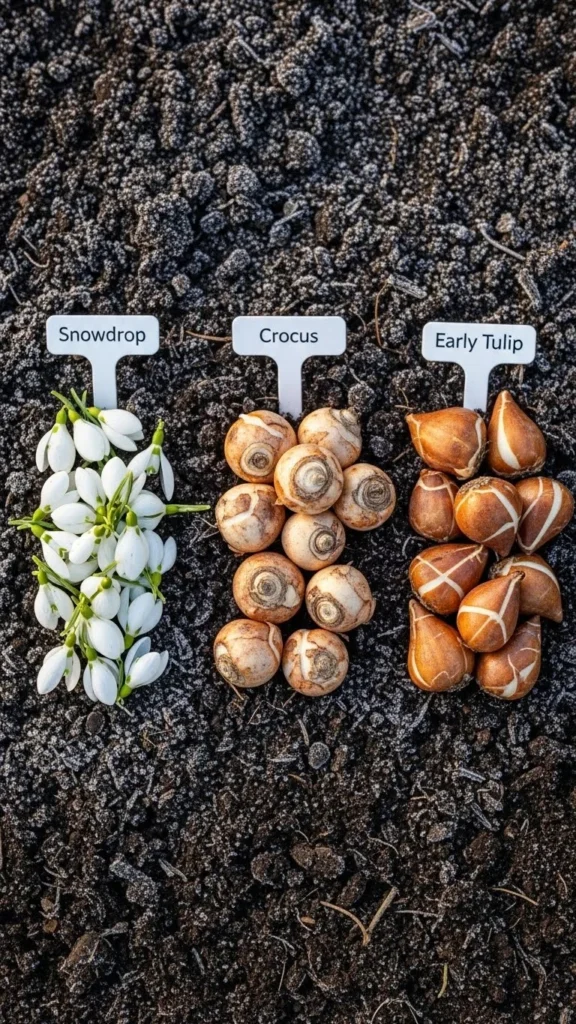
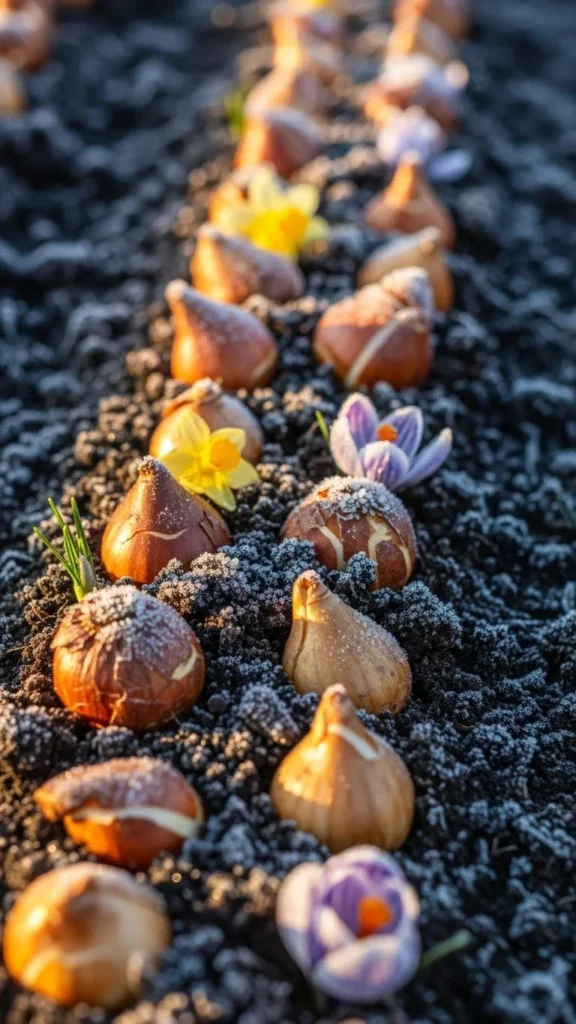
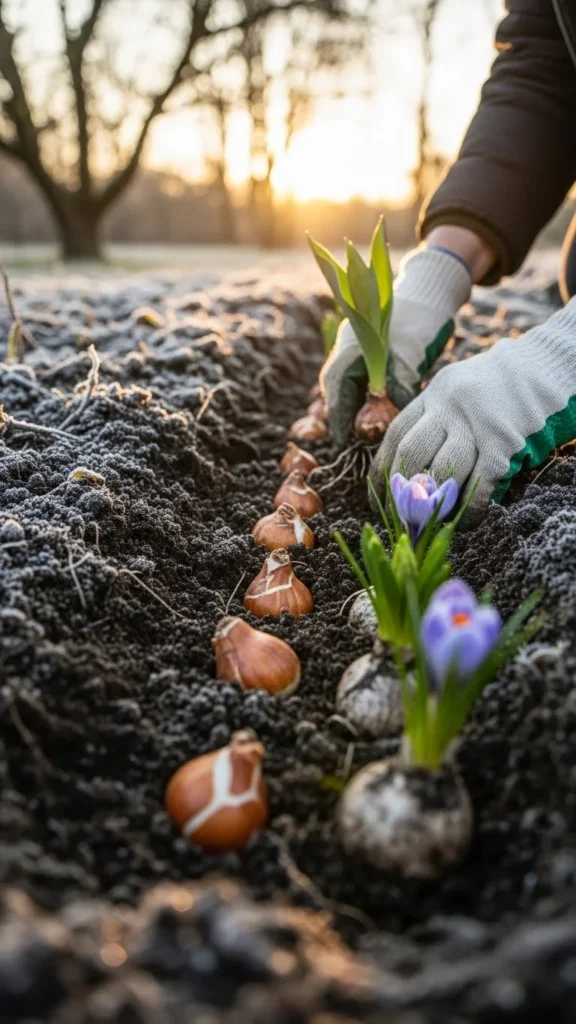
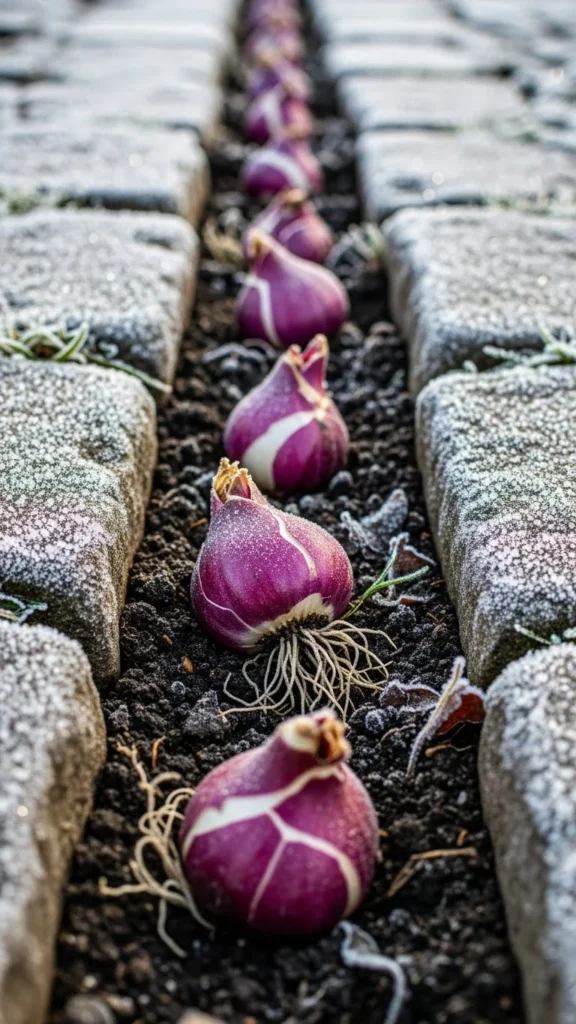
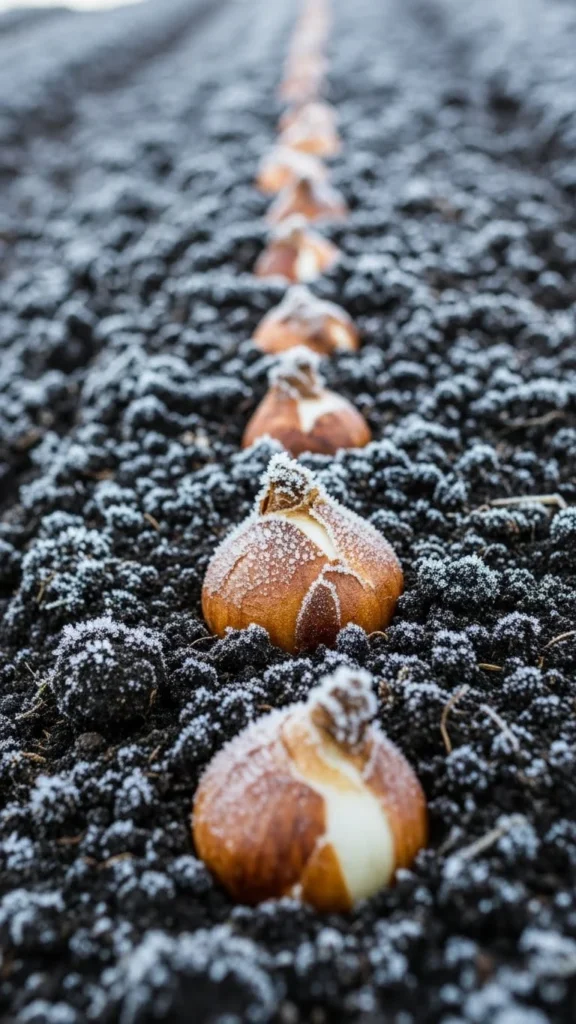
Choosing varieties that sprout early creates stronger spring color. Crocuses, snowdrops, and early tulips often bloom first. Plant them near walkways or kitchen windows so you can enjoy early growth. If you’re working within a budget, pick mixed early-spring bags from local nurseries. They usually cost less. Place bulbs in the ground before soil freezes hard. Add a light mulch layer for insulation. Water only if the soil is dry. Expect color even before many shrubs wake up. These bulbs also handle late frosts well because they evolved for cold climates.
10. Using Compost-Rich Soil for Root Strength
Compost gives bulbs a soft base for root growth. Mix compost into the top eight inches of soil before planting. This increases aeration and keeps roots comfortable during cold weeks. Many gardeners collect homemade compost from kitchen scraps, which cuts costs. Plant bulbs at recommended depth so they do not sit too high. Cover with soil and press gently to remove air pockets. Water lightly and let winter moisture take over. The compost helps bulbs wake earlier because it warms slightly faster than dense soil. In spring, flowers often appear uniform because the roots share an even environment.
11. Heavy Clay Soil? Use Trench Planting
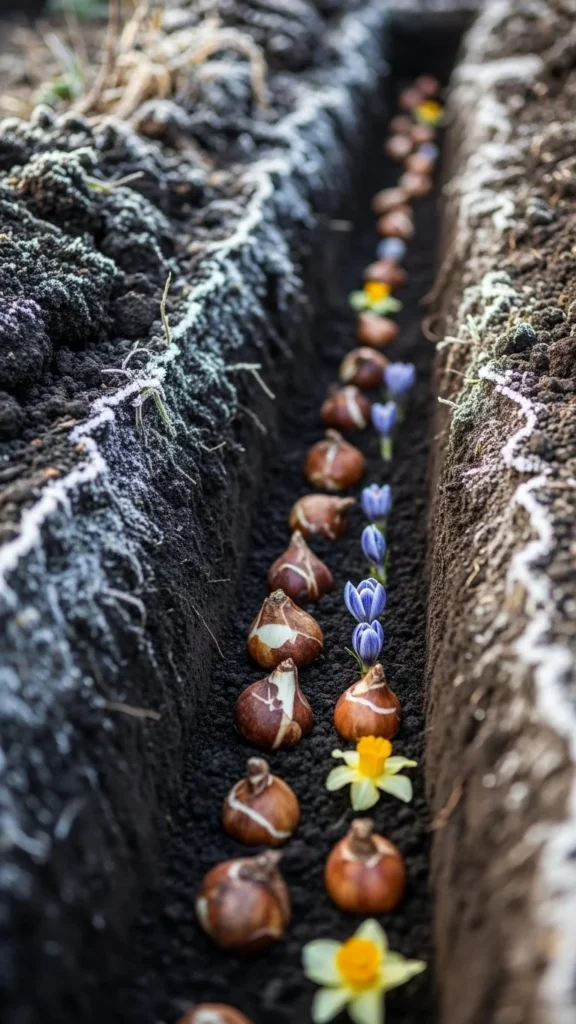
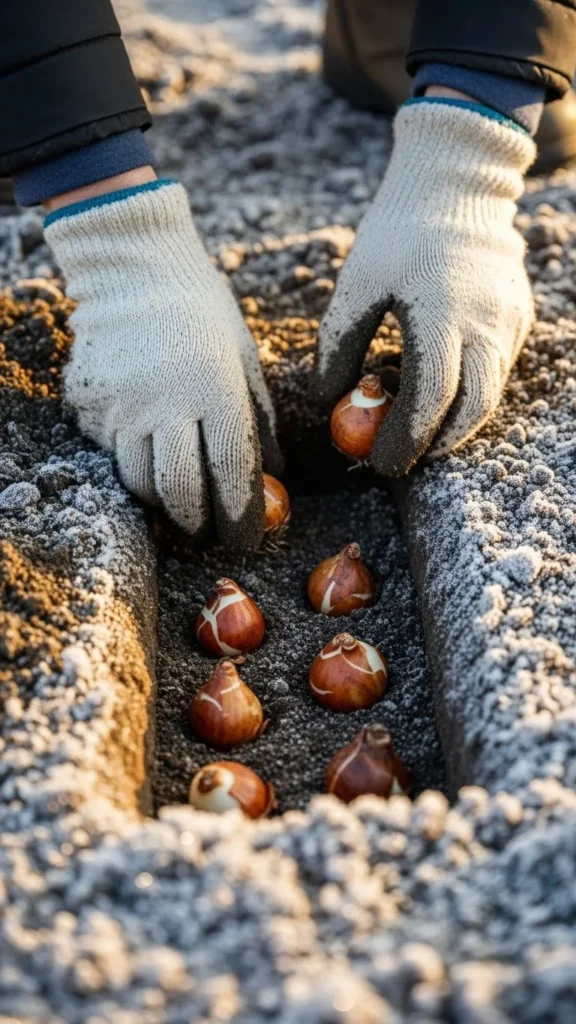
Clay soil can slow root growth. Digging a trench lets you amend a long strip of soil at once. Add compost, sand, and leaf mold into the trench. Mix well before placing bulbs. This method works well for large areas or borders. Instead of digging individual holes, you treat the soil in one go. This saves time and reduces effort. Place bulbs evenly along the trench and cover with loose soil. Add mulch if your region freezes hard. The improved texture helps roots spread more freely. Spring color often appears more uniform because bulbs have consistent soil.
12. Window-Well Bulb Planting for Warmer Microclimates
Areas near home foundations stay slightly warmer. Planting bulbs here helps them sprout earlier. Clear leaves from the window well and loosen the soil. Add compost if the ground is compact. Place bulbs around the perimeter so they receive reflected heat from the wall. This works well for small spaces or renters because the planting area is contained. Use early varieties for the strongest results. Add a thin mulch layer to protect against sudden cold snaps. As the sun warms the wall, nearby bulbs respond quickly. This creates a nice early-spring display close to your home.
13. Planting Bulbs Under Deciduous Trees
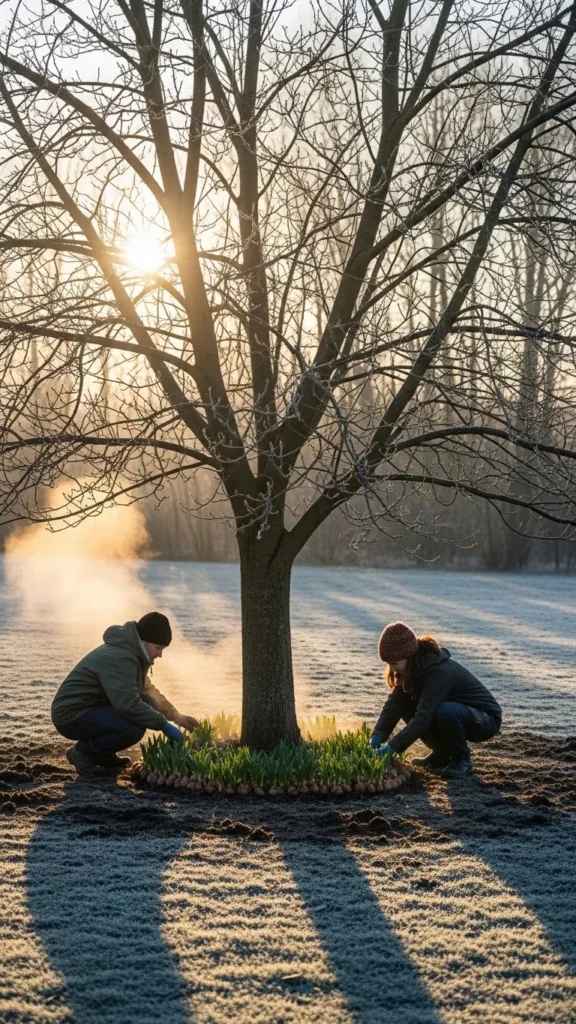
Trees without leaves let in winter light. This gives bulbs a better chance to grow early. Clear fallen leaves away from the base so they don’t smother the soil. Dig small clusters around the trunk at varying distances. Add compost if the soil feels dry or compact. Water lightly. When spring arrives, bulbs bloom before trees leaf out. This adds color to spots that may look dull otherwise. Use small varieties such as crocuses or miniature daffodils. They adapt well to root competition. This method makes good use of shaded summer zones because bulbs finish flowering before shade returns.
14. Planting in Recycled Buckets for Mobility
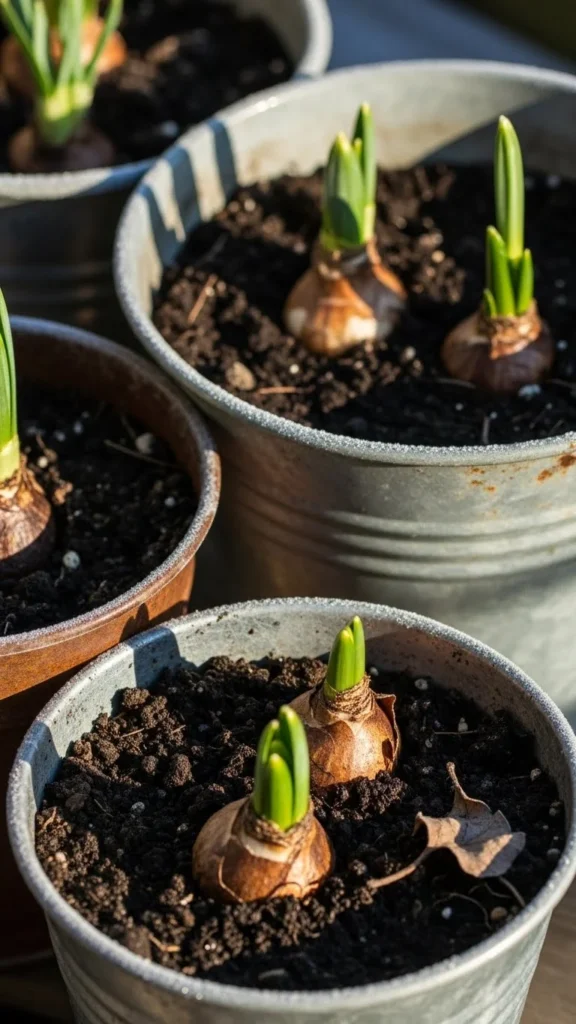
Recycled buckets offer a flexible planting solution. Drill drainage holes at the bottom. Fill with soil and mix in some compost. Add bulbs and cover with soil. Place the buckets along walls or fences where temperatures stay steady. If extreme cold arrives, move them into a garage or porch overnight. This protects bulbs without heavy work. Buckets cost little and stack easily when not in use. They also make it simple to rearrange color displays in spring. Water lightly and check soil moisture during dry spells.
15. Companion Planting with Winter-Hardy Groundcovers
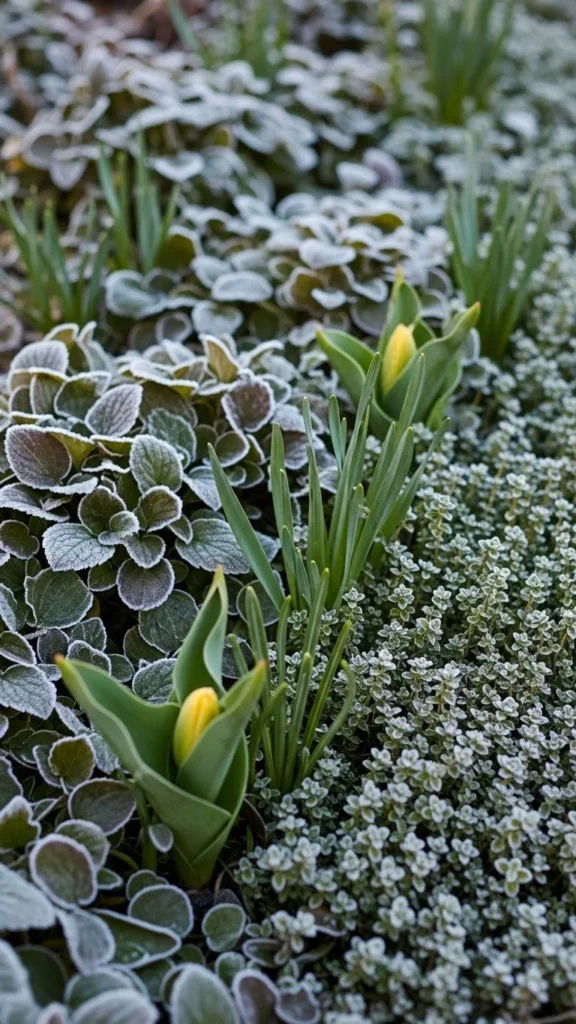
Groundcovers shield soil from deep freezes. Plant bulbs through gaps in the groundcover. This creates a natural insulation layer that protects bulb roots. It also reduces weed growth in spring. Choose low-growing plants that don’t block bulbs. Dig small holes between patches and tuck bulbs under the soil. Water lightly. This method works well for borders or slopes. It also adds visual interest before bulbs bloom. When spring arrives, flowers rise through the groundcover, creating a layered look. If you want a cost-saving option, divide existing groundcover patches.
16. Planting Bulbs in Narrow Strips Along Pathways
Pathways collect extra heat from sun exposure. Planting bulbs along these strips helps them sprout early. Dig a shallow trench and add compost. Line bulbs evenly and cover with soil. This creates a tidy border that brightens walkways once spring starts. It’s a good approach for small yards because the narrow strip maximizes space. Add a thin mulch layer for insulation. Water lightly after planting. As temperatures warm, blooms appear quickly because the stones hold daytime warmth.
17. Double-Depth Planting for Stronger Root Anchoring
Double-depth planting helps stabilize bulbs in soil that shifts during freeze-thaw cycles. Start by placing one layer of bulbs deeper than recommended. Add soil, then plant a second layer higher. This keeps bulbs anchored and reduces the chance of them rising to the surface. It also adds staggered bloom times. This works well for tulips and daffodils. Be sure the soil is loose so roots can spread. Add mulch if your region faces repeated freezes. In spring, you’ll see color appear in waves.
18. Planting Bulbs Directly in Compost Bins (Cold Section Only)
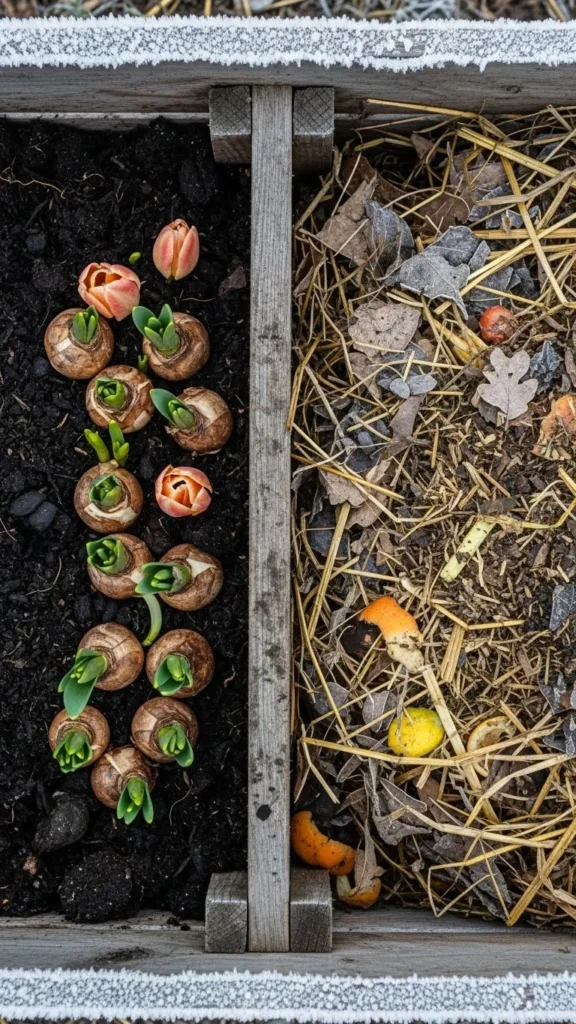
Some compost bins develop a cooler zone. Planting bulbs in that section gives them a warm yet stable environment. Spread decomposed compost and tuck bulbs into the upper layer. Cover with more compost. This works best for bins that are not fully active in winter. The organic matter breaks down slowly and creates a soft bed. When spring arrives, you can move the clump into the yard or let blooms appear directly in the bin. It’s an easy choice when space is limited.
19. Bulb Crates for Mass Planting
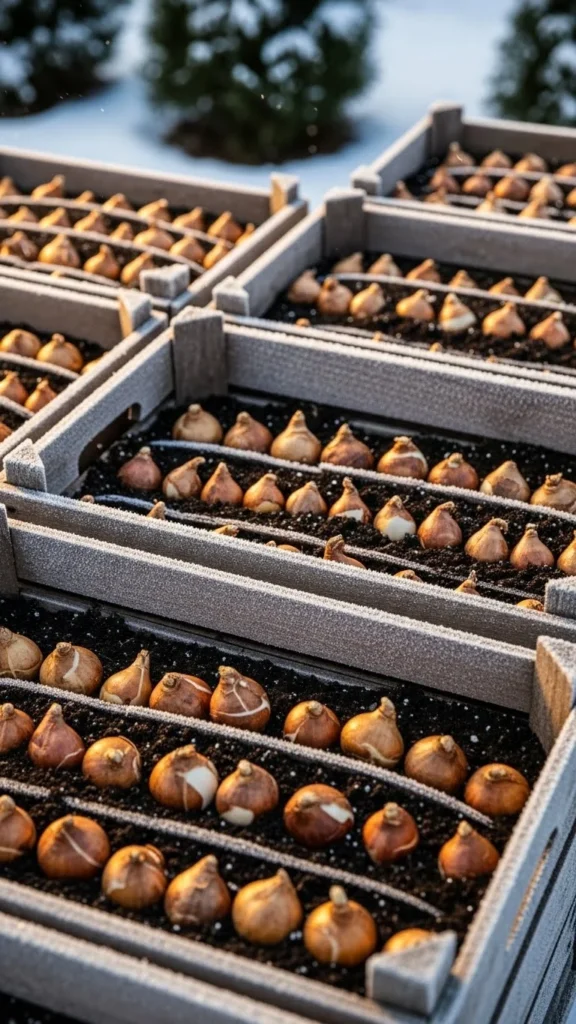
Bulb crates make it simple to plant many bulbs at once. Fill crates with soil, compost, and sand mix. Add bulbs in tight rows. Place crates in a sheltered outdoor corner. This gives bulbs natural cold exposure without ground digging. When spring arrives, move crates to your porch or lawn for display. Many gardeners reuse produce crates, keeping costs low. Water occasionally during dry winter weeks. Crates also store easily when not in use.
20. Planting Bulbs in Sloped Gardens for Improved Drainage
Sloped terrain offers natural drainage. Plant bulbs in staggered rows so water flows between them rather than pooling. This method works for clay or compact soil. Clear debris and loosen the soil before planting. Add compost to help roots spread. Water lightly. Because slopes catch morning sun, bulbs often sprout earlier. If erosion is a concern, add a light mulch layer. Sloped planting also creates a nice layered look once flowers open.
21. Using Mini Greenhouse Covers Over Small Beds
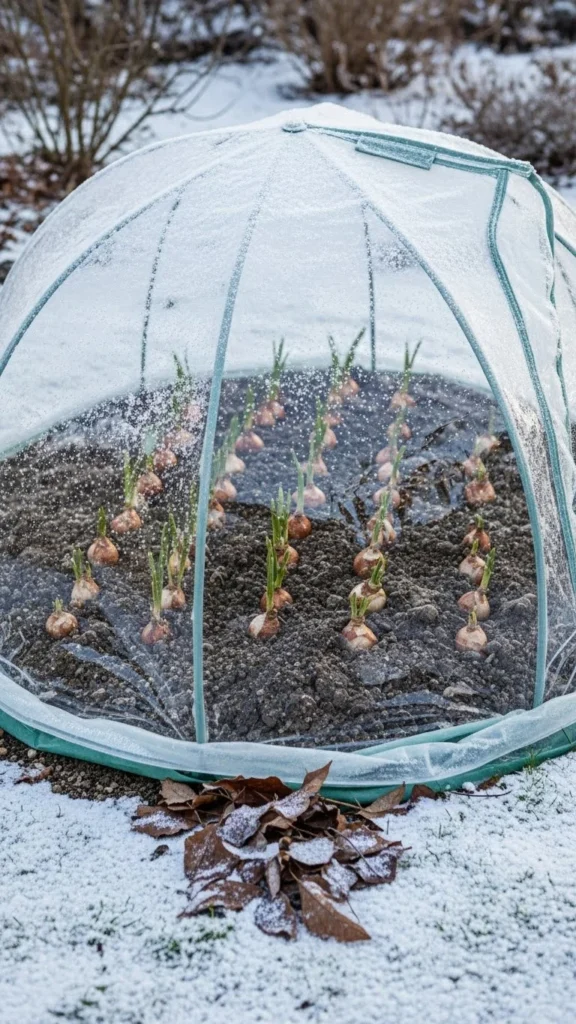
Mini greenhouse covers are helpful for tiny planting beds. They trap warmth and reduce wind exposure. Place bulbs inside the bed, cover with soil, and add the dome. Anchor it with rocks to prevent shifting. This method works well for balconies or patios where full-size cold frames don’t fit. Keep the cover open on warmer afternoons to avoid overheating. Water lightly every few weeks. When spring arrives, remove the cover to let shoots stretch fully.
22. Planting Bulbs Behind Shrub Windbreaks
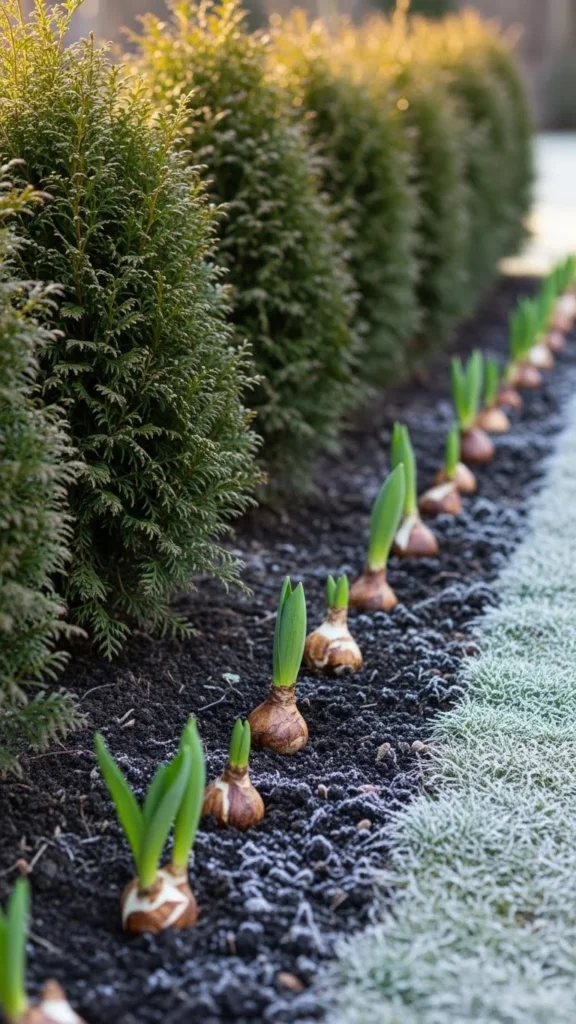
Evergreens shield bulbs from strong winter winds. Plant bulbs on the calmer side of the shrubs. Loosen the soil and mix in compost. Add bulbs in small clusters. Cover with mulch. This approach works well for windy yards where soil loses moisture quickly. The shrubs also trap pockets of warmer air. This helps bulbs sprout earlier. In spring, blooms stand out against the evergreen backdrop.
23. Planting Bulbs in Old Drawer Boxes
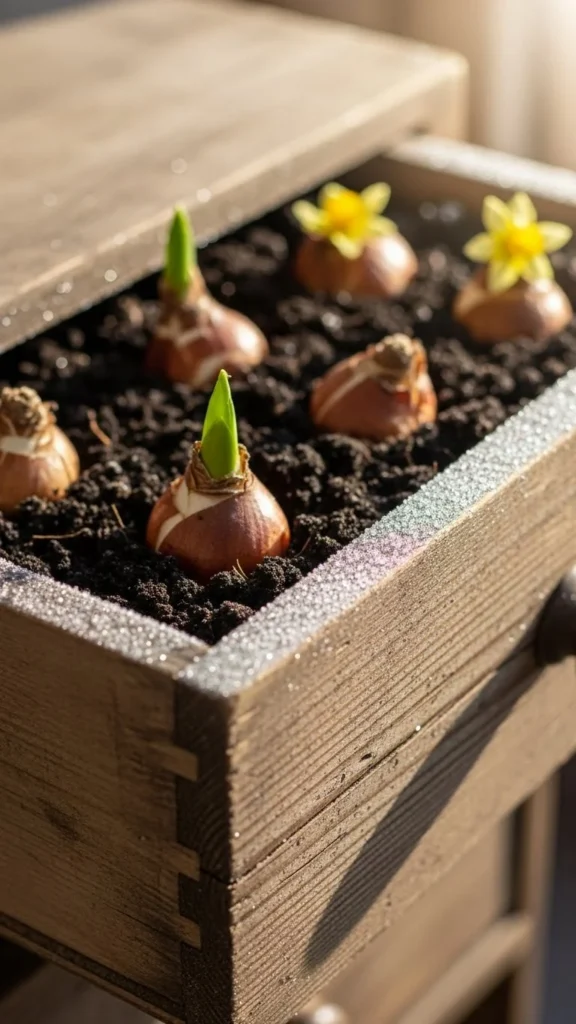
Old drawers make great bulb containers. Drill drainage holes at the bottom. Line with burlap or newspaper, then add soil and compost. Place bulbs evenly and cover with soil. Set the drawer on bricks so moisture drains well. This works for small patios or rented homes. It’s also a low-cost method if you have unused furniture pieces. Water lightly. In spring, the flowers look charming in their rustic frame.
24. Mixing Bulb Types for Continuous Early Color
Mixing bulb types extends your display period. Choose varieties with different bloom windows. Plant them in one bed or container. This creates a longer season of early color. Add compost to the soil so all bulb types have a balanced environment. Cluster bulbs for a full display. Add mulch for insulation. Water lightly during dry weeks. When spring arrives, you’ll see a steady rotation of color without extra planting work. This method works well for busy gardeners who prefer one planting session per year.
Conclusion
Winter bulb-planting doesn’t require complex tools or special equipment. Each method above helps bulbs settle comfortably through cold months and deliver early spring color in a simple, practical way. Whether you’re working with open soil, containers, recycled materials, or small urban spaces, these ideas bring dependable seasonal color with minimal effort. Try a few methods this winter and enjoy a bright, early display when spring arrives.

Leave a Reply