
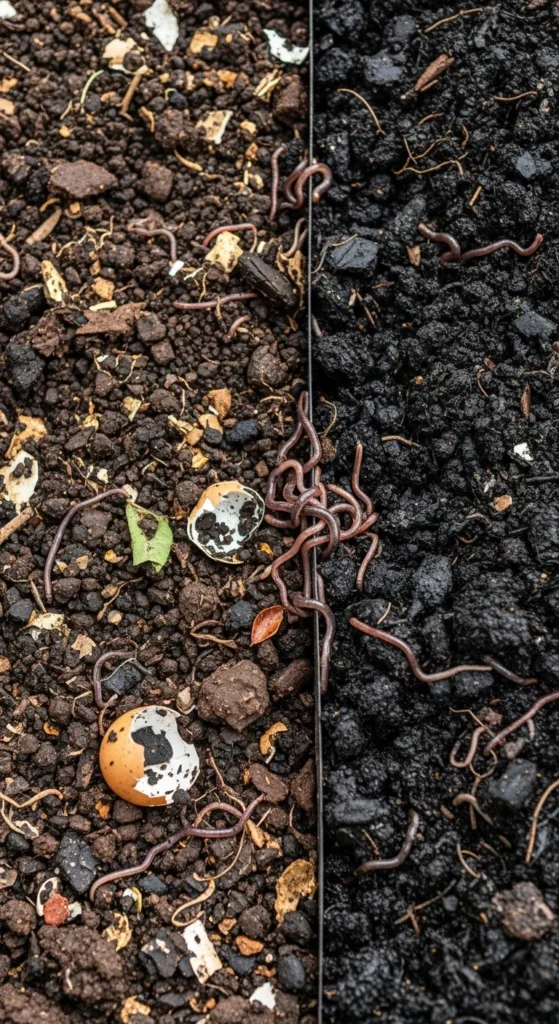
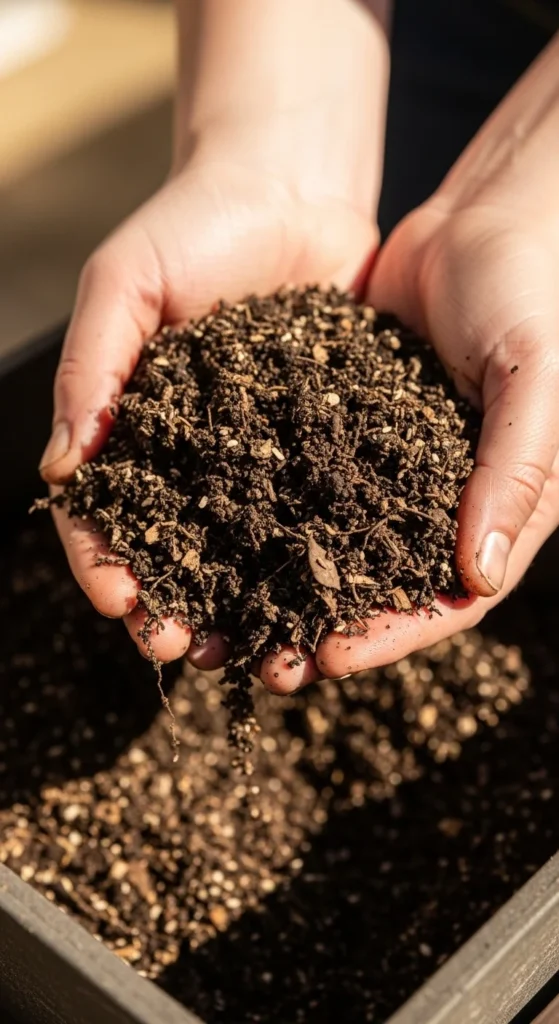
Vermicomposting turns everyday kitchen scraps into dark, crumbly worm castings that enrich soil and cut household waste. With the right setup, you can reduce landfill trash, avoid odors, and grow stronger plants using simple tools. Whether you live in an apartment or have a backyard garden, these practical vermicomposting tips will help you build a low-cost system that works year-round.
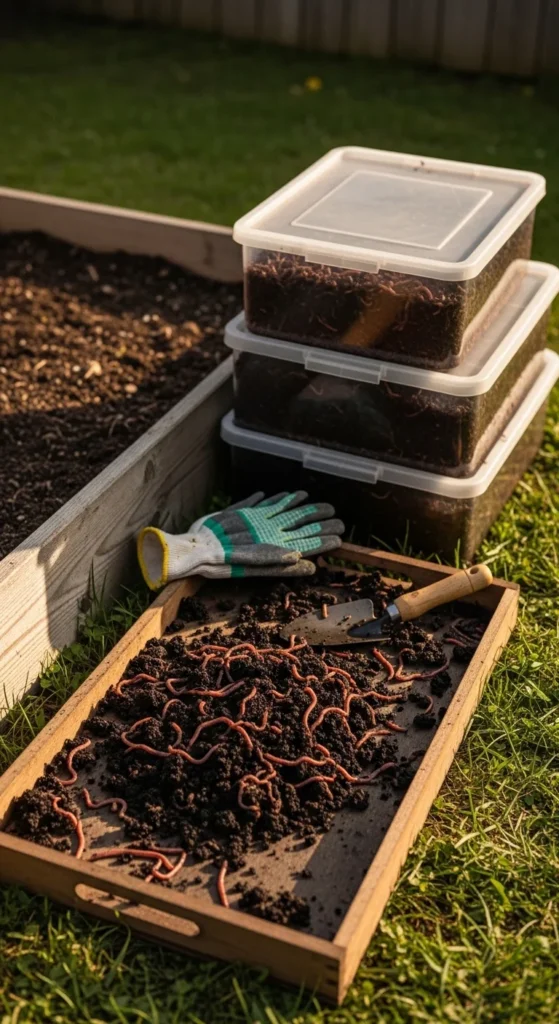
1. Start with Red Wigglers for Fast Results
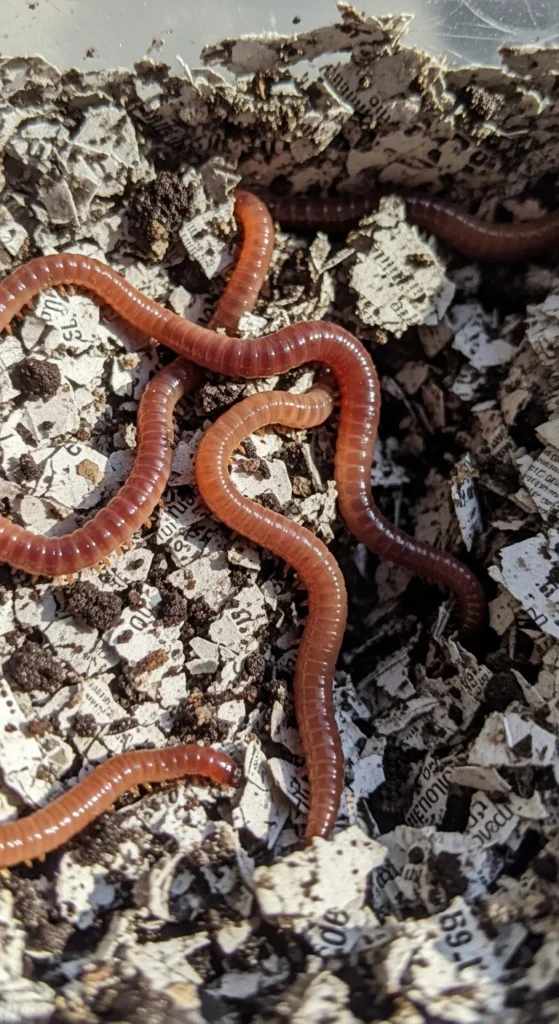
Choose red wigglers (Eisenia fetida) for your bin. They thrive in shallow compost systems and eat quickly.
Avoid common garden earthworms. They prefer deep soil and won’t perform well in bins.
Buy from a local worm farm to save on shipping. Split a pound with a friend to cut costs.
Keep them in moist bedding right away. Shredded newspaper works great.
Store between 15–25°C. A shaded balcony or laundry room is often perfect.
Healthy worms move quickly and stay near food. If they try to escape, something is off.
Starting with the right species saves frustration and speeds up compost production.
2. Use a Simple DIY Worm Bin
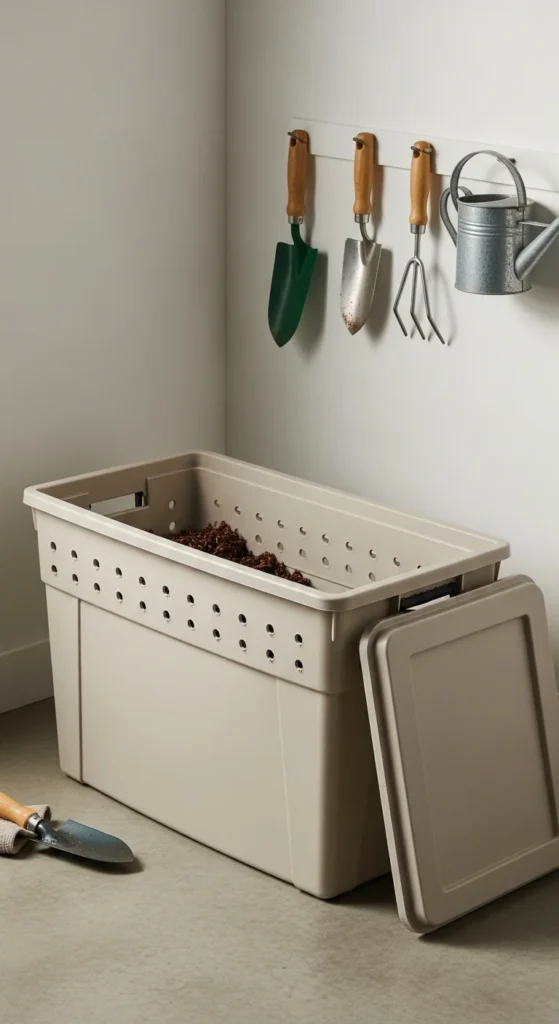
You don’t need expensive equipment.
A plastic storage tote works well. Drill small air holes on the sides and lid.
Add a tray underneath to catch liquid.
Stackable systems like the Worm Factory 360 are helpful but optional.
Keep the bin shallow. Worms prefer surface feeding.
Darkness matters. Store the bin away from direct sun.
Simple setups reduce startup cost and still produce rich worm castings.
3. Create Fluffy Bedding First
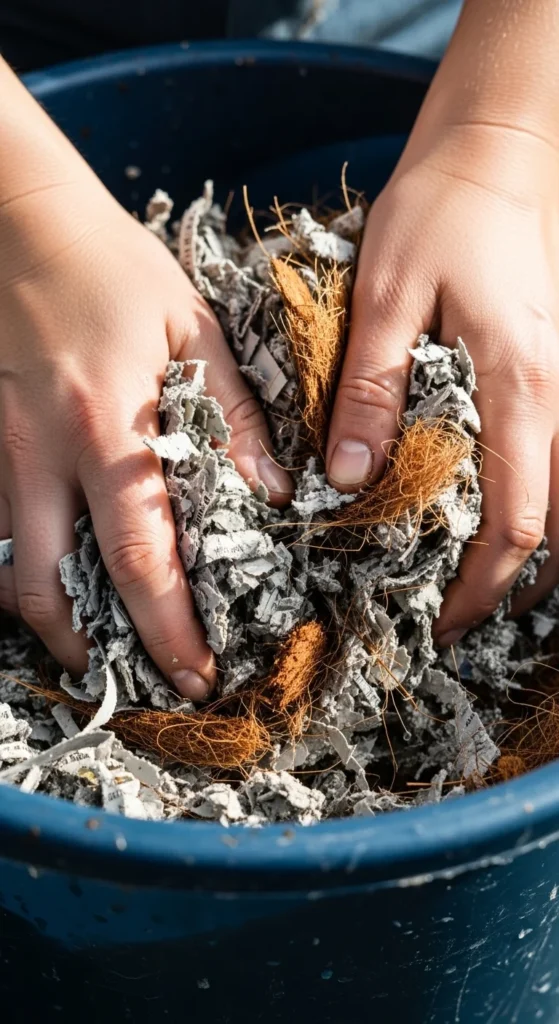
Bedding is the worms’ home.
Use shredded newspaper, cardboard, or coconut coir.
Moisten it until it feels like a wrung-out sponge.
Fluff it to allow airflow.
Mix in a handful of garden soil. This helps digestion.
Replace bedding gradually as it breaks down.
Good bedding prevents odor and keeps worms active.
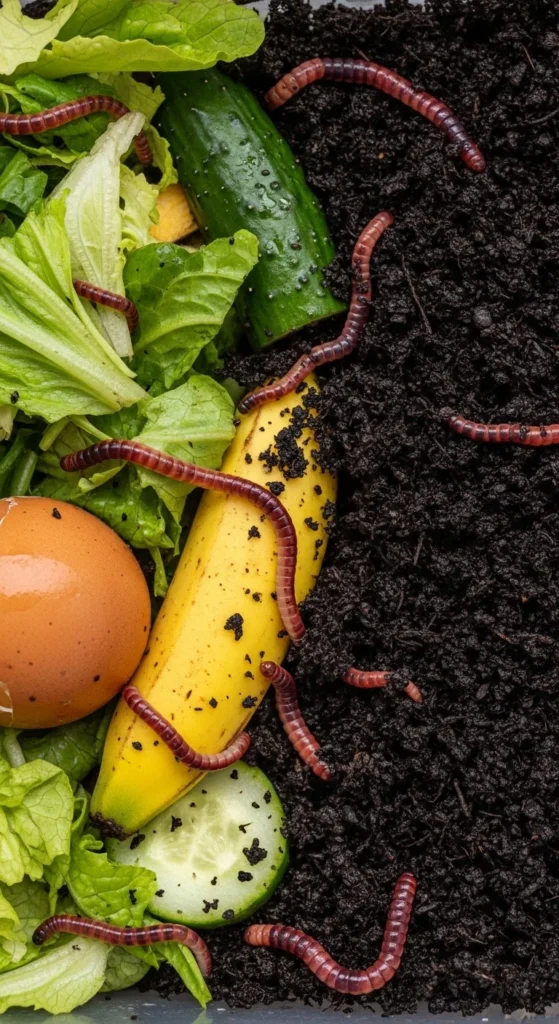
4. Feed Small Amounts of Kitchen Scraps
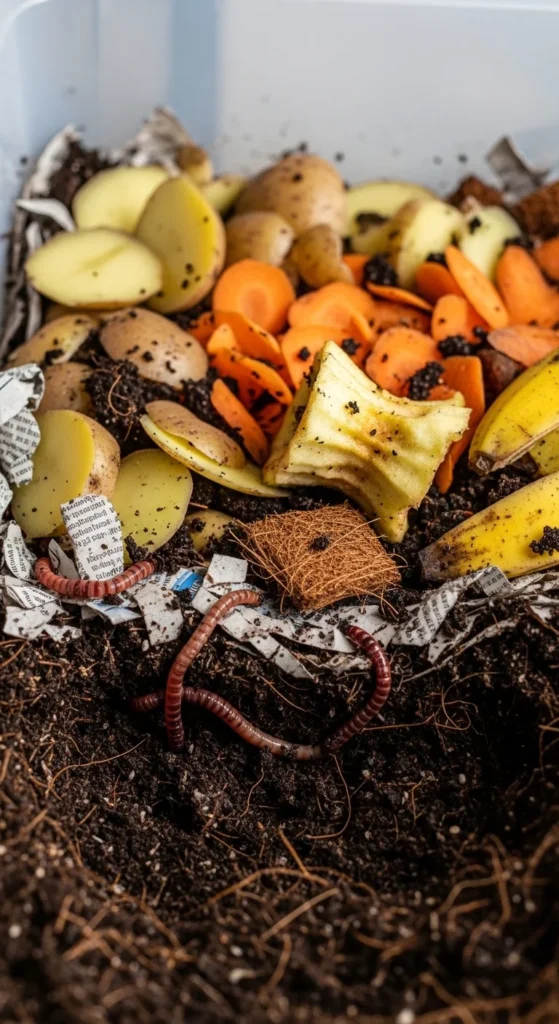
Chop scraps into small pieces.
Feed once or twice a week.
Bury food under bedding to avoid flies.
Stick to vegetable peels, fruit scraps, and coffee grounds.
Skip meat, dairy, and oily foods.
If food remains after a week, reduce quantity.
Small portions keep your worm bin balanced.
5. Control Moisture Like a Pro
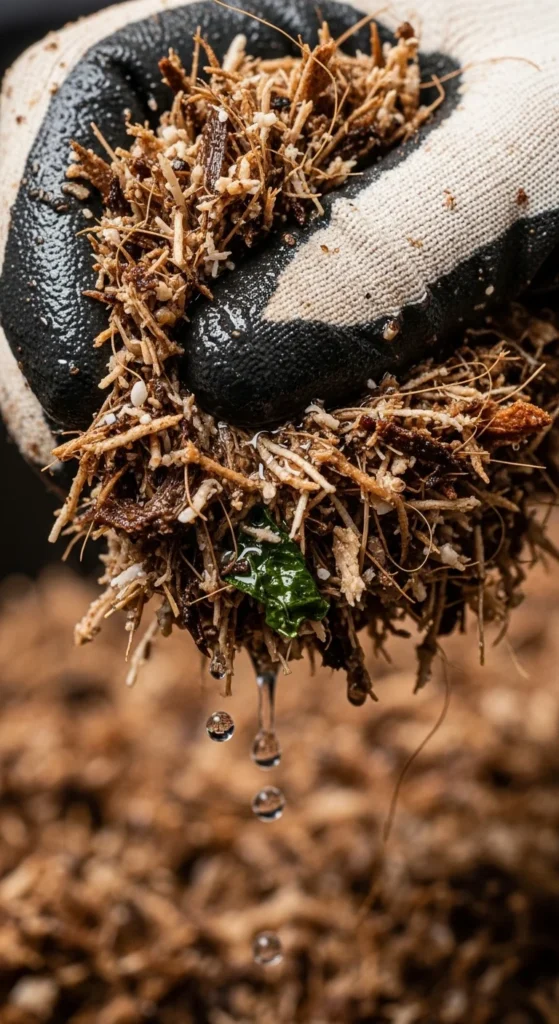
Moisture makes or breaks a worm bin.
Too wet leads to odor.
Too dry slows worms down.
Squeeze test works best. It should feel damp, not dripping.
Add dry paper if soggy.
Mist lightly if dry.
Simple checks each week prevent major problems.
6. Keep Temperatures Steady
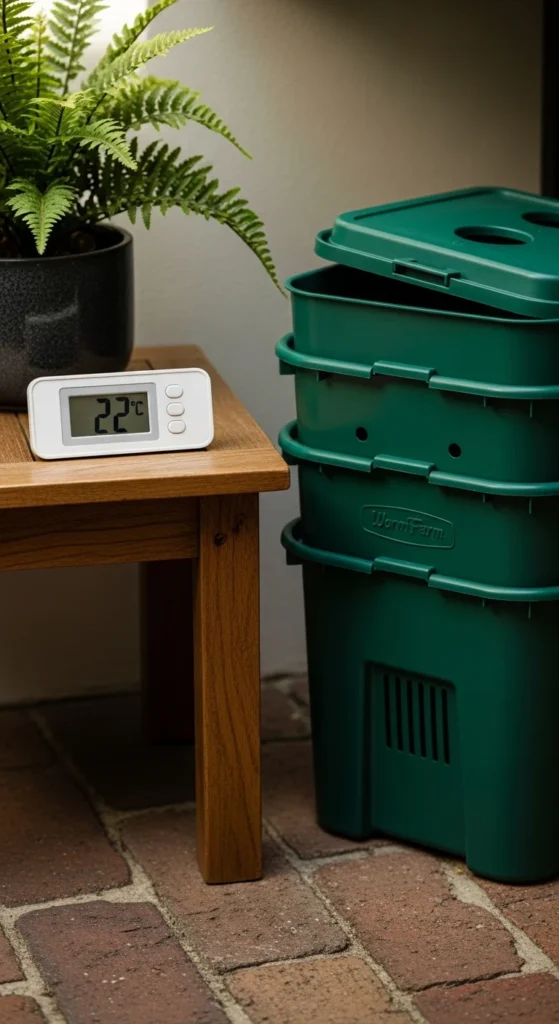
Worms prefer mild temperatures.
15–25°C is ideal.
In hot weather, move bins indoors.
In cold climates, insulate with old blankets.
Avoid freezing or direct sun.
Stable conditions keep worms productive year-round.
7. Prevent Fruit Flies Naturally
Fruit flies appear from exposed food.
Always bury scraps.
Freeze scraps before feeding to kill eggs.
Add a sheet of damp newspaper on top.
Avoid overfeeding.
Simple habits keep your bin odor-free.
8. Rotate Feeding Zones
Feed in one corner at a time.
Next week, switch corners.
This helps worms migrate naturally.
Makes harvesting easier.
Prevents overcrowding in one area.
Rotation keeps the system organized.
9. Add Crushed Eggshells for Balance
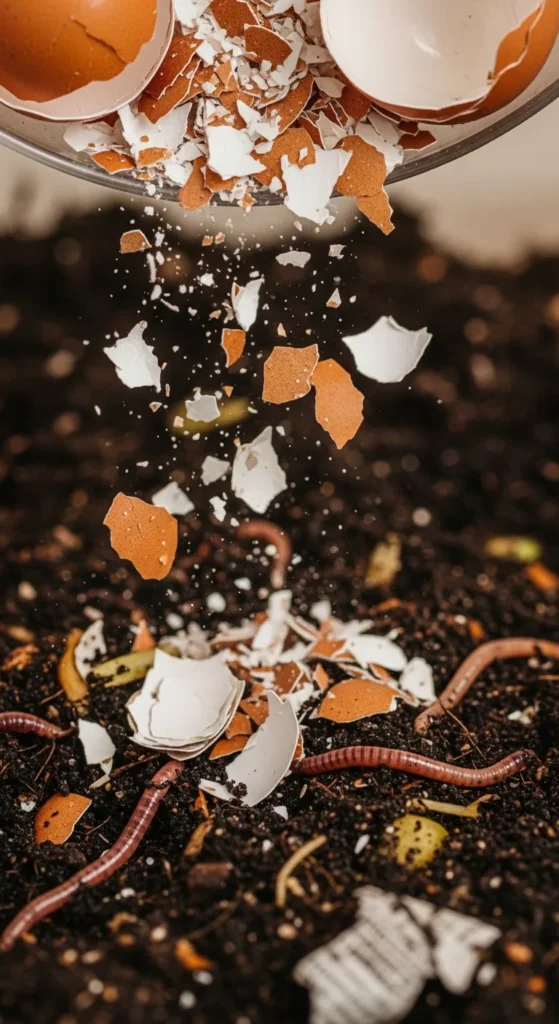
Eggshells add grit.
Worms use grit to digest food.
Dry shells first.
Crush finely.
Sprinkle lightly once a week.
Cheap and effective supplement.
10. Avoid Overfeeding
Too much food causes odor.
Start small.
Observe how quickly scraps disappear.
Adjust based on worm population.
Healthy bins process food steadily.
Patience works better than dumping large amounts.
11. Harvest Using the Light Method
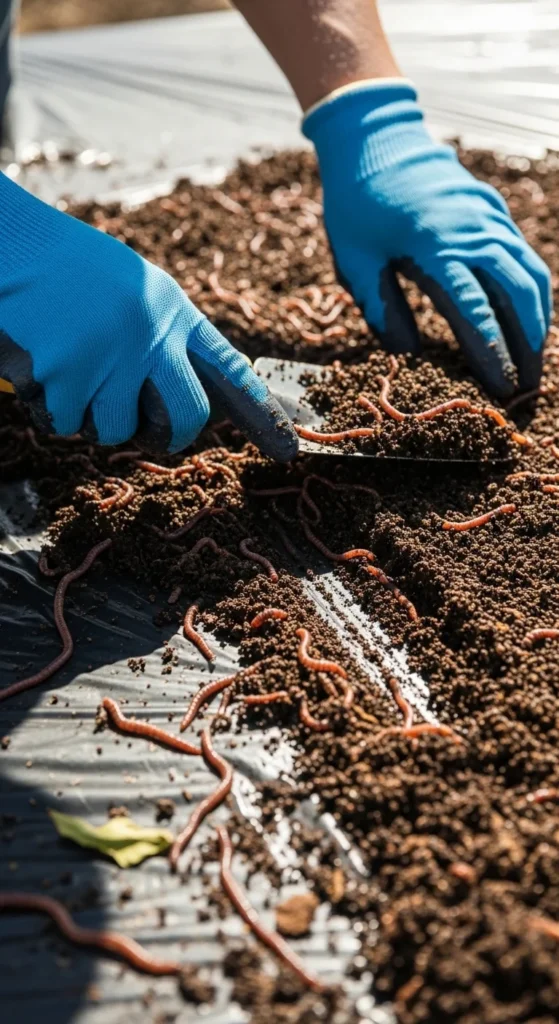
Dump compost onto a sheet.
Shine light above.
Worms move downward.
Scrape off top layer.
Repeat until mostly worms remain.
Simple and free harvesting technique.
12. Try the Pyramid Harvest Method
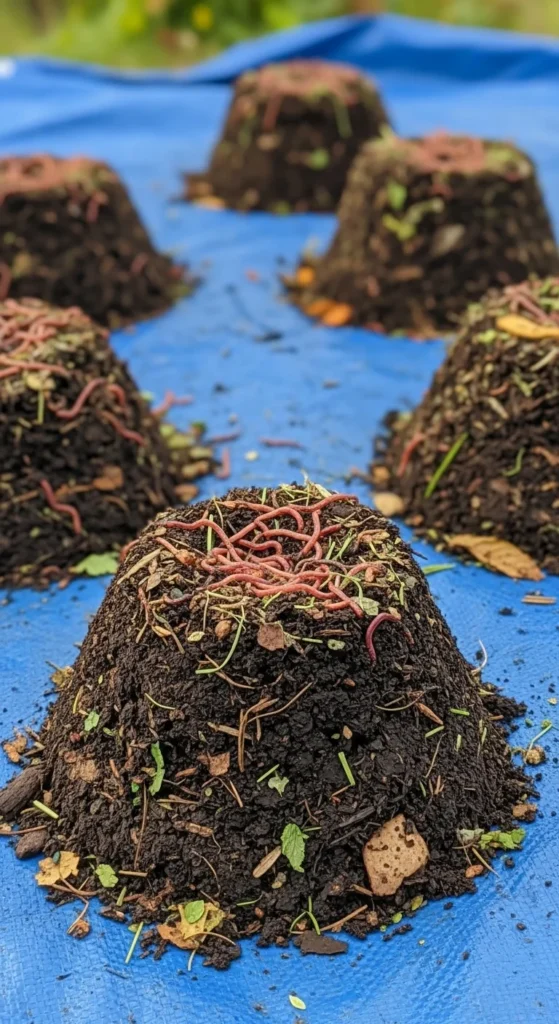
Shape compost into small piles.
Expose to light.
Worms hide in center.
Remove outer castings.
Works well for small bins.
No fancy tools required.
13. Use Worm Castings in Potting Mix
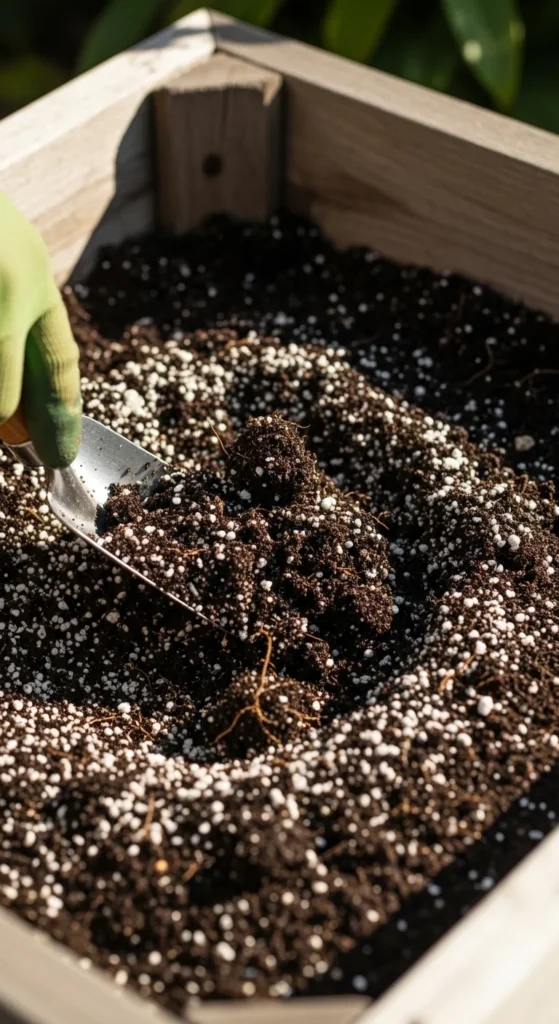
Mix castings into potting soil.
Use about 10–20%.
Improves water retention.
Great for seedlings.
Stretch castings by blending with soil.
Affordable soil upgrade.
14. Make Worm Tea at Home
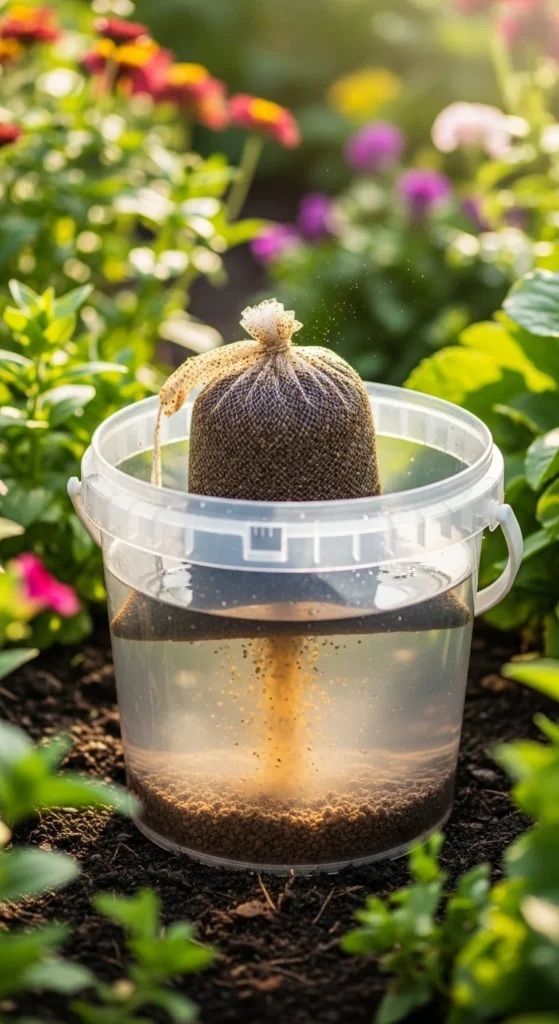
Place castings in cloth bag.
Soak in water 24 hours.
Stir occasionally.
Use on garden beds.
Apply immediately.
Simple liquid fertilizer option.
15. Reduce Household Waste by 30%
Organic waste fills a large share of trash.
Divert scraps to your bin.
Track weekly savings.
Smaller garbage bags.
Lower disposal trips.
A small bin makes a big difference at home.
16. Use Cardboard to Fix Odor Fast
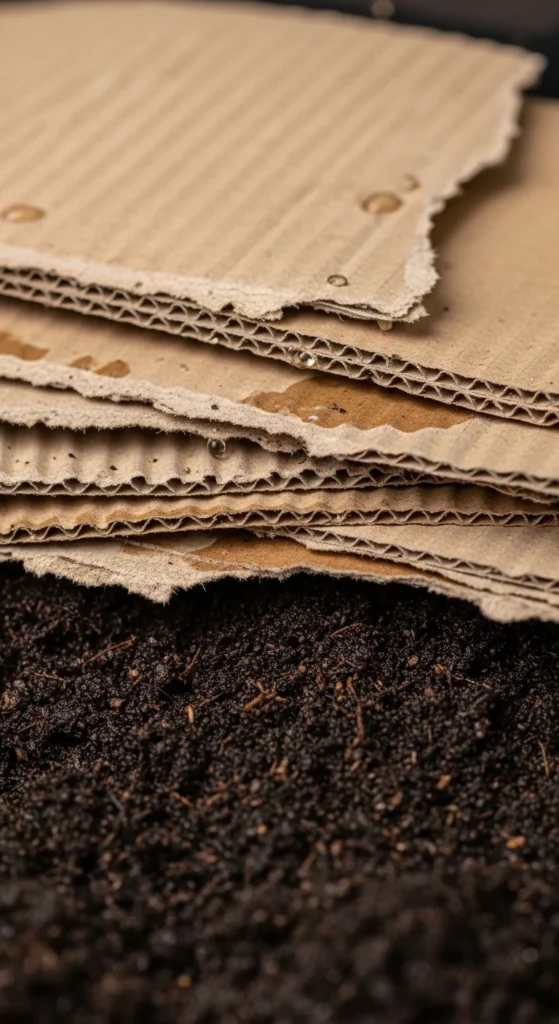
Odor often means too wet.
Add dry shredded cardboard.
Mix gently.
Absorbs excess moisture.
Restores airflow.
Cheap and effective fix.
17. Watch for Cocoons
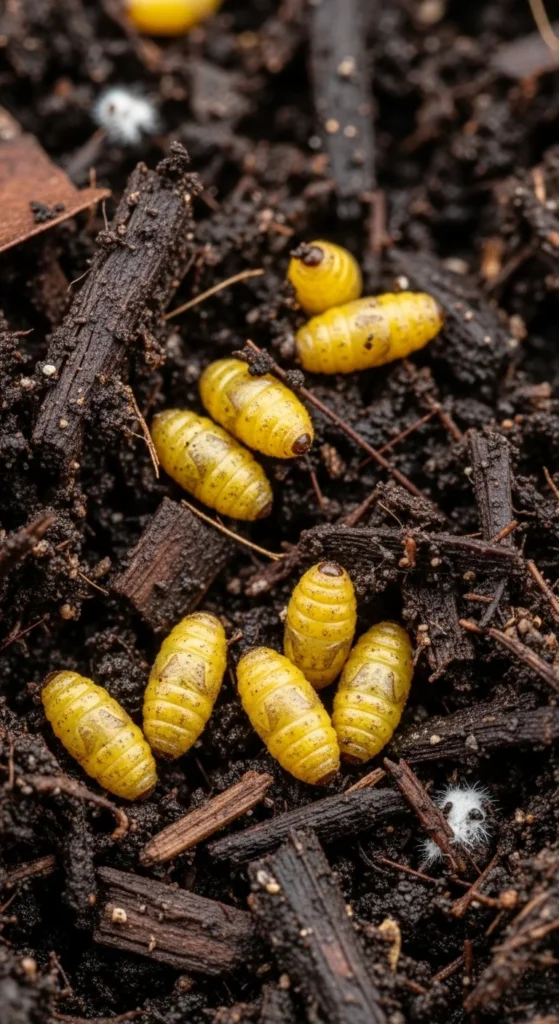
Tiny lemon-shaped cocoons mean growth.
Healthy bins reproduce steadily.
Avoid disturbing too often.
More cocoons equal more processing power.
Good sign your system works.
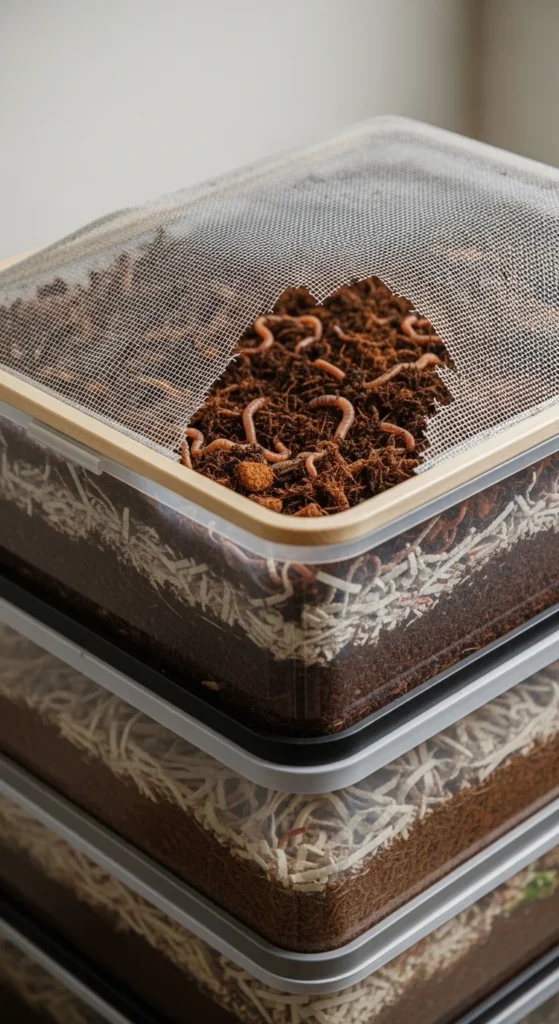
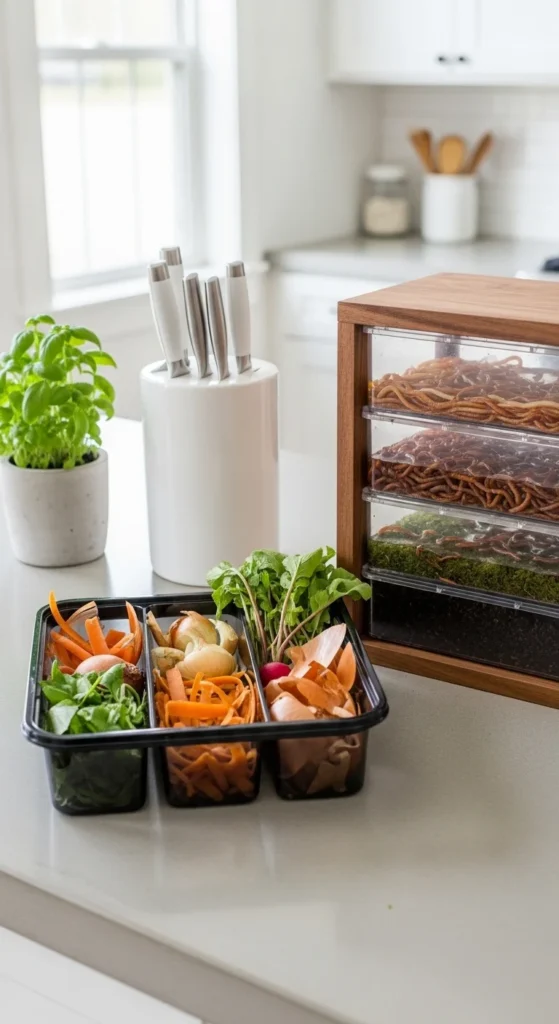
18. Scale Up with Stacking Trays
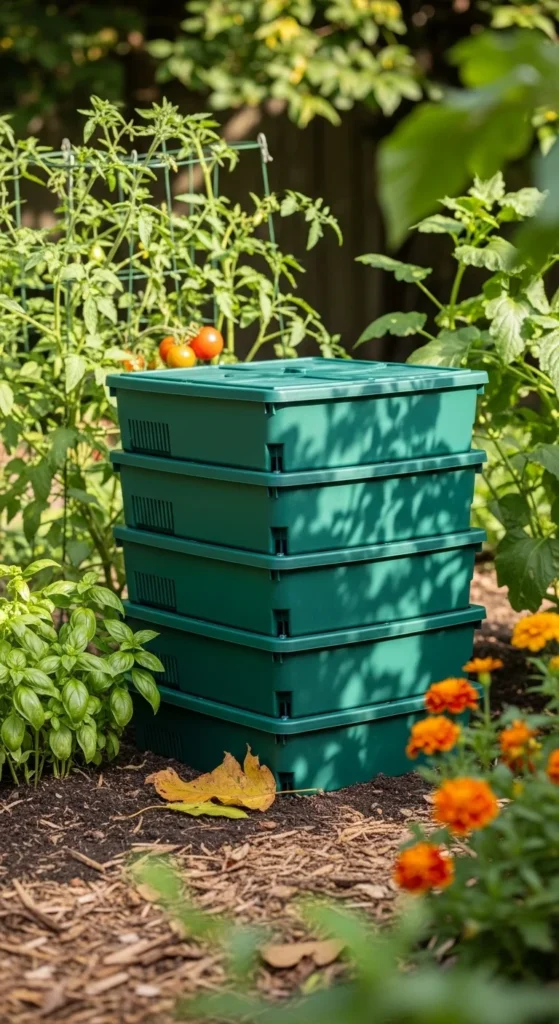
Stacking trays increase capacity.
Worms migrate upward.
Lower trays fill with castings.
Great for families.
Expand gradually to manage cost.
19. Use a Flow-Through System for Easy Harvest
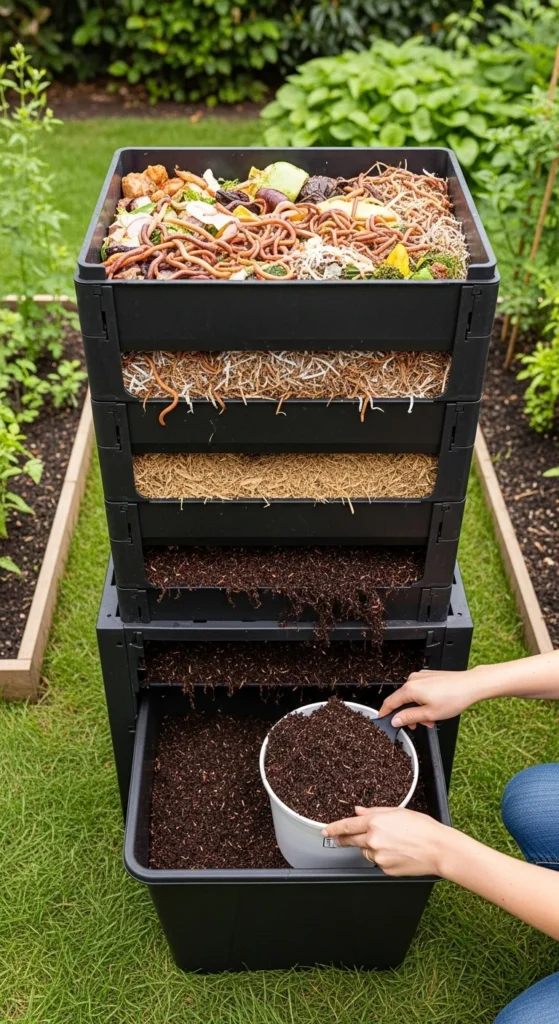
Flow-through bins allow bottom harvest.
Less disturbance.
Continuous composting.
Higher upfront cost.
Saves time long term.
Ideal for serious gardeners.
20. Keep a Simple Weekly Checklist

Check moisture.
Check temperature.
Observe worm activity.
Rotate feeding zone.
Add bedding if needed.
Five-minute routine keeps everything stable.
21. Try Rooftop or Balcony Composting
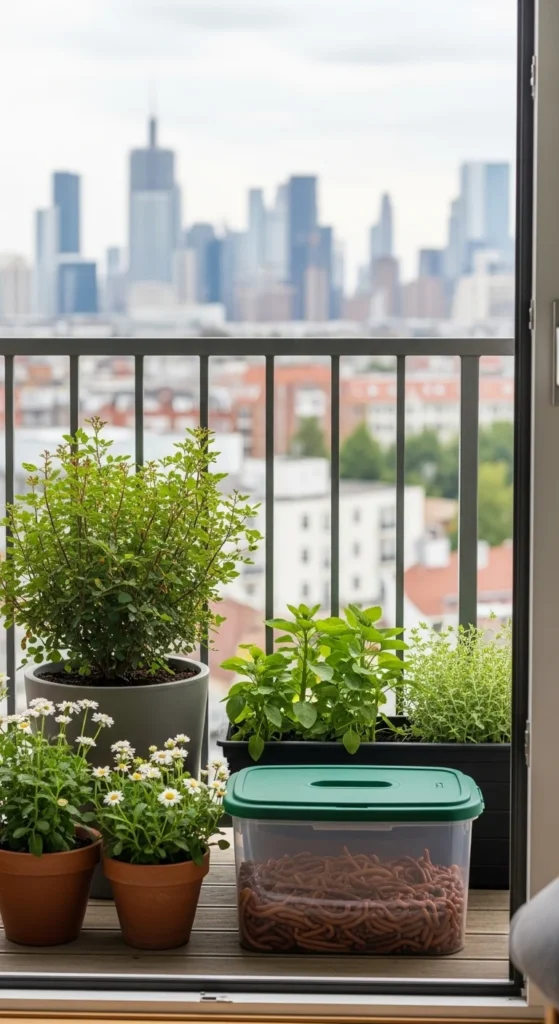
Small spaces work well.
Keep bin shaded.
Use tight-fitting lid.
Grow herbs nearby.
Urban composting is simple and practical.
22. Start Small and Stay Consistent
Begin with one small bin.
Learn its rhythm.
Adjust feeding slowly.
Keep notes.
Consistency builds healthy compost.
Simple habits turn scraps into rich soil amendment.
Conclusion
Vermicomposting is affordable, simple, and highly effective for turning kitchen scraps into nutrient-rich worm castings. With basic tools, steady moisture control, and thoughtful feeding, you can cut household waste while improving your soil. Start with one bin, follow these practical tips, and build a compost system that works for your space and budget.

Leave a Reply