

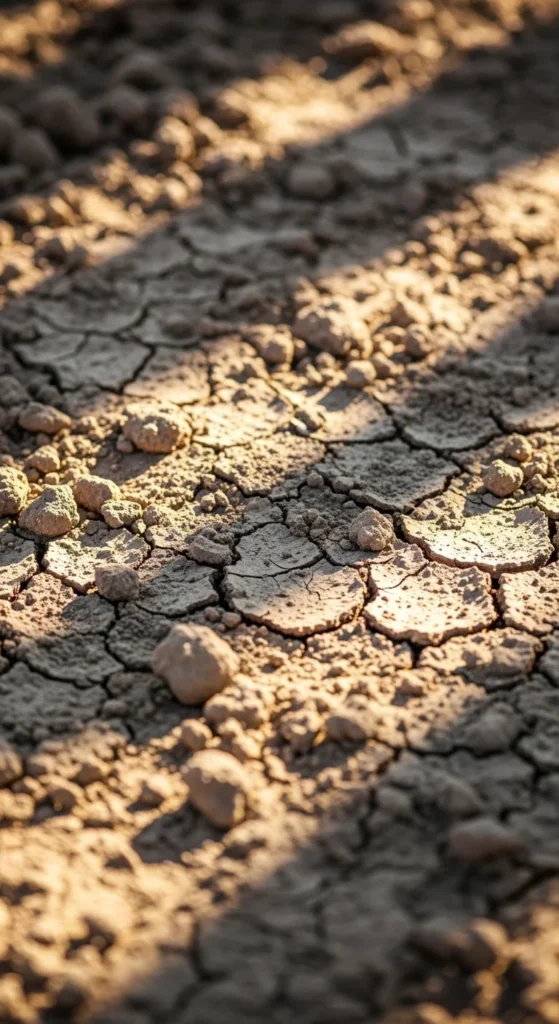
Healthy plants start below the surface. Spring soil prep is where strong growth habits begin, long before seeds or seedlings go into the ground. Winter compacts soil, washes nutrients away, and leaves beds uneven. A few intentional soil prep steps help roots spread easily, water move correctly, and plants settle in without stress. These spring soil prep tips focus on simple, affordable actions that work for home gardens of any size. You do not need special products or complicated testing. Just steady habits, basic tools, and a clear plan for working with the soil you already have.
1. Clear Old Roots and Plant Debris First
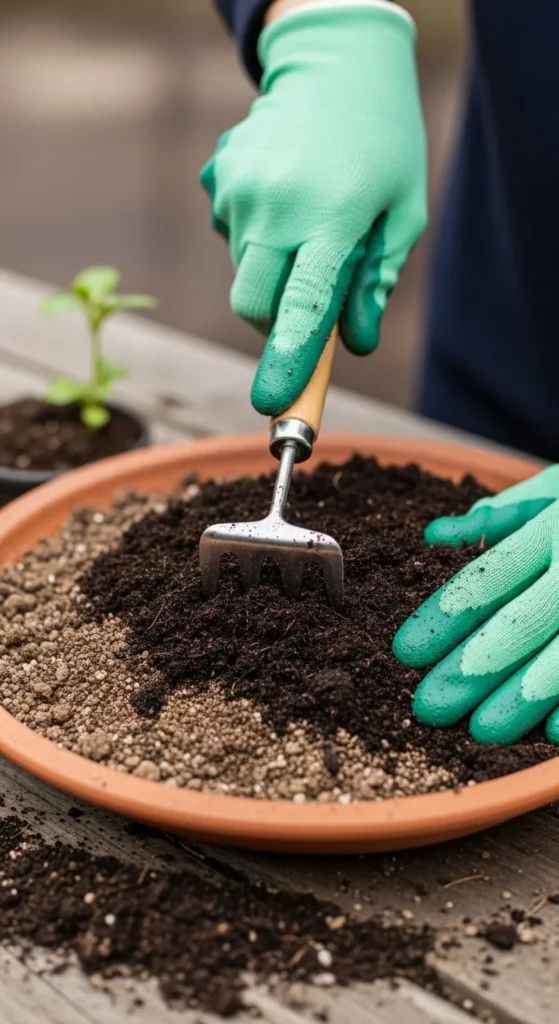
Before adding anything to the soil, clear out what no longer belongs. Old roots, dead stems, and leftover plant matter block airflow and slow new growth. Use your hands or a small fork to loosen debris without digging deep.
Focus on removing thick roots and woody pieces first. Fine roots can stay if they break down easily. Shake excess soil back into the bed to avoid waste.
If composting is available, chop debris into small pieces before adding it to the pile. This speeds breakdown and keeps nutrients cycling back into the garden.
Clearing beds fully helps you see soil texture and moisture clearly. It also makes the next steps easier and more effective.
2. Let Soil Dry Slightly Before Working It
Working soil that is too wet causes compaction. This creates dense clumps that restrict root movement. Test soil by squeezing a handful. If it sticks together tightly, wait another day or two.
Spring patience pays off. Lightly dried soil crumbles more easily and stays loose longer. This creates better conditions for planting later.
If rain is frequent, focus on raised areas first. They dry faster and are safer to work early.
Waiting costs nothing and prevents long-term soil issues that take months to correct.
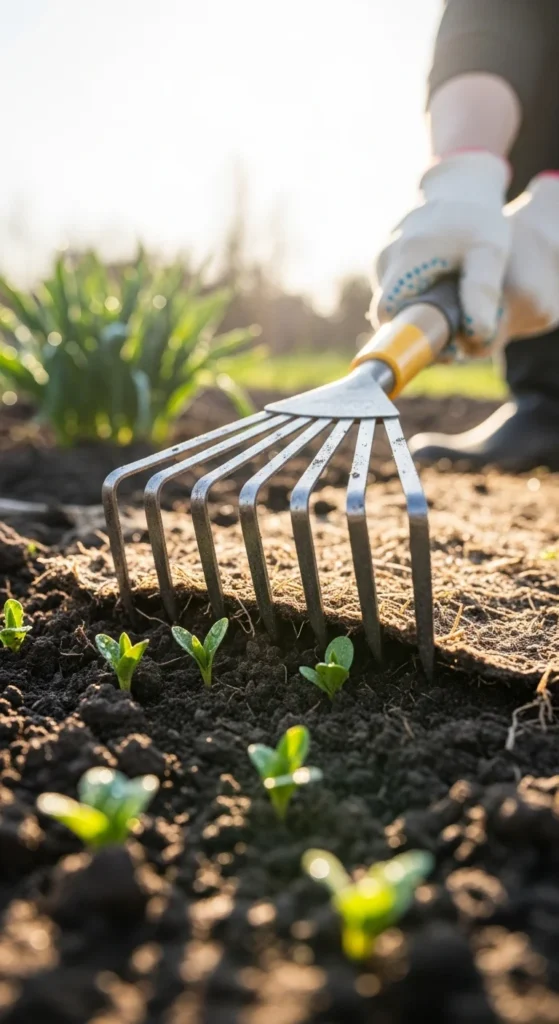
3. Break Up Compacted Areas Gently
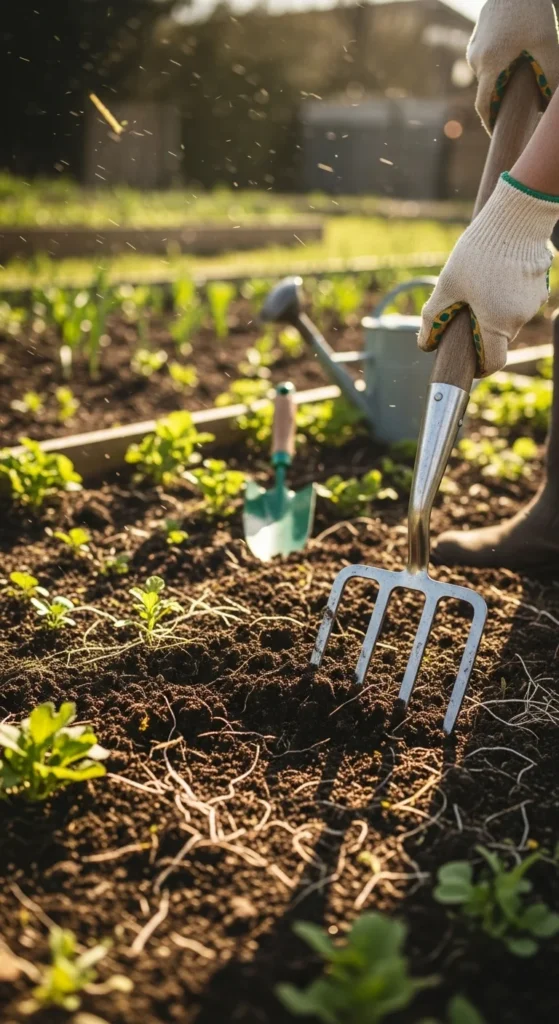
Compaction is common after winter foot traffic and rainfall. Use a garden fork rather than a shovel. Insert it straight down and rock gently.
Avoid flipping soil layers completely. The goal is loosening, not turning everything upside down. This keeps soil life closer to the surface.
Work in small sections. Step back often to avoid re-compacting the area you just loosened.
Gentle loosening improves drainage and allows roots to expand naturally.
4. Remove Stones and Construction Debris
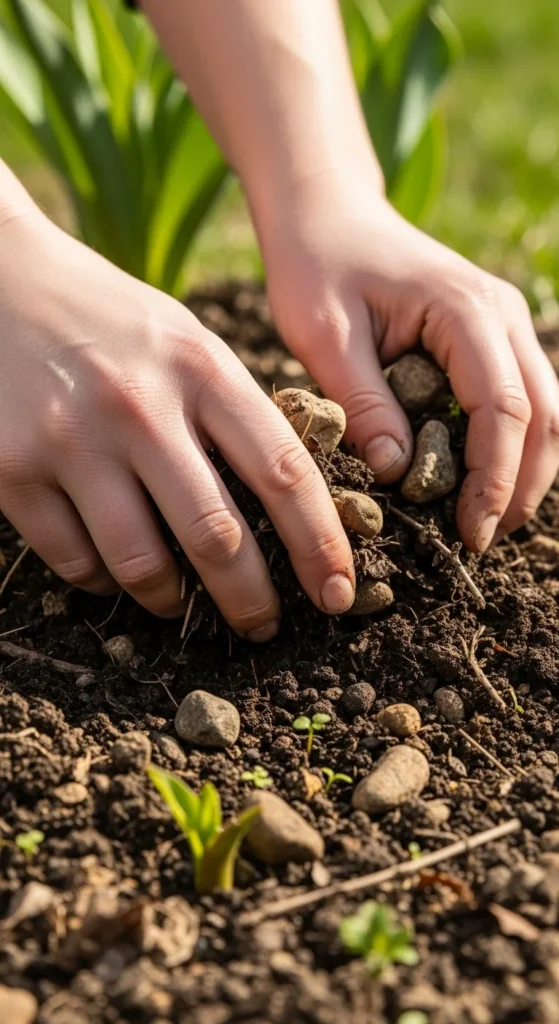
Rocks and debris interrupt root paths and water flow. Remove visible stones while soil is loose.
Collect them in a bucket. Larger stones can be reused as garden edging or path accents.
Pay attention to areas near foundations where debris often collects. Clearing these spots improves planting success later.
This step also prevents tool damage during planting season.
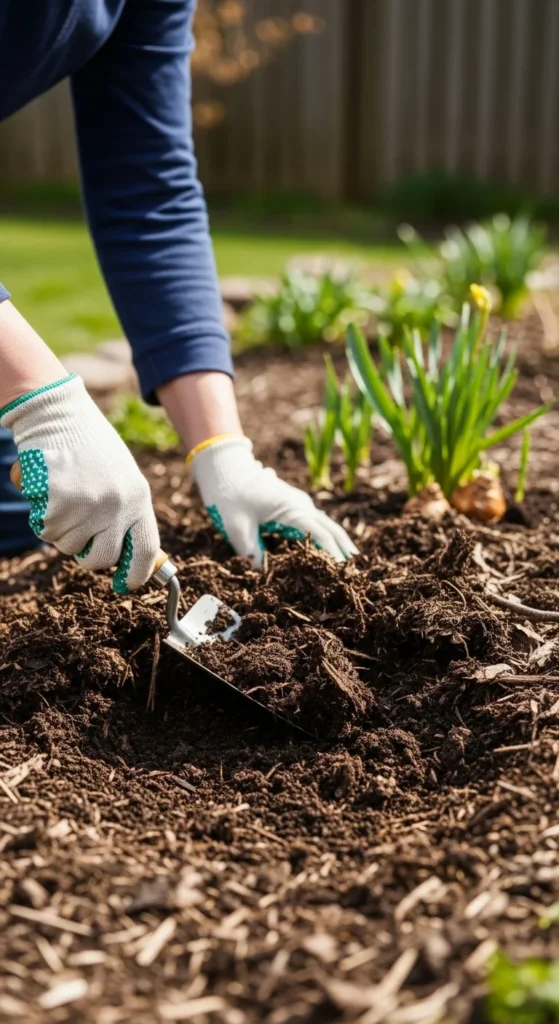
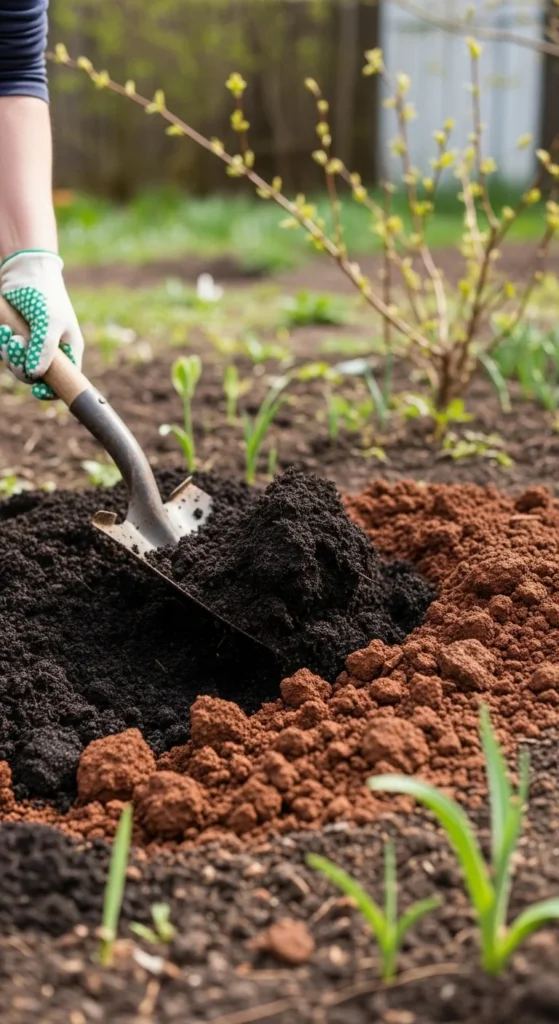
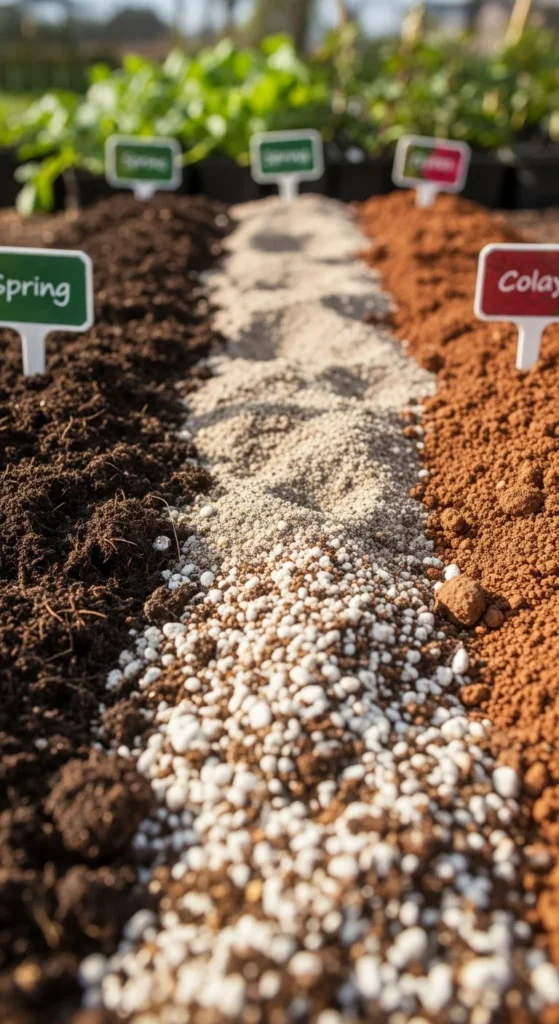
5. Add Finished Compost to the Surface

Finished compost adds organic matter and improves soil structure. Spread it evenly over the surface rather than burying it deeply.
One to two inches is enough. Let rain and watering carry nutrients downward naturally.
If compost is limited, focus on planting rows and visible beds first. Even partial coverage improves results.
Homemade compost works just as well as store-bought and keeps costs low.
6. Mix Compost Lightly Into Topsoil
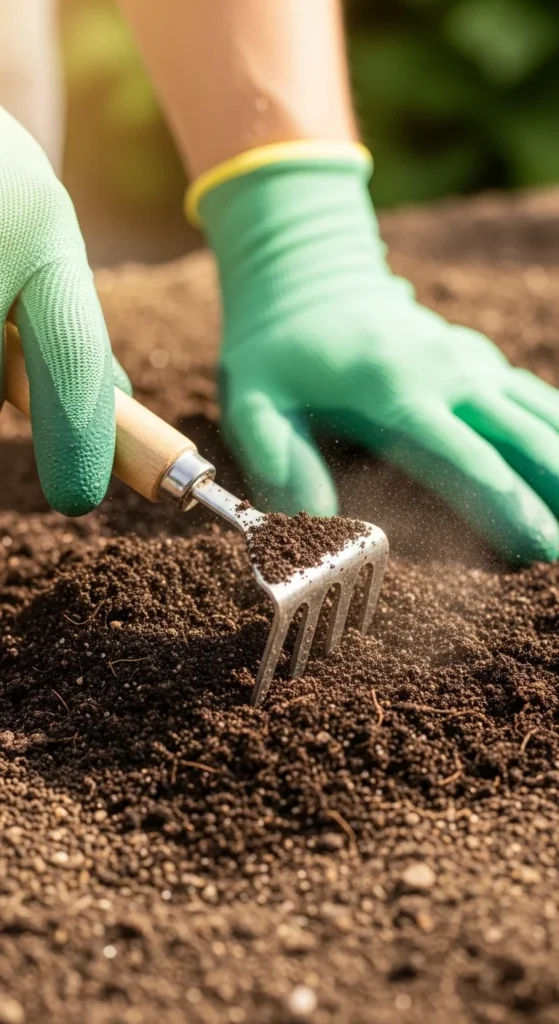
After spreading compost, mix it into the top few inches. Use a rake or hand cultivator.
Avoid deep mixing. Staying near the surface keeps soil layers balanced and protects organisms below.
This light mix improves texture without disturbing deeper zones.
Even clay-heavy soils benefit from repeated shallow additions over time.
7. Check Drainage After Rain
Watch how water behaves after rainfall. Puddles that linger point to drainage issues.
Mark slow-draining spots. These areas may need extra compost or raised planting later.
Simple observation saves time and avoids planting problems that show up weeks later.
This step costs nothing and provides valuable insight.
8. Create Raised Rows Where Needed
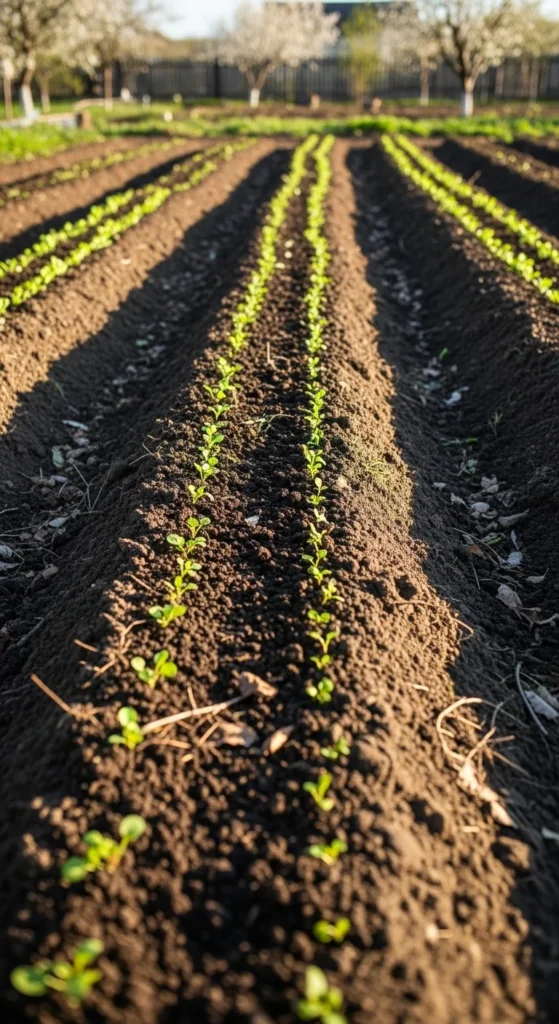
In areas with poor drainage, raised rows help roots stay dry. Pull soil gently into low mounds.
Rows do not need borders. Even a few inches of height improves water flow.
This method works well for vegetables and flowering annuals.
It also warms soil faster during cool spring mornings.
9. Test Soil Texture by Hand
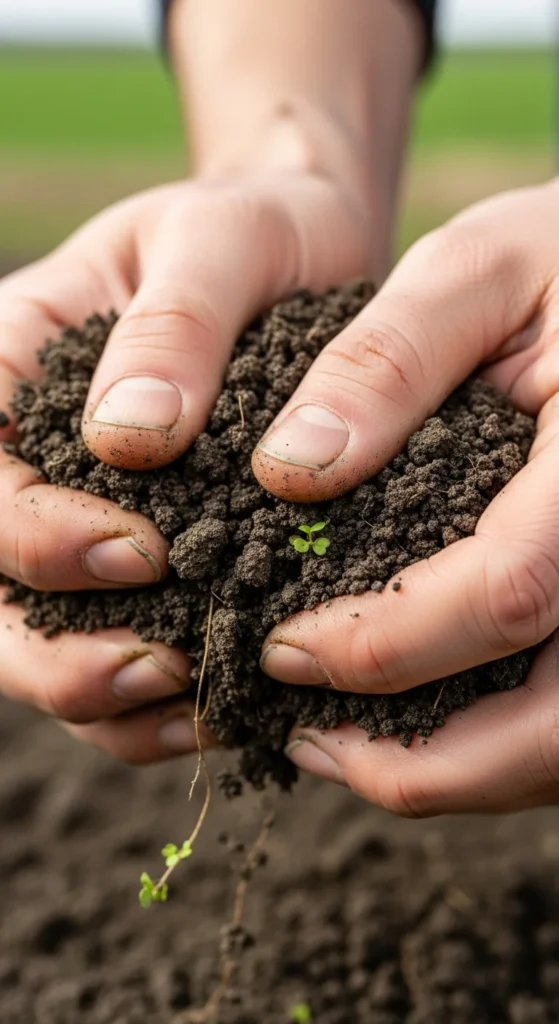
Rub soil between your fingers. Sandy soil feels gritty. Clay feels sticky. Loam feels crumbly.
Knowing texture helps guide compost use and watering habits later.
You do not need lab tests for basic understanding. Hands-on checks work well for home gardens.
This simple habit improves decision-making throughout the season.
10. Avoid Tilling Too Deep
Deep tilling disrupts soil layers and organisms. Stick to shallow prep whenever possible.
Most roots grow in the top layer. Keeping this zone healthy matters more than depth.
Use hand tools or shallow cultivators for better control.
Less disturbance leads to more stable soil over time.
11. Remove Old Mulch Mats
Old mulch can form dense layers that block air and water. Pull back compacted sections.
Break usable mulch apart and reuse it later. Discard material that smells sour or moldy.
Refreshing mulch works better after soil prep is complete.
This step prevents moisture issues around young plants.
12. Add Leaf Mold if Available
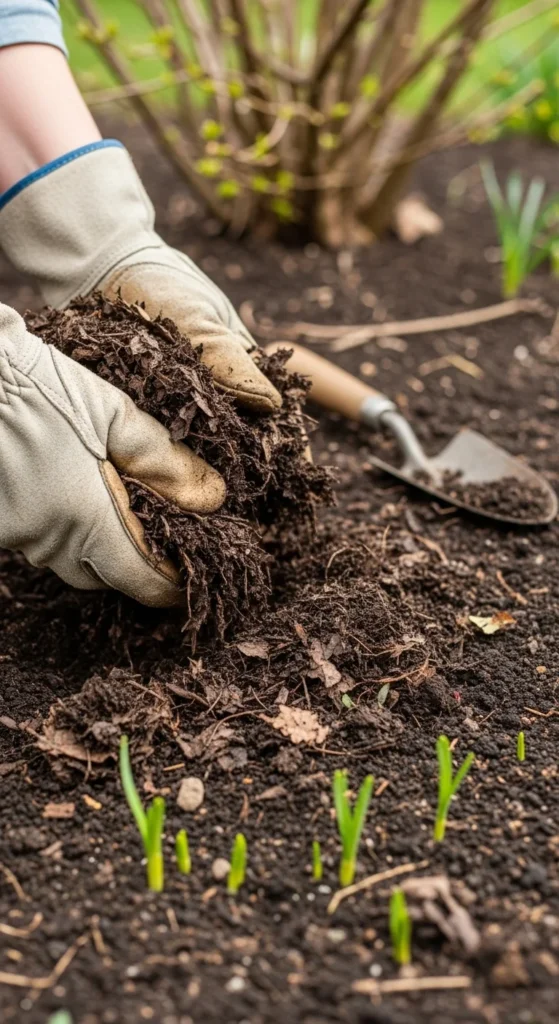
Leaf mold improves soil structure gently. It holds moisture and loosens heavy soil.
Spread it like compost and mix lightly.
It is free if made from collected leaves and works well in ornamental beds.
This is a low-effort addition with lasting benefits.
13. Level Beds Before Planting
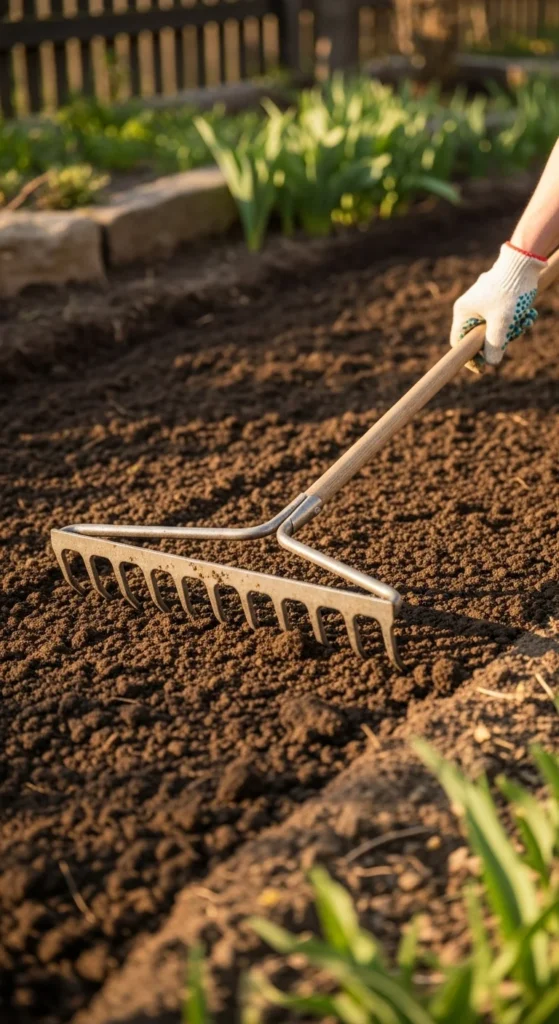
Uneven soil causes uneven watering. Leveling beds helps water spread evenly.
Use a rake to smooth the surface after prep.
This also makes spacing plants easier later.
Flat beds reduce erosion during heavy rain.
14. Check Soil Temperature
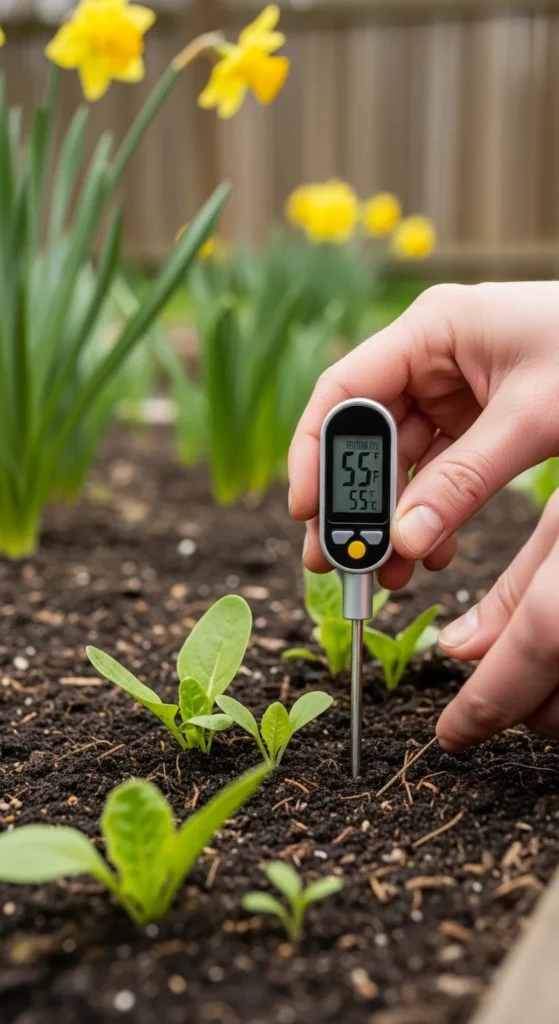
Cold soil slows root activity. Use a basic soil thermometer if available.
If soil is still cold, wait before planting sensitive crops.
Warm soil supports steady early growth.
This prevents setbacks caused by rushing.
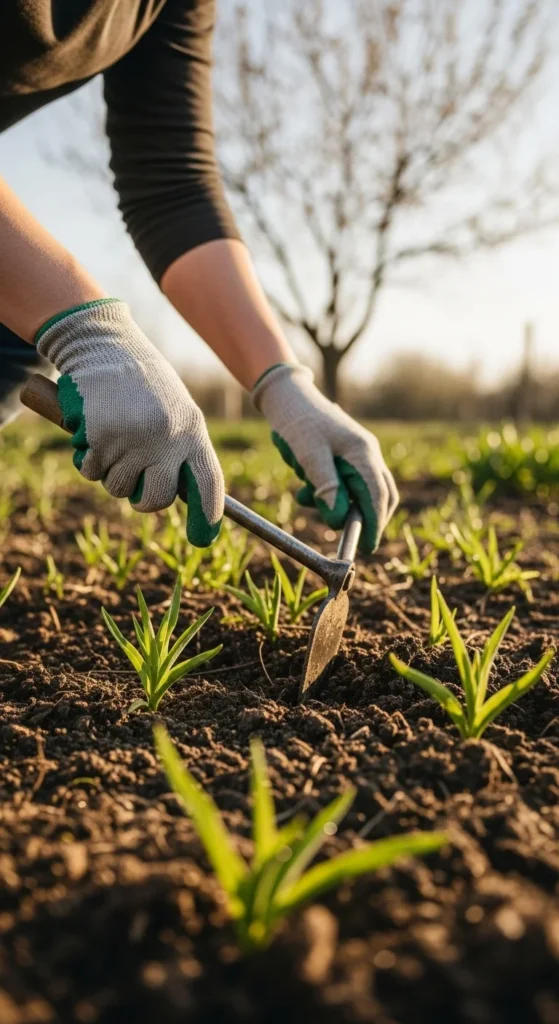
15. Remove Weed Roots Early
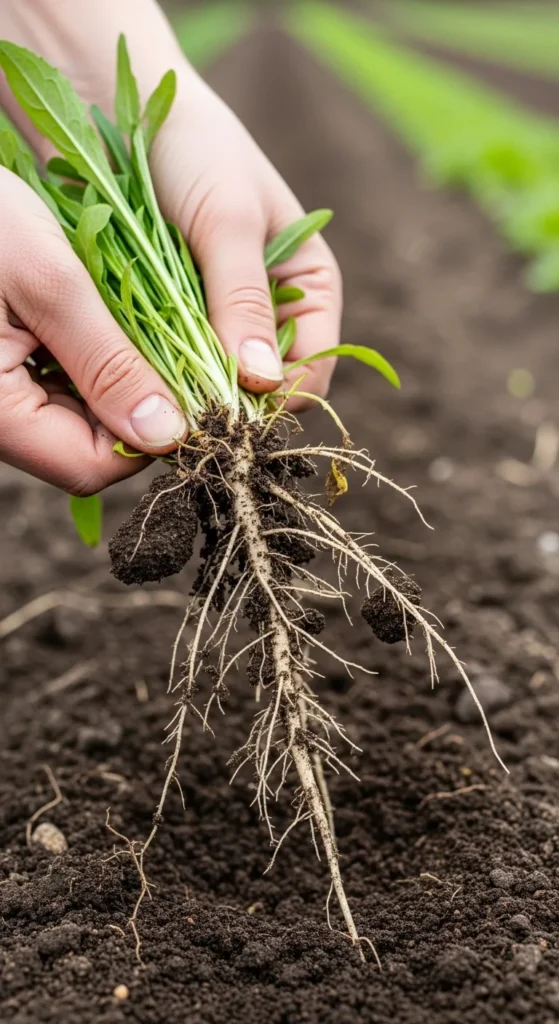
Weed roots are easier to remove during soil prep. Pull them fully before planting.
Leaving roots behind leads to regrowth later.
This saves time during busy weeks.
Early removal keeps beds cleaner longer.
16. Improve Clay Soil Gradually
Clay improves over time, not overnight. Add organic matter each season.
Avoid sand additions, which harden clay.
Steady compost use changes texture slowly but reliably.
Patience works better than shortcuts.
17. Avoid Walking on Prepared Beds
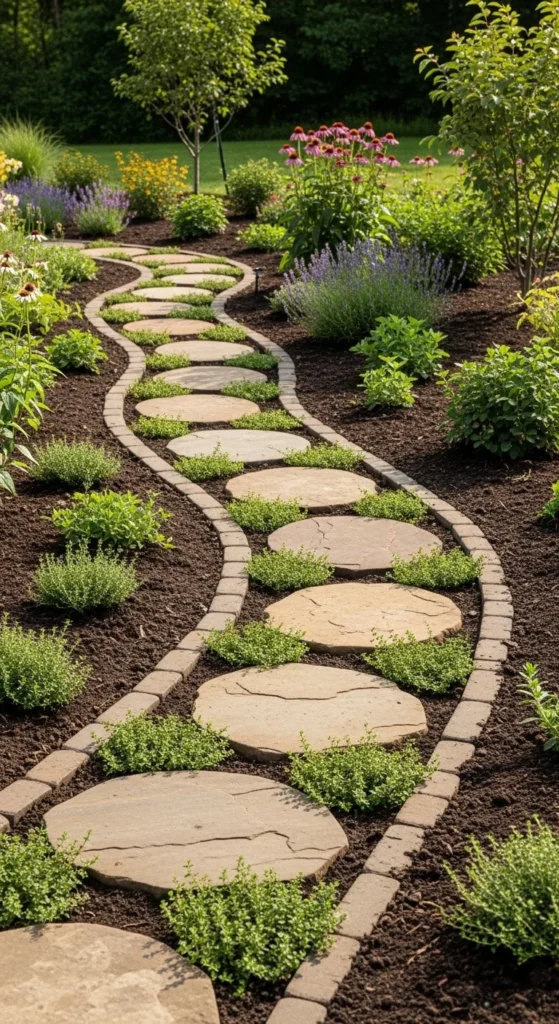
Foot traffic re-compacts soil quickly. Use stepping stones or boards.
Plan bed access paths before planting.
Protecting soil structure saves repeated work.
This habit costs nothing and pays off all season.
18. Moisten Soil Lightly After Prep
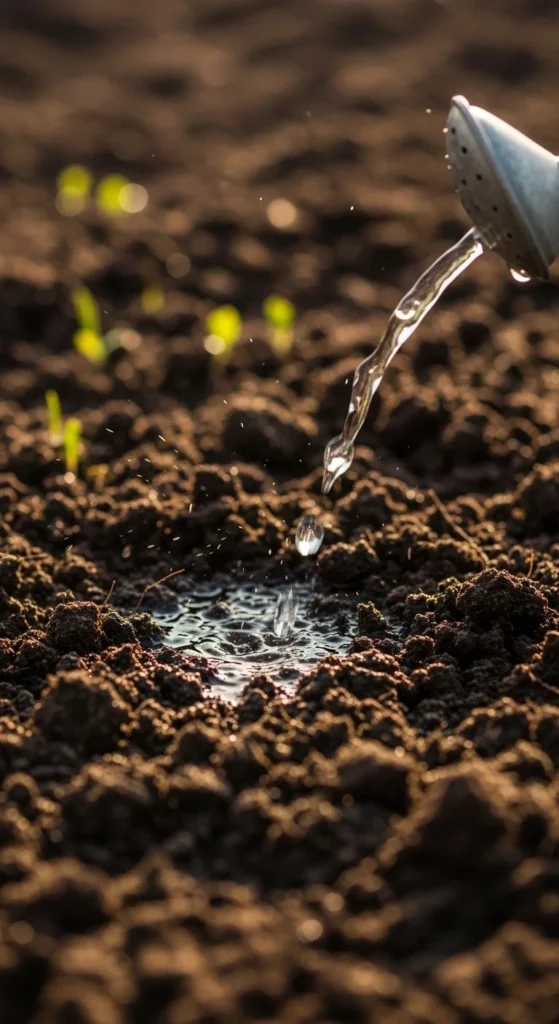
Dry soil repels water later. Light moisture helps settle amendments.
Water gently to avoid erosion.
This prepares soil for planting without saturation.
Balanced moisture supports healthy root contact.
19. Check for Soil Crusting
Hard crusts block air exchange. Break them lightly with a rake.
Do not dig deep. Surface action is enough.
This improves gas flow and seed emergence.
Crusting often returns after rain, so recheck regularly.
20. Prepare Soil in Stages
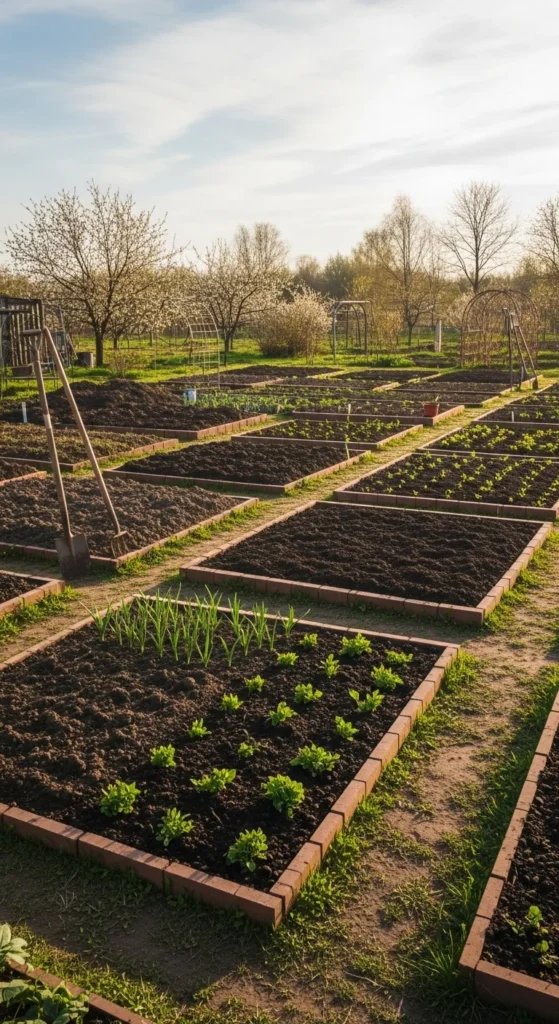
Large gardens feel overwhelming. Work one section at a time.
Finish each bed fully before moving on.
This keeps progress visible and manageable.
Staged prep reduces burnout.
21. Match Soil Prep to Plant Type
Different plants prefer different soil conditions. Leafy greens like loose soil. Shrubs prefer stability.
Prep areas based on what you plan to plant.
This improves results without extra cost.
Tailored prep avoids unnecessary adjustments later.
22. Pause and Observe Before Planting
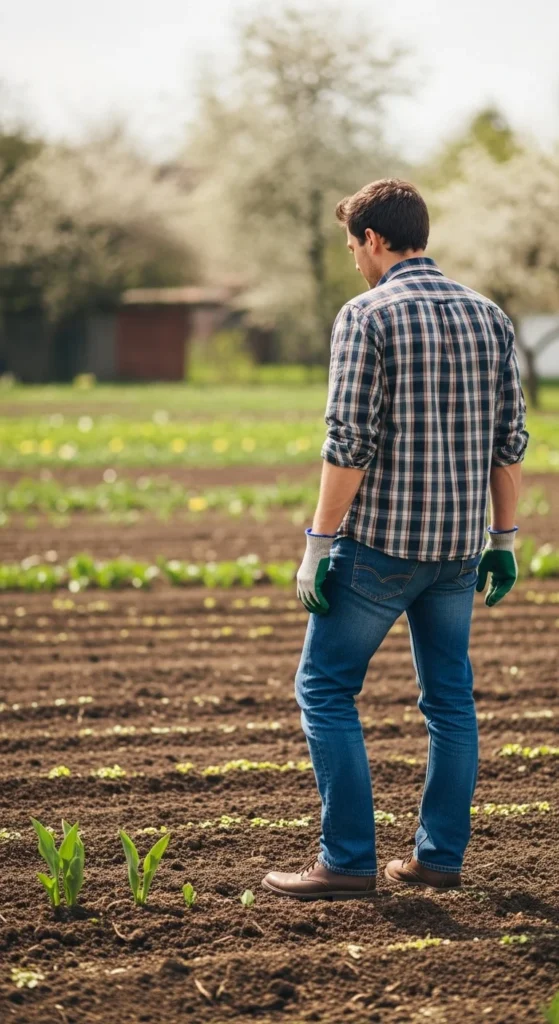
After prep, take a short break. Watch how soil responds to water and sun.
Make small adjustments if needed.
Observation prevents rushed planting decisions.
Prepared soil works best when given a moment to settle.
Conclusion
Spring soil prep sets the groundwork for the entire growing season. Each small step improves structure, water flow, and root comfort in ways that last well beyond planting day. By working steadily with basic tools and organic materials, you build soil that supports healthy growth without extra expense or complicated methods. Start simple, work patiently, and let good soil habits carry your garden forward through the months ahead.

Leave a Reply