
There’s something magical about planting seeds you saved from your own garden. Not only does it save money, but it also helps you grow stronger, more resilient plants that are perfectly adapted to your soil and climate. Plus, there’s a special joy in knowing your garden carries on year after year from your own harvest.
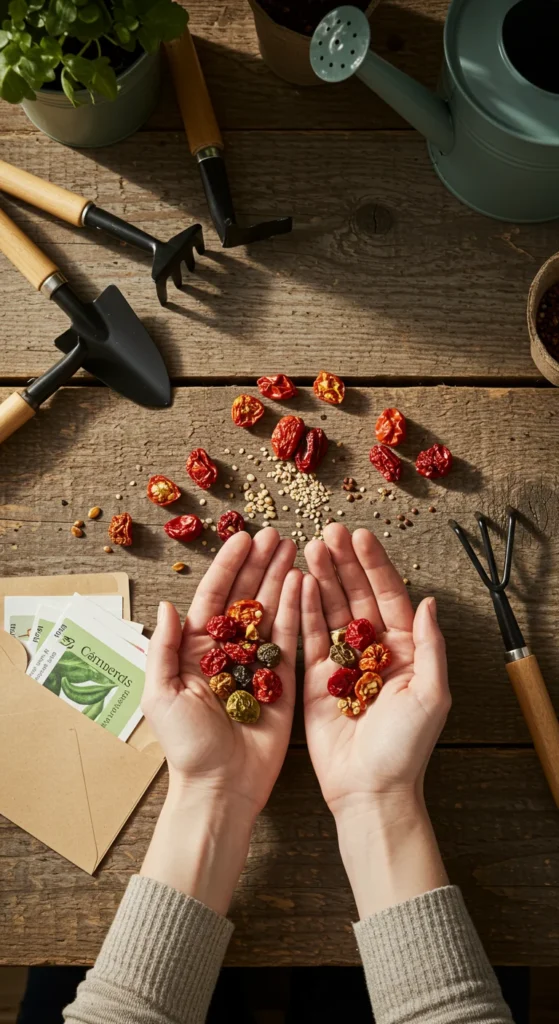
Ready to become a seed-saving pro? Let’s dive into the simple steps that make it possible for anyone to harvest, store, and plant seeds successfully.
Choose the Right Plants
Not every plant is ideal for seed saving. Start with easy, beginner-friendly options:
- Tomatoes – Reliable and simple to ferment.
- Peppers – Just dry the seeds and they’re ready.
- Beans & Peas – Naturally dry inside their pods.
- Lettuce – Produces fluffy seed heads that are easy to collect.
- Herbs like dill and cilantro – Seeds form quickly and store well.
Pro tip: Always choose open-pollinated or heirloom varieties. Hybrid seeds often don’t grow true to type.
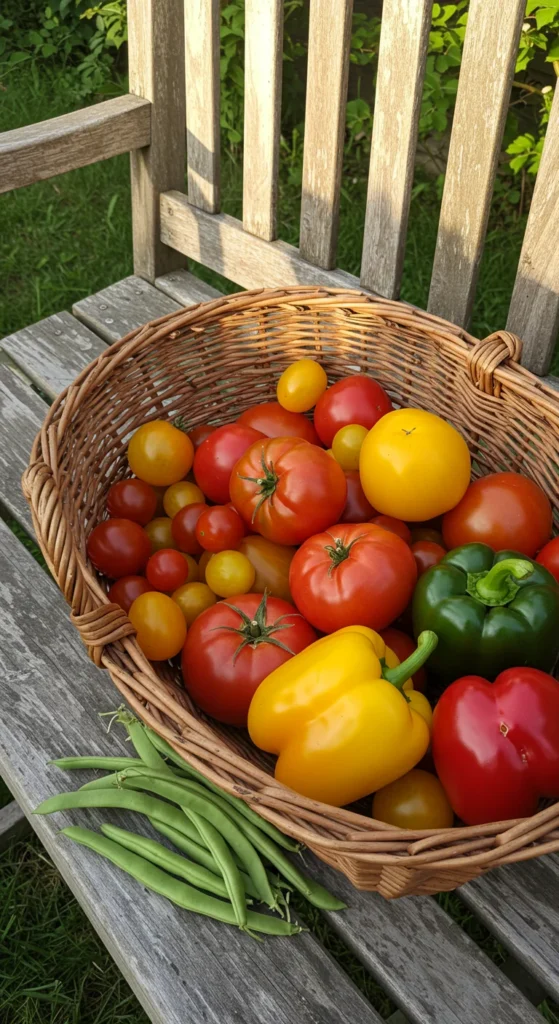
Harvest at the Right Time
The secret to healthy seeds is timing. Harvest too early, and they won’t sprout well.
- Tomatoes & Peppers: Let the fruits fully ripen on the plant.
- Beans & Peas: Wait until pods are dry and brittle before picking.
- Lettuce & Herbs: Seeds are ready when flowers fade and heads turn brown.
Patience pays off—fully mature seeds have the best germination rates.
Clean and Dry Seeds Properly
After harvesting, your seeds need a little prep work before storage.
- Tomatoes: Scoop seeds into a jar with water, let ferment 2–3 days, then rinse and dry.
- Peppers: Slice open, scrape out seeds, and lay them on a paper towel to dry.
- Beans & Peas: Shell the pods once completely dry and keep the seeds whole.
- Lettuce & Herbs: Rub seed heads gently to release seeds, then sift out chaff.
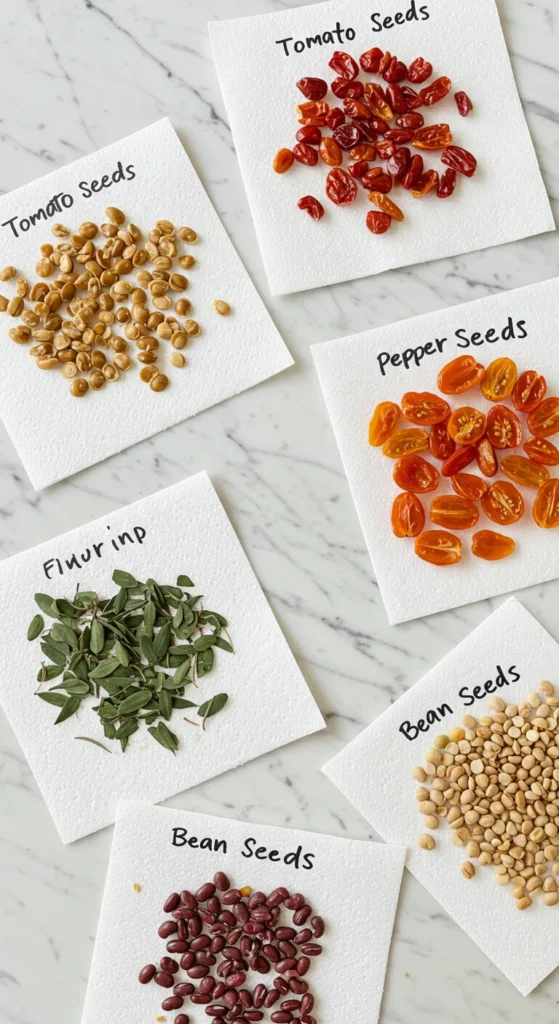
Drying is crucial—spread seeds out in a single layer and let them air-dry for about a week in a cool, dark spot.
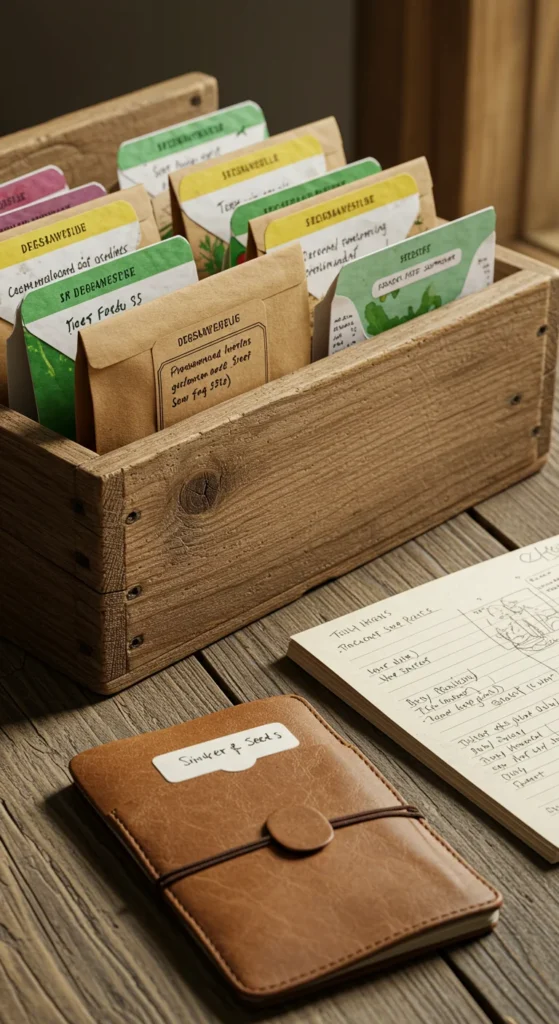
Store Seeds Like a Professional
How you store your seeds makes all the difference. Done right, they can last for years.
- Containers: Use paper envelopes, small jars, or resealable bags.
- Labeling: Always write the plant name and harvest date.
- Storage Conditions: Keep seeds in a cool, dark, and dry place—like a closet or fridge.
- Moisture Control: Slip in a silica gel packet to keep seeds extra dry.
Think of seeds as “sleeping plants”—the right environment keeps them dormant until you’re ready to wake them up.
Test for Viability
Before planting next season, do a quick germination test to make sure your seeds are still good.
- Place 10 seeds on a damp paper towel.
- Roll it up and put it in a plastic bag.
- Keep it warm and moist for about a week.
- Count how many sprouted—if 7 or more, your seeds are strong.
This simple test saves time and disappointment in the garden.
Final Takeaway
Seed saving is part science, part tradition, and a whole lot of satisfaction. With just a few simple steps—choosing the right plants, harvesting carefully, cleaning, drying, and storing—you can keep your garden thriving year after year without buying new packets.

Leave a Reply