
There’s something magical about saving your own seeds. It’s a quiet ritual that connects you to the rhythm of the seasons—growing, harvesting, and then saving the promise of next year’s garden. Whether you’re growing heirloom tomatoes, zinnias, or crisp cucumbers, learning how to preserve seeds for next season helps you save money, protect rare varieties, and create crops perfectly adapted to your garden’s conditions.
Here’s how to do it right—step by step—so your seeds stay viable, healthy, and ready to grow again when spring returns.
Why Save Seeds?
Saving seeds isn’t just practical—it’s empowering. You become part of an age-old tradition that gardeners have practiced for thousands of years.
Benefits include:
- Saving money: You won’t need to buy new seed packets every year.
- Preserving heirloom varieties: Keep your favorite plants thriving for generations.
- Adapting to your garden: Each saved generation grows stronger in your unique climate.
- Sustainability: Less packaging, less waste, and more self-sufficiency.
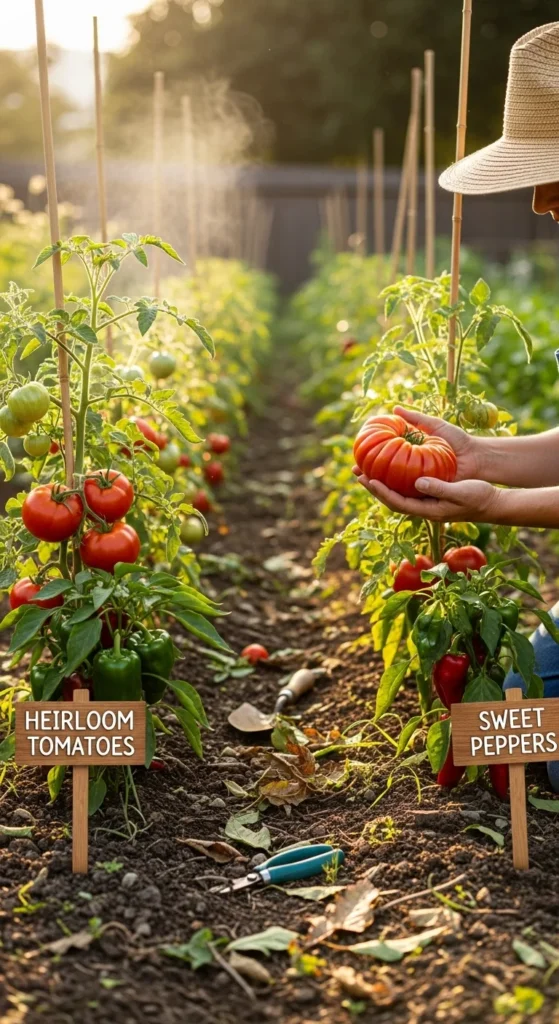
Step 1: Choose the Right Plants to Save Seeds From
Not all plants produce seeds that stay “true to type.” To ensure consistent results, choose open-pollinated or heirloom varieties, not hybrids (marked as “F1” on seed packets).
Best beginner-friendly plants:
- Tomatoes
- Peppers
- Lettuce
- Beans
- Peas
- Marigolds and zinnias
Pick your healthiest, most vigorous plants for seed saving—those that resisted pests, produced well, and had great flavor.
Avoid cross-pollinated plants like squash or melons unless you grow only one variety at a time or separate them with distance or barriers.
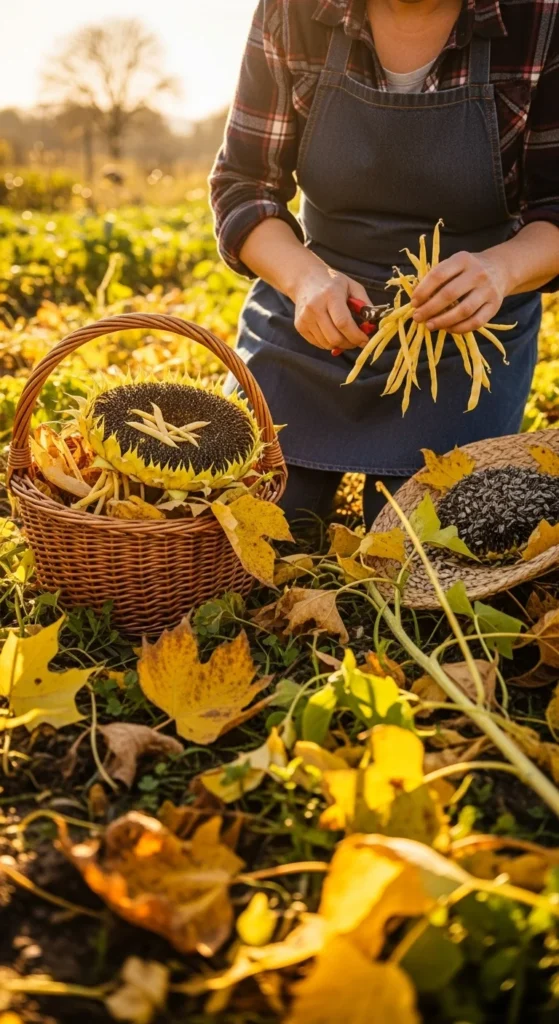
Step 2: Harvest Seeds at the Right Time
Timing is everything when it comes to seed preservation.
- For fruits and vegetables: Wait until the produce is fully mature—even overripe. That’s when seeds reach their full development.
- For flowers and herbs: Allow seed heads or pods to dry on the plant until they rattle or turn brown.
Examples:
- Tomatoes: Save seeds from the juiciest, ripest fruit.
- Peas/Beans: Wait until pods are dry and papery.
- Sunflowers: Let the flower head turn brown before cutting.
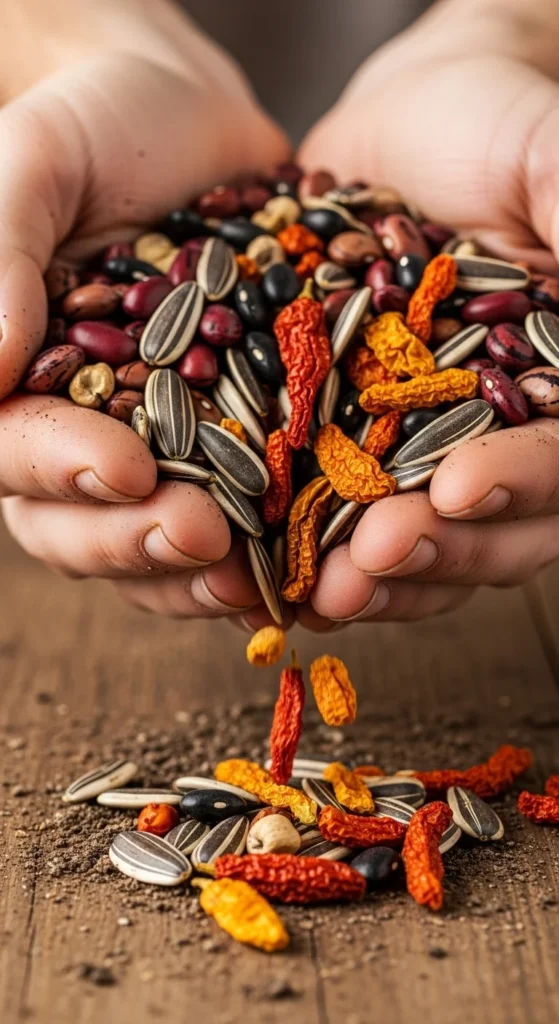
Step 3: Clean and Dry the Seeds
Before storage, seeds need to be completely clean and dry—moisture is the enemy of long-term preservation.
For dry seeds (beans, peas, flowers):
- Shell them gently and remove debris.
- Spread them in a single layer on paper towels or mesh screens.
- Let them air-dry for 1–2 weeks in a warm, ventilated space out of direct sunlight.
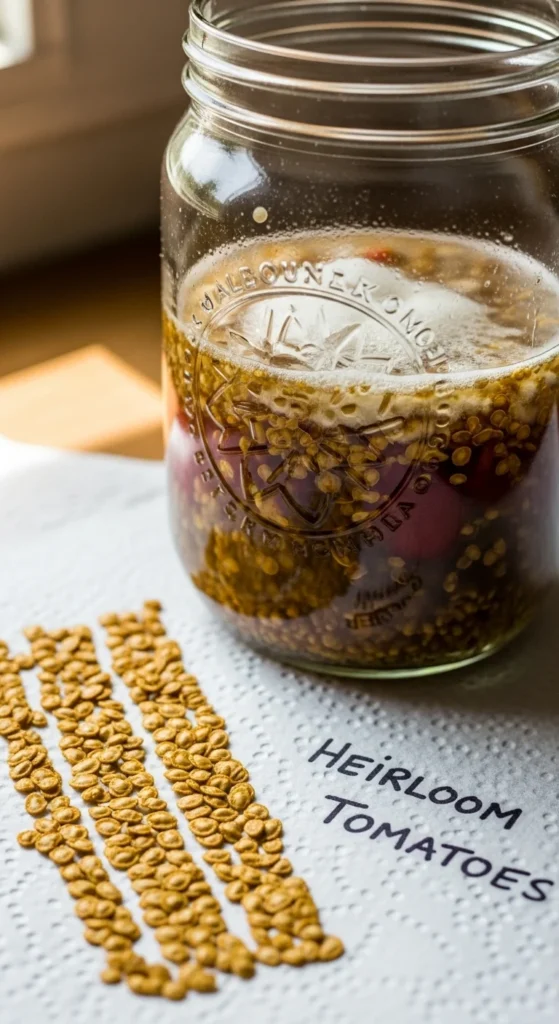
For wet seeds (tomatoes, cucumbers, squash):
- Scoop seeds into a jar with a little water.
- Let them ferment for 2–3 days to remove the gelatinous coating.
- Rinse thoroughly and dry completely on paper plates or screens.
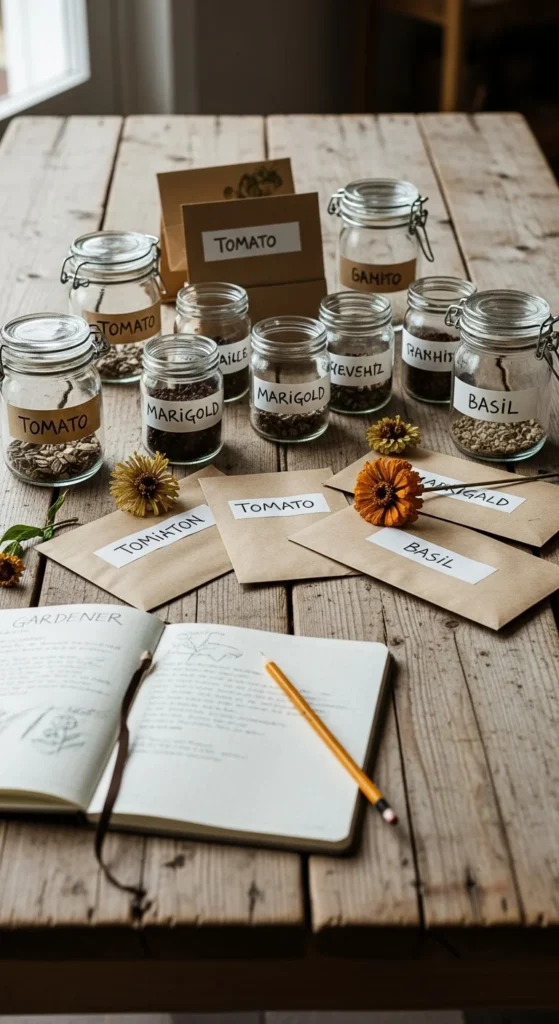
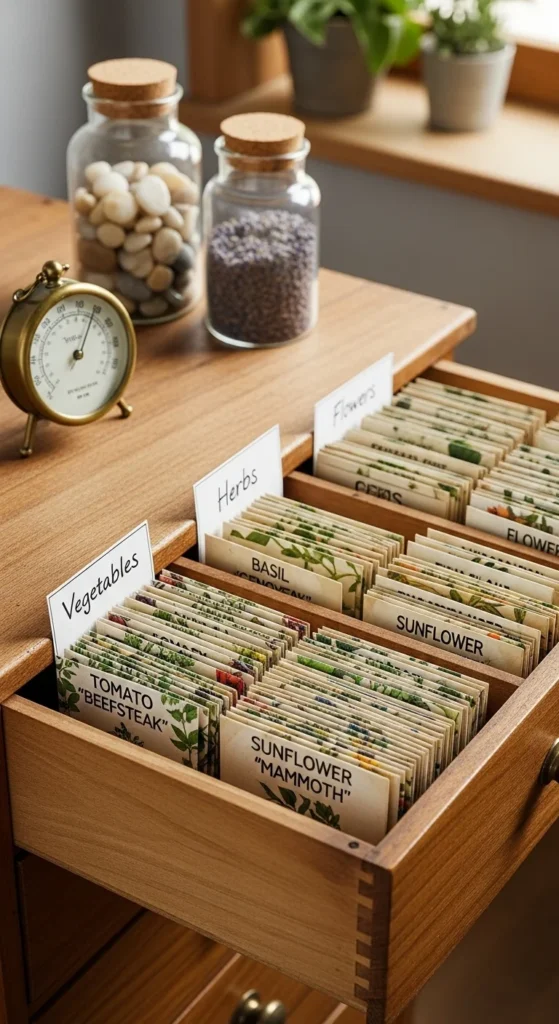
Step 4: Label and Store Properly
Organization is key to seed-saving success. Once dry, label your seeds right away with:
- Plant name and variety
- Date harvested
- Any special notes (like flavor or growth habit)
Storage options:
- Small paper envelopes or seed packets
- Glass jars with tight lids (add a silica gel pack to absorb moisture)
- Zip-top bags inside an airtight container
Keep your seeds in a cool, dark, and dry place—an interior closet, basement shelf, or even the refrigerator works great.
Ideal storage conditions:
- Temperature: Below 50°F (10°C)
- Humidity: Low and stable
Step 5: Test Seeds Before Planting
Before planting season rolls around, check if your seeds are still viable.
Simple germination test:
- Place 10 seeds on a damp paper towel.
- Roll it up and seal it in a plastic bag.
- Keep it in a warm spot for 5–7 days.
- Count how many seeds sprout.
If 8 out of 10 sprout, you have an 80% germination rate—great for planting. If fewer than half sprout, use more seeds per hole or consider replacing them.
Final Thoughts
Seed saving isn’t just about gardening—it’s about preserving life, memory, and resilience. Every seed you tuck away carries a story of your garden’s past and its future potential.
Whether you’re saving heirloom tomato seeds or wildflower blooms, you’re contributing to biodiversity and building your own legacy of homegrown abundance.

Leave a Reply