
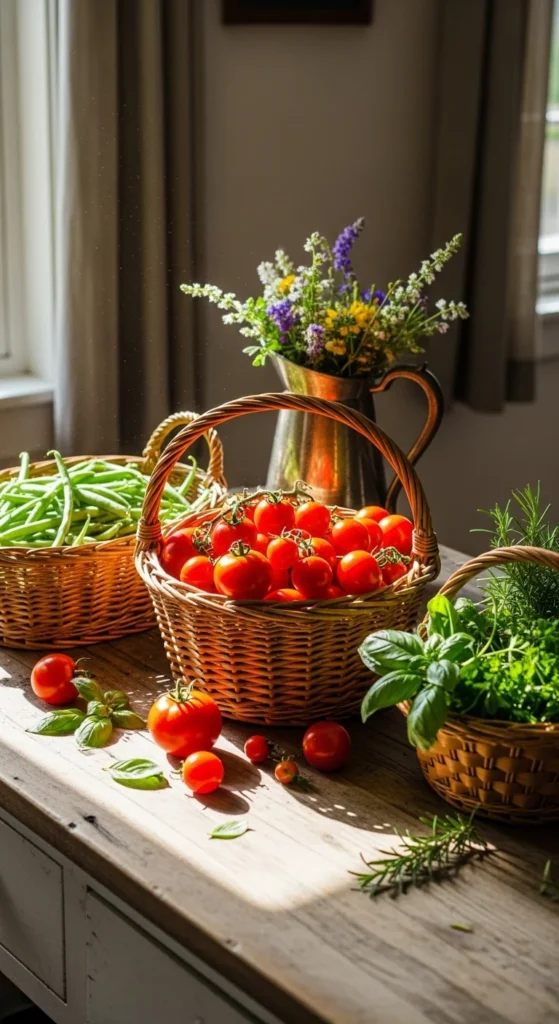
After months of nurturing your garden, seeing baskets overflowing with fresh vegetables, herbs, and fruits feels like pure joy. But what do you do when the harvest is more than you can eat in a week? Learning how to preserve your garden harvest easily is the secret to enjoying your hard work all year long—without letting a single tomato or cucumber go to waste.
The Beauty of Preserving at Home
Preserving your garden’s bounty isn’t just about saving food—it’s about capturing summer in a jar. From tangy pickles to sweet jams, frozen berries to dried herbs, each method brings the taste of your garden to future meals. And the best part? You don’t need fancy equipment or professional skills to get started.
Here’s a breakdown of the easiest and most rewarding ways to preserve your homegrown produce—whether you have a tiny herb patch or a full backyard garden.
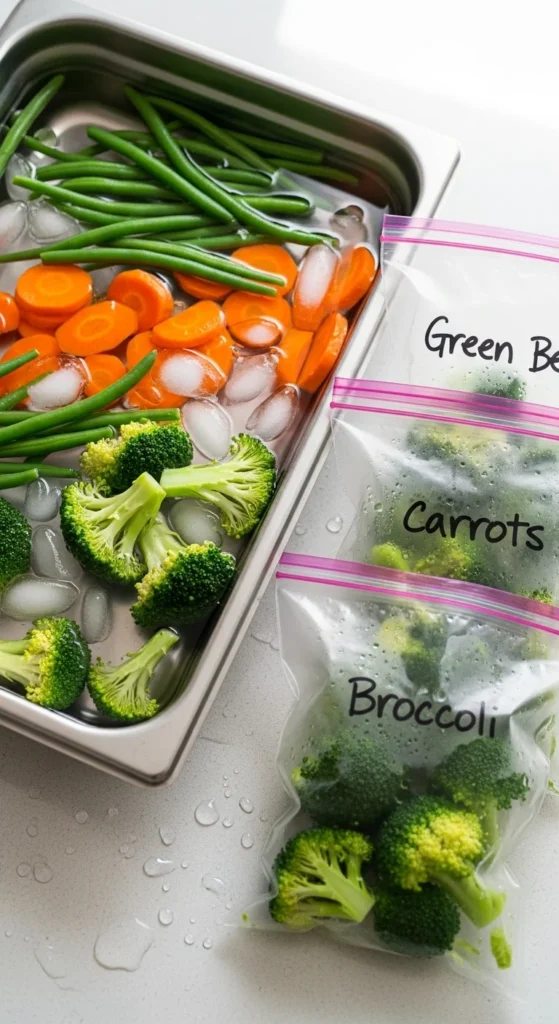
1. Freezing: The Fastest and Easiest Method
Freezing is a beginner’s best friend. It’s simple, fast, and helps retain most of your food’s nutrients and flavor.
What to freeze:
- Green beans, peas, broccoli, spinach, and corn
- Strawberries, blueberries, and peaches
- Chopped herbs and pesto cubes
How to do it:
- Wash and dry your produce.
- Blanch vegetables (briefly boil, then cool in ice water) to lock in color and texture.
- Spread items in a single layer on a baking sheet and freeze until solid.
- Transfer to labeled freezer bags or containers.
Pro Tip: For herbs, freeze them in olive oil using an ice cube tray. Just pop out a cube whenever you need instant flavor!
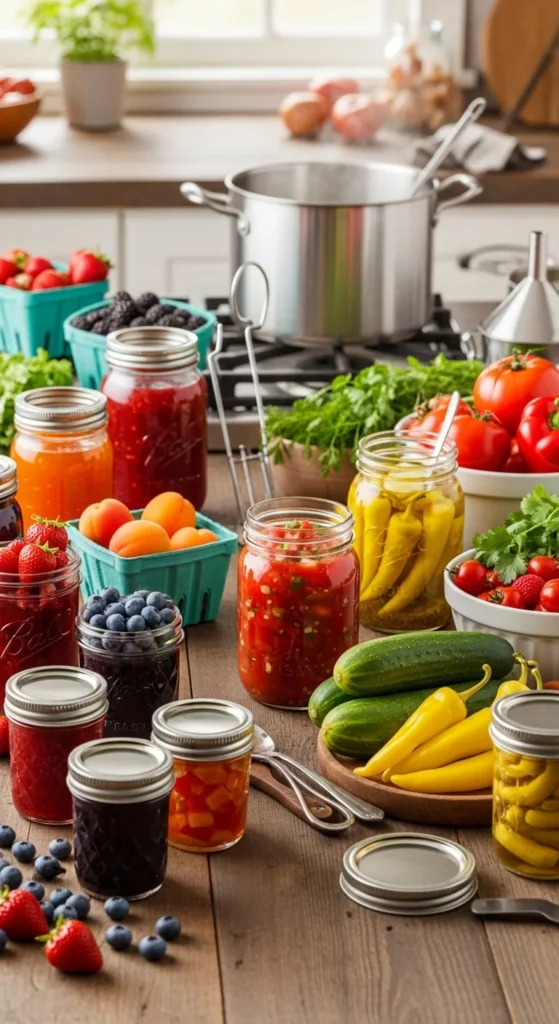
2. Canning: Lock in Flavor for Months
Canning might sound old-fashioned, but it’s one of the most satisfying ways to preserve your harvest. With a few mason jars and some patience, you can make shelf-stable goods that last up to a year.
Best foods for canning:
- Tomatoes, cucumbers, and peppers (for sauces and salsas)
- Fruits like peaches, apples, and plums (for jams and chutneys)
- Pickles and relishes
Basic canning steps:
- Sterilize your jars and lids.
- Prepare your recipe (jam, salsa, etc.).
- Fill jars, leaving headspace.
- Seal tightly and boil in a large pot or water bath for the recommended time.
Safety Note: Always use a tested recipe and follow canning guidelines to avoid spoilage.
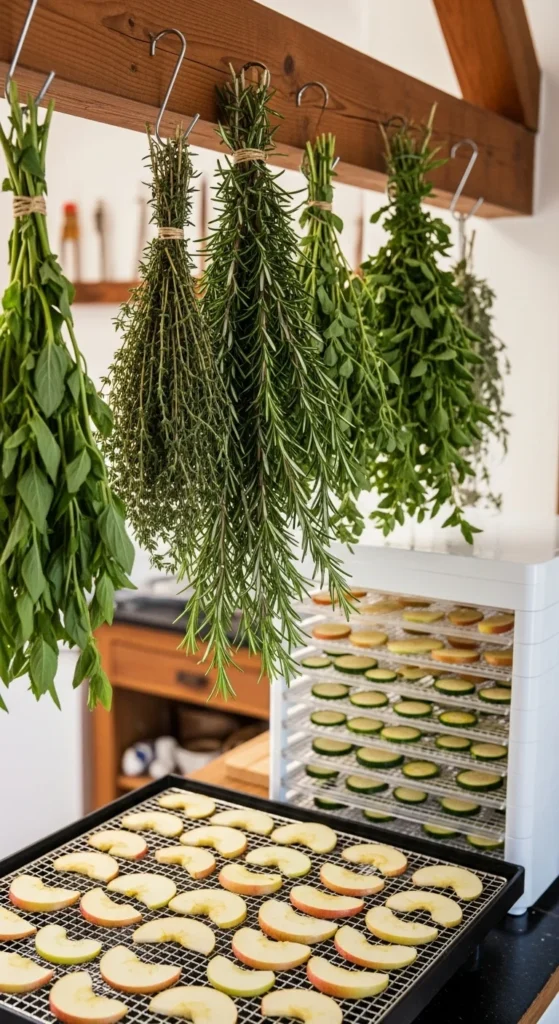
3. Drying: Turn Produce into Long-Lasting Snacks
Drying or dehydrating your produce is perfect for small spaces and long storage. You can use a dehydrator, an oven, or even the sun (if it’s hot enough).
Great for drying:
- Apples, bananas, and tomatoes
- Herbs like basil, thyme, and oregano
- Peppers and chili flakes
How to dry herbs:
- Gather small bundles of herbs.
- Hang them upside down in a warm, dry place for 1–2 weeks.
- Once crisp, crumble and store in airtight jars.
Bonus idea: Make your own veggie chips! Thinly slice zucchini or sweet potatoes, season lightly, and dehydrate until crispy.
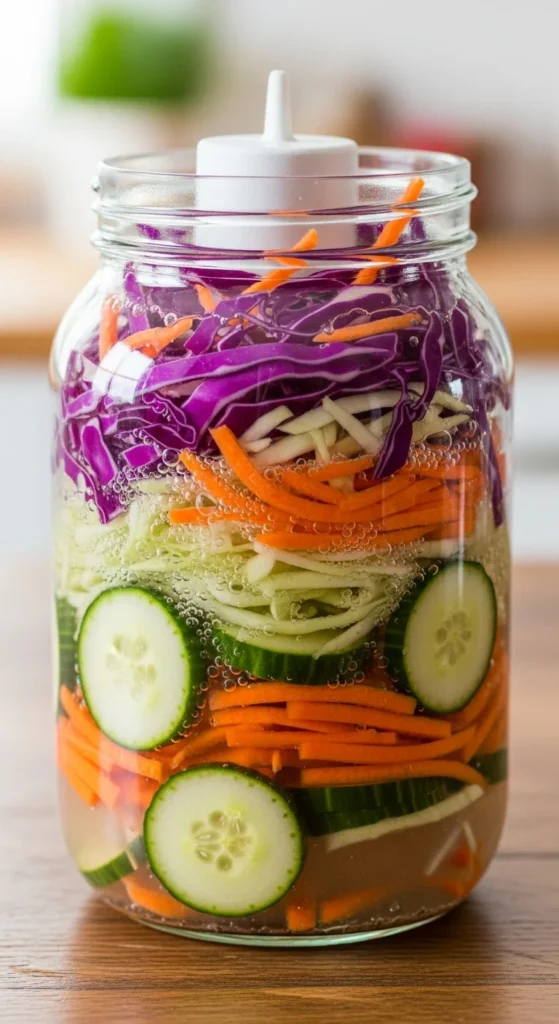
4. Fermenting: Add a Tangy Twist
Fermentation not only preserves food but also adds gut-friendly probiotics. It’s a traditional method that requires nothing more than salt, water, and time.
Best for fermenting:
- Cabbage (sauerkraut)
- Cucumbers (fermented pickles)
- Carrots, radishes, and beets
Basic steps:
- Slice your vegetables and pack them tightly into a jar.
- Mix a saltwater brine (1 tablespoon salt per 2 cups water) and pour it over the veggies.
- Weigh them down so they stay submerged.
- Cover loosely and let ferment at room temperature for 5–10 days.
Taste daily until you reach your preferred tanginess—then store in the fridge.
5. Making Sauces, Soups, and Purees
Sometimes the easiest way to preserve your harvest is to turn it into something ready to eat. Sauces and soups freeze beautifully and save you tons of time later.
Ideas to try:
- Tomato sauce with basil and garlic
- Butternut squash soup
- Apple butter or pear puree
Let them cool completely, portion into airtight containers, and freeze. You’ll thank yourself on busy weeknights when you have homemade meals ready to go.
Quick Storage Tips
- Label everything with the name and date.
- Use airtight containers to prevent freezer burn or moisture.
- Rotate your stock—use older batches first.
- Keep a simple “harvest log” to track what you preserved and when.
Final Thoughts
Preserving your garden harvest is like bottling up sunshine and flavor for the months ahead. Whether you freeze, can, dry, or ferment, you’ll cut down on waste and enjoy homegrown goodness long after the season ends.

Leave a Reply