
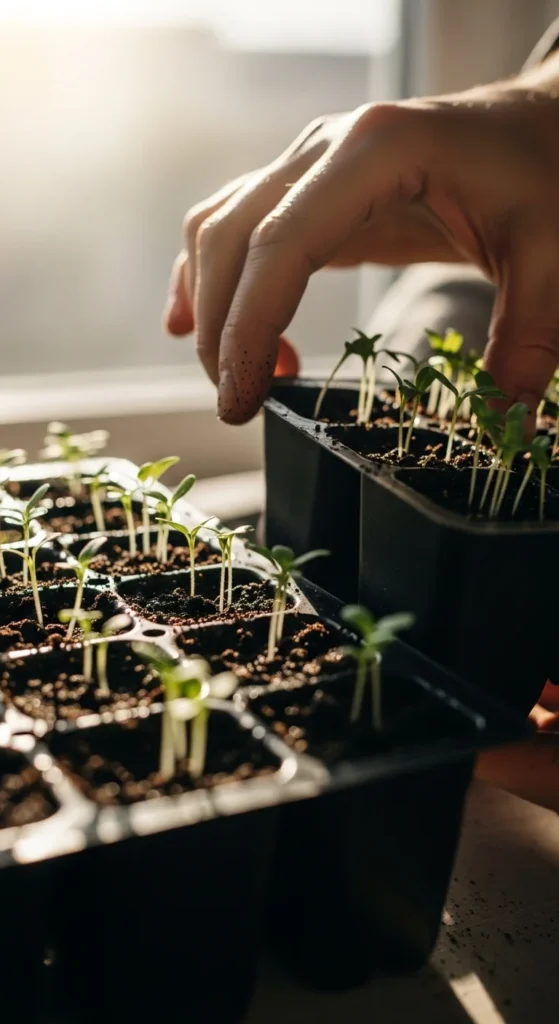
Starting seeds indoors early gives you stronger plants, quicker harvests, and more control over growing conditions. With simple materials—trays, grow lights, soil mix, and recycled containers—you can begin many crops long before outdoor weather settles. These ideas help you organize your seed-starting space, handle seedlings gently, and save money while preparing for a productive growing season.
1. Use a Lightweight Seed-Starting Mix
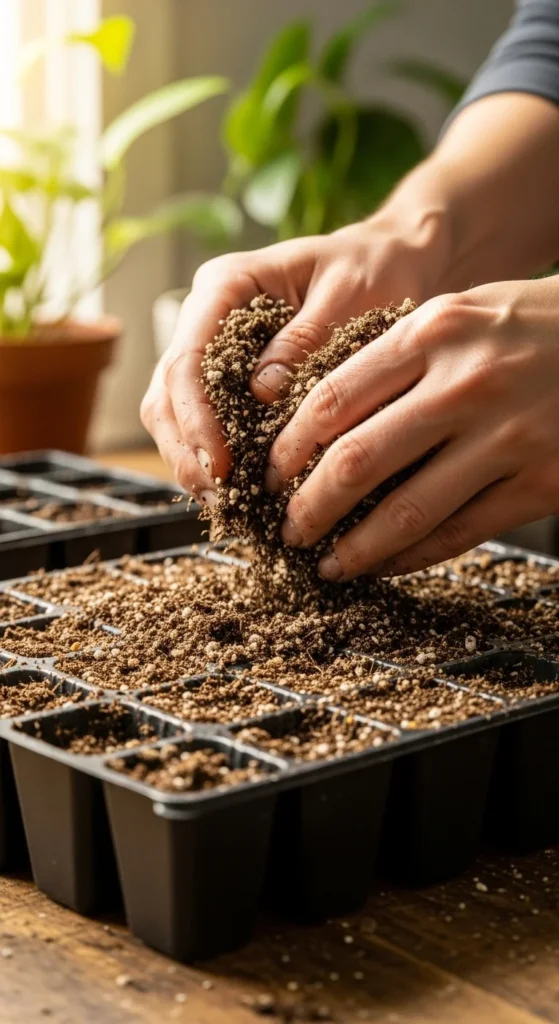
A lightweight mix helps seeds sprout evenly. Look for a fine, airy blend so roots can stretch easily. You only need a small amount for each tray. Add warm water before filling trays so the mix settles without clumps. If you’re watching your budget, make your own blend using sifted compost, coconut coir, and a little perlite. Mix it by hand in a bucket until soft and crumbly. Fill trays halfway, tap gently, and top off with a thin layer. This gives seeds a smooth surface to settle into. Store leftover mix in a sealed container so it stays clean and dry.
2. Reuse Egg Cartons for Tiny Seedlings
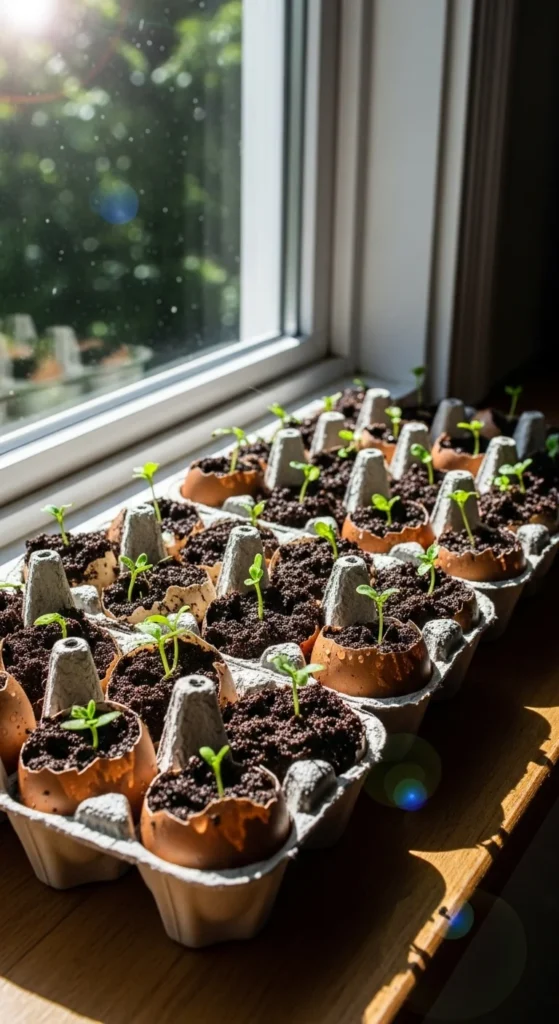
Egg cartons make great starter cells. Fill each cup with moist soil and press seeds lightly into the surface. Punch small holes in the bottom if the carton doesn’t drain well. Set the entire tray on a plate or shallow container to catch drips. When seedlings grow, cut the cups apart and move each one into a larger pot. You can start lettuce, herbs, and flowers this way. It’s a low-cost option and keeps waste down. Rotate the tray for even light.
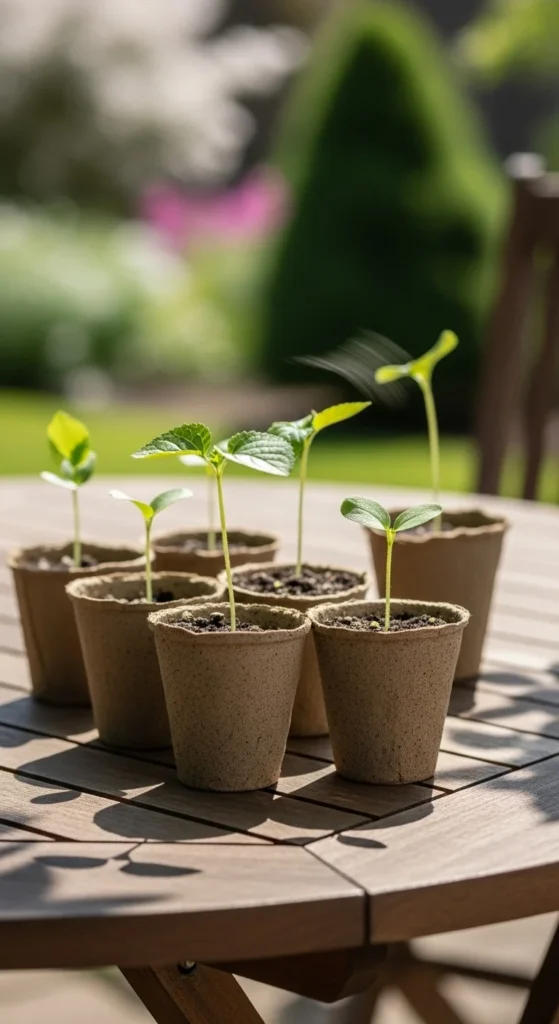
3. Start Seeds in Toilet-Paper Tubes
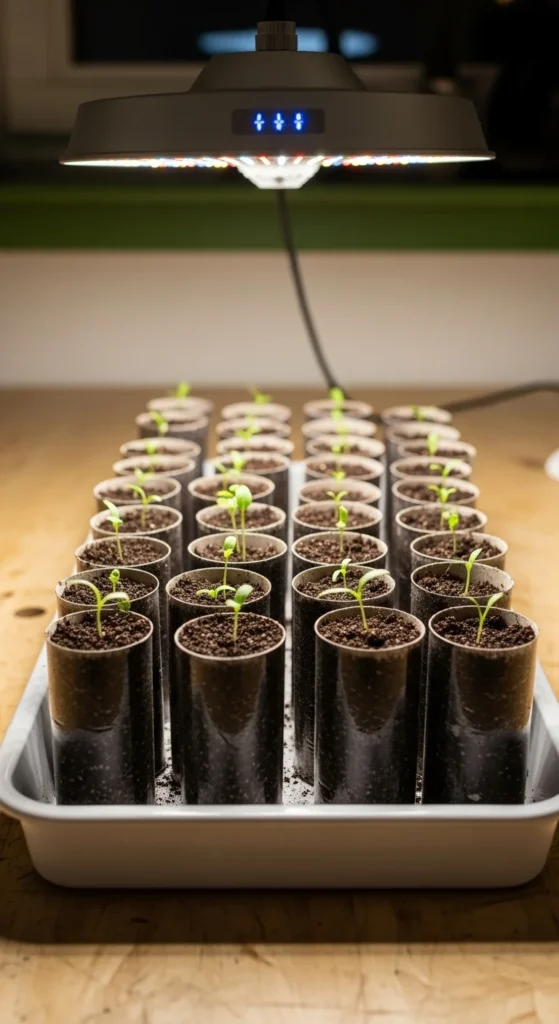
Save tubes and stand them in a box or tray. Fill with soil and plant seeds in the center. These tubes break down naturally, so you can plant the whole thing outdoors later. This works well for beans, peas, and squash. Keep the tubes slightly packed so they don’t collapse when wet. Water gently with a spray bottle so the soil stays in place. It’s simple, cheap, and easy to store.
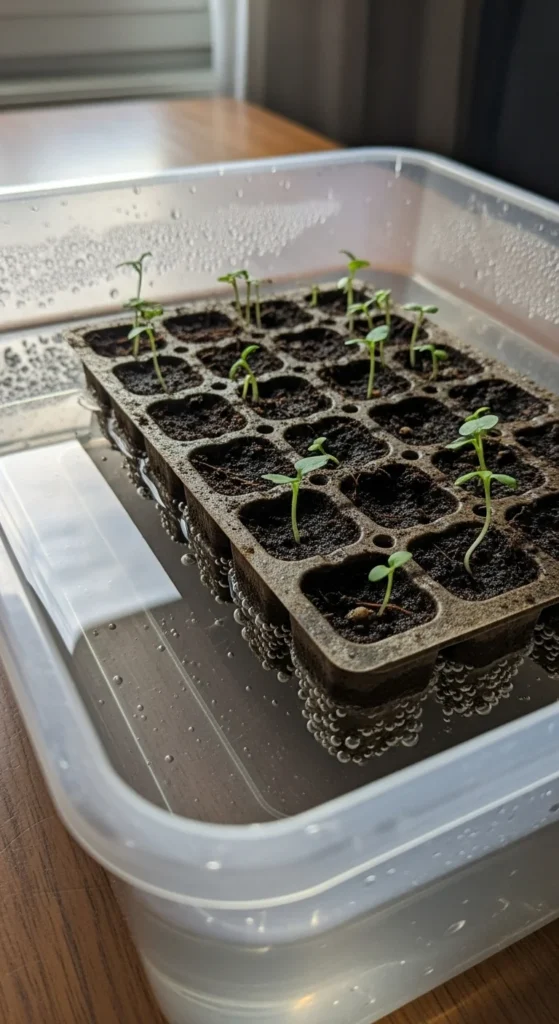
4. Use a Clear Plastic Cover for Humidity
A clear lid holds warmth and moisture, helping seeds sprout quickly. Cover trays after planting and remove the lid once you see little green shoots. If droplets gather too much, lift the cover for a few minutes. You can repurpose plastic food containers if you don’t want to buy a dome. Keep the trays in a stable spot where temperatures stay steady. This simple trick helps early sprouting.
5. Set Up Simple LED Grow Lights
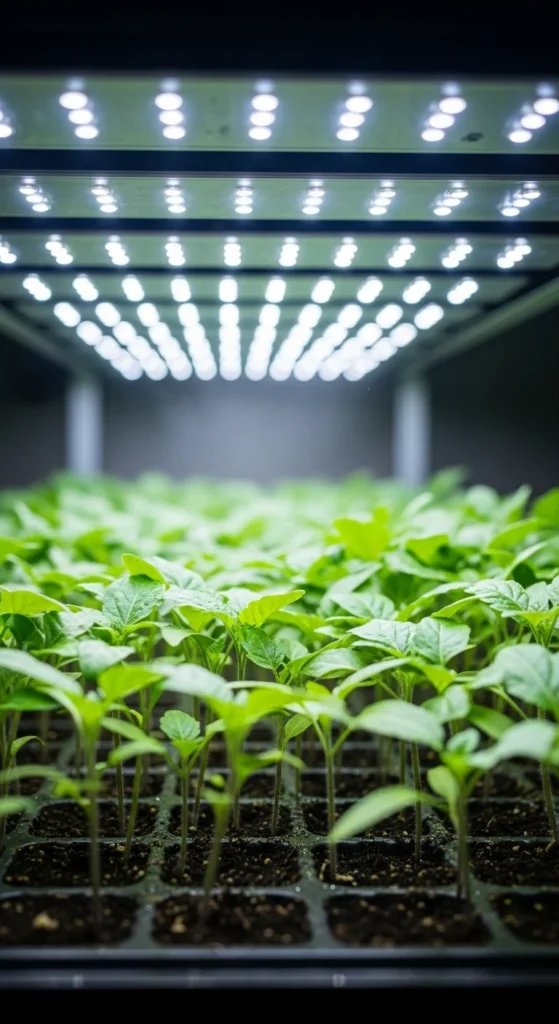
Seedlings love bright, steady light. Hang LED strips a few inches above the tray. Raise the lights as seedlings grow taller. LEDs stay cool and use little energy, so they’re practical for small spaces. You can attach them to shelves or hang them with string. Keep the lights on for about 12–14 hours a day. A simple plug-in timer helps keep things consistent.
6. Create a Warm Germination Station
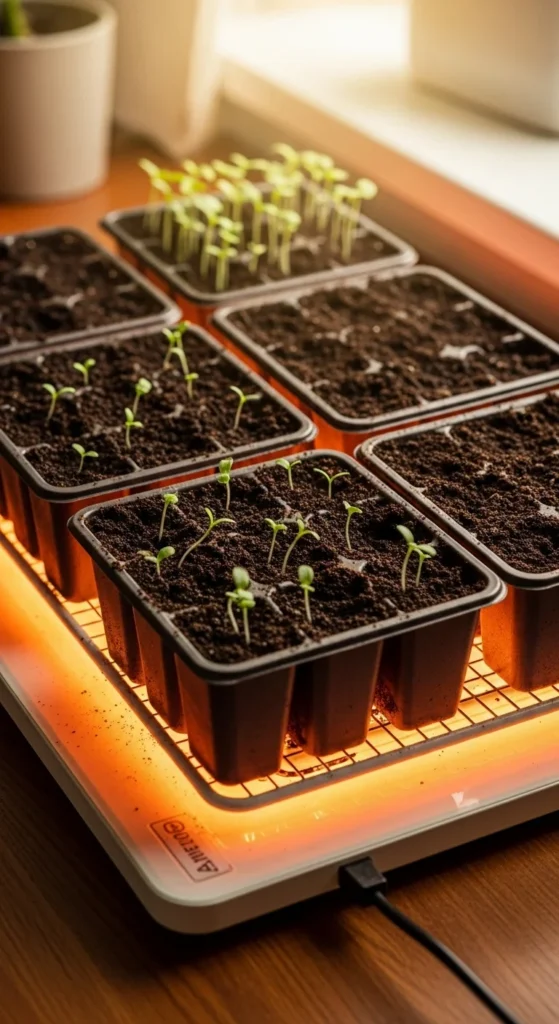
Some seeds sprout faster with warm soil. A small heat mat gives a gentle temperature lift. Tomatoes, peppers, and melons love this. If you don’t have a mat, place trays near a warm appliance like the top of a fridge. Just keep the soil lightly moist and avoid over-watering. Once seeds sprout, move trays away from heat so seedlings don’t stretch too fast.
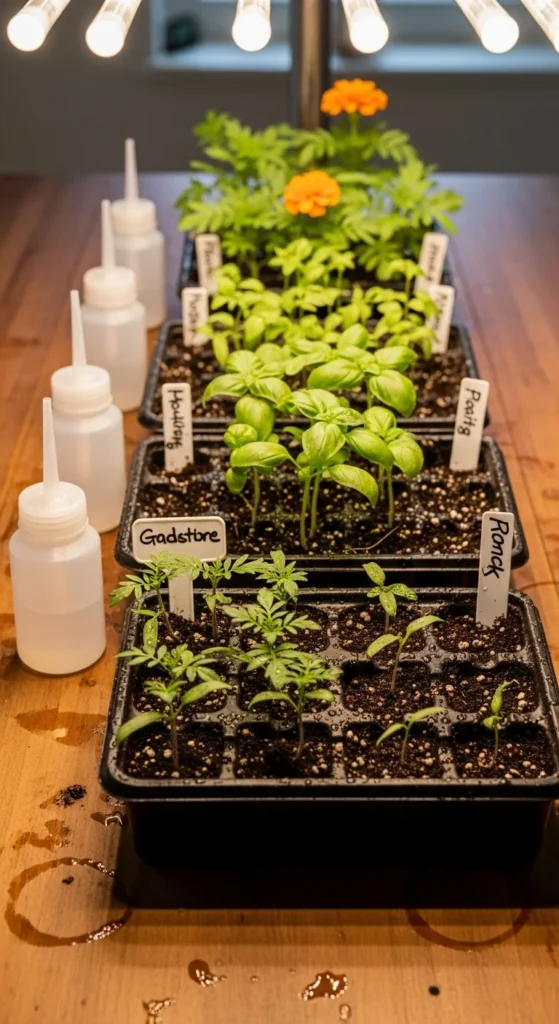
7. Label Every Cell Clearly
When starting many seeds, it’s easy to forget what you planted. Write names and dates on small markers before placing them in the tray. You can cut plastic containers into strips for free labels. Add planting dates so you can track progress. Keeping everything clear makes it easier to move seedlings to bigger pots later.
8. Water From the Bottom
Bottom-watering keeps seedlings steady and prevents soil disturbance. Fill a shallow tray with water and place your seed tray inside for a few minutes. Let soil absorb water from below. Remove it once the top feels slightly damp. This method helps prevent fungal issues. It also keeps delicate seedlings from falling over during watering.
9. Thin Seedlings Gently
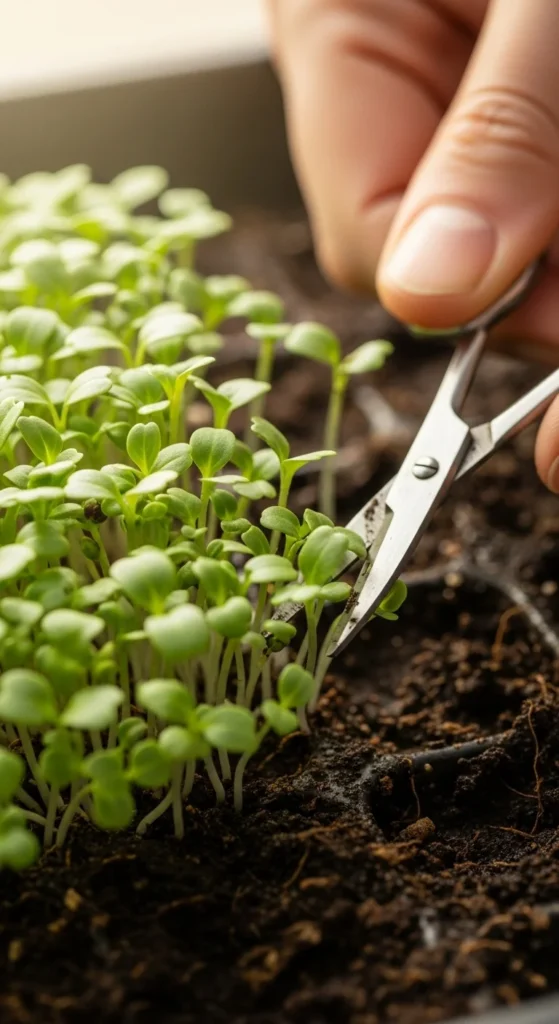
If multiple seeds sprout in one spot, thin them so each cell has one strong plant. Use small scissors to clip extras at soil level. Don’t pull them out, as this can disturb roots. Choose the healthiest one to keep. Thinning helps each plant grow with enough space and nutrients.
10. Rotate Trays Daily for Even Growth
Seedlings lean toward the light. Turn trays a little each day so they grow straight. If using grow lights, keep lights centered and close. Rotating is especially helpful when using a window for light. This habit takes only seconds and keeps plants strong.
11. Start Fast-Growing Greens Early
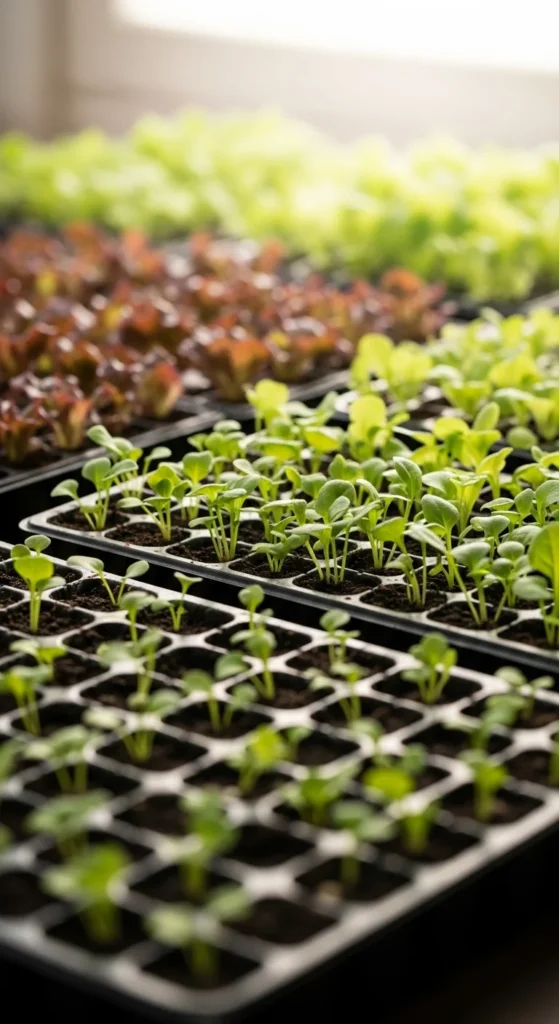
Greens like lettuce, spinach, and arugula sprout quickly and stay compact. Start them indoors early to enjoy quick harvests. Sow seeds deeply enough to stay moist but not buried. These plants are forgiving and grow well even in small trays. Move seedlings to larger pots once you see two or three true leaves.
12. Begin Tomatoes Indoors for Stronger Plants
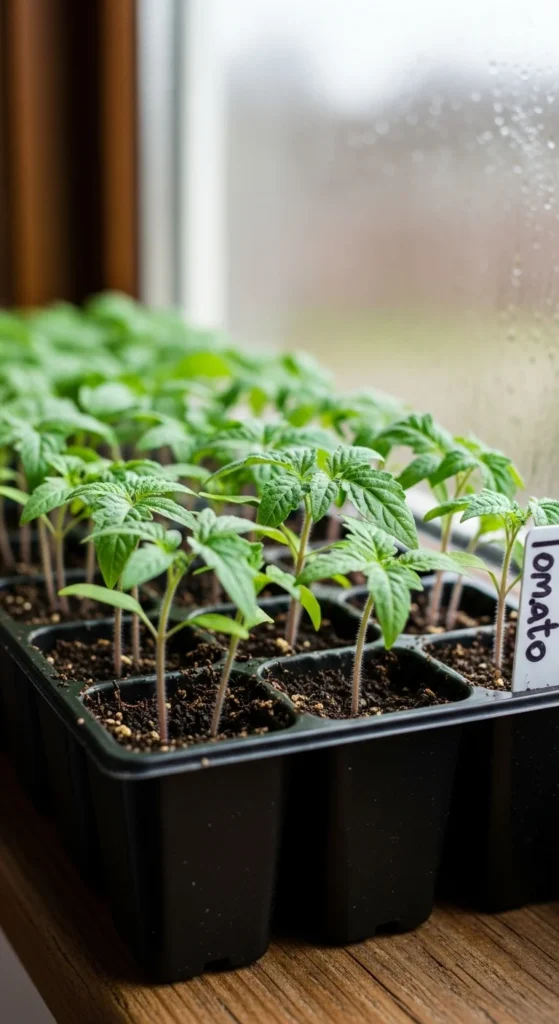
Tomatoes benefit from an early indoor start. Sow seeds in shallow cells and keep them warm. Move to brighter light once sprouted. When the seedlings grow tall, transplant to individual cups. Add a little soil each time to support the stem. This helps create sturdy plants ready for outdoor planting.
13. Start Peppers with Extra Warmth
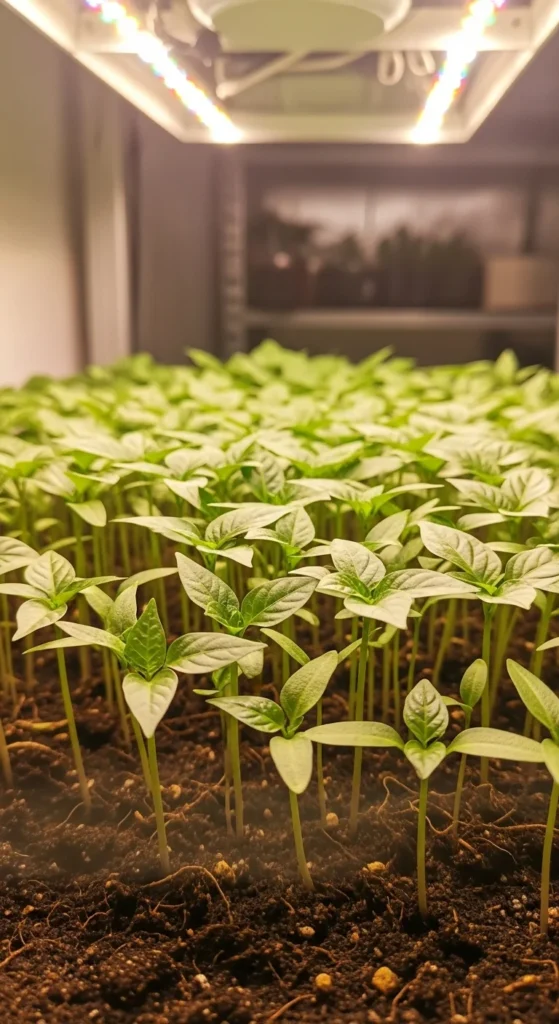
Peppers take longer to sprout than tomatoes. Give them warmth, bright light, and light watering. Use small pots so they have room for roots. Once they grow a few sets of leaves, move them to slightly larger containers. Take your time—peppers reward patience.
14. Pre-Sprout Hard Seeds in Paper Towels
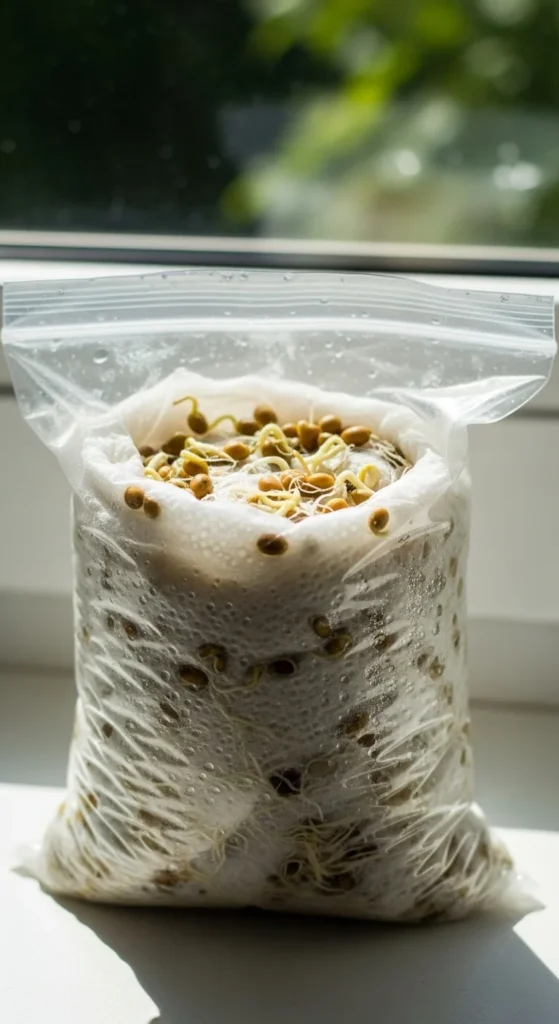
Some seeds sprout faster when pre-soaked or wrapped in moist towels. Place seeds on a damp towel, fold, and slip the towel into a plastic bag. Keep in a warm spot. Check daily for tiny roots. Once sprouted, move them into soil carefully using tweezers. This helps with slow starters like peppers or flowers.
15. Use Recycled Jars as Mini Greenhouses
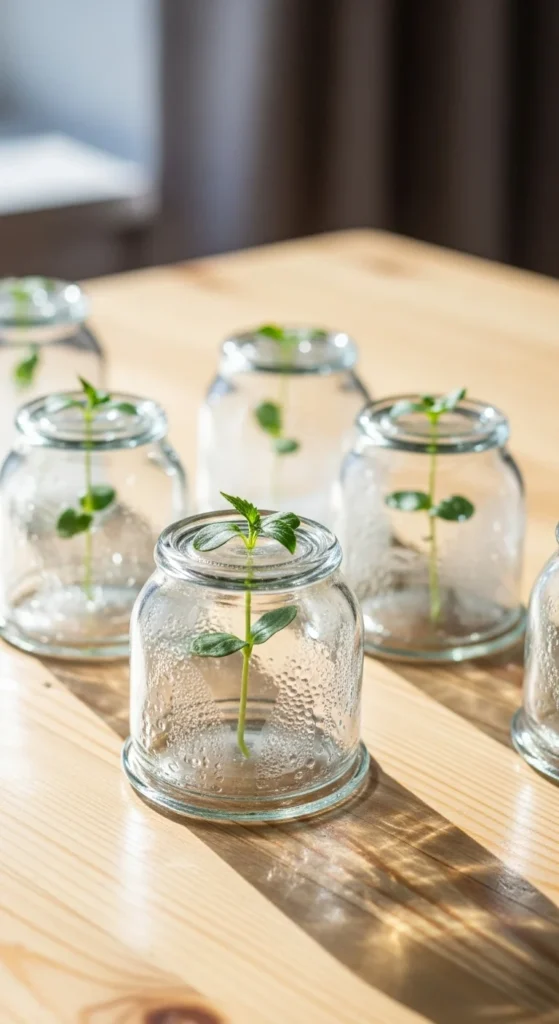
Place clean jars over small pots to hold warmth and moisture. This works well for single seedlings or herbs. Lift the jar daily to release extra moisture. This method costs nothing if you reuse kitchen jars. It’s perfect for small windowsill setups.
16. Space Out Seedlings to Avoid Crowding
Once seedlings grow taller, give them space so air flows well. Move trays apart and avoid letting leaves touch. Crowding can lead to weak stems. This step also helps you water each tray evenly. If space is tight, rotate trays and place some on a shelf.
17. Harden Seedlings Slowly
Before planting outside, introduce seedlings to outdoor air little by little. Start with one hour in light shade. Add more time daily. Keep them sheltered from wind at first. This step helps them stay strong once planted outdoors. Bring them back inside each evening during the early days.
18. Start Herbs Indoors for Steady Harvest
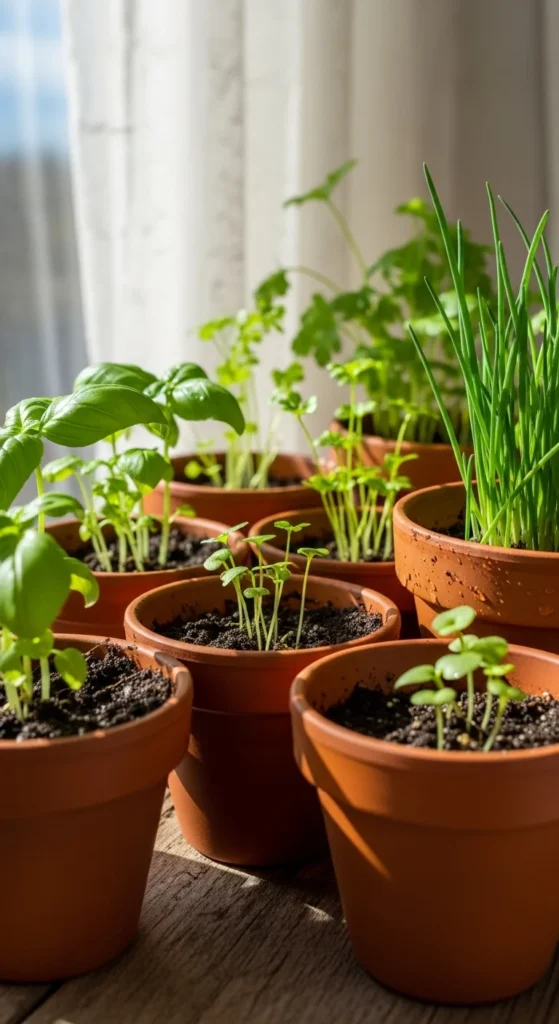
Herbs grow well indoors and love bright light. Plant seeds in small pots with moist soil. Basil, parsley, and cilantro grow quickly. Keep them near a window or under lights. Water gently and pinch the tops once they grow tall to encourage fuller plants.
19. Use Shallow Bins for Root Crops
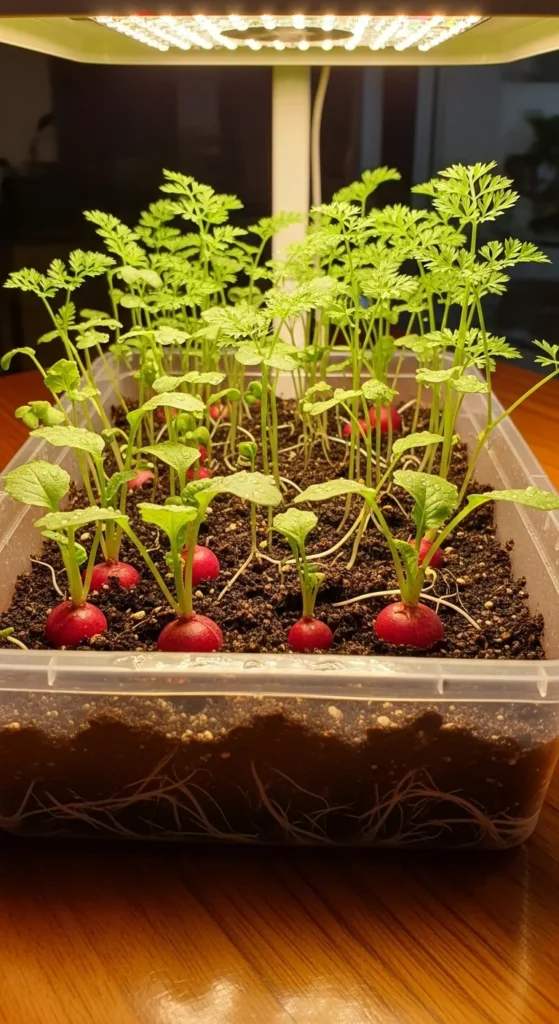
Root crops can start indoors if you use wide, shallow containers. Plant radish or carrot seeds evenly across the surface. Keep soil moist and thin seedlings if too crowded. Once they grow a bit, transplant gently outdoors. Handle them carefully so roots stay intact.
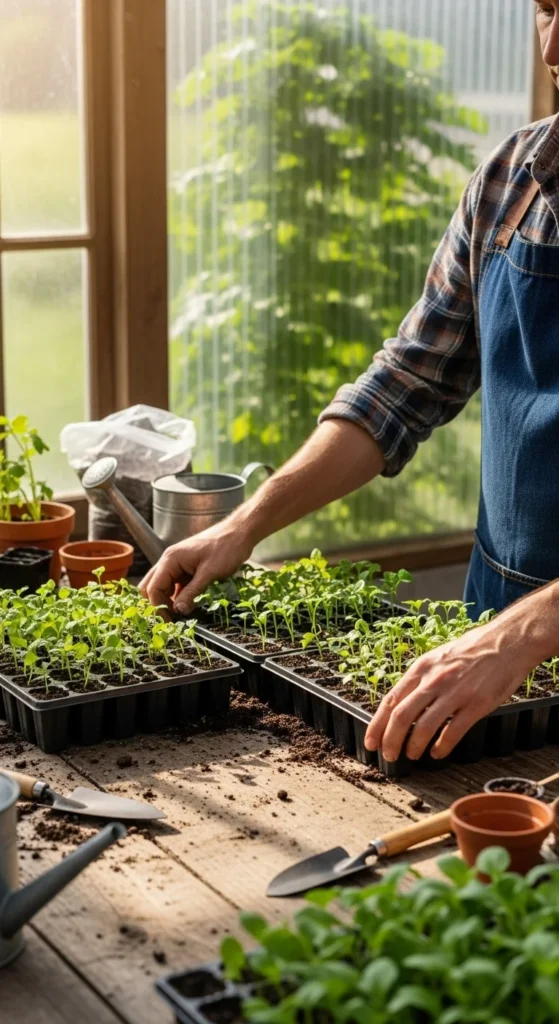
20. Create a DIY Shelf Seed-Starting Station
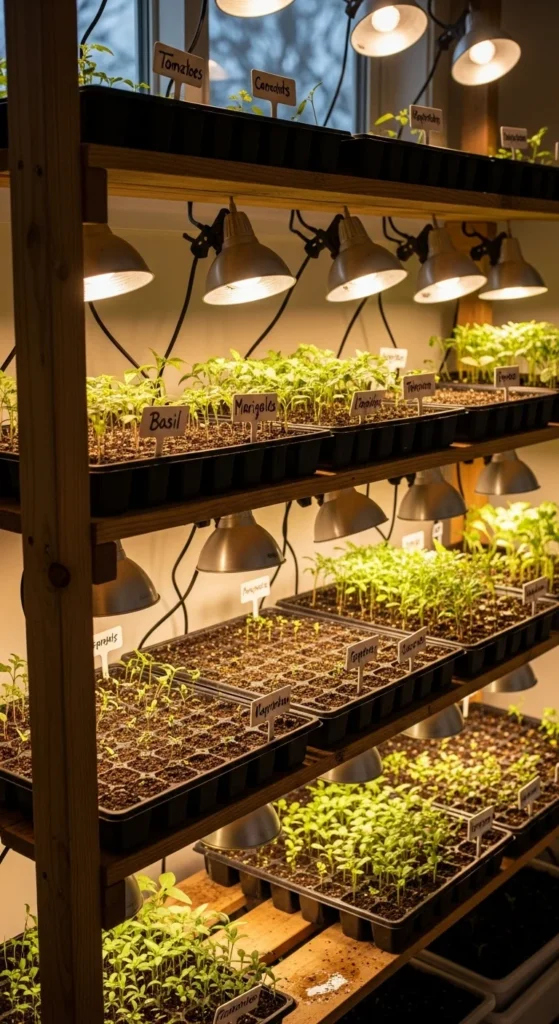
Turn a simple shelf into a seed-starting area. Add lights to each layer with clip-on lamps. Organize trays by plant type. Keep a spray bottle and small tools nearby. This setup fits small apartments and makes the process effortless. Shelves keep everything tidy and accessible.
21. Track Progress With a Simple Log
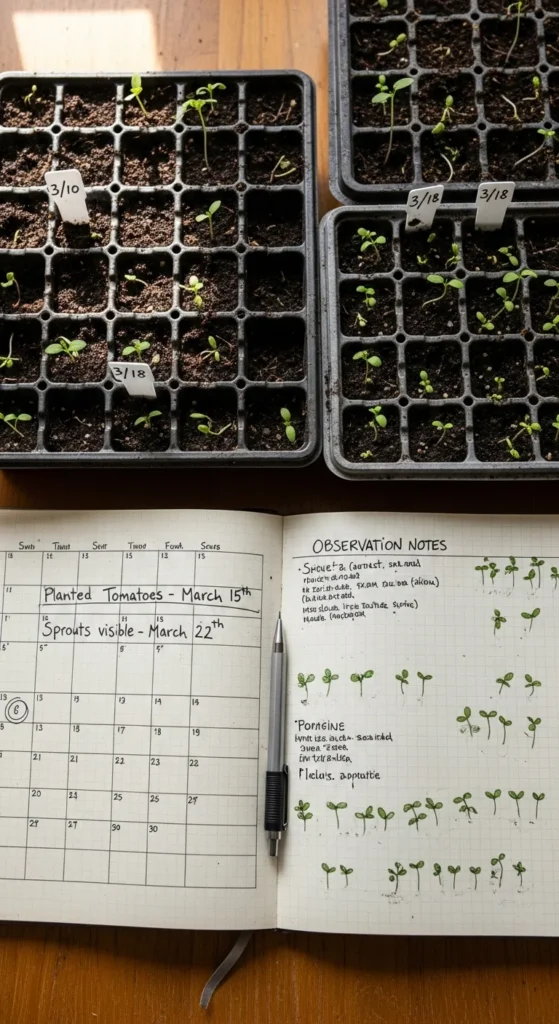
Keep a small notebook for planting dates, sprout times, and transplant notes. This helps you plan better each year. Write quick notes after watering or moving seedlings. You’ll see patterns and improvements over time. A simple log keeps the process organized and stress-free.
Conclusion
Starting seeds indoors gives you a strong head start on the growing season. With simple setups, recycled containers, and consistent light and warmth, you can grow sturdy seedlings without spending much. These ideas help you organize your space, care for sprouts gently, and prepare plants for outdoor life. Begin with a few trays, stay consistent, and enjoy stronger crops once planting time arrives.

Leave a Reply