
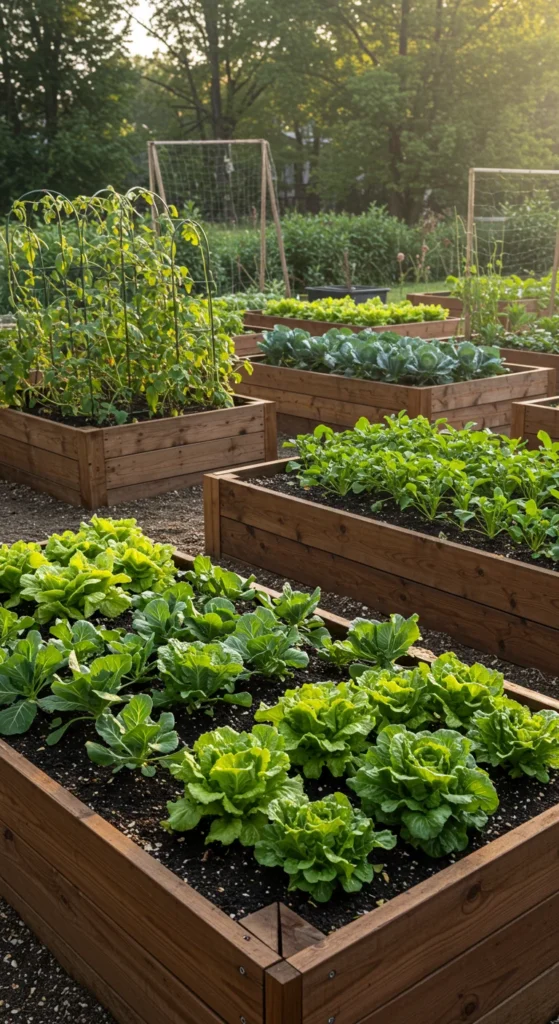
A thriving raised bed garden starts with what’s under your feet — the soil. You can buy pre-mixed bags at the store, but nothing beats making your own nutrient-rich blend from scratch. The perfect mix gives your plants the drainage, aeration, and nutrition they need to grow strong roots and produce big harvests. Whether you’re growing vegetables, herbs, or flowers, this simple recipe will help you create the perfect raised bed soil every time.
Step 1: Understand What Makes Great Raised Bed Soil
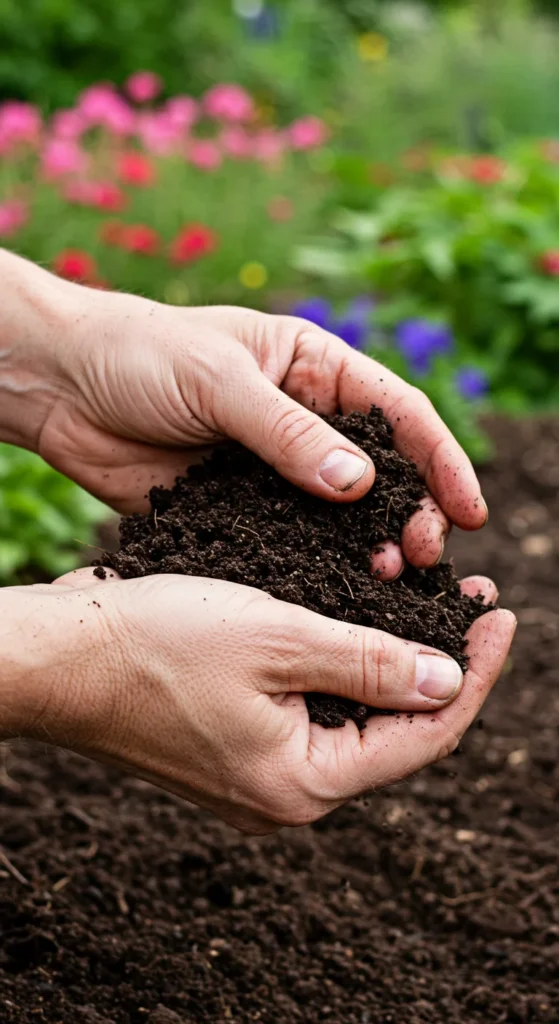
A raised bed soil mix should be light, rich, and well-draining. Unlike regular garden soil, which can become compacted and heavy, a raised bed mix allows roots to breathe and water to move freely.
Your ideal mix balances three essential components:
- Drainage and structure (from materials like compost or coco coir)
- Nutrients (from organic matter like compost or worm castings)
- Aeration (from perlite, pumice, or coarse sand)
💡 Pro Tip: A good raised bed soil should feel soft, crumbly, and slightly damp — not sticky or clumpy.
Step 2: Gather Your Key Ingredients
To make the perfect mix, you only need a few simple ingredients that are easy to find at any garden center.
Here’s the basic recipe (ideal for most vegetables and flowers):
- 40% Compost – Adds nutrients and improves soil fertility.
- 40% Topsoil or Garden Soil – Provides structure and minerals.
- 20% Aeration Material – Keeps roots oxygenated and prevents compaction.
Ingredient Breakdown:
- Compost: Use a mix of homemade compost, mushroom compost, or aged manure. Avoid using just one source — diversity means better nutrition.
- Topsoil: Go for screened topsoil free of debris and rocks.
- Aeration Material: Choose from perlite, vermiculite, coarse sand, or rice hulls.
If you’re using containers or deep beds, adding a bit of coconut coir helps retain moisture without waterlogging roots.

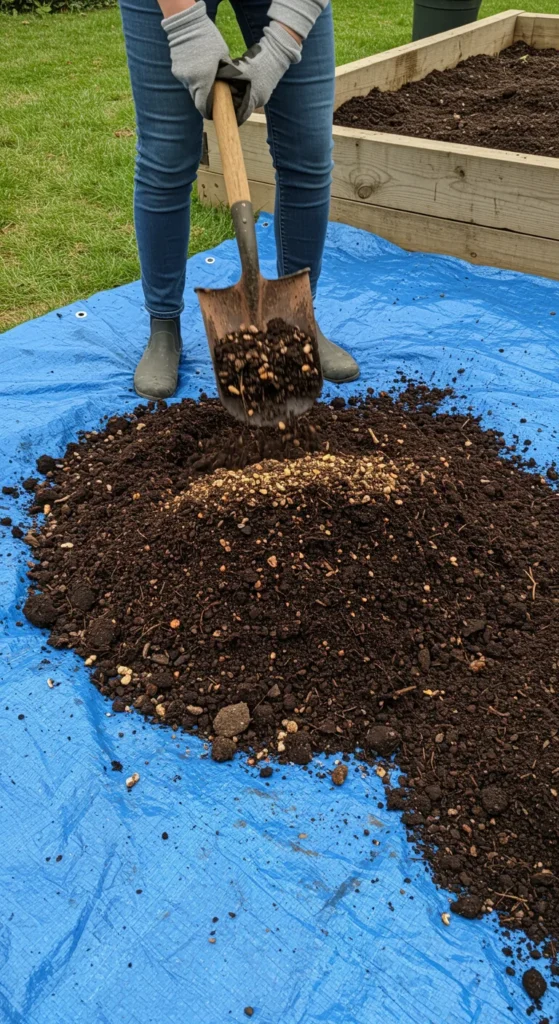
Step 3: Mix It All Together
You don’t need fancy tools — just a tarp, shovel, or wheelbarrow. Follow these simple steps:
- Spread a tarp on the ground or use a large wheelbarrow.
- Add equal parts of compost and topsoil.
- Pour in your aeration material.
- Use your shovel to mix thoroughly, turning and folding until the texture is consistent throughout.
💡 Quick Tip: If you’re filling a large raised bed, mix in batches so everything blends evenly.
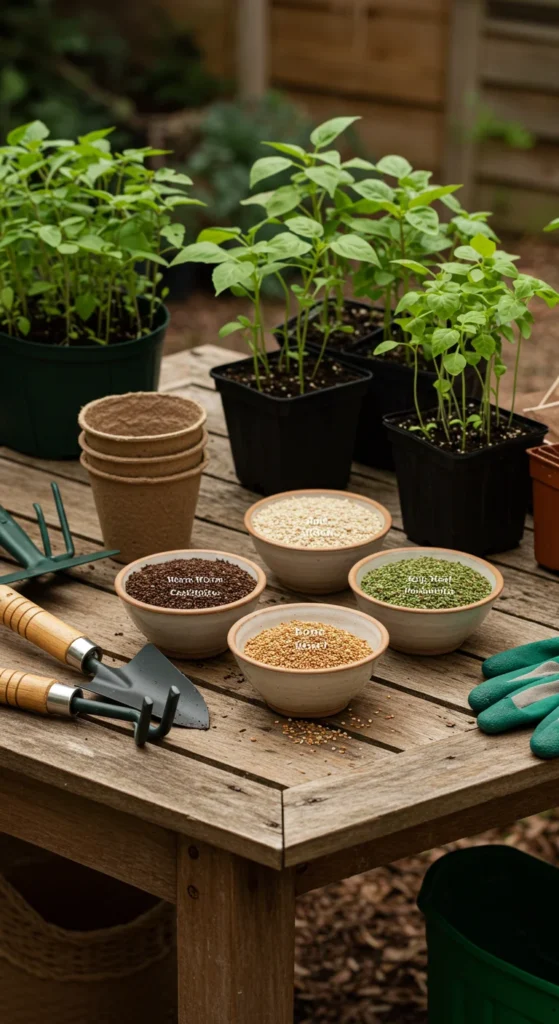
Step 4: Add Organic Boosters
Once your base mix is ready, supercharge it with natural amendments that feed your plants long-term. These are optional but highly recommended:
- Worm Castings: Improve soil structure and provide trace nutrients.
- Bone Meal: Great for root vegetables and flowering plants.
- Blood Meal: A natural nitrogen boost for leafy greens.
- Kelp Meal: Adds micronutrients and boosts plant resilience.
Sprinkle small amounts of these into the mix before filling your bed — a little goes a long way.
Step 5: Fill and Water Your Raised Bed
Now comes the fun part — filling your bed!
- Start by lining the bottom with cardboard or newspaper to block weeds.
- Shovel in your fresh soil mix, gently tamping down as you go (don’t over-pack it).
- Fill until it’s about 1–2 inches below the top edge of the bed.
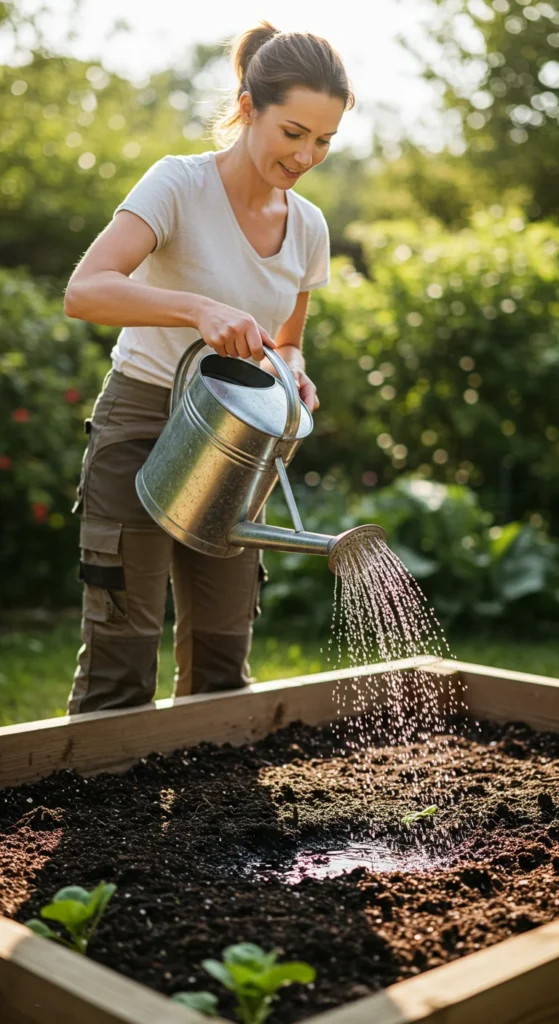
After filling, water the soil thoroughly to help it settle. You may need to add a bit more mix after a few days as it compresses slightly.
💧 Pro Tip: For best results, let your new soil “rest” for a week before planting — this gives microorganisms time to activate and balance nutrients.
Step 6: Maintain Your Raised Bed Soil
Good soil gets better over time if you care for it properly. Each season:
- Add a few inches of fresh compost or leaf mold on top.
- Rotate crops to avoid nutrient depletion.
- Avoid stepping in the bed to keep the soil loose.
- Water deeply and consistently to encourage deep roots.
After each growing season, top off your soil with more organic matter — think of it like feeding your garden’s foundation.
Final Takeaway
Making your own raised bed soil mix isn’t just budget-friendly — it’s the secret to thriving, high-yield gardens. With the right balance of compost, soil, and aeration, your plants will grow stronger, your harvests will be bigger, and your gardening life will be easier. 🌱

Leave a Reply