
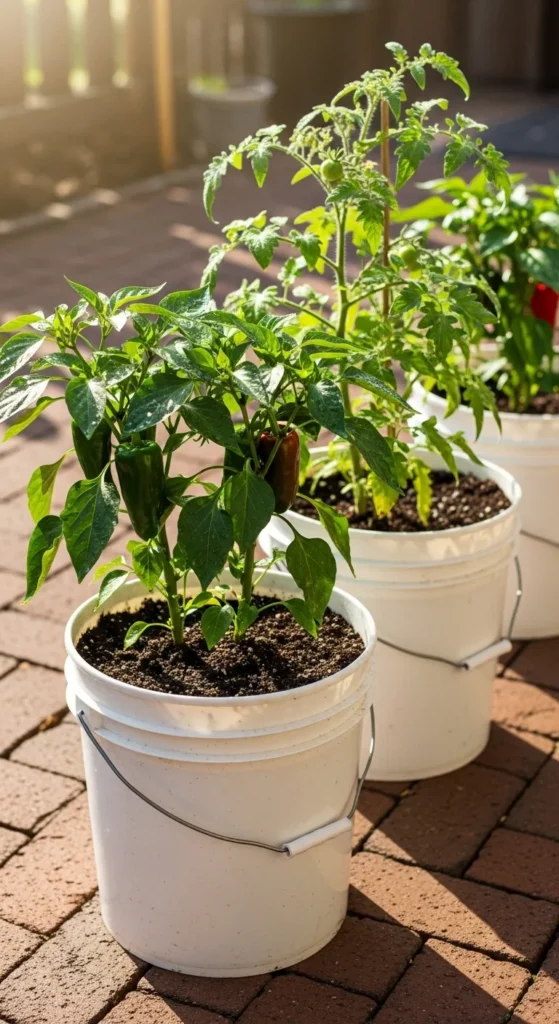
Nothing is more frustrating than watching a healthy bucket plant suddenly wilt, yellow, and collapse. Most of the time, the culprit isn’t pests or fertilizer — it’s root rot caused by trapped moisture and poor airflow around the roots.
The good news? Root rot is highly preventable once you understand the simple systems that keep oxygen flowing through your bucket planters. A few smart tweaks can turn soggy containers into thriving mini gardens.
Understand the Root Rot Trigger (It’s Not Just “Too Much Water”)
Root rot happens when roots sit in oxygen-poor, waterlogged soil for too long. Even careful gardeners can accidentally create these conditions.
The real causes:
- Poor drainage holes
- Heavy, compacted soil
- Watering on a fixed schedule
- Buckets sitting flat on the ground
- Hot weather slowing evaporation
Think of it this way: roots need to breathe, not just drink.
Early warning signs:
- Yellowing lower leaves
- Droopy plants despite wet soil
- Sour or swampy smell
- Slow growth
Catch it early, and prevention is easy.
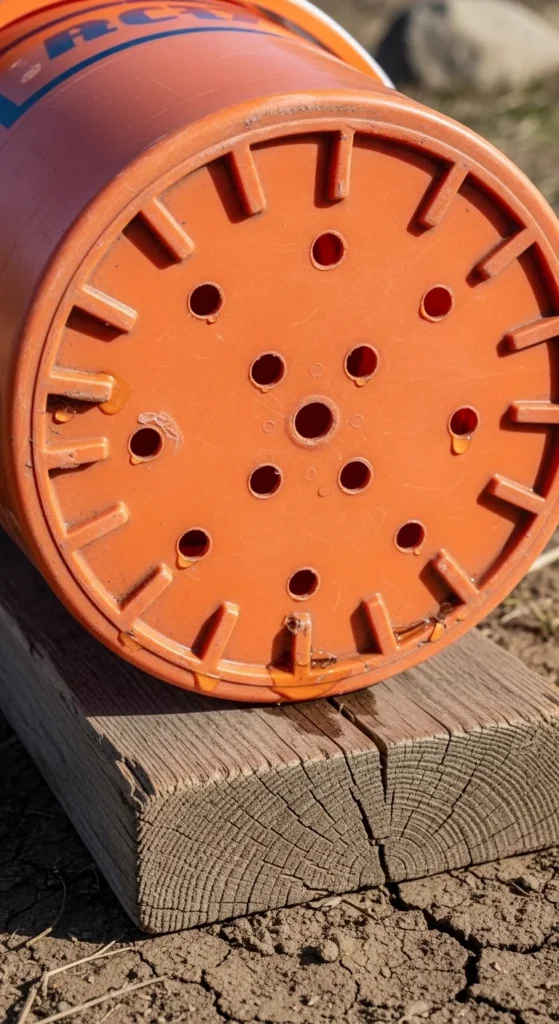
Fix #1: Drill Enough Drainage Holes (The Non-Negotiable Step)
Every successful bucket garden starts here. Without proper holes, everything else is just damage control.
Best practice for 5-gallon buckets:
- Drill 6–10 holes in the bottom
- Use ½-inch diameter holes
- Space evenly across the base
- Avoid center-only patterns
Why it works: more holes = better oxygen exchange and faster excess water release.
Bonus protection:
Add side overflow holes about 1–1.5 inches up from the bottom to prevent standing water in heavy rain or overwatering.
Fix #2: Build a No-Clog Bucket Base
Even well-drilled holes can clog with soil over time. A simple layered base keeps water moving freely.
The no-fail base setup:
- Optional thin layer (up to 2 inches) of gravel or coarse material
- Landscape fabric or mesh screen over the holes
- Fill with well-draining soil mix
The fabric is the real hero — it stops soil from sealing the holes while still letting water escape.
⚠️ Myth to skip: Thick “pebble-only false bottoms” don’t fix drainage by themselves. Soil structure matters more.
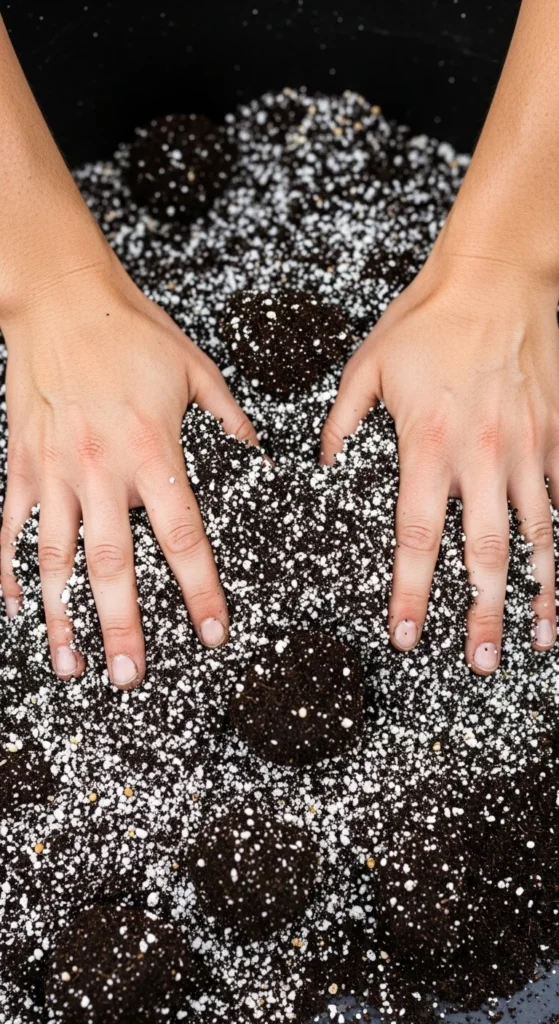
Fix #3: Upgrade Your Soil for Maximum Aeration
This is where many bucket gardens quietly fail. Regular garden soil compacts quickly in containers.
Target: light, fluffy, fast-draining mix
Proven DIY bucket mix
- 40% potting soil
- 30% perlite (or pumice)
- 30% compost
Why this works:
- Perlite can increase aeration dramatically
- Compost feeds plants without compacting
- Potting mix keeps moisture balanced
Quick shortcut:
If you’re using bagged potting mix, still add extra perlite (at least 30%) for bucket growing.
Fix #4: Master the Finger-Test Watering Rule
Overwatering on a calendar is the fastest path to root rot. Bucket plants dry at different speeds depending on weather.
Use the finger test instead:
- Stick your finger 2 inches into the soil
- If dry → water
- If moist → wait
This simple habit prevents most root rot cases.
General watering rhythm (varies by climate):
- Veggies/herbs: often every 2–3 days in warm weather
- Succulents: every 10–14 days
- Heat waves: check daily
💡 Containers in full sun can dry twice as fast as shaded ones.
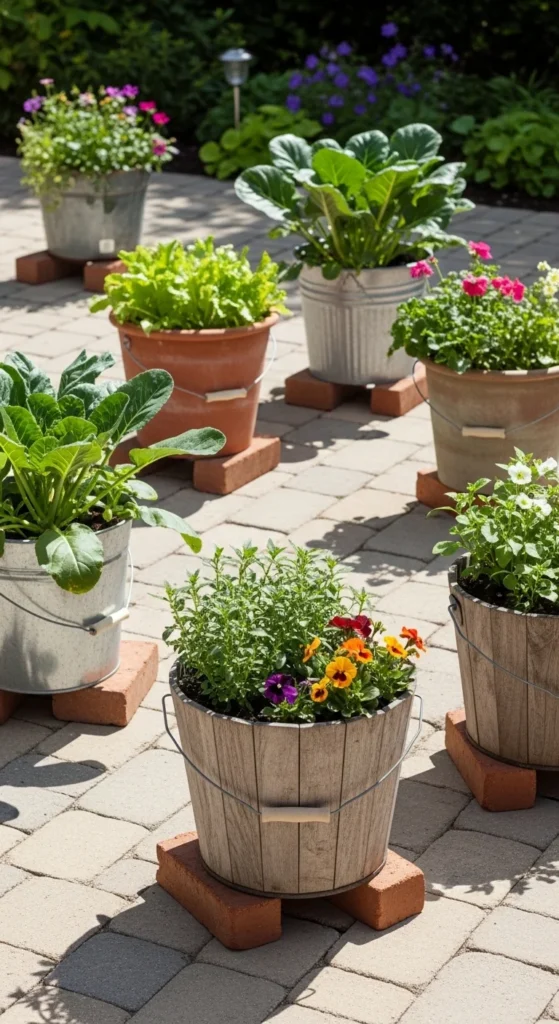
Fix #5: Elevate Buckets for Airflow
Buckets sitting flat on concrete or soil can trap moisture at the bottom.
Easy elevation ideas:
- Two bricks
- Pot feet
- Wooden slats
- Plant stands
Even lifting the bucket ½–1 inch improves drainage dramatically.
Bonus: elevation also reduces algae and keeps bottoms cleaner.
Fix #6: Add Smart Moisture Control on Top
Preventing root rot isn’t just about removing excess water — it’s also about keeping moisture balanced.
Top-layer helpers:
- Bark mulch
- Wood chips
- Straw
Mulch can significantly reduce surface evaporation while still allowing deeper drainage.
Extra pro tip:
Group buckets together in partial shade during extreme heat. This creates a mini microclimate that slows stress and uneven drying.
Fix #7: Inspect Roots and Containers Regularly
Root rot often starts quietly. A quick monthly check can save the entire plant.
What to check:
- Yellowing lower leaves
- Mushy stem bases
- Sour soil smell
- Blocked drainage holes
Seasonal reset tip:
If you reuse buckets, sanitize them with a mild bleach solution before replanting to prevent pathogen carryover.
Emergency Rescue (If You Catch Root Rot Early)
If you suspect early root rot, act fast.
Quick rescue steps:
- Stop watering immediately
- Improve drainage holes if needed
- Let soil dry slightly
- Trim severely rotted roots if repotting
Some gardeners also use a diluted 3% hydrogen peroxide drench as an emergency oxygen boost, but prevention is always more reliable than treatment.
Final Takeaway
Root rot in bucket gardening is almost always preventable. Focus on the big three:
- Plenty of ½-inch drainage holes
- A light, perlite-rich soil mix
- Smart watering using the finger test
Add elevation and occasional inspections, and your bucket garden will stay healthy all season.
🌱 Save this guide for later so your next bucket setup grows strong roots instead of soggy problems!

Leave a Reply