
Got a blank wall, a tiny balcony, or a sad little patio corner?
Don’t add another pot to the floor — go vertical instead.
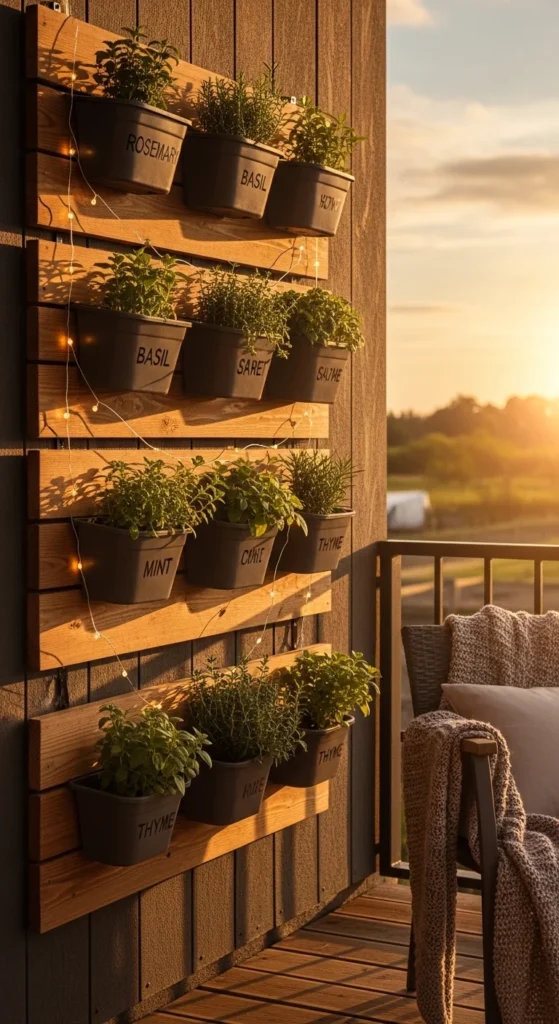
A hanging vertical garden instantly transforms empty space into a lush wall of herbs, succulents, or trailing plants. It feels modern, cozy, and Pinterest-worthy… while saving tons of space.
The best part? You can build one in an afternoon with simple wood boards, rope, and a few tools.
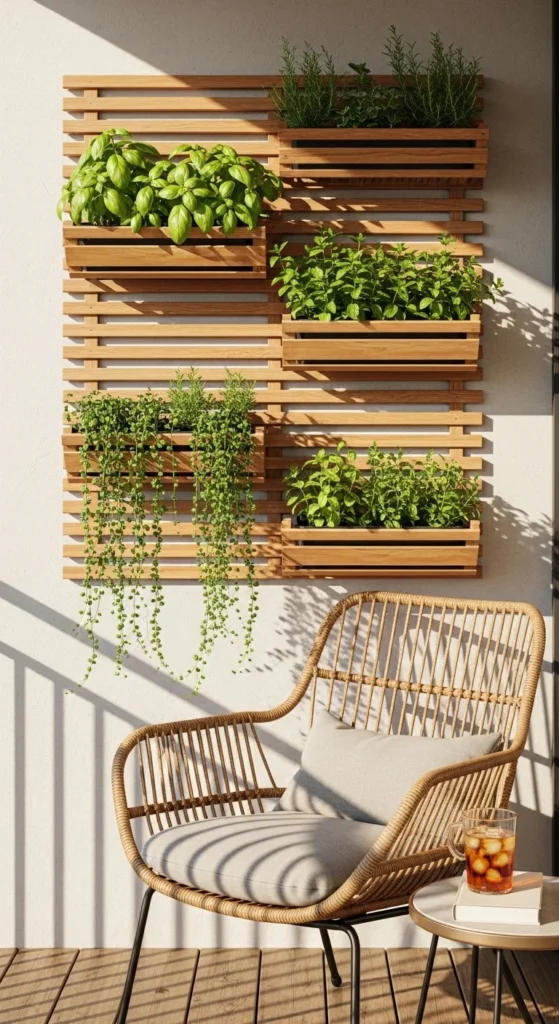
Let’s make your own step-by-step.
Why Hanging Gardens Are Perfect for Small Spaces
Hanging gardens are trending for a reason.
They’re:
- Space-saving
- Easy to build
- Lightweight
- Budget-friendly
- Ideal for herbs and succulents
- Beautiful wall decor + functional food source
Instead of cluttering the floor with pots, you use vertical wall space — which most homes already have.
Especially perfect for:
- Apartment balconies
- Kitchen walls
- Tiny patios
- Rent-friendly setups
It’s basically wall art… that you can eat.
What You’ll Need
This project is beginner-friendly. No fancy tools required.
Basic supplies:
- 1×4 wooden boards (3–5 boards)
- Rope or strong twine
- Drill
- 4-inch hole saw (or pots/jars with hooks)
- Screws or galvanized nails
- J-hooks or brackets
- Potting soil + compost
- Plants or seedlings
Optional:
- Paint or stain
- Glass jars or metal planters
- Drainage trays
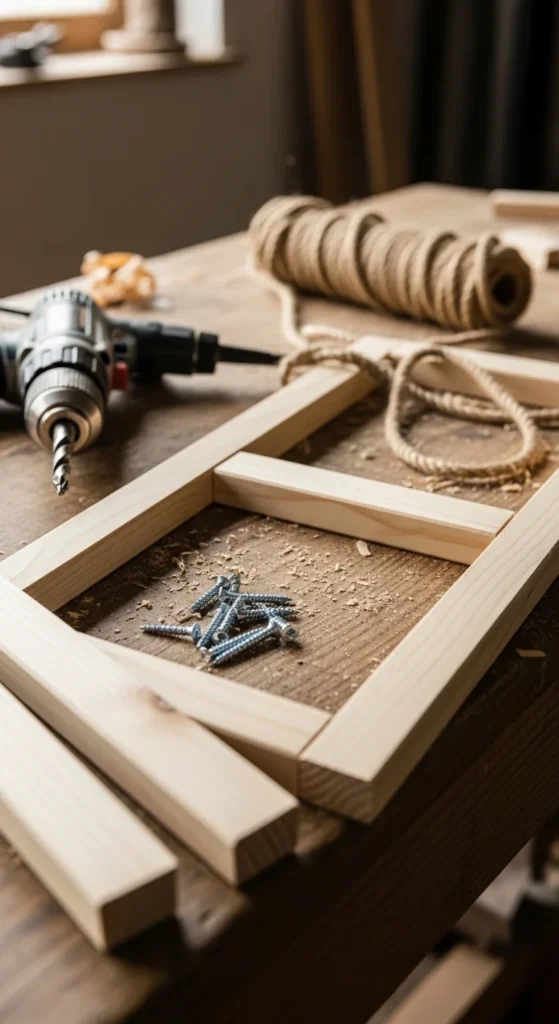
Step 1: Build the Wooden Frame
The frame is your foundation.
Cut 1×4 boards to your desired width (usually 2–3 feet wide).
Then:
- Stack boards vertically with spacing between each
- Nail or screw onto two vertical furring strips (back supports)
- Keep everything level
This creates a ladder-style frame that holds your plants.
Want a faster method?
Use pre-made outdoor screen panels or trellises.
Pro tip:
Sand edges smooth to avoid splinters.
Step 2: Create Plant Pockets or Holders
Now you decide how plants will sit on the frame.
Option 1: Hole pockets (clean look)
Use a 4-inch hole saw to cut circular holes directly into boards. Pots slide inside neatly.
Option 2: Jar or metal hangers (rustic vibe)
Attach:
- Mason jars
- Tin cans
- Small pots
- Hanging baskets
Option 3: Planter boxes
Attach small plywood boxes for larger plants.
Spacing matters:
- Leave 6–10 inches between rows
- Stagger holes for better sunlight
This is where design meets function — make it match your style.
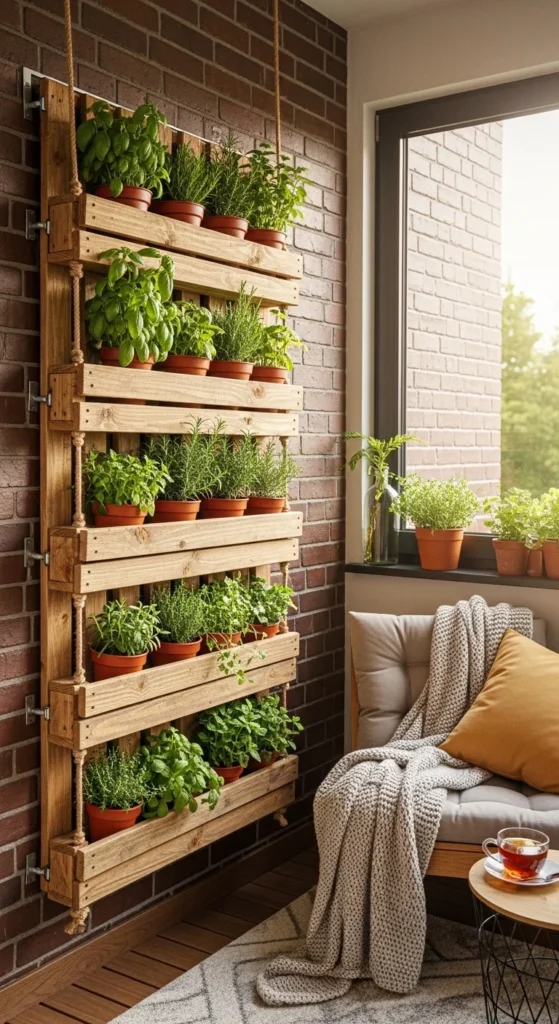
Step 3: Add Rope for Hanging
Rope gives that modern “floating garden” look.
Here’s how:
- Drill holes near the corners of each board
- Thread thick rope through all boards
- Tie knots under each board to keep spacing
- Adjust height evenly
The knots act like shelves.
Bonus: it makes the whole structure flexible and lightweight.
If you prefer fixed mounting, skip rope and use brackets instead.
Step 4: Mount Securely (Safety First!)
Plants + soil + water = weight.
So mounting matters.
Use:
- J-hooks
- Heavy-duty screws
- Wall anchors
- Stud mounts for heavier builds
Always:
- Check wall strength
- Use a level
- Test stability before planting
If indoors, add a small tray under pots to catch drips.
A wobbly garden is not a fun garden — secure it well.
Step 5: Fill with Soil and Plant
Time for the fun part.
Use:
- Potting soil
- Compost mix
- Small layer of river rock for drainage
Then plant away.
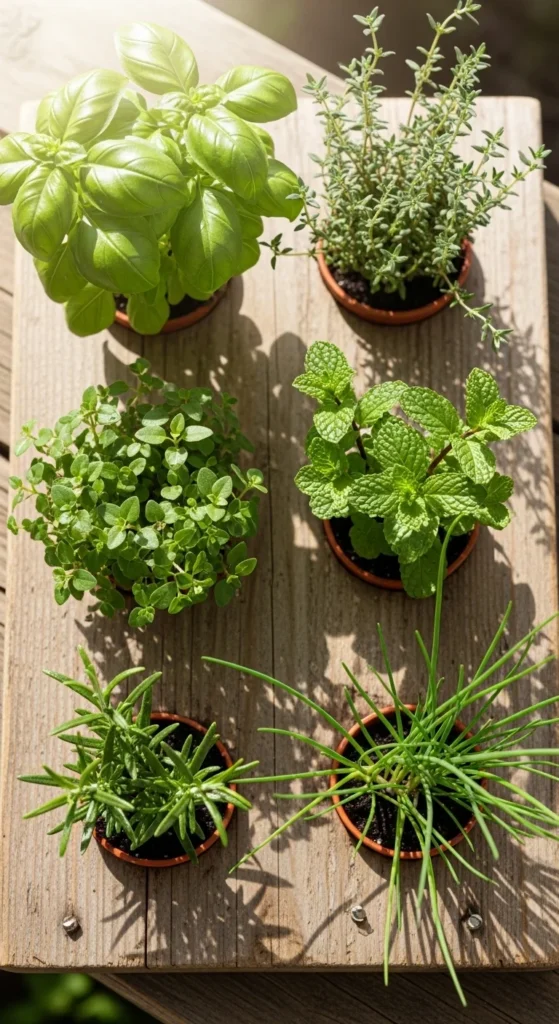
Best plants for hanging gardens:
🌿 Herbs
- Basil
- Mint
- Parsley
- Thyme
🌵 Low-maintenance
- Succulents
- Pothos
- Ferns
🥬 Edibles
- Lettuce
- Spinach
- Strawberries
Herbs near the kitchen are especially practical — snip and cook instantly.

Mix textures and heights for that lush “living wall” look.
Easy Care Tips (So It Always Looks Amazing)
Vertical gardens dry faster than ground planters.
Watering
- Water gently from top down
- Check daily in summer
Feeding
- Light liquid fertilizer every 2–3 weeks
Sunlight
- 4–6 hours for herbs
- Less for succulents
Rotation
Turn pots occasionally so all plants get even light.
Consistency keeps it Instagram-ready.
Make It Pinterest-Pretty
Want extra style points?
Try:
- Staining wood walnut or whitewash
- Painting pots pastel colors
- Adding chalkboard labels
- Mixing trailing plants
- Hanging fairy lights
- Using burlap or metal accents
Your garden can look farmhouse, modern, or boho — totally customizable.
Final Thoughts
A hanging vertical garden is one of the easiest ways to turn a boring wall into something alive, useful, and beautiful.
No yard required.
No complicated tools.
Just wood, rope, and plants.
It’s décor you can harvest from.
Ready to build yours?
Save this idea for later and start your weekend DIY project today. 🌿

Leave a Reply