
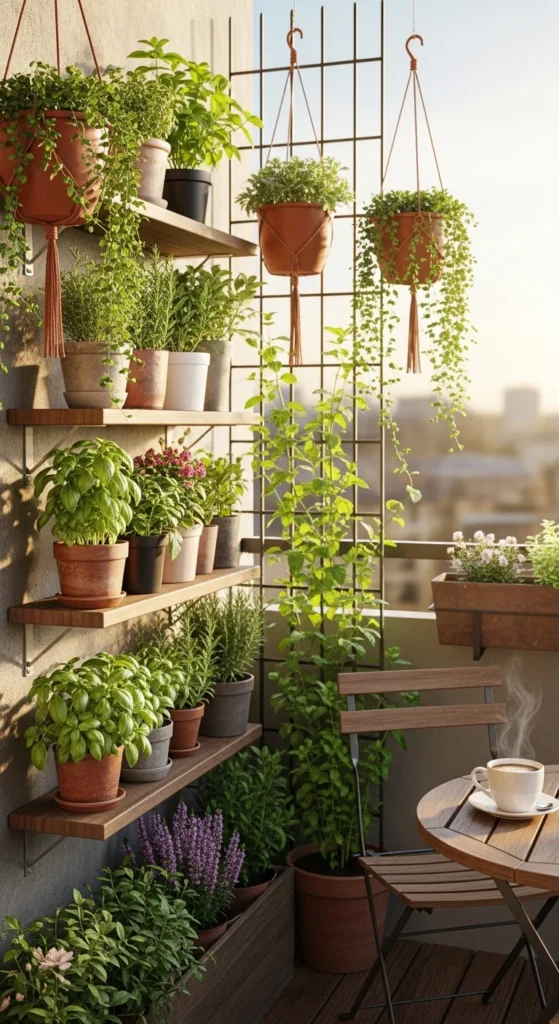
City balconies don’t have to be empty concrete boxes.
With a little creativity, your railing or wall can turn into a lush, green mini-oasis packed with herbs, flowers, or even vegetables — all without stealing your precious floor space.
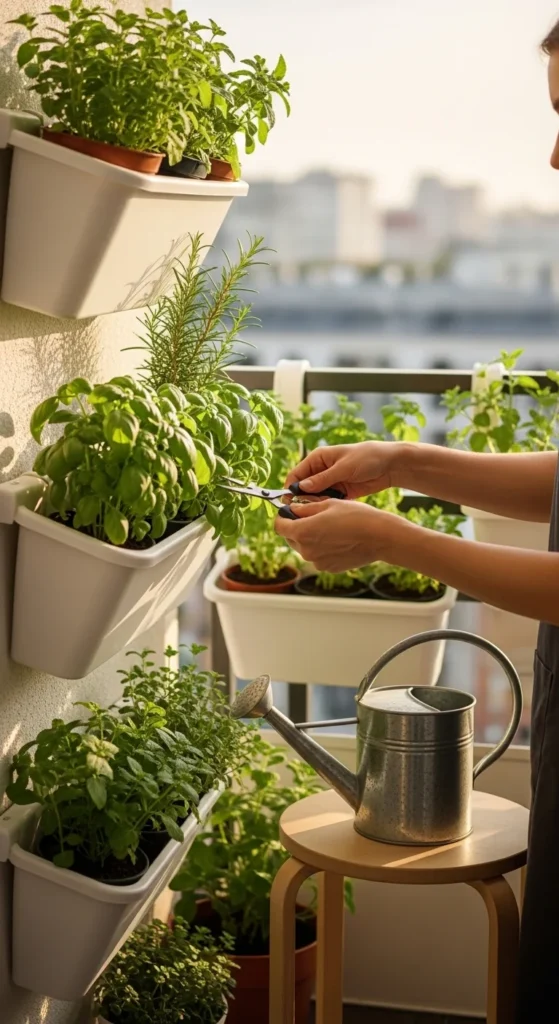
A vertical garden lets you grow 20+ plants in the footprint of a small chair. Perfect for apartments. Perfect for renters. Perfect for anyone craving fresh air and greenery.
Let’s walk through it step-by-step so you can build your own space-saving living wall this weekend.
Step 1: Measure Your Balcony First (Don’t Skip This)
Before buying anything, grab a tape measure.
Balcony gardening is all about smart fitting, not squeezing things in later.
Check:
- Wall height
- Railing width
- Floor clearance
- Sun direction (morning vs afternoon light)
- Wind exposure
A simple sketch helps you visualize where shelves, pots, or trellises will go.
💡 Tip: Leave 6–8 inches of space for pruning and watering. Plants grow bigger than you think!
Step 2: Choose the Right Vertical Structure
Now for the fun part — picking your setup.
Different balconies need different systems. Here are beginner-friendly options:
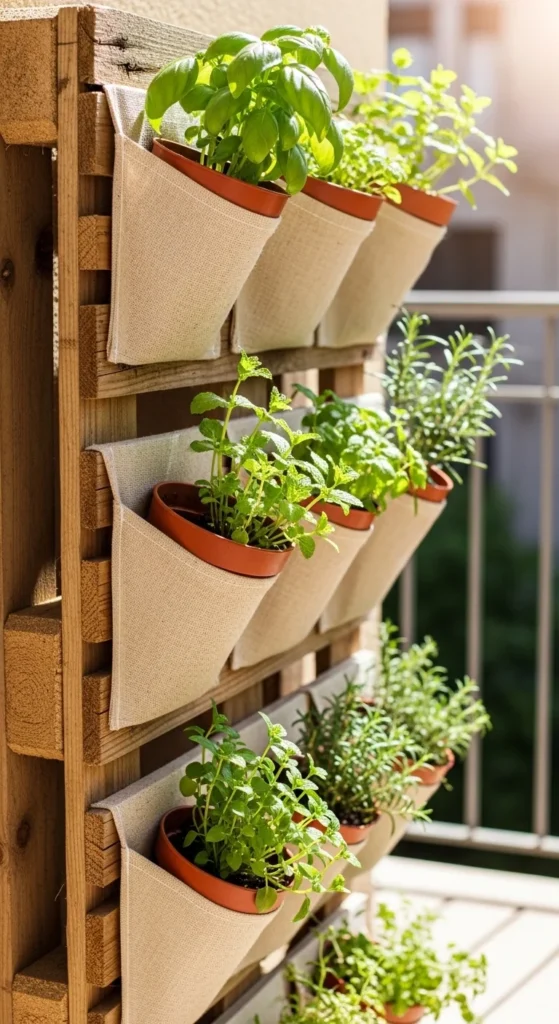
Popular space-saving builds
- Pallet grids + landscape fabric → cheap DIY living wall
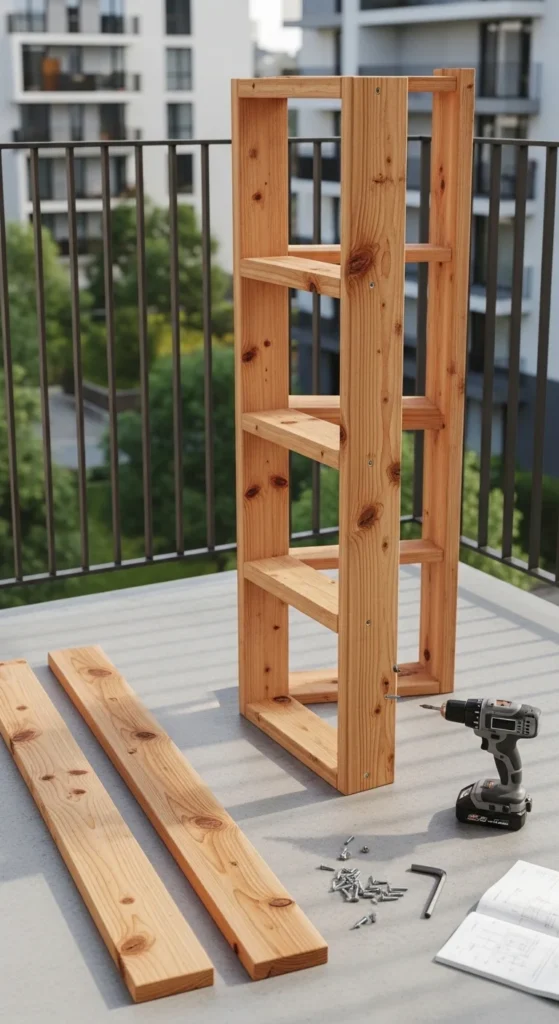
- Ladder shelves → angled tiers for pots
- Trellis frames → perfect for climbers like beans or jasmine
- Rail planters with clips → instant herb garden
- No-drill adhesive mounts (like VELCRO strips) → renter safe
Quick rule of thumb
- Small balcony → rail clips or hanging pots
- Medium → ladder shelf
- Large wall → pallet or full frame
Choose lightweight materials like cedar, aluminum, or plastic to avoid stressing railings.
Step 3: Build a Stable Base (Safety First)
Balconies get wind. A lot of it.
That’s why stability matters more than looks.
To prevent tip-overs:
- Add a wood base box for weight
- Pre-drill drainage holes
- Anchor tall frames to railings
- Test weight before adding soil
- Avoid heavy ceramic planters on upper tiers
If you’re building shelves:
- Clamp boards first
- Check level
- Then screw permanently
💡 Think “secure first, pretty second.”
Step 4: Plan Drainage Like a Pro
Most balcony plant failures come from poor drainage, not bad plants.
Water needs somewhere to go.
Do this:
- Drill holes in every pot
- Use saucers or trays
- Place messy plants away from seating
- Add gravel at the bottom
- Consider self-watering or hydroponic rail systems
Good drainage keeps roots healthy and prevents leaks to neighbors below.
Bonus: Your plants grow faster.
Step 5: Pick Plants That Love Vertical Living
Not all plants behave well on walls.
Choose varieties that:
✔ Stay compact
✔ Grow upward or trail
✔ Handle containers well
Easy winners
Herbs
- Basil
- Mint
- Parsley
- Thyme
Veggies
- Cherry tomatoes
- Lettuce
- Spinach
- Peppers
Decorative
- Pothos
- Ivy
- Ferns
- Petunias
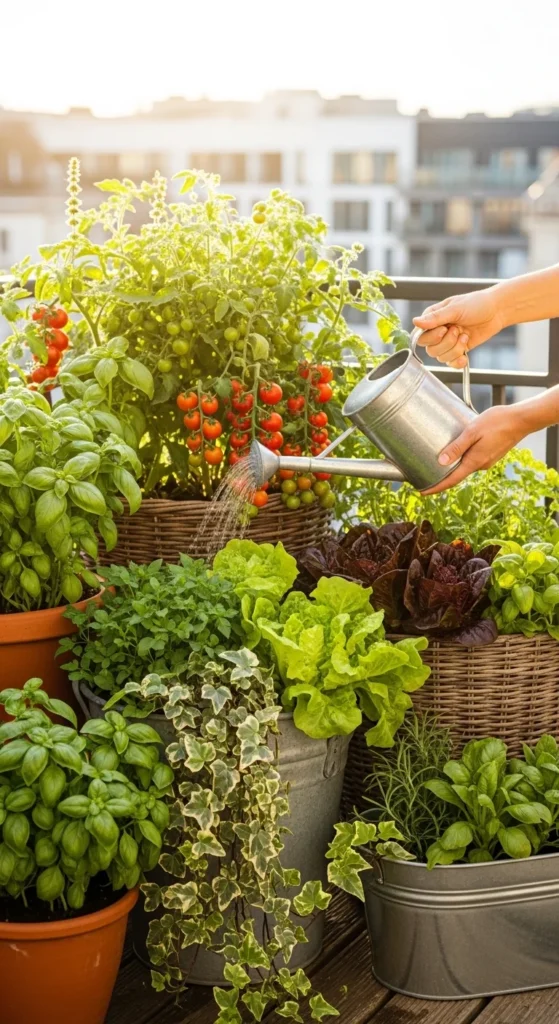
Mix tall + trailing + bushy plants for a layered, lush look.
Step 6: Maximize Every Inch
Small balcony? No problem.
Use vertical tricks:
- Hang clay pots from ceiling hooks
- Add corner shelves
- Use railing clips for herbs
- Stack crates
- Install narrow trellises between glass and rails
You’ll be amazed how many plants fit when you build upward instead of outward.
Even a 4×8 ft wall can hold dozens of pots.
Step 7: Keep Maintenance Simple
A vertical garden should feel relaxing — not like extra work.
Create a weekly routine:
- Prune dead leaves
- Rotate pots for sun
- Wipe shelves
- Feed plants
- Check anchors
Small care = healthier plants + cleaner balcony.
Final Thoughts: Your Balcony Can Be a Mini Jungle
You don’t need a backyard to grow something beautiful.
With shelves, clips, or a simple trellis, your balcony can become:
🌿 A fresh herb kitchen
🌸 A flower wall
🥬 A tiny veggie farm
☕ A cozy green escape
Start small. Add one structure. Plant a few pots. Build from there.
Before you know it, you’ll step outside to a wall of green instead of bare concrete.
Save this guide and start your balcony garden this weekend!

Leave a Reply