
Imagine stepping outside—or just reaching for your windowsill—and snipping fresh basil, rosemary, or mint right before dinner. A home herb garden makes everyday cooking feel special, more flavorful, and honestly… a lot more fun. The best part? Herbs are some of the easiest plants to grow, even if you’re a total beginner.
Why a Herb Garden Is Perfect for Beginners
Herbs grow fast, don’t need much space, and forgive small mistakes. They’re ideal if you want quick results and practical rewards.
Why people love growing herbs:
- Fresh flavor beats store-bought every time
- Saves money on groceries
- Requires minimal space and effort
- Encourages you to cook more at home
You don’t need a backyard. A sunny window, balcony, or small patio works beautifully.
Step 1: Choose Herbs You’ll Actually Use
The biggest beginner mistake? Growing herbs that look nice but never get used. Start with what you already cook with.
Great everyday cooking herbs:
- Basil: Pasta, salads, sauces
- Parsley: Soups, eggs, garnishes
- Cilantro: Rice dishes, curries, salsas
- Rosemary: Roasted vegetables, chicken
- Thyme: Stews, potatoes, meats
- Mint: Teas, desserts, drinks
Start with 3–5 herbs so it stays manageable.
Step 2: Decide Where to Grow Them
Herbs are flexible, but sunlight matters.
Best locations:
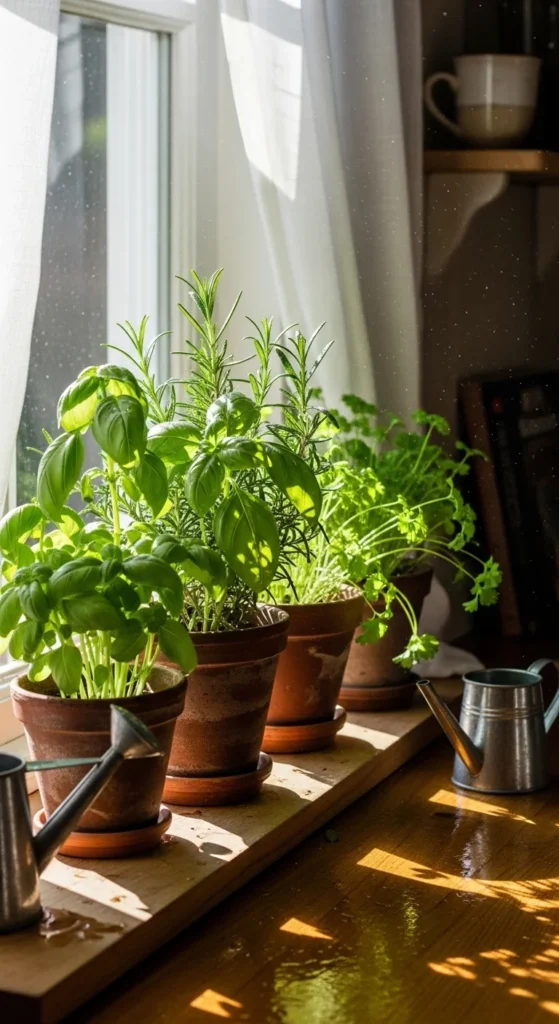
- Sunny kitchen windowsill
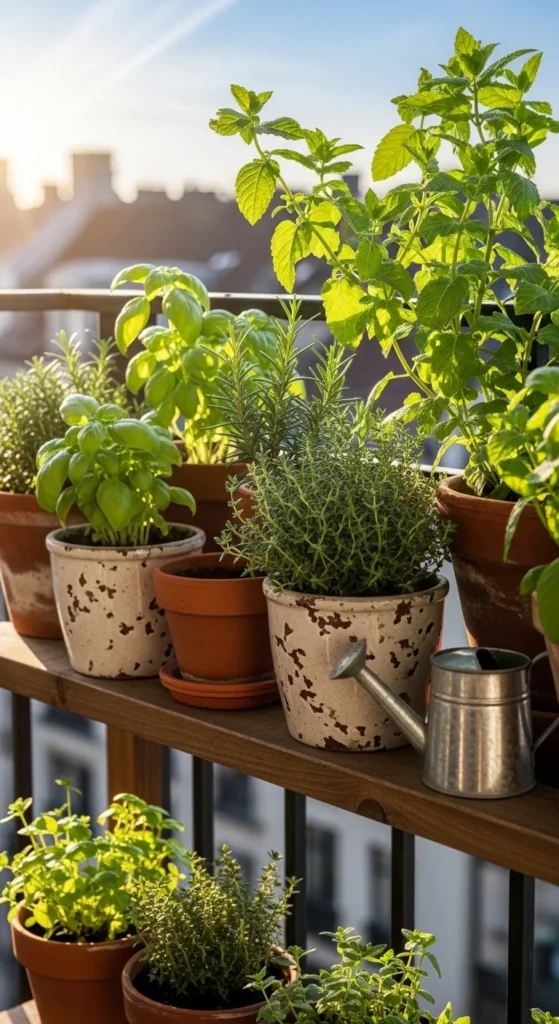
- Balcony or patio with 6–8 hours of sun
- Outdoor garden bed near the house
If light is limited, focus on parsley, mint, and cilantro—they tolerate partial shade better than others.
Step 3: Pick the Right Containers or Garden Spot
Most herbs grow beautifully in containers, which makes them easy to move and maintain.
Container tips:
- Use pots with drainage holes
- Choose containers at least 6–8 inches deep
- Terra cotta dries faster; plastic holds moisture longer
Some herbs like space:
- Mint: Always plant alone (it spreads fast)
- Rosemary & thyme: Prefer drier soil
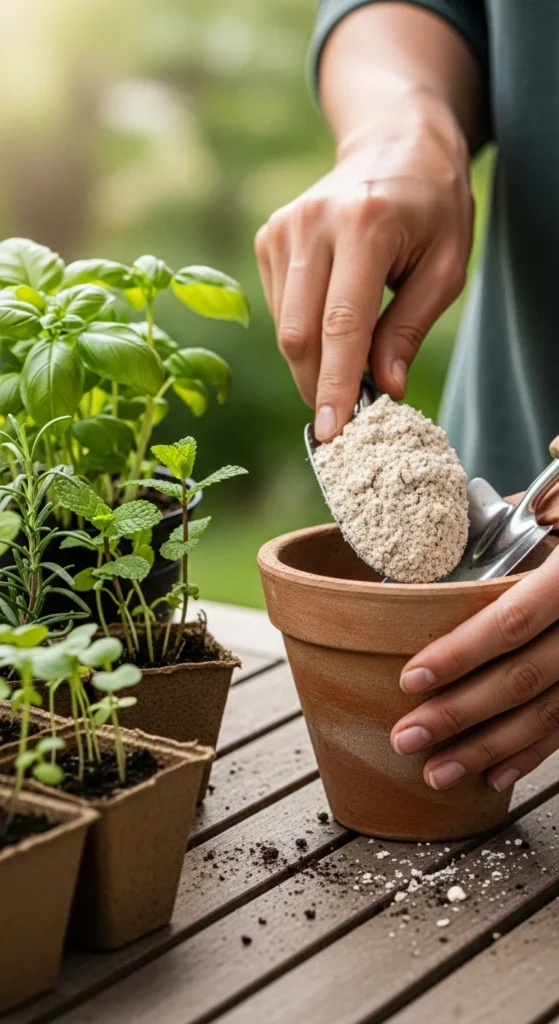
Step 4: Use the Right Soil for Flavorful Herbs
Good soil equals better taste. Herbs don’t like heavy, soggy soil.
Soil basics:
- Use light, well-draining potting mix
- Mix in a little compost for nutrients
- Avoid garden soil in containers—it’s too dense
Fill pots almost to the top so roots have room to grow.
Step 5: Planting Seeds vs. Seedlings
Both options work, but beginners often prefer seedlings.
Seeds:
- Cheaper
- Take longer to grow
- Need patience and consistent watering
Seedlings:
- Faster results
- Easier for beginners
- Great confidence booster
Gently loosen roots when planting seedlings and water well afterward.
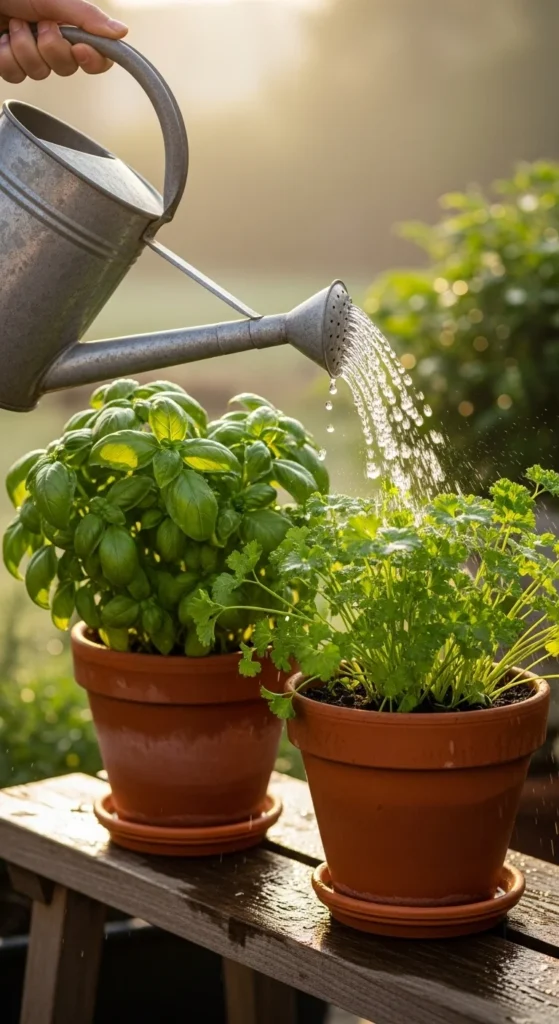
Step 6: Water Herbs the Smart Way
Overwatering is the fastest way to kill herbs.
Simple watering rules:
- Water when the top inch of soil feels dry
- Water deeply until it drains out the bottom
- Let soil dry slightly between waterings
Mediterranean herbs (rosemary, thyme) prefer drier soil than leafy herbs like basil.
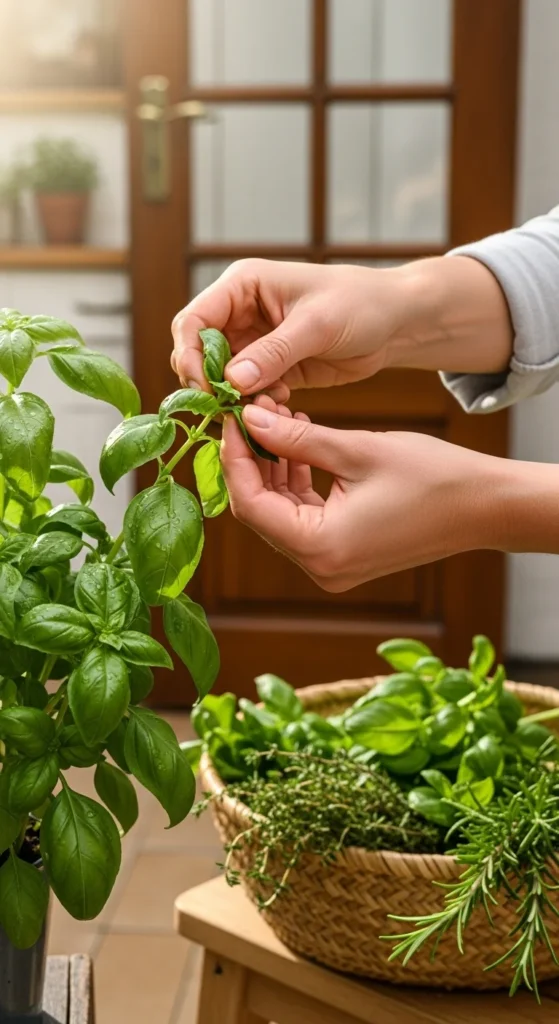
Step 7: Harvest Often for Healthier Plants
The more you harvest, the better herbs grow. Regular cutting encourages new, bushy growth.
Harvesting tips:
- Never cut more than one-third of the plant at once
- Snip just above a leaf node
- Use clean scissors or garden snips
Morning harvest gives the best flavor.
Step 8: Feed Lightly and Keep It Simple
Herbs don’t need heavy feeding.
Easy feeding options:
- Compost mixed into soil
- Diluted liquid fertilizer once a month
- Avoid over-fertilizing—it reduces flavor
If herbs grow slowly but look healthy, that’s usually okay.
Step 9: Keep Herbs Happy Long-Term
A little maintenance goes a long way.
Weekly habits:
- Remove yellow or dry leaves
- Rotate pots for even sunlight
- Watch for pests under leaves
If herbs flower, pinch blooms off to keep leaves tender and flavorful.
Final Takeaway
Growing a herb garden for everyday cooking is one of the simplest ways to upgrade your meals and your routine. Start small, grow what you love, and enjoy fresh flavor whenever you need it.
🌿 Save this guide for later and start your herb garden today!

Leave a Reply