
If your bucket garden plants keep struggling (yellow leaves, stunted growth, random “mystery” issues), the problem might not be your soil or fertilizer—it might be the bucket itself. Old residue, hidden gunk under the rim, and leftover smells (hello, pickle buckets!) can create a messy environment for roots and even spread plant diseases.
The fix is simple: a quick clean + sanitize routine that makes your buckets safe, fresh, and ready to grow.
Clean vs. Sanitize: What You Actually Need (And When)
These words get mixed up a lot, but they’re different:
- Cleaning = removing dirt, residue, oils, and grime (soap + scrubbing).
- Sanitizing = reducing germs/pathogens after the bucket looks clean (hot water or diluted bleach).
When to sanitize:
- Buckets that held food (especially sticky/sugary items)
- Buckets that were stored dirty or smelled bad
- Buckets used last season (good spring/fall reset)
- Any bucket showing mold, slime, or mystery buildup
Tip: If you’re growing edibles, it’s worth doing both.
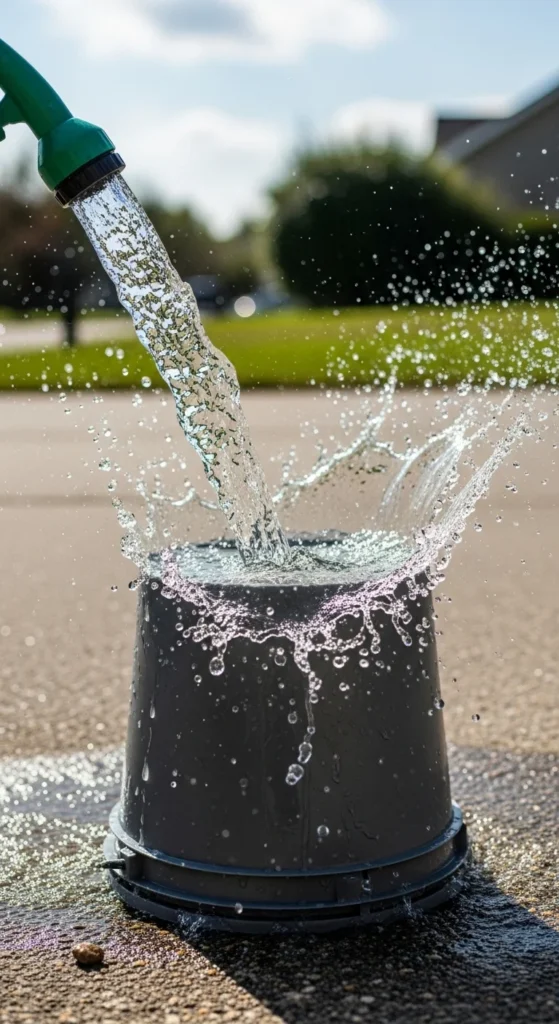
Step 1: Do the “Quick Rinse” Right Away
The easiest cleaning trick is also the most overlooked: rinse immediately after emptying.
Why it matters: dried residue turns into cement. Fresh residue rinses off fast.
Quick rinse routine (2 minutes):
- Dump leftover soil or scraps
- Rinse bucket walls and bottom with strong water pressure
- Don’t forget the rim and inside lip (grime loves hiding there)
If you can’t wash right away, at least do a fast rinse so nothing dries hard.
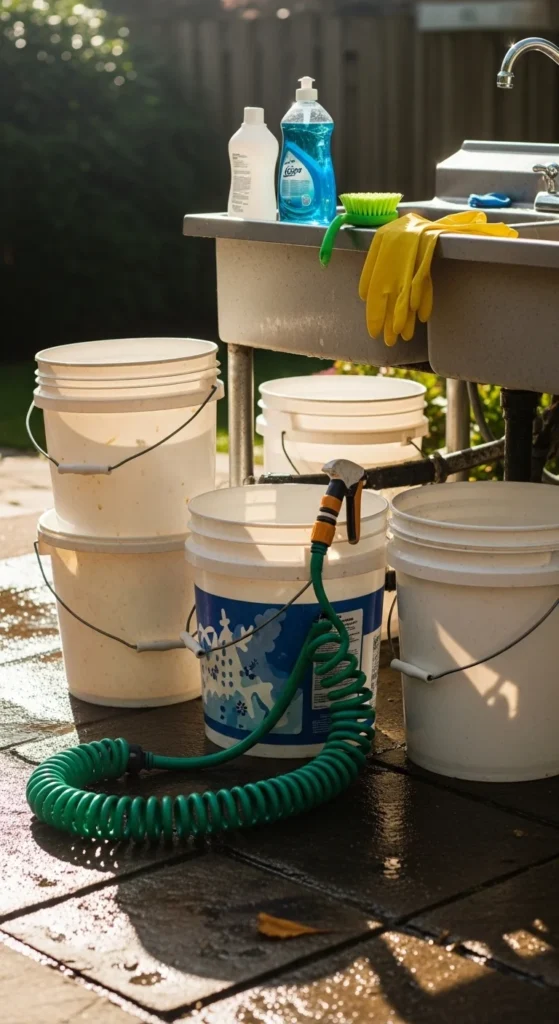
Step 2: Mix a Simple Cleaning Solution That’s Plant-Safe
You don’t need harsh cleaners for gardening buckets—just warm water and dish soap.
Easy bucket-cleaning “recipe”:
- Warm water
- 1 tablespoon dish soap per 1 gallon of water
This cuts grease and residue without leaving dangerous fumes.
What to avoid:
- Heavy perfumed cleaners
- Abrasive powders that scratch plastic (scratches can trap bacteria)
- Anything that previously touched chemical buckets (just skip those entirely)
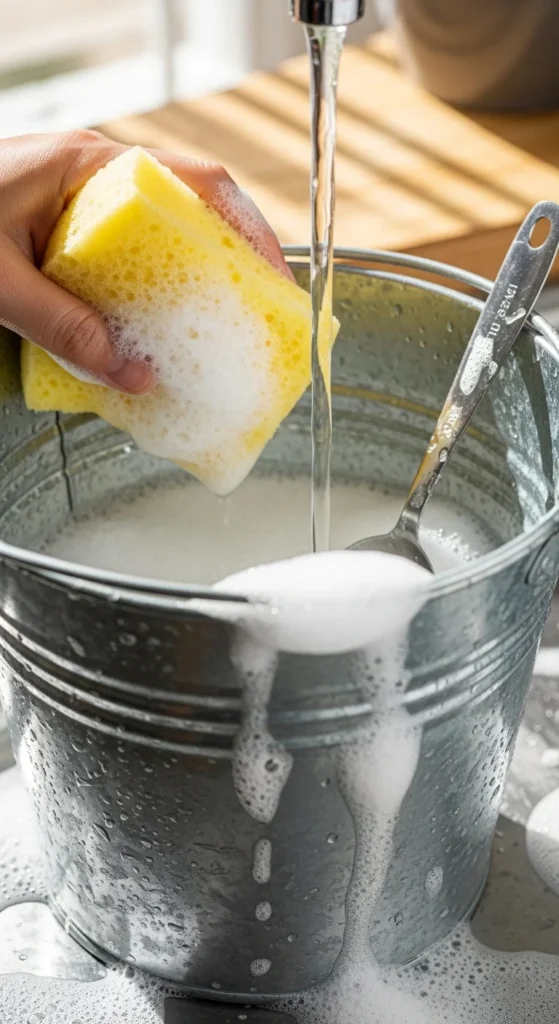
Step 3: Scrub Without Scratching (Yes, It Matters)
Scratches create tiny grooves where grime and bacteria can hide—especially in plastic.
Use:
- Soft sponge
- Soft-bristle brush
- Bottle brush (great for rims, corners, and handles)
Scrub zones people forget:
- Under the rim/lip
- Around the handle attachments
- The bottom edges inside the bucket
- Lids and rubber gaskets (if your buckets have them)
If your bucket has deep scratches, cracks, or rough scuffed areas, consider retiring it from edible use.
Step 4: Triple Rinse So Soap Doesn’t Hurt Plants
Soap residue can irritate roots and impact soil biology—so rinsing is not optional.
Do a triple rinse:
- Rinse thoroughly
- Rinse again
- Final rinse (especially around rim + bottom)
Quick “rinsed enough?” check:
- Run your hand over the inside walls
- If it feels slippery, rinse again
Step 5: Sanitize (Choose Hot Water or Bleach)
Once the bucket looks and smells clean, sanitize it—especially if you’re growing edibles or reusing buckets season after season.
Option A: Hot-water sanitizing (chemical-free)
- Use very hot water (around 171°F / 77°C)
- Keep contact for 30+ seconds
This is great when you want to avoid chemicals entirely.
Option B: Bleach sanitizing (backup method)
If hot water isn’t possible, use a careful diluted mix:
Bleach sanitizer mix:
- 1 tablespoon unscented bleach per 1 gallon of water
- Let it sit for about 1 minute contact time
- Then rinse thoroughly (yes, again)
Important: Always use unscented bleach, and don’t mix bleach with vinegar or other cleaners.
Odor Removal: How to Fix “Pickle Bucket Smell” Fast
Some food buckets smell stubborn (pickles, sauces, ferment buckets). Here are the easiest fixes:
Smell-buster options:
- Vinegar soak: Fill with warm water + a splash of vinegar, let sit 30–60 minutes, scrub and rinse.
- Baking soda scrub: Sprinkle baking soda on a damp sponge, scrub the inside, rinse well.
- Newspaper trick: After washing, stuff the bucket with crumpled newspaper overnight to absorb lingering odor.
If the smell won’t go away after 2–3 tries, use that bucket for flowers, compost, or non-edibles instead.
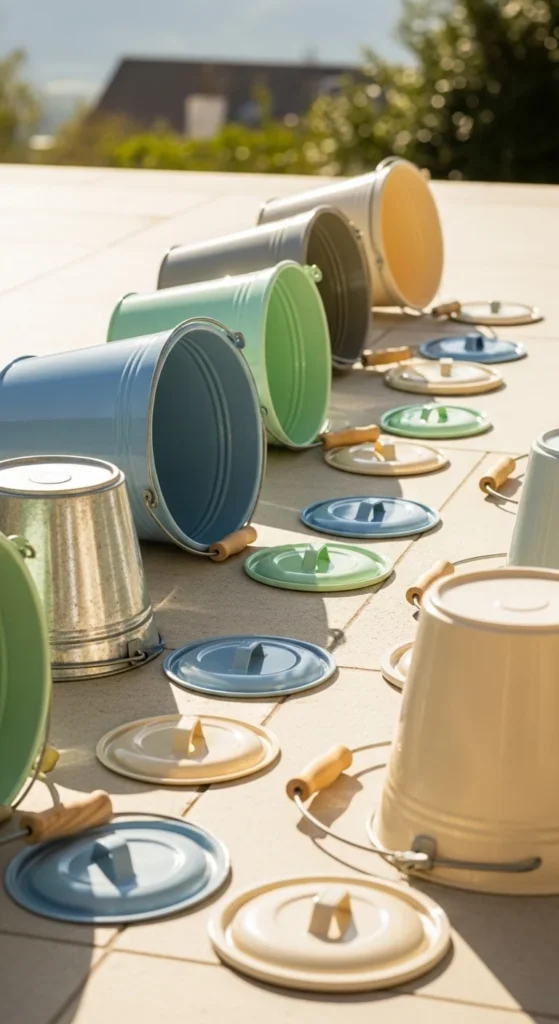
Drying + Storage: The Step That Prevents Mold
A clean bucket can still grow funk if it dries poorly.
Best drying method:
- Air dry completely
- Store upside down
- Dry lids/handles separately so moisture doesn’t get trapped
Pro tip: Sunlight helps. A few hours of sun (after cleaning) can reduce musty smells.
Create a “Dedicated Bucket System” (Stops Cross-Contamination)
One easy habit keeps your garden cleaner long-term: assign buckets by job.
Label buckets like:
- “Tomatoes”
- “Herbs”
- “Compost only”
- “Potting mix storage”
- “Edibles only”
You can even write a small note like: Cleaned: (date) so you remember what’s ready to plant.
Final Takeaway
Clean buckets = healthier roots, fewer plant problems, and better harvests. Keep it simple:
- Rinse immediately
- Wash with warm water + mild dish soap
- Triple rinse
- Sanitize (hot water or diluted bleach)
- Dry completely and store smart
📌 Save this guide for later so every planting season starts clean, safe, and stress-free!

Leave a Reply