
Kale is the leafy green that every gardener—and salad lover—should have on hand. Packed with vitamins, fiber, and antioxidants, this hardy crop grows easily in most climates and gives you fresh greens almost year-round. Whether you’re tossing it into a smoothie, sautéing it for dinner, or making a crisp kale salad, growing your own kale means you’ll always have the freshest leaves at your fingertips.

If you’ve never grown kale before, don’t worry—it’s one of the most forgiving vegetables for beginners. Follow these simple steps to go from seed to harvest and enjoy endless bowls of homegrown, nutrient-rich greens.
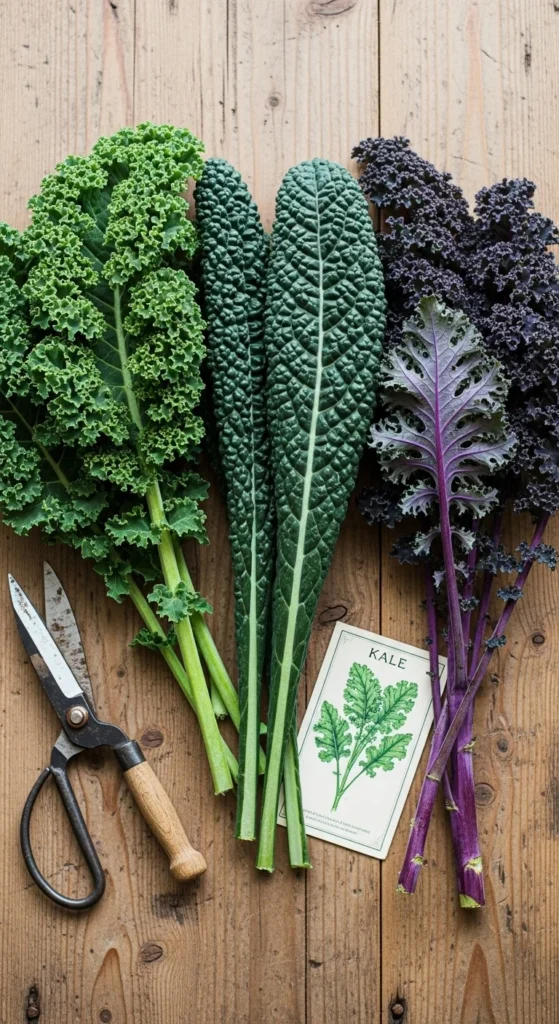
Step 1: Pick the Right Variety
Before planting, decide what kind of kale you want. Each variety has its own look and flavor, but all are equally healthy.
Popular Types:
- Curly Kale (Scots Kale): The classic type with ruffled edges and a mild, slightly peppery taste.
- Lacinato Kale (Dinosaur or Tuscan Kale): Deep green, flat leaves with a tender texture—great for salads and sautés.
- Red Russian Kale: Colorful purple stems and softer leaves with a slightly sweet flavor.
- Siberian Kale: Very cold-hardy—perfect for cooler climates.
Choose one (or a mix!) depending on your space, taste, and growing season.
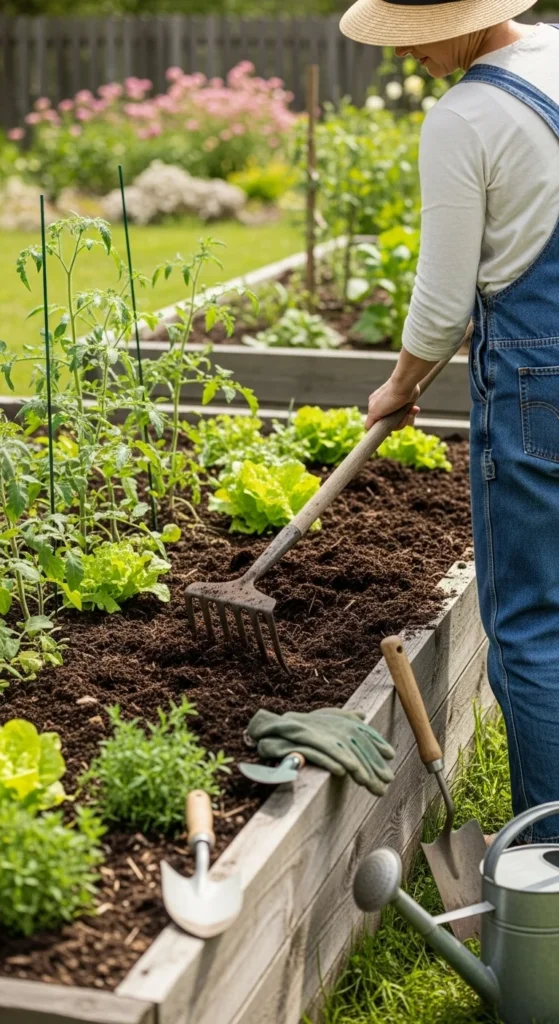
Step 2: Prepare the Soil
Kale loves rich, well-drained soil with plenty of organic matter. The better your soil, the more vibrant your leaves will be.
Here’s how to prep:
- Loosen the top 6–8 inches of soil with a shovel or fork.
- Mix in compost or aged manure for nutrients.
- Aim for a soil pH between 6.0 and 7.5—slightly acidic to neutral.
Kale also grows beautifully in raised beds or containers, as long as they’re at least 12 inches deep.
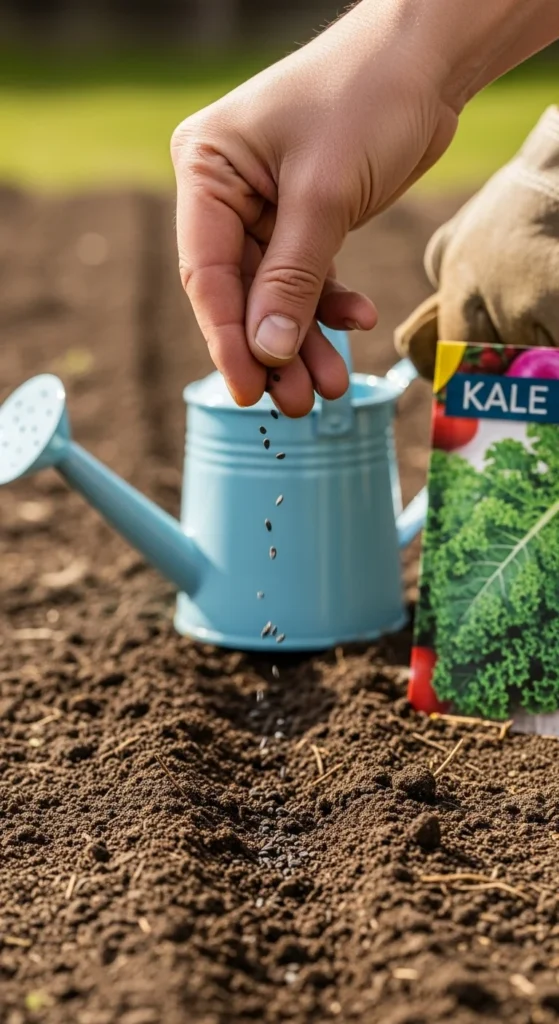
Step 3: Plant Your Kale
Kale can be planted either by direct seeding outdoors or by transplanting seedlings started indoors.
Timing:
- Spring planting: Start seeds 4–6 weeks before your last frost date.
- Fall planting: Sow seeds about 8–10 weeks before your first expected frost. Kale thrives in cool weather and actually gets sweeter after a frost.
How to plant:
- Sow seeds about ½ inch deep and 1 inch apart.
- Once seedlings are a few inches tall, thin them to 12–18 inches apart.
- Space rows about 2 feet apart for good airflow.
Keep the soil evenly moist but not soggy—consistent watering helps the leaves grow tender and flavorful.
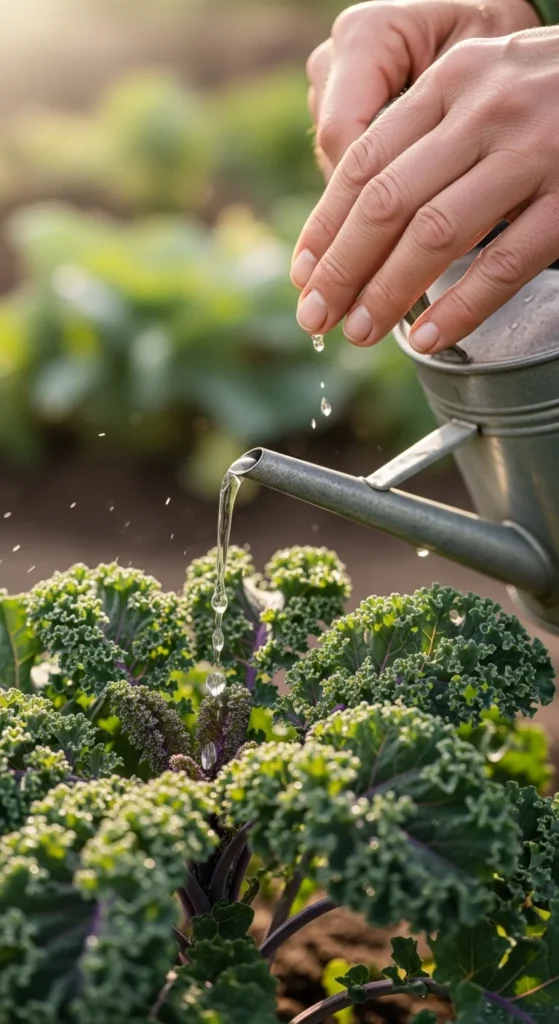
Step 4: Water, Feed, and Care for Healthy Growth
Kale is low-maintenance but appreciates a little care to keep producing lush leaves.
Watering:
- Water 1–1.5 inches per week, keeping soil consistently moist.
- Mulch around the base to retain moisture and reduce weeds.
Feeding:
- Fertilize with compost tea or an organic fertilizer every 4–6 weeks to keep leaves growing strong.
Pest Control:
Watch for aphids, cabbage worms, and flea beetles. You can:
- Spray with a homemade neem oil or garlic soap spray.
- Cover plants with row fabric to protect from pests.
- Encourage ladybugs—they love to snack on aphids!
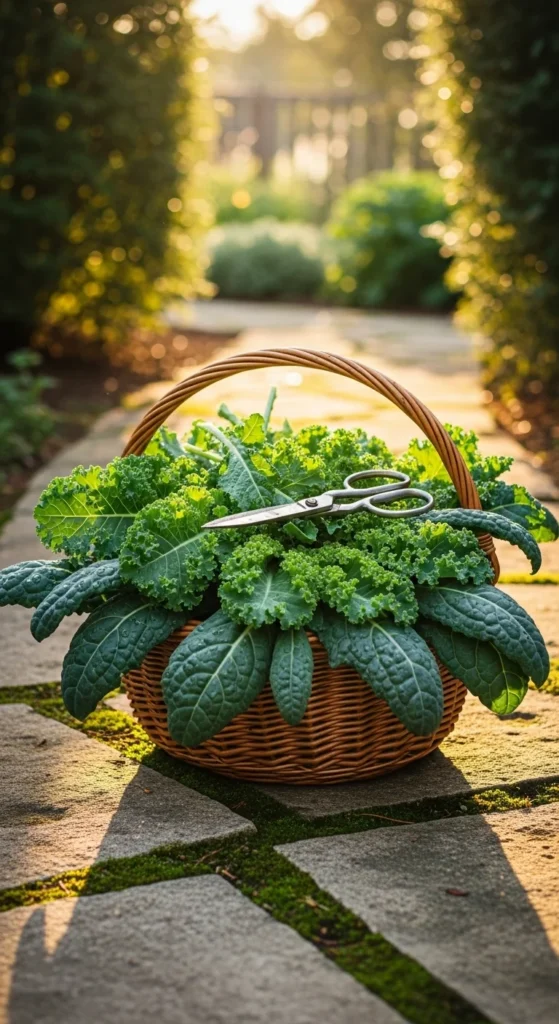
Step 5: Harvest Kale Like a Pro
You can start harvesting kale leaves when they’re about 4–6 inches long. The younger the leaves, the more tender and sweet they’ll taste.
How to harvest:
- Cut the outer leaves first, leaving the inner leaves to keep growing.
- Use sharp scissors or garden shears to avoid damaging the plant.
- Regular harvesting encourages new growth—meaning more kale for your salads!
If you keep picking, your kale plant can continue producing for several months. In mild climates, it may even grow through winter.
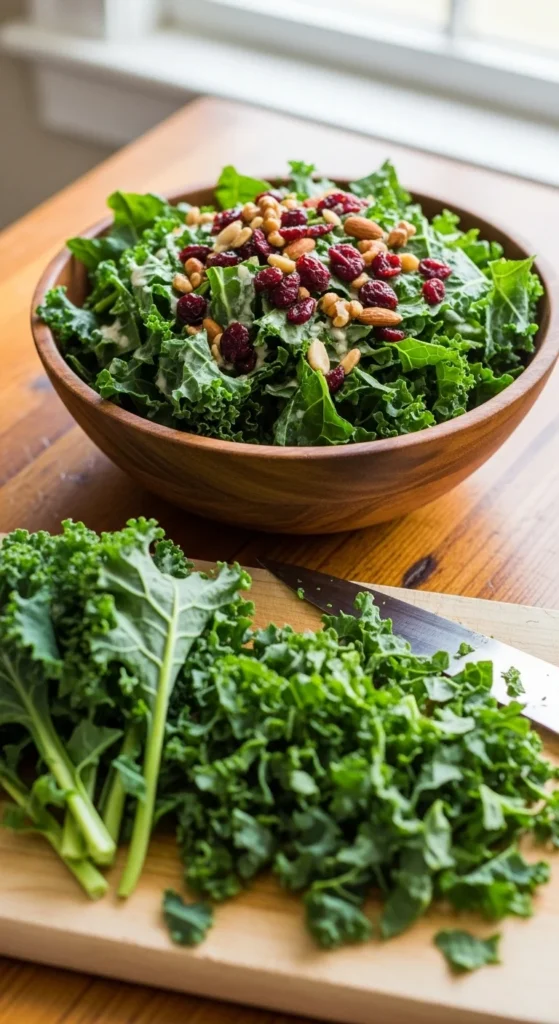
Step 6: Enjoy Your Homegrown Kale
Now for the best part—eating your harvest! Kale is versatile and adds texture and nutrition to almost any dish.
Simple Ways to Use It:
- Fresh salads: Massage leaves with olive oil and lemon to soften.
- Smoothies: Blend with fruit for a nutrient-packed drink.
- Kale chips: Toss with olive oil and sea salt, then bake until crispy.
- Soups and stews: Add chopped kale for extra greens and flavor.
Since kale keeps growing back, you’ll have an ongoing supply of fresh greens ready for your favorite recipes.
Final Takeaway
Growing kale is one of the most satisfying garden projects—you plant once, and it rewards you for months with nutrient-rich leaves. With a bit of sunlight, steady watering, and a sprinkle of care, your garden can be a superfood factory right outside your door.

Leave a Reply