
If you’ve ever wanted to harvest your own greens without needing a big garden, microgreens are the perfect answer. These tiny, nutrient-packed plants grow fast—really fast. In just 7 days, you can go from seeds to fresh, flavorful greens right on your kitchen counter.
Microgreens are not only beautiful but also incredibly rich in vitamins and antioxidants. They add a punch of flavor and color to salads, sandwiches, and smoothies. Let’s walk through how you can grow a tray of microgreens at home, step-by-step, even if you’ve never planted a seed before.
What Are Microgreens, Exactly?
Microgreens are young vegetable or herb seedlings harvested when they’re just 1–3 inches tall. They’re older than sprouts but younger than baby greens. Despite their small size, they contain up to 40 times more nutrients than mature plants.
Some popular types include:
- Broccoli
- Radish
- Kale
- Pea shoots
- Sunflower
- Basil and cilantro

Step 1: Gather Your Supplies
You don’t need fancy equipment to grow microgreens indoors—just a few basic items.
You’ll need:
- Shallow trays (with drainage holes)
- Organic potting mix or coconut coir
- Microgreen seeds (labeled specifically for sprouting)
- Spray bottle for watering
- Plastic dome or lid for humidity (optional)
Pro Tip: Choose trays that fit your kitchen windowsill or countertop so they get good light without taking up too much space.
Step 2: Prepare the Growing Medium
Fill your tray with about 1 inch of moist potting mix or coco coir. Smooth it evenly but don’t pack it down too tightly. The soil should feel damp but not soggy—like a wrung-out sponge.
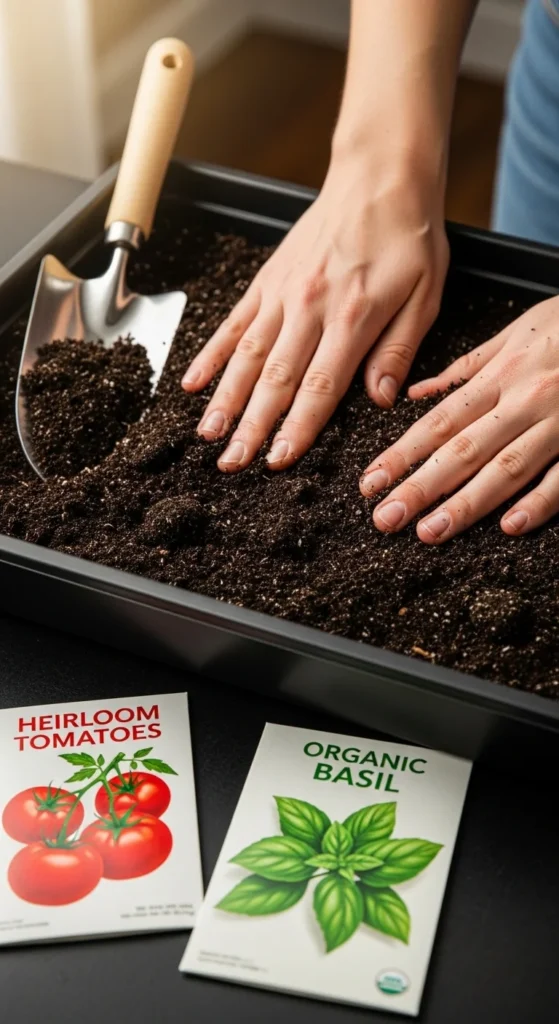
This layer will hold the moisture your microgreens need to sprout quickly and grow evenly.
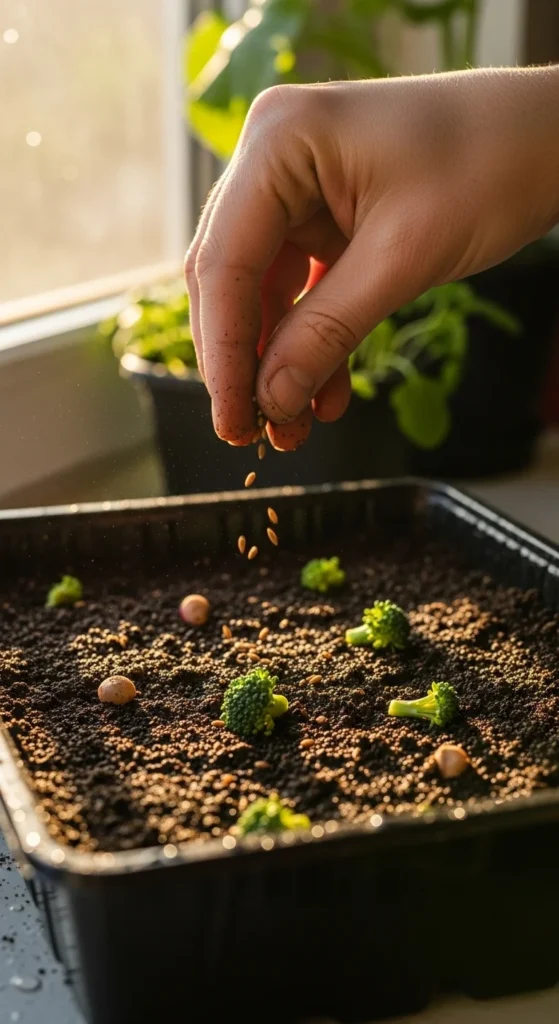
Step 3: Sow the Seeds
Sprinkle your seeds evenly across the soil surface. You don’t need to bury them—microgreens prefer light contact with the soil.
- Use about 1–2 tablespoons of seeds per tray, depending on their size.
- Mist them gently with water to help them settle in.
- Cover the tray with a plastic dome or another tray for dark germination (2–3 days).
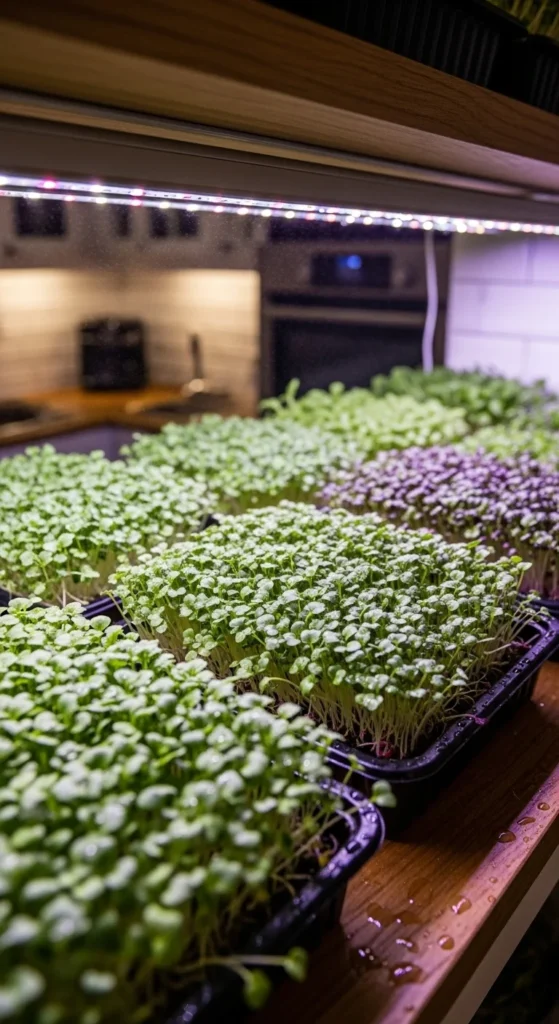
Step 4: Give Them Light and Water
Once you see the first signs of green, remove the cover and place the tray near a sunny window or under grow lights. Microgreens love bright, indirect light.
Care tips:
- Mist them 2–3 times daily to keep the soil surface moist.
- Avoid overwatering—standing water can lead to mold.
- Rotate the tray daily if sunlight comes from one side.
If you’re using artificial light, keep it about 6 inches above the plants.
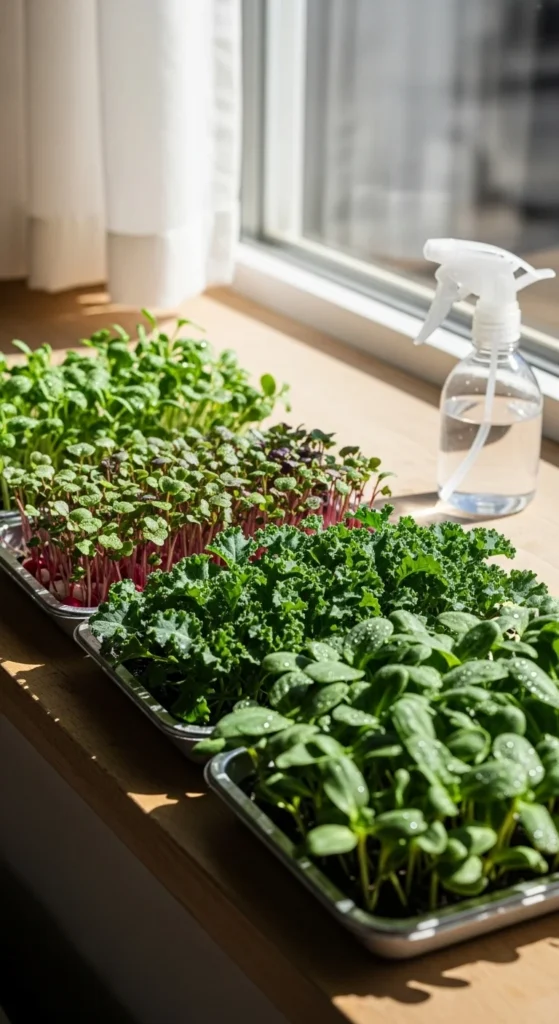
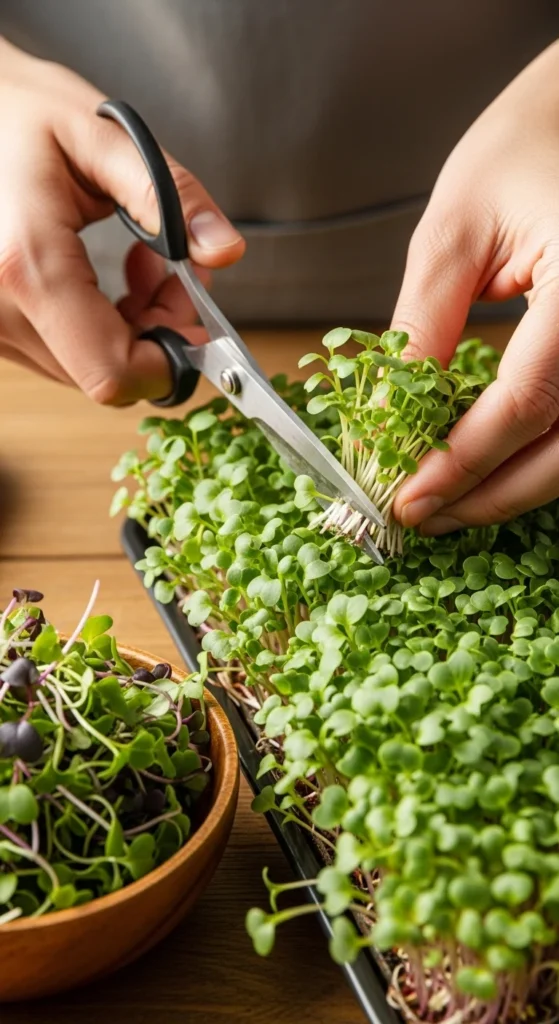
Step 5: Harvest in Just 7 Days
By Day 7 (sometimes sooner), your microgreens will be about 2–3 inches tall and ready to harvest. You’ll notice the first pair of true leaves—that’s your cue!
To harvest:
- Use clean scissors or a sharp knife.
- Cut the greens just above the soil line.
- Rinse gently and pat dry before eating or storing.
Storage:
Keep them in an airtight container in the refrigerator for up to 5 days. Line the container with a paper towel to absorb moisture and maintain crispness.
Step 6: Enjoy Your Homegrown Greens
You can toss microgreens into just about anything:
- Add them to smoothies for an instant nutrient boost.
- Layer them on avocado toast or sandwiches.
- Sprinkle over soups, pasta, or omelets for a fresh touch.
Each variety has its own unique flavor—radish microgreens are peppery, while sunflower greens taste nutty and crisp.
Step 7: Rinse, Reuse, and Regrow
After harvesting, you can compost the used soil or reuse the tray for your next batch. With a little rhythm, you can start new trays every few days and have continuous harvests all year round.
Try experimenting with new seeds or combinations for colorful blends—like red cabbage, mustard, and arugula.
Final Thoughts
Growing microgreens indoors is one of the easiest and most rewarding gardening projects you can try. In just a week, you’ll have a fresh harvest bursting with flavor and nutrients—right at your fingertips.

Leave a Reply