
There’s something magical about watching a tiny seed turn into a blooming flower. It’s like creating life from a handful of potential — and it’s easier than most people think! Whether you’re planting marigolds on your balcony or zinnias in your backyard, growing flowers from seeds is a fun, rewarding, and budget-friendly way to fill your space with color. All you need is a little patience, good soil, and a few simple steps.
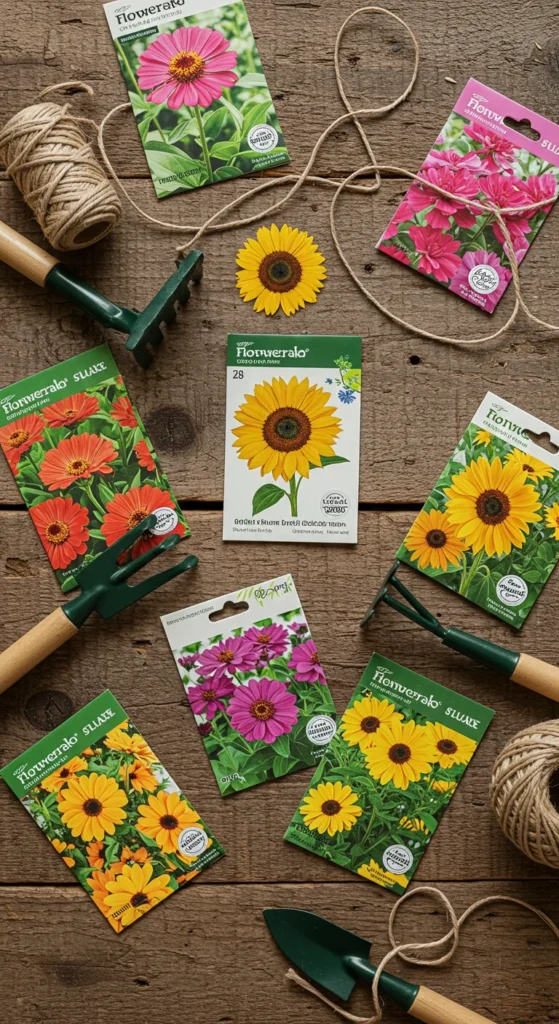
Step 1: Choose the Right Flower Seeds
Not all flowers grow equally well from seed, so start with easy, reliable varieties. Great beginner choices include:
- Marigolds: Bright, fast-growing, and pest-resistant.
- Zinnias: Love full sun and bloom all summer long.
- Sunflowers: Perfect for beginners and kids alike.
- Cosmos: Graceful, airy flowers that self-seed easily.
- Calendula: Hardy and cheerful, with edible petals.
Check each seed packet for details about sunlight needs and germination time. Some flowers prefer to be started indoors, while others grow best when sown directly outside.
💡 Pro Tip: If you’re new to seed-starting, choose annuals — they sprout fast and reward you with blooms in just a few weeks.
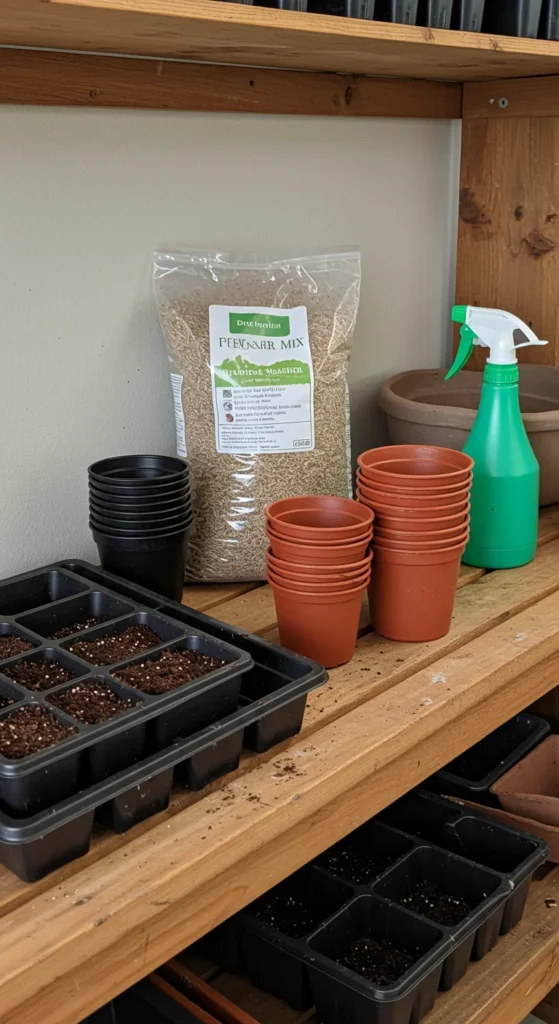
Step 2: Gather the Right Supplies
You don’t need fancy equipment to start seeds, but having the basics helps ensure success:
- Seed trays or small pots (biodegradable ones are great)
- Quality seed-starting mix (light, fluffy, and sterile)
- Spray bottle or watering can with a fine nozzle
- Clear plastic cover or plastic wrap to retain humidity
- Labels or popsicle sticks for plant names
Avoid using regular garden soil — it’s often too dense for delicate seedlings and can harbor pests or fungus.
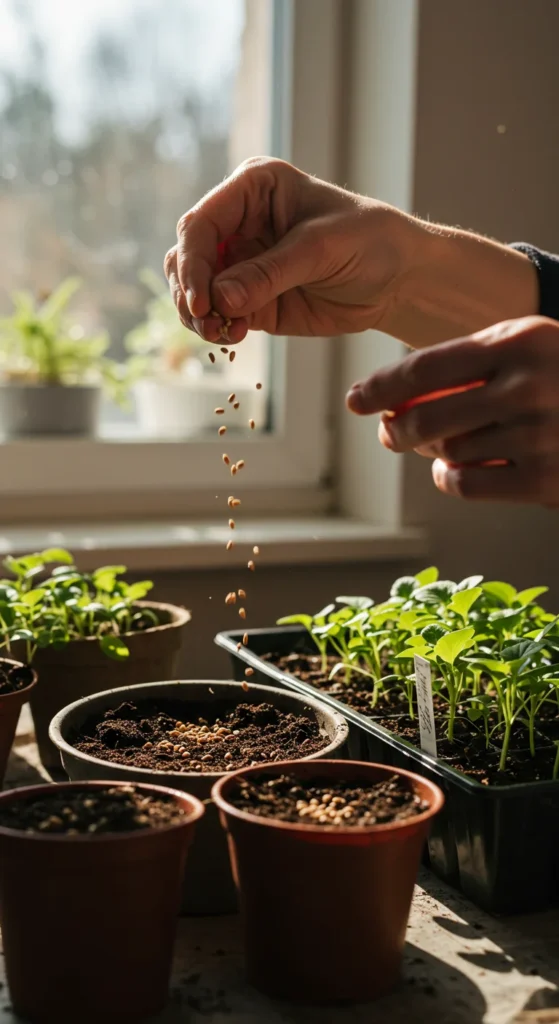
Step 3: Plant Your Seeds Correctly
Each flower has its own ideal planting depth, so always check the seed packet. As a general rule:
- Tiny seeds (like poppies or petunias): Press gently onto the surface — don’t cover them.
- Medium seeds (like zinnias or cosmos): Cover lightly with ¼ inch of soil.
- Larger seeds (like sunflowers or nasturtiums): Bury about ½ inch deep.
Steps to follow:
- Fill trays with seed-starting mix and lightly moisten it.
- Plant seeds according to their depth.
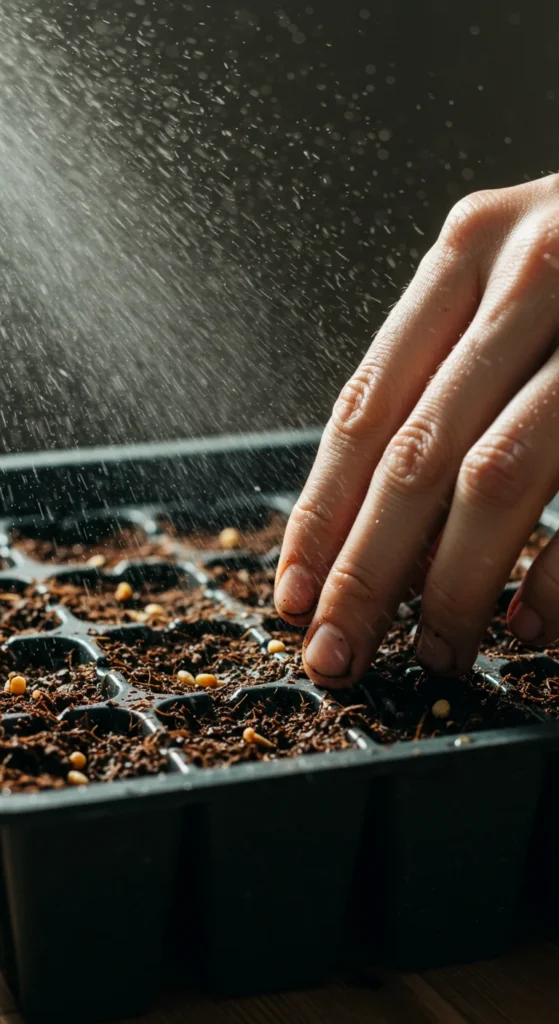
- Mist the surface with water.
- Cover with a plastic dome or wrap to keep humidity in.
💧 Tip: Place trays in a warm, bright area — around 70°F (21°C) is ideal for germination.
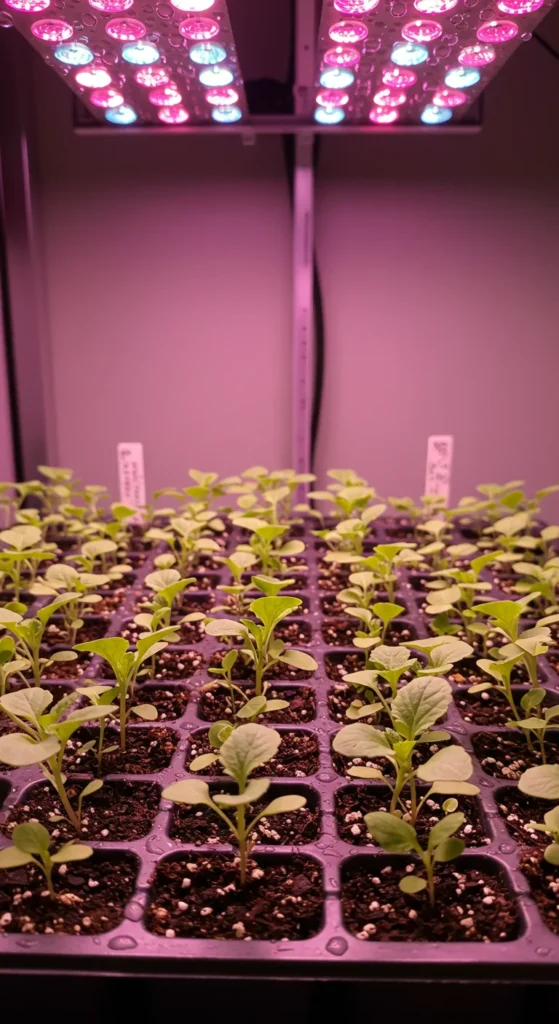
Step 4: Nurture Your Seedlings
Once sprouts appear (usually within 7–14 days), it’s time to give them extra love. Remove the plastic cover and move them into bright, indirect light or under a grow light for 12–14 hours daily.
Keep these tips in mind:
- Water gently — never let the soil dry out completely.
- Avoid overwatering; soggy roots cause damping-off disease.
- Use a small fan or open window occasionally for airflow to strengthen stems.
When seedlings grow their first true leaves (the second set that appears), you can start feeding them with a diluted, balanced fertilizer once a week.
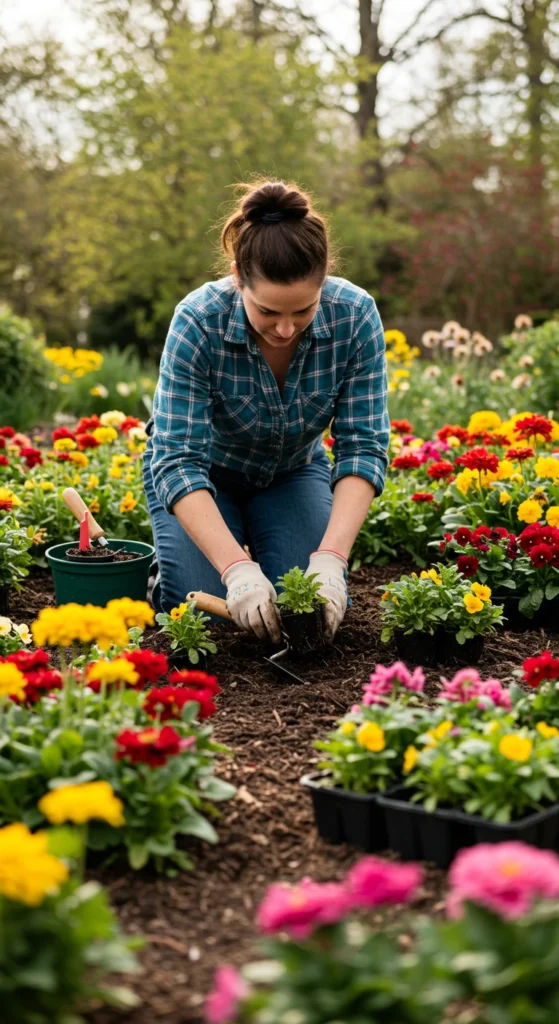
Step 5: Transplant with Care
Once your seedlings are strong enough and the outdoor frost risk has passed, it’s time to move them to their permanent home. Before planting outside, harden them off:
- Take trays outdoors for a few hours a day, gradually increasing time over a week.
- Protect them from strong wind and midday sun during this adjustment period.
Then, transplant into your garden beds or containers:
- Choose a sunny, well-draining location.
- Space plants according to their mature size.
- Water deeply right after planting.
Mulch around the base to retain moisture and prevent weeds — your flowers will thank you later!
Step 6: Keep Them Thriving
Your flowers are in the ground — now it’s about keeping them happy!
- Water deeply once or twice a week rather than frequent shallow watering.
- Deadhead spent blooms regularly to encourage more flowers.
- Fertilize monthly with compost tea or organic fertilizer for vibrant color.
- Watch for pests like aphids or snails — use neem oil or hand-picking as natural remedies.
With just a little attention, you’ll soon have a garden bursting with color, fragrance, and life. 🌸
Final Takeaway
Growing flowers from seeds is one of the most rewarding gardening adventures — it’s cost-effective, fun, and deeply satisfying. With the right soil, light, and care, those tiny seeds will reward you with a dazzling display all season long.

Leave a Reply