
Building your own hydroponic system at home is one of the simplest ways to grow food without soil. Buckets, pipes, air pumps, and basic tools are often enough. Many systems come together in under an hour and cost far less than store-bought kits. These ideas focus on easy builds, common materials, and beginner-friendly designs that help you grow leafy greens, herbs, and vegetables indoors or in small outdoor spaces.
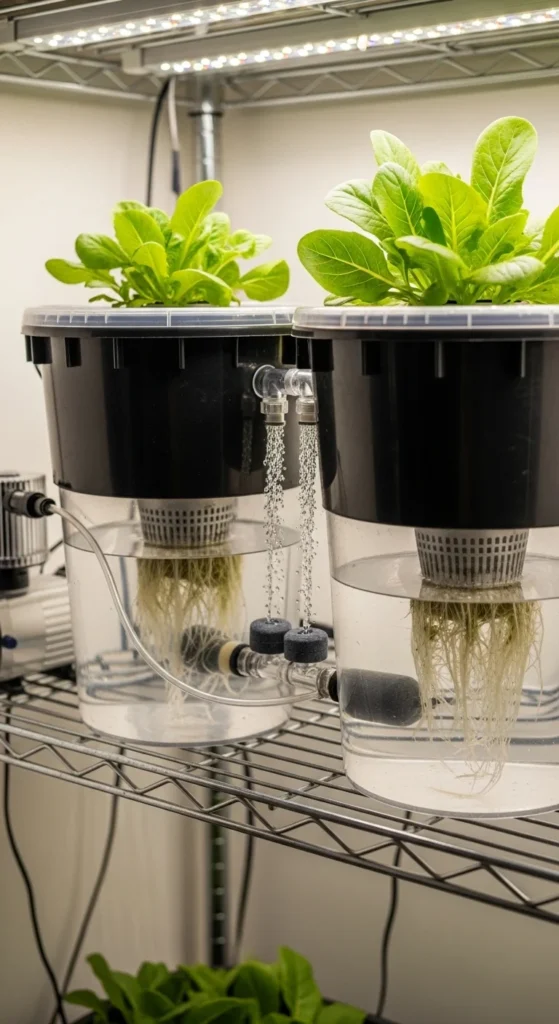
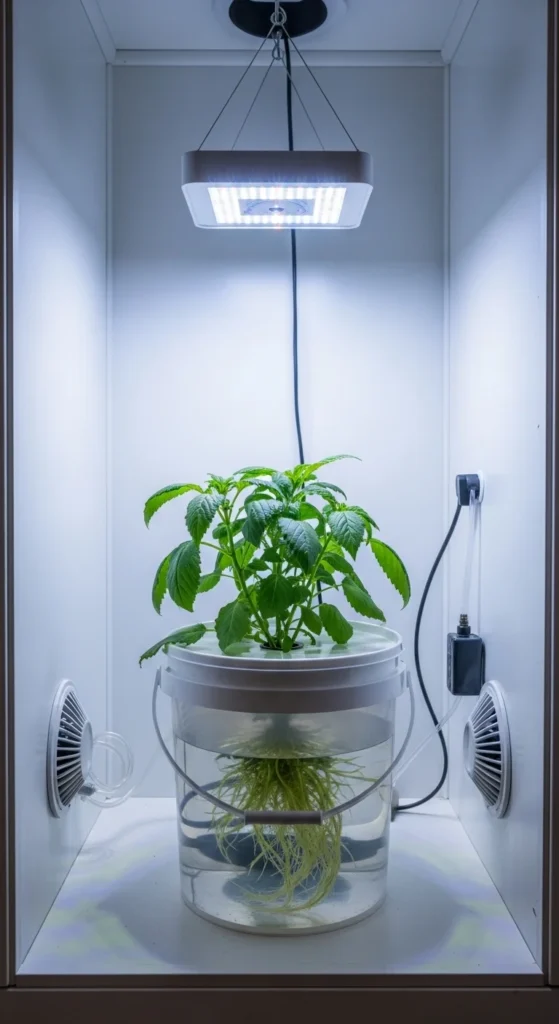
1. Single-Bucket Deep Water Culture (DWC)
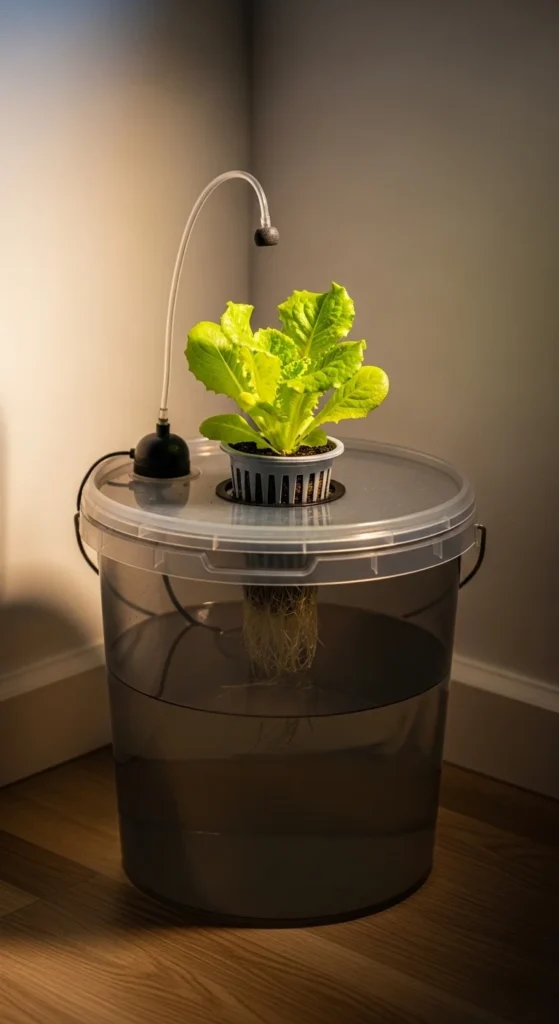
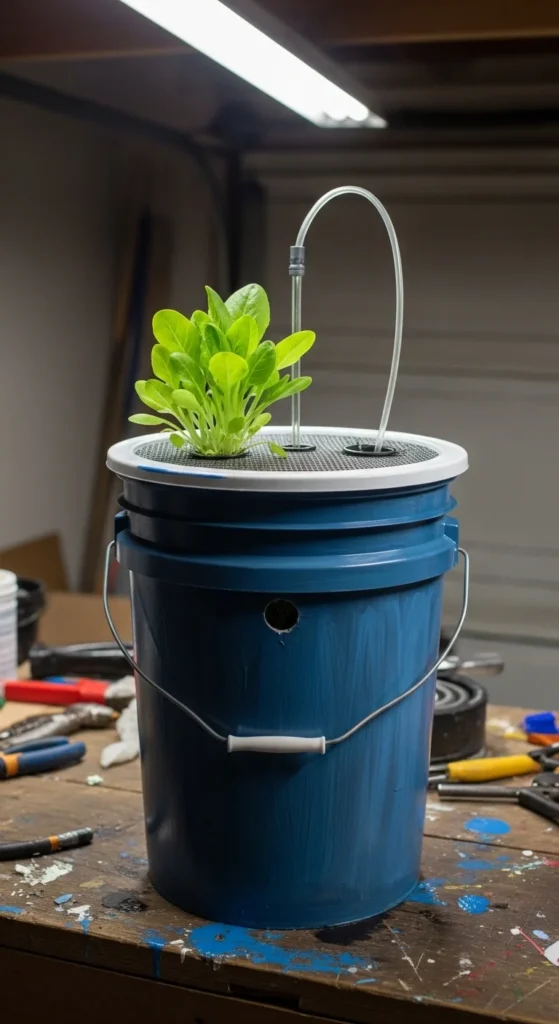
A one-bucket DWC system is one of the easiest ways to start. Use an opaque bucket with a tight lid. Drill a single hole in the lid using a two-inch hole saw. Drop in a net pot filled with perlite or rock wool.
Fill the bucket with water and mix hydro nutrients slowly, one part at a time. Aim for pH 5.5–6.5. Add an air stone connected to a basic air pump. This keeps roots surrounded by oxygen.
This setup works well for lettuce and basil. It’s quiet, compact, and cheap. Many people build it in under an hour. Change the water weekly and rinse the bucket with plain soap between refills.
2. No-Pump Kratky Bucket
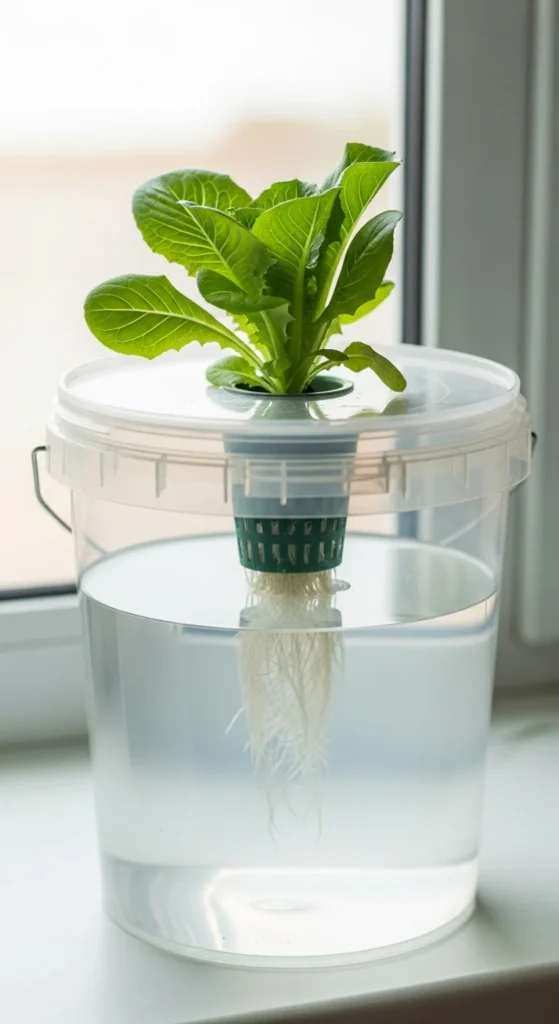
This bucket system skips pumps entirely. Fill a bucket with nutrient solution and place a net pot in the lid. Leave an air gap between the water and the net pot bottom.
As plants grow, roots stretch down into the water while upper roots sit in air. That air space keeps roots healthy.
This build costs almost nothing. It works best for short-cycle crops like leafy greens. Top off water as it drops. Keep the bucket opaque to block algae.
3. Dual-Bucket DWC Upgrade
A dual-bucket setup uses one bucket for plants and one for mixing. A small tube connects them so you can drain and refill without lifting heavy buckets.
Use the same air pump and stone method. This saves time during weekly changes.
Great for growers who want less mess and easier upkeep.
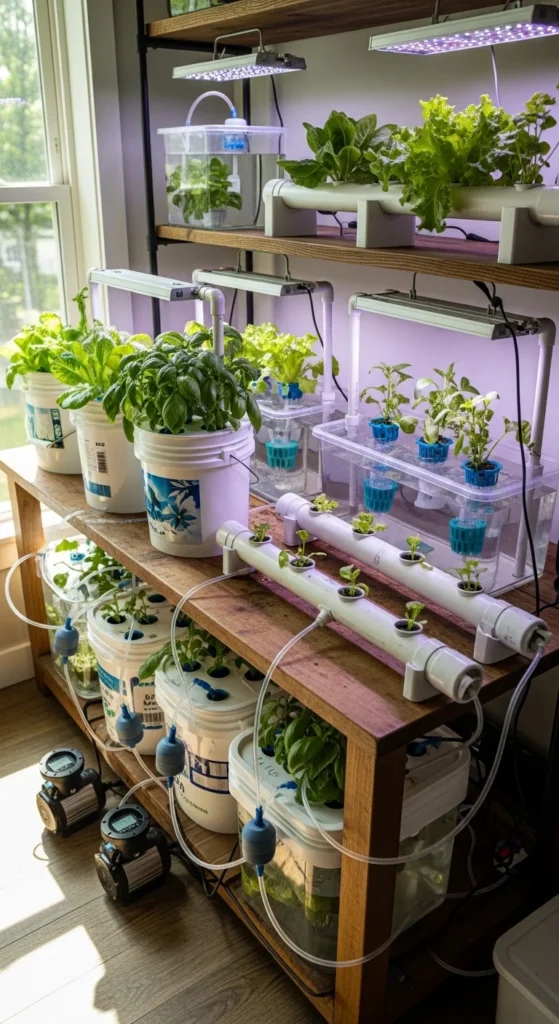
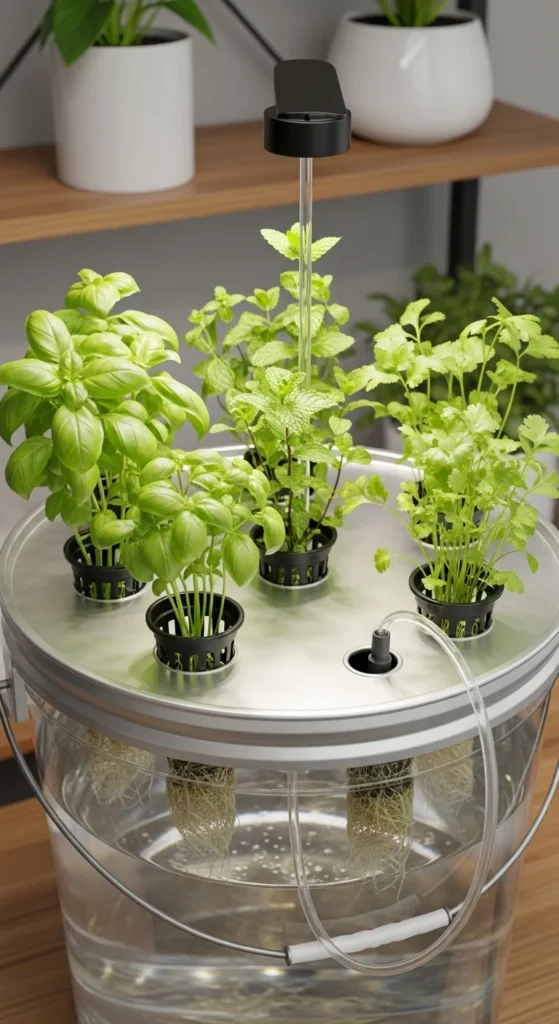
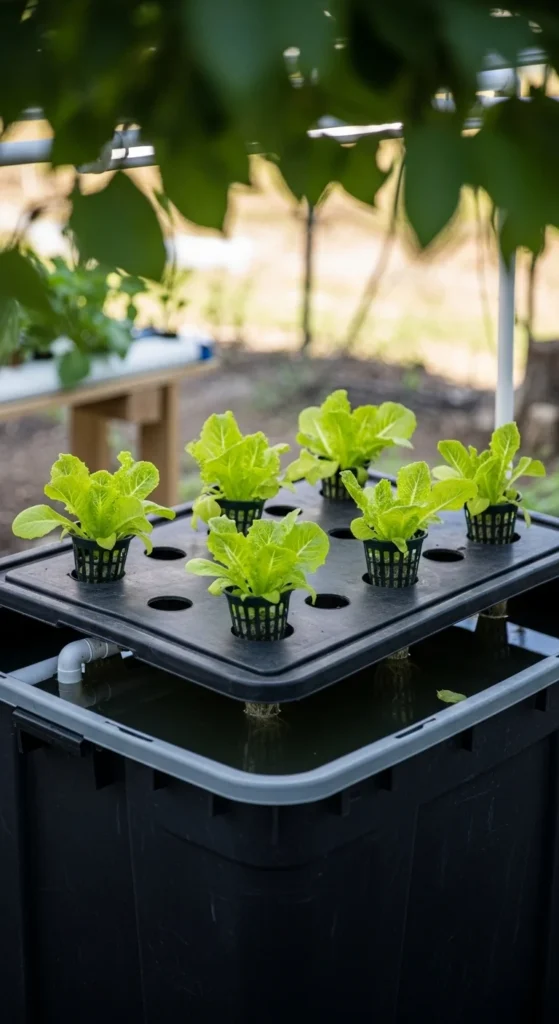
4. Storage Tote DWC System
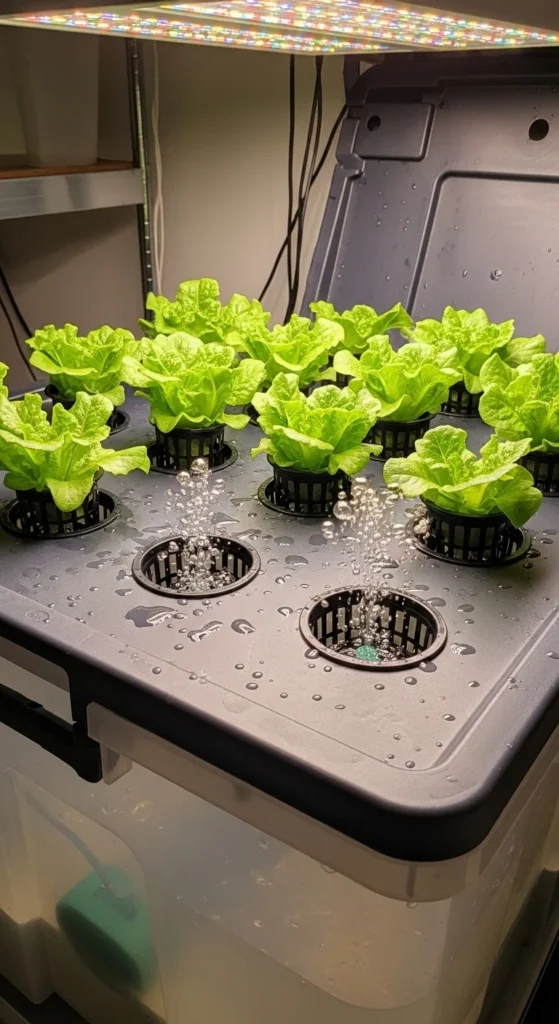
A plastic tote replaces individual buckets. Drill several holes in the lid with six to eight inches of spacing.
This lets you grow many plants in one container. Add multiple air stones for even oxygen.
It’s ideal for salad greens and herbs. Totes are cheap and easy to scale.
5. Mason Jar Kratky Setup
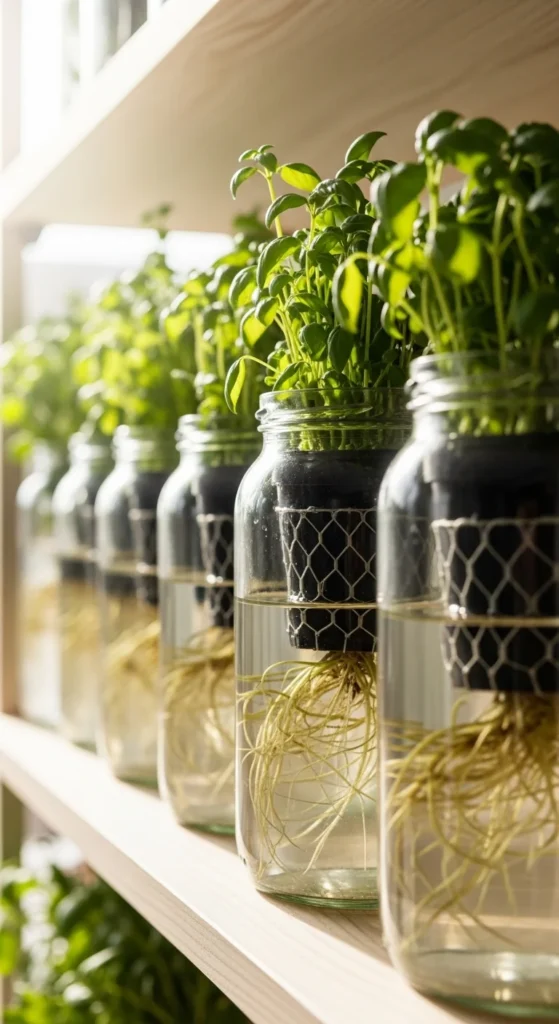
Glass jars work well for herbs. Add nutrient solution and a net cup lid. Cover jars to block light.
No pumps. No tubing. Just water and nutrients.
Perfect for kitchens and windowsills.
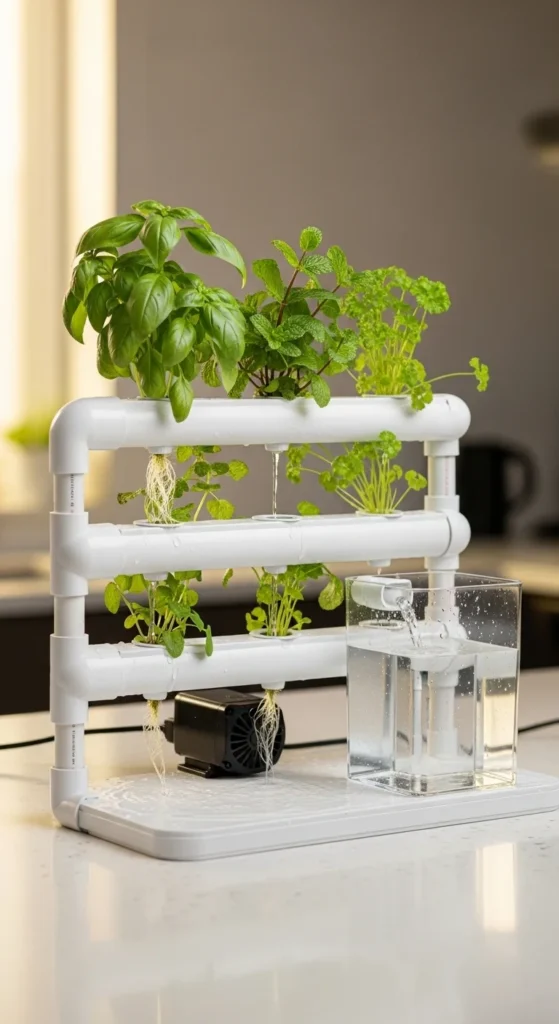
6. Horizontal PVC NFT Channel
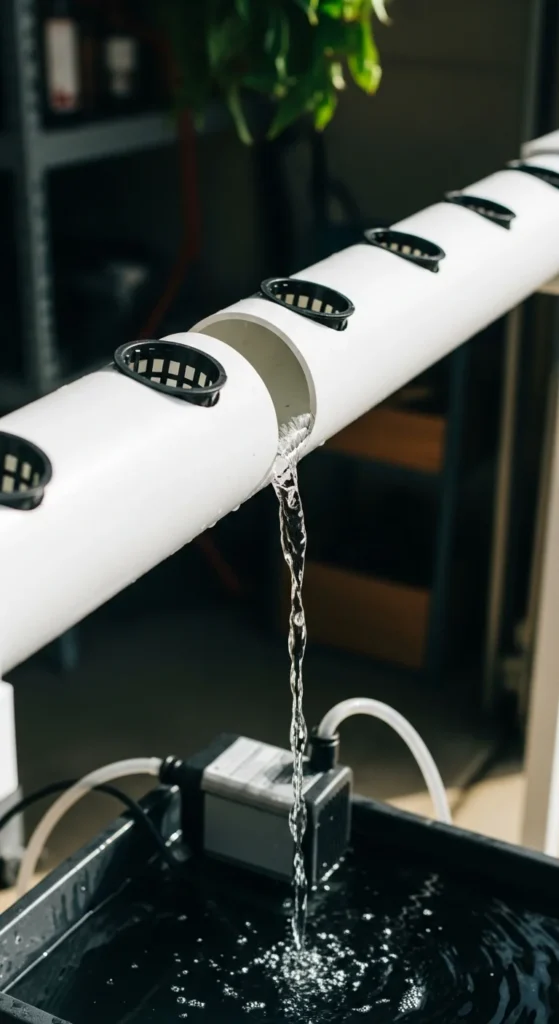
Nutrient Film Technique uses a thin stream of water flowing past roots. PVC pipes make great channels.
Drill holes evenly. Set the pipe at a slight angle. A small submersible pump circulates water from a bucket.
This system works well for lettuce rows.
7. Vertical PVC Tower
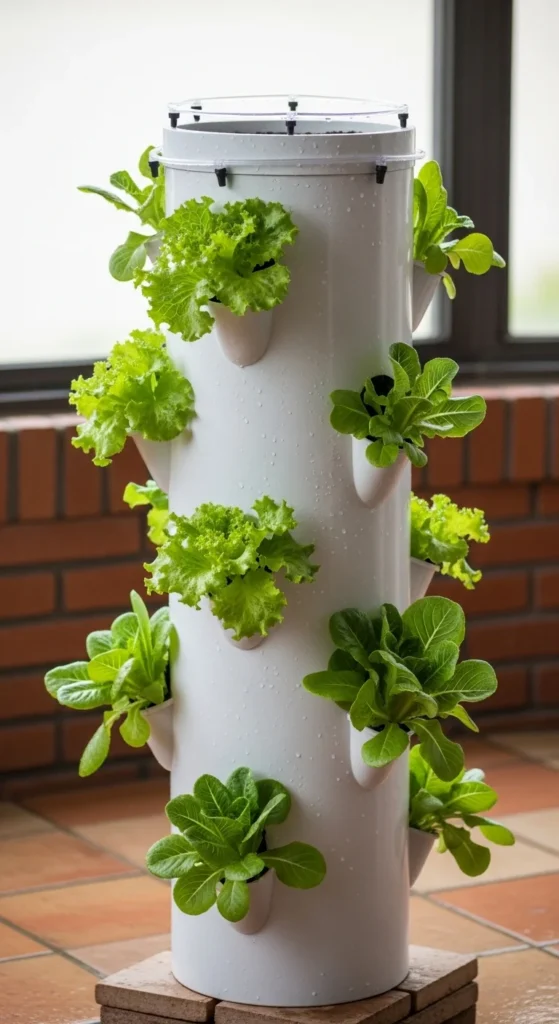
Vertical towers save space. Water drips from the top and flows down.
Build one using a long PVC pipe and a bucket at the base. Cut angled holes for net pots.
Good for apartments and balconies.
8. Wall-Mounted NFT Panel

Wall systems mount channels or panels upright. Water flows gently across roots.
They free up floor space and look tidy.
Great for strawberries and herbs.
9. Rain Gutter Grow System
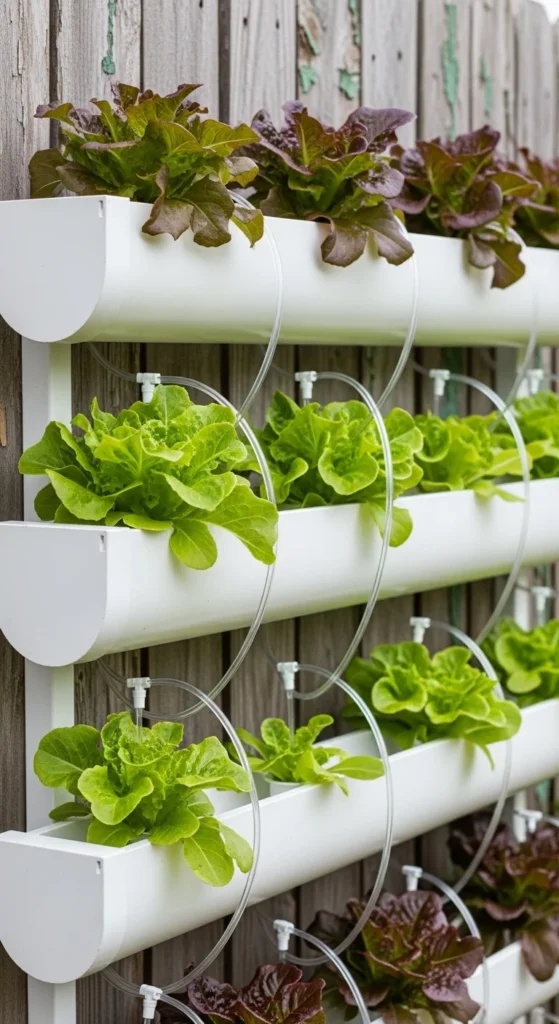
Rain gutters act like shallow NFT channels. Mount them in rows.
Connect them to a reservoir and pump. Cheap and easy to find.
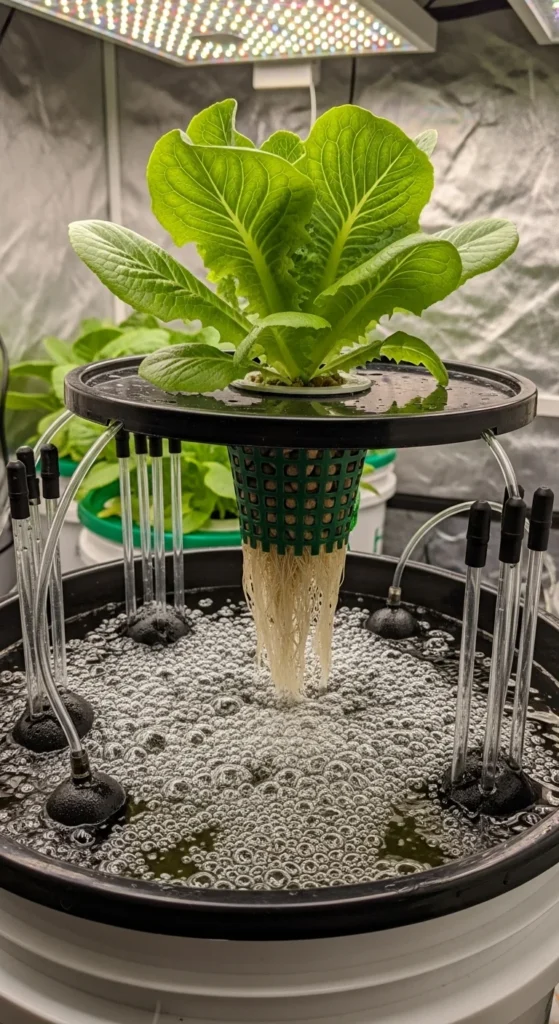
10. Foam Raft Bin Garden
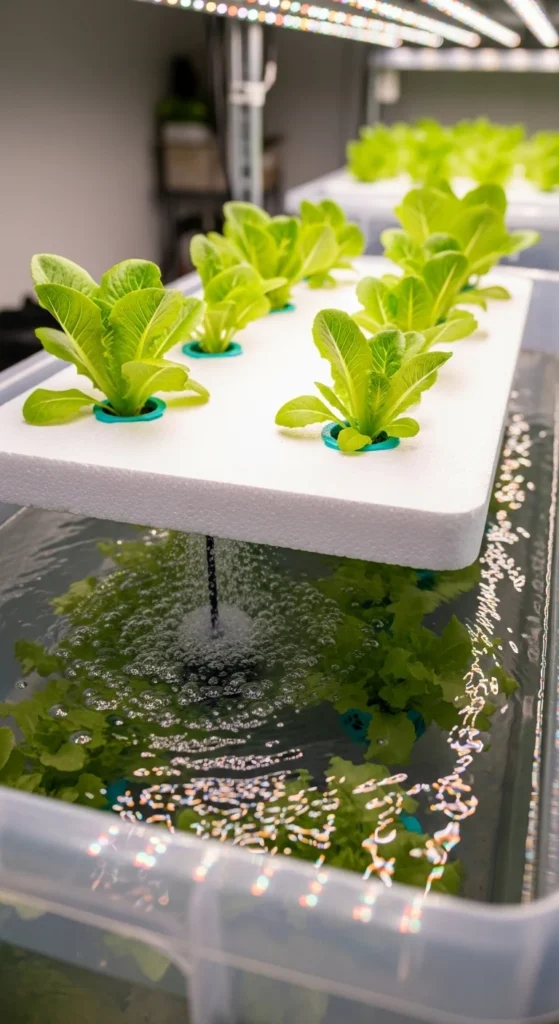
Cut holes into foam board and float it on nutrient water. Add air stones.
Roots sit directly in water and grow quickly.
Ideal for batch harvesting.
11. Hanging Bottle Drip System
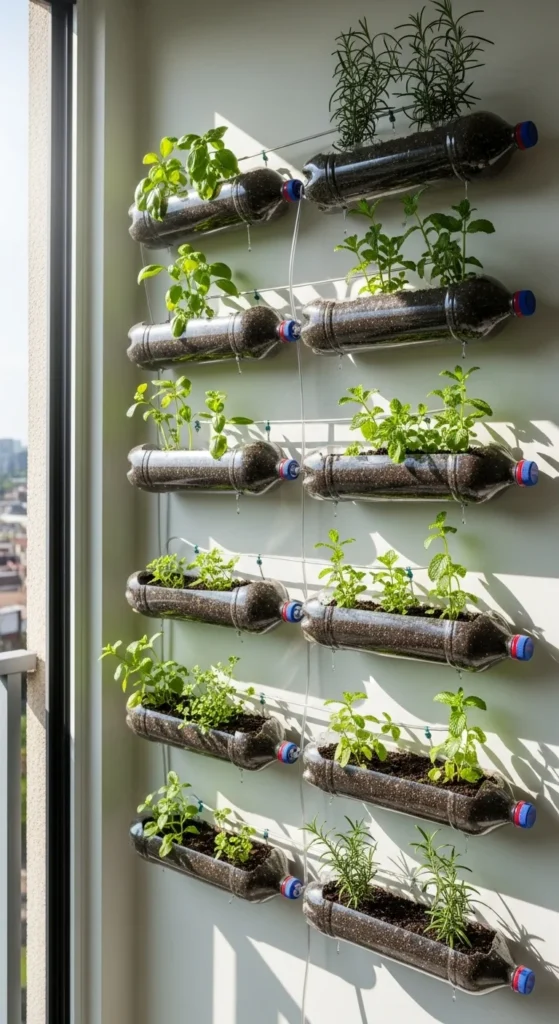
Reuse plastic bottles as planters. Hang them in rows.
Water drips from the top bottle down through each one.
Lightweight and almost free.
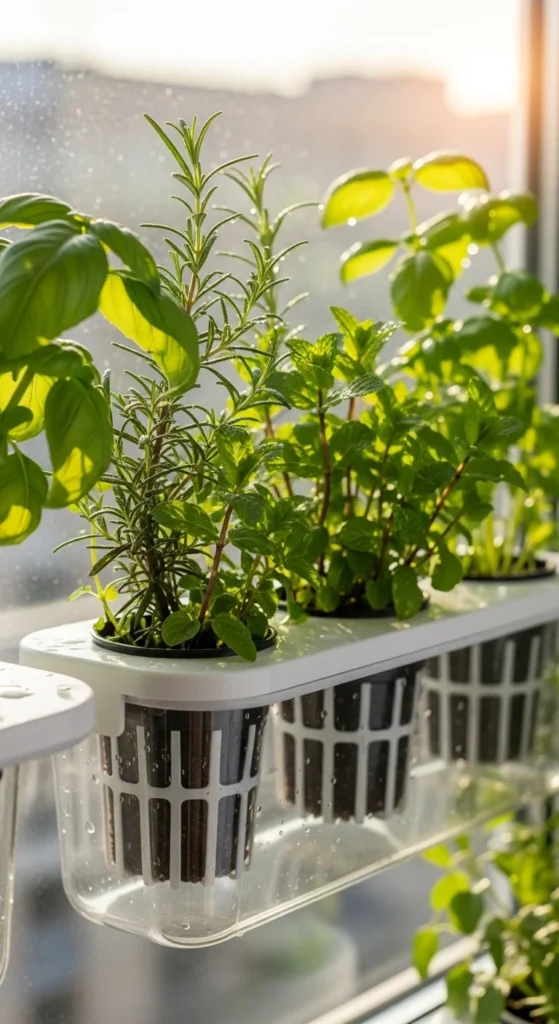
12. Bucket Lid Herb Garden
Some lids come pre-drilled for net pots. Snap one onto a bucket and plant herbs.
Easy swap when cleaning.
Great for beginners.
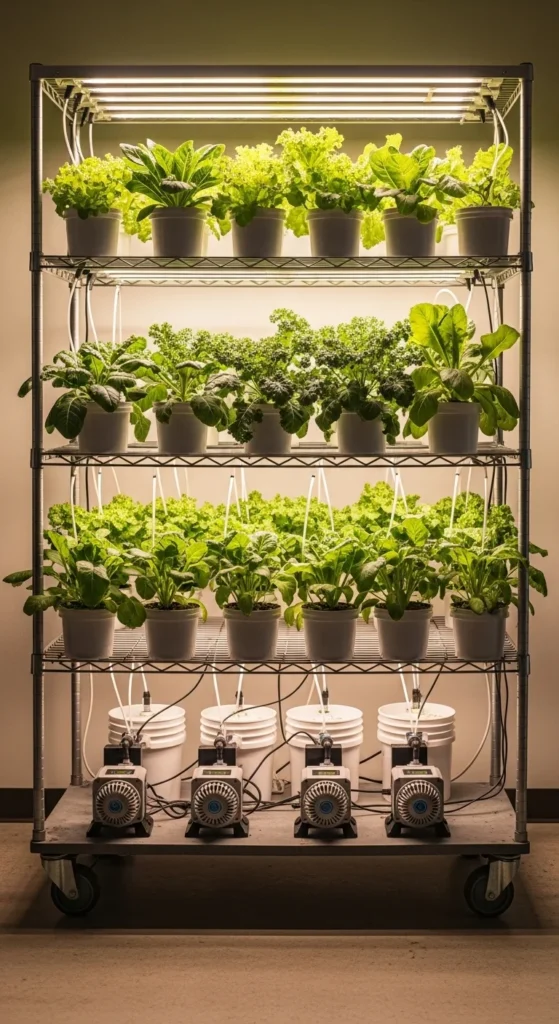
13. Shelf-Based DWC Row
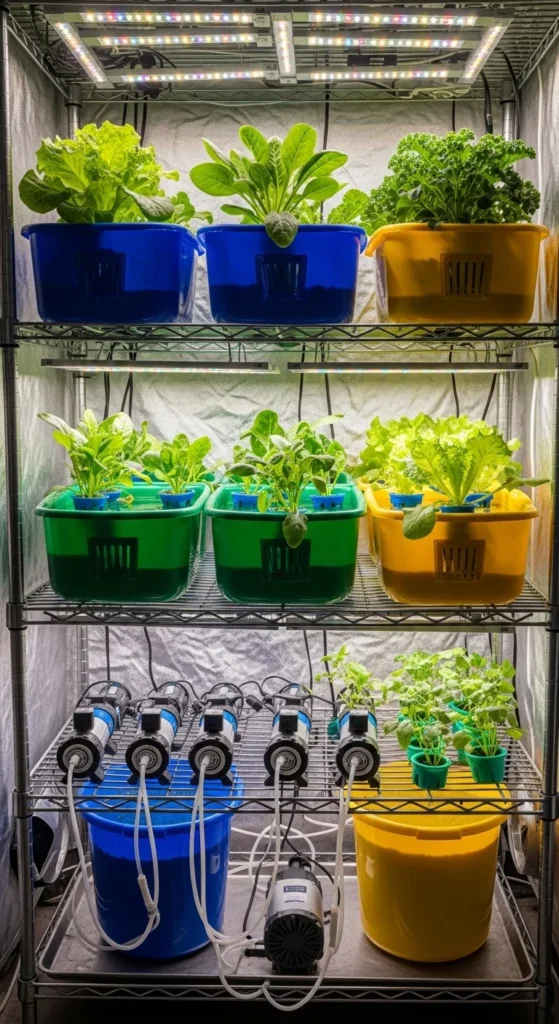
Line buckets along a shelf. Run airline tubing neatly.
This keeps everything organized and scalable.
Add buckets as you go.
14. Closet Grow Bucket
An unused closet works well for one or two buckets. Add a light above.
Keeps plants contained and discreet.
15. Fabric Tote Hydro Build

Use fabric-lined containers with nutrient drip lines. Roots get air and moisture.
Good for herbs and greens.
16. Seedling Starter Tray
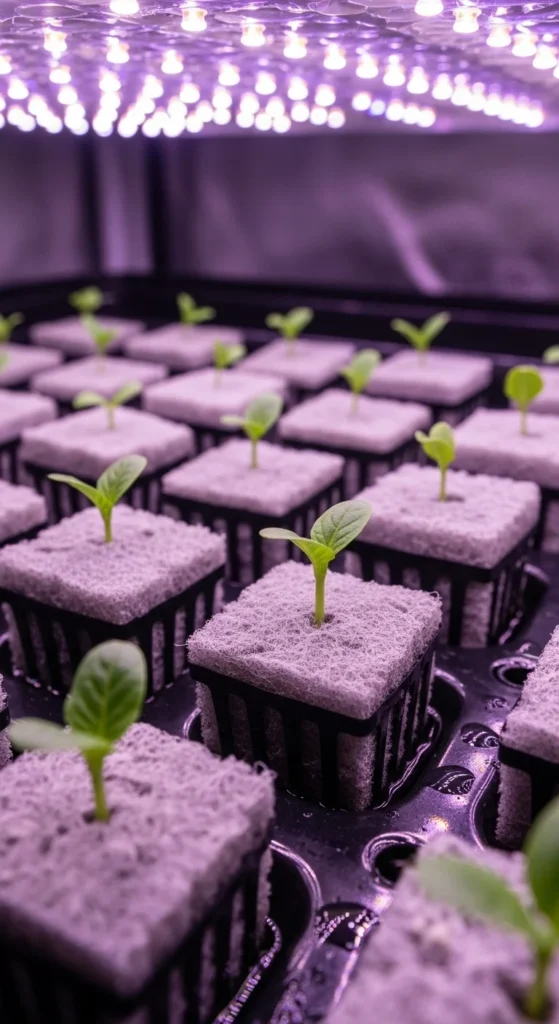
Start seeds in net pots with rock wool. Move them later into buckets or pipes.
This keeps growth steady.
17. Air Stone Upgrade Bucket
Adding extra air stones improves oxygen levels.
Helpful for warmer rooms.
Roots stay white and healthy.
18. Mini NFT Tabletop
Small NFT kits can be built using narrow channels and tiny pumps.
Fits desks or counters.
Good for herbs.
19. Opaque Paint Bucket System
Paint clear buckets black to block light.
This stops algae growth.
Cheap fix for common problems.
20. Off-Grid Kratky Tote
Kratky totes run without electricity.
Useful for sheds or patios.
Just monitor water levels.
21. Multi-Hole Lid Salad Bucket

Drill multiple holes in one lid. Space plants six to eight inches apart.
Harvest outer leaves often.
Great for salads.
22. DIY Airline Tubing Layout
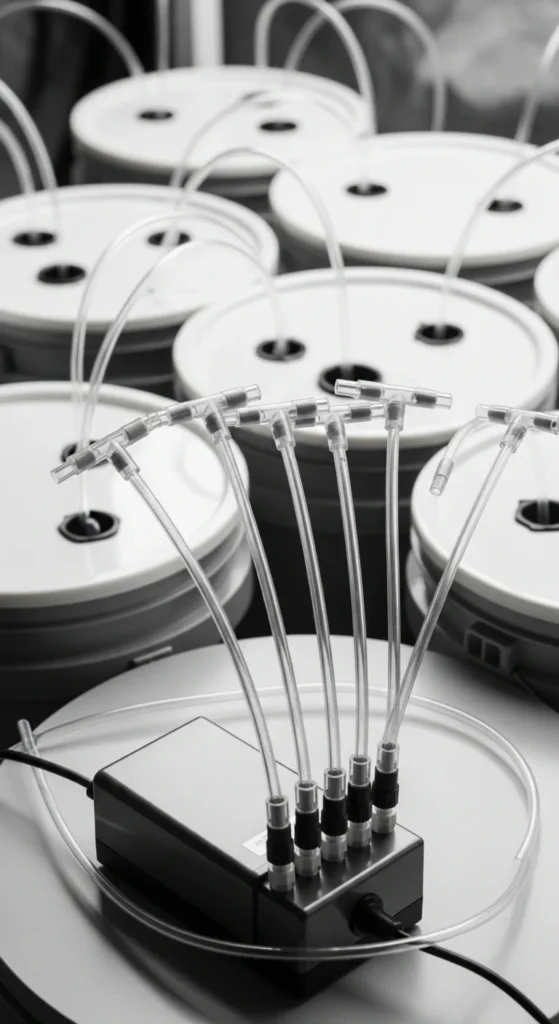
Use splitters to run one pump to many buckets.
Saves money and space.
Simple upgrade.
23. Net Pot Window System
Mount small containers in windows.
Natural light supports growth.
Compact and tidy.
24. Rolling Bucket Cart
A rolling cart makes buckets easy to move.
Helpful for cleaning and light access.
25. Vertical Crate Hydro Stack
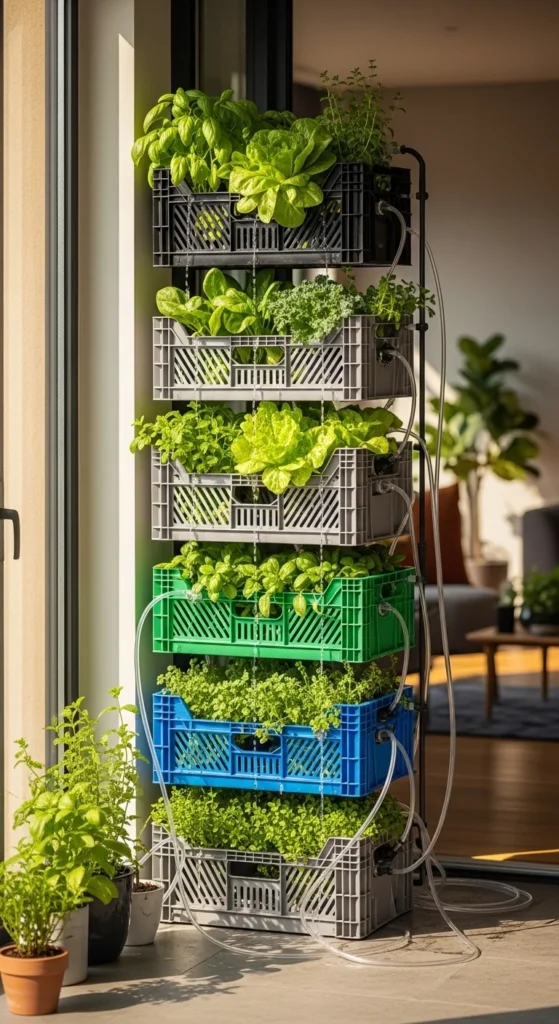
Stack crates with trays and drip lines.
Recycled materials keep costs low.
Expandable design.
26. Mixed-System Starter Station
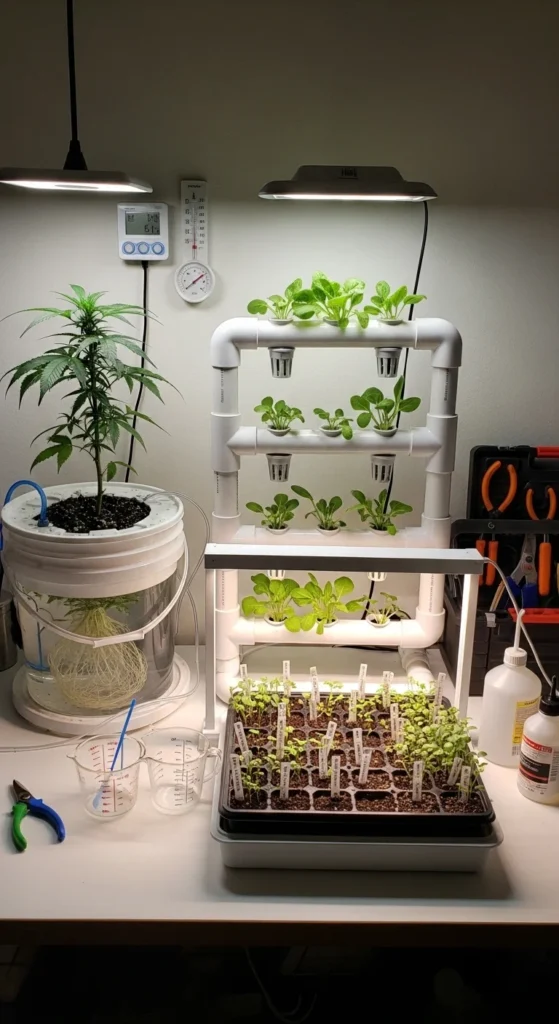
Combine systems in one area. Start seedlings in trays. Move them into buckets or pipes.
This setup supports continuous harvests.
Perfect for learning what works best for you.
Conclusion
DIY hydroponic systems make home growing simple and affordable. Buckets, pipes, air pumps, and basic tools are often all you need. Start with one build. Learn how water, air, and spacing work together. Add more systems as confidence grows. With a little setup time, you can grow greens and herbs at home using clean, repeatable methods that fit almost any space.

Leave a Reply