
If you’ve ever watched your garden struggle through a dry spell or dreaded the daily watering routine, a DIY drip irrigation system might be your new best friend. It’s simple, efficient, and can save you gallons of water—plus it’s surprisingly easy to make yourself!

Why Choose Drip Irrigation?
Drip irrigation delivers water directly to the plant roots, drop by drop. Unlike sprinklers, which waste water through evaporation and overspray, this system keeps the soil consistently moist where plants need it most. It’s ideal for vegetable gardens, flower beds, and container setups.
Benefits of a DIY Drip System:
- Saves up to 50% more water than traditional watering.
- Reduces weeds by watering only the targeted area.
- Helps prevent fungal diseases from excess moisture.
- Automates watering with a simple timer (optional).
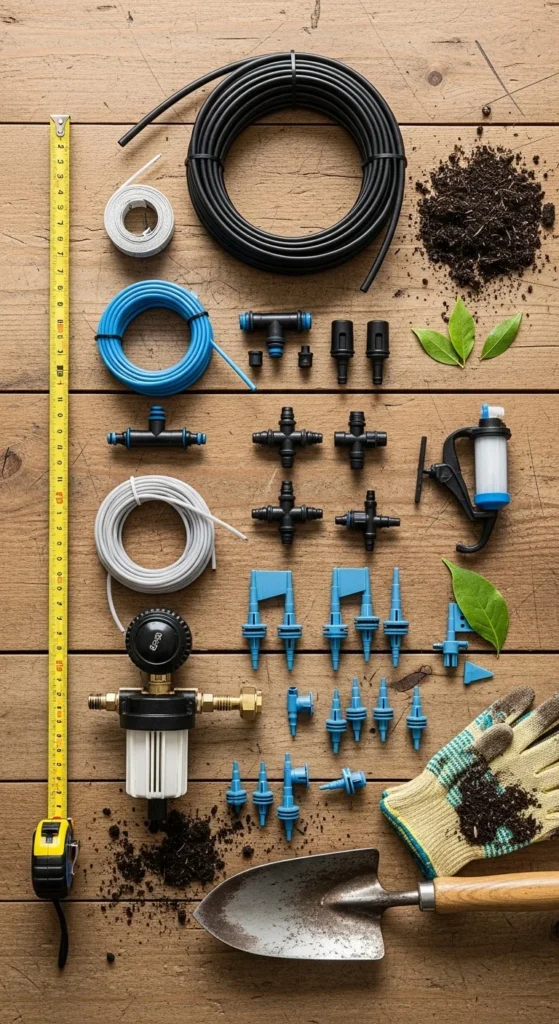
Step 1: Gather Your Supplies
Before you start, assemble all the materials you’ll need. Most are affordable and easy to find at any hardware or gardening store.
You’ll need:
- A main water supply (garden faucet or rain barrel)
- A pressure regulator (to control water flow)
- 1/2-inch main tubing for the water line
- 1/4-inch drip tubing for branch lines
- Drip emitters or micro sprinklers
- Connectors (tees, elbows, couplers)
- End caps and stakes to secure the tubing
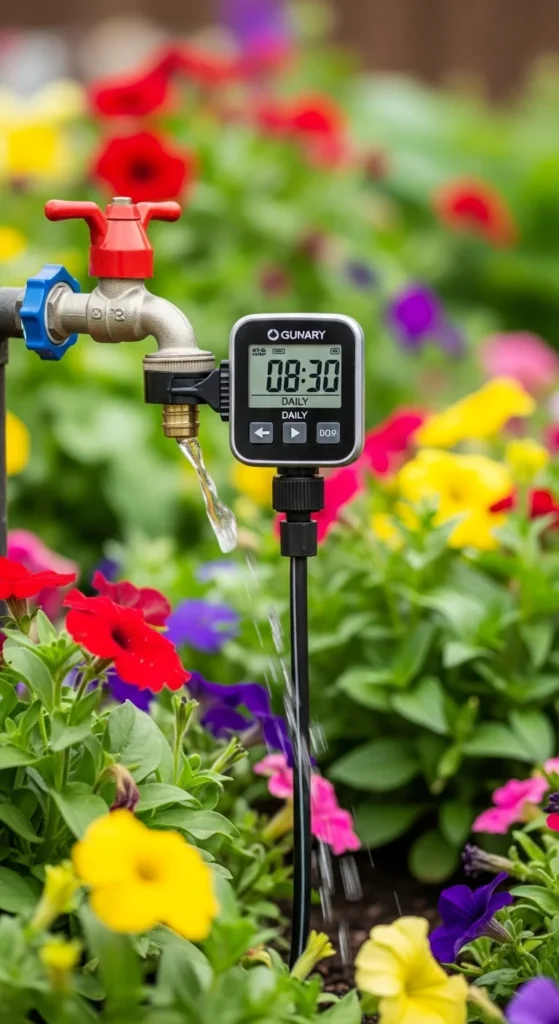
- Optional: a timer for automatic watering
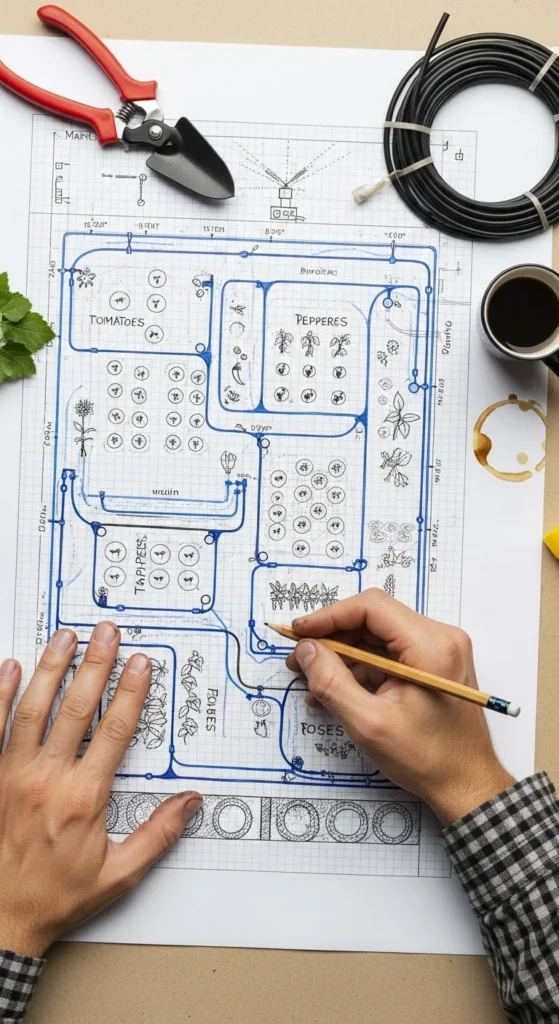
Step 2: Plan Your Layout
Good planning makes installation easy and efficient. Sketch your garden on paper and mark the main line path and where each plant or bed needs water.
Tips for an effective layout:
- Keep the main tubing along straight paths.
- Branch off with smaller tubes toward each plant row.
- Place emitters about 6–12 inches from the plant base.
- Avoid long, looping lines that reduce pressure.
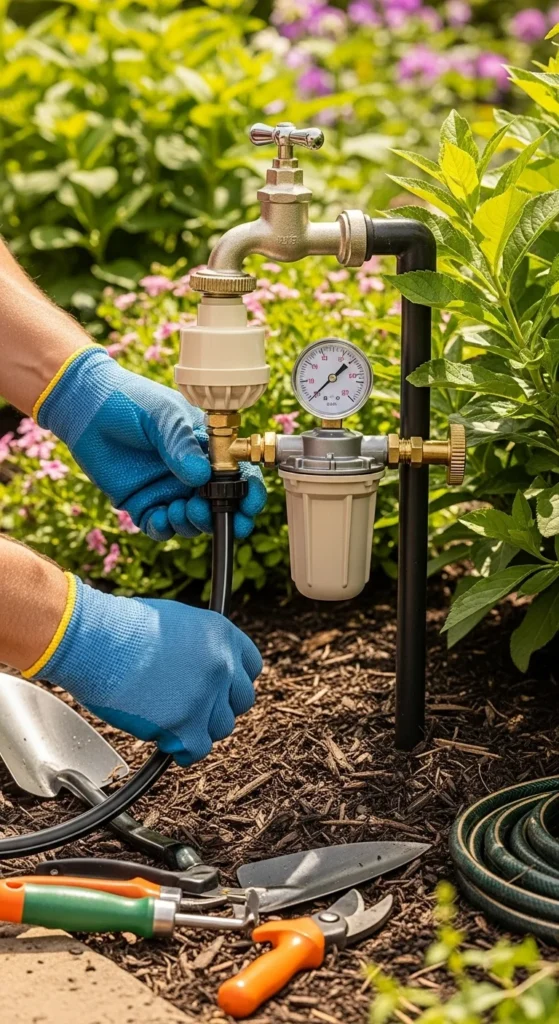
Step 3: Set Up the Main Line
- Connect the main tubing to your water source.
- Attach the pressure regulator and filter if you’re using tap water—this keeps your system clog-free.
- Lay the tubing along your planned path and secure it with stakes every few feet.
If your garden is uneven, make sure water flows downhill where possible to maintain pressure.
Step 4: Add Branch Lines and Emitters
Once your main line is secure, it’s time to connect smaller tubing that carries water directly to plants.
- Use a punch tool to make small holes in the main tubing.
- Insert barbed connectors and attach the 1/4-inch tubing.
- Add drip emitters or soaker ends at each plant.
- Test each line to ensure the flow is steady and balanced.
Pro Tip:
If you have plants with different watering needs, use variable-flow emitters so each one gets just the right amount.
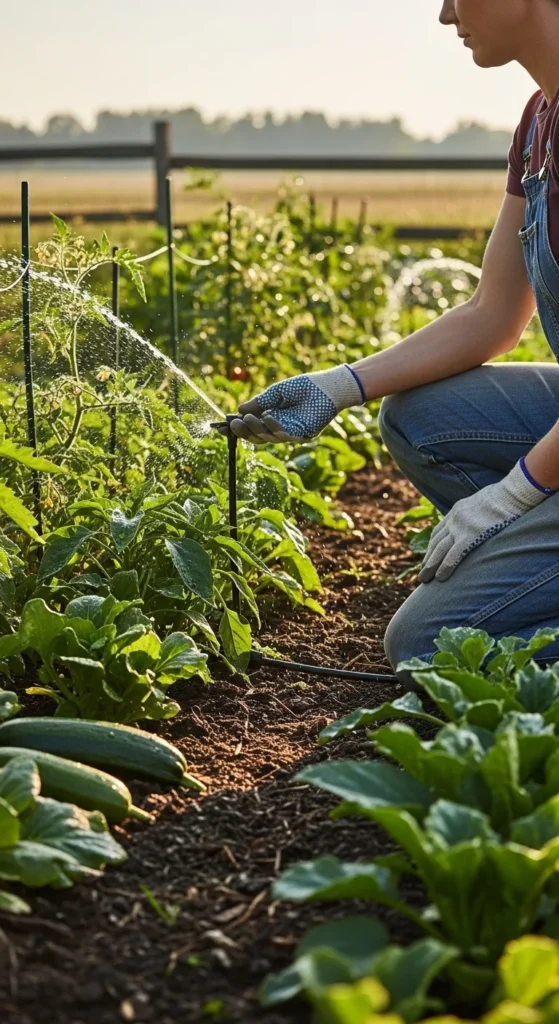
Step 5: Test and Adjust
Turn on the water and watch your new system in action! Check for:
- Leaks or blockages along the tubing.
- Even water flow from each emitter.
- Overwatering (adjust emitter rate if soil puddles).
Make small tweaks as needed. Once everything runs smoothly, you can bury parts of the tubing under mulch to keep it discreet and protected from sunlight.
Maintenance Tips for Longevity
Drip systems are low-maintenance but not no-maintenance. To keep things running efficiently:
- Flush the lines every few weeks to clear debris.
- Check emitters regularly for clogs.
- Replace cracked tubing at the start of each season.
- If using a timer, clean the filter monthly to prevent buildup.
Going the Extra Mile: Automation
Want a set-it-and-forget-it system? Add a simple watering timer at the faucet. You can program it to water in the early morning—when evaporation is lowest—and your plants will thrive even while you’re away.
Final Thoughts
Creating a DIY drip irrigation system isn’t just about convenience—it’s about gardening smarter. With a few basic materials and an afternoon’s work, you’ll enjoy healthier plants, save time, and conserve water. Plus, it’s deeply satisfying to see your homemade system quietly doing the job for you.

Leave a Reply