
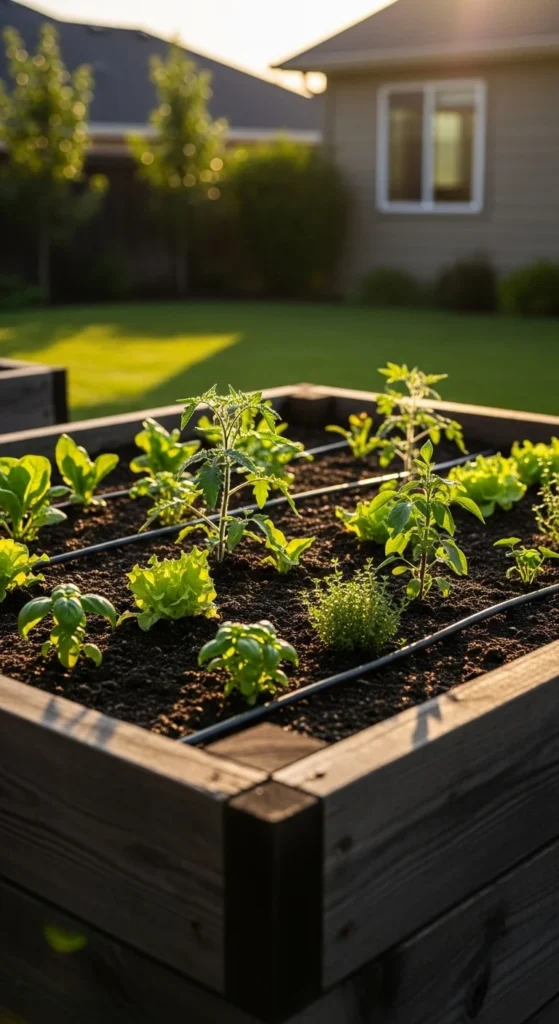
If you’ve ever watered your raised beds by hand, you already know the struggle—dry spots, uneven moisture, and hours spent carrying a watering can. But the good news? You can build an efficient irrigation system without spending a fortune. With a few inexpensive materials and simple techniques, your garden can stay perfectly watered automatically.
Let’s walk through how to set up a budget-friendly raised bed irrigation system that saves water, time, and energy.
Why Raised Bed Irrigation Matters
Raised beds dry out faster than in-ground gardens. Their soil is looser, drains quicker, and warms up earlier. All of this is great for plant growth—but tough for water retention.
A low-cost irrigation system ensures:
- Even watering
- Healthier roots
- Less waste
- Less work for you
This is one of the easiest upgrades you can make to a home garden.
Choose the Right Budget-Friendly Irrigation Style
Before building, choose a watering method that fits your garden and budget.
✅ Drip Lines (Most Popular & Affordable)
Drip lines deliver water slowly and steadily to plant roots.
They’re inexpensive, efficient, and easy to install.
✅ Soaker Hoses (Ultra-Budget Option)
Just lay them out across the bed, connect to water, and they seep moisture.
✅ PVC Pipe Irrigation (DIY Favorite)
PVC pipes with drilled holes work great for deep, even watering.
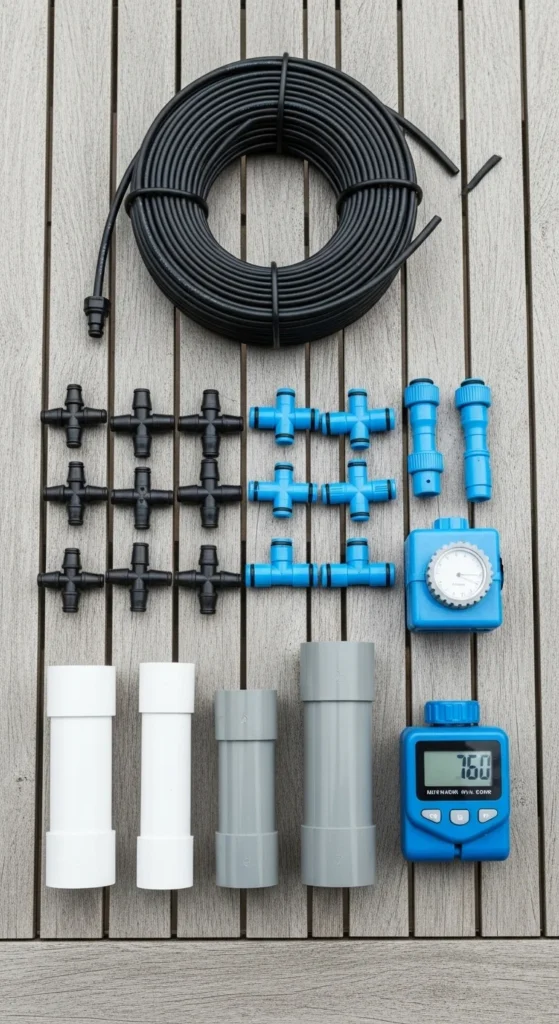
Gather Simple, Cheap Materials
You don’t need fancy equipment. Most supplies are available at hardware stores for a few hundred rupees/dollars.
Basic Materials
- Drip tubing (½ inch or ¼ inch)
- Connectors and tees
- Hose adapter
- Zip ties or garden stakes
- Optional: basic hose timer
- Optional: PVC pipes + drill (if using PVC method)
Why These Work
These parts are durable, easy to handle, and designed for slow, water-saving irrigation—perfect for small or large raised beds.
Step-by-Step: Building the Irrigation System
This is where the magic happens. Follow these steps, and your raised beds will water themselves like pros.
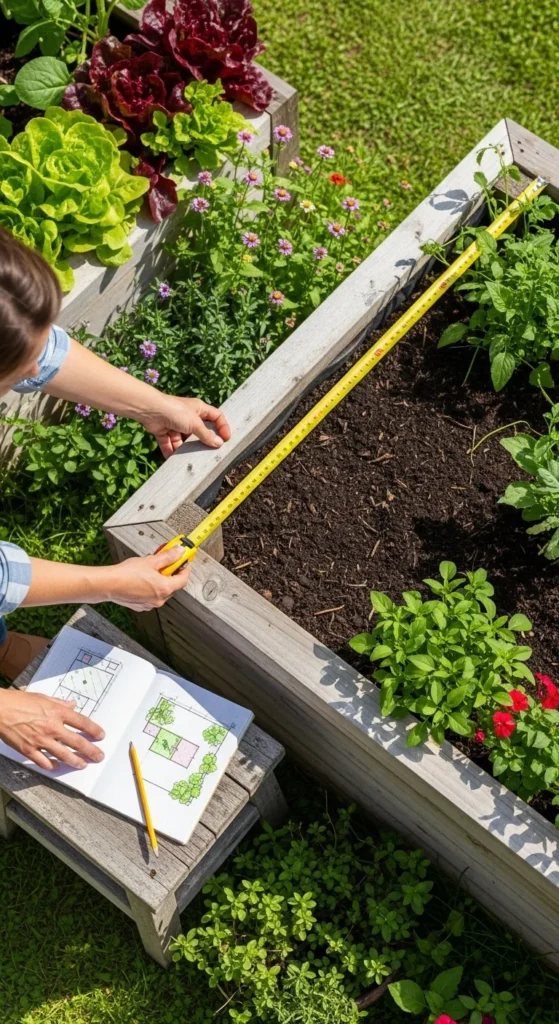
Step 1: Measure the Bed and Plan Your Layout
Before cutting anything, sketch out how your lines will run.
Pro Tips:
- Place drip lines 6–8 inches apart.
- Ensure water reaches every corner of the bed.
- If using PVC, plan where each hole will be drilled.
Step 2: Install the Main Line
Attach your hose adapter to the water source and connect the main drip line.
How to Do It:
- Run one ½-inch tube along the length of the bed.
- Secure it with stakes or clip it to the bed frame.
- Keep it aligned and tight for better water flow.
This main line will feed all your smaller drip lines or PVC sections.
Step 3: Add Your Drip Lines or PVC Sections
Now create the actual watering grid.
✅ For Drip Line Systems:
- Use connectors to attach ¼-inch drip lines.
- Run them across the bed in evenly spaced rows.
- Cap the ends for proper pressure.
✅ For PVC Systems:
- Cut PVC pipes to length.
- Drill small holes every 6 inches.
- Connect them to the main hose.
This setup ensures every plant gets steady moisture.
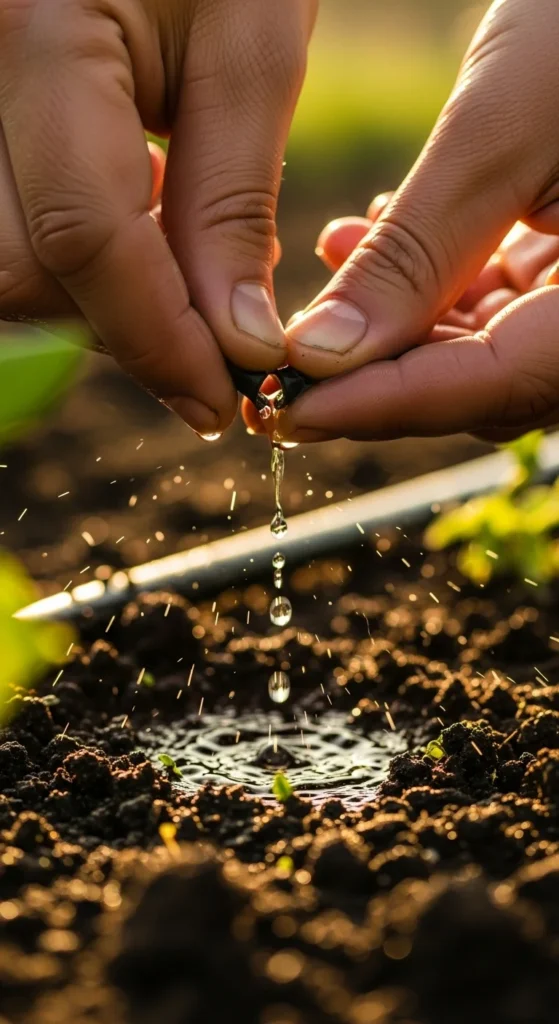
Step 4: Test the System and Adjust Water Flow
Turn on the water slowly and watch everything carefully.
Look For:
- Even dripping across lines
- No leaks around connectors
- Proper pressure from start to end
If some areas look dry, tighten connectors or shift lines slightly.
Step 5: Automate with a Budget Hose Timer (Optional but Amazing)
Even a cheap timer can make a huge difference.
Set it to water early morning, and your system becomes fully hands-free.
Benefits:
- Saves time
- Reduces waste
- Prevents overwatering
Most manual timers are affordable and last several seasons.
Extra Tips to Save Even More Money
✅ Use Mulch
Mulch prevents your beds from drying out, meaning you water less often.
✅ Reuse Old Hoses
Old leaky hoses can be turned into soaker hoses—just punch a few small holes and you’re good.
✅ Go Gravity-Fed
If you have a water tank higher than your garden, let gravity do the work. No pump needed!
✅ Fix Leaks Early
A small leak can waste a lot of water over time.
Maintenance: Keeping Your System Working All Season
An affordable irrigation setup only works well if you take care of it.
Do This Monthly:
- Check for clogs
- Flush the lines
- Adjust placement as plants grow
- Tighten connectors
✅ Final Takeaway
A budget-friendly irrigation system is one of the smartest upgrades you can make to your raised beds. With a few simple materials, a little planning, and some hands-on setup, you’ll enjoy consistent moisture, faster growth, and healthier plants—all without overspending.

Leave a Reply