
If you’ve ever watched your garden flourish—only to have pests, frost, or harsh sun undo your hard work—you know how important protection can be. Raised bed covers are the ultimate solution: simple, affordable, and incredibly effective. They shield your crops from bugs, birds, cold, and scorching heat while keeping your garden tidy and productive year-round.
Whether you’re growing lettuce in spring or tomatoes in summer, a raised bed cover helps you extend your growing season and safeguard your harvest. Let’s walk through how to build your own—step by step.
Step 1: Choose the Right Type of Cover
Before you start building, think about what you’re protecting your crops from. Different covers serve different purposes.
Common Types:
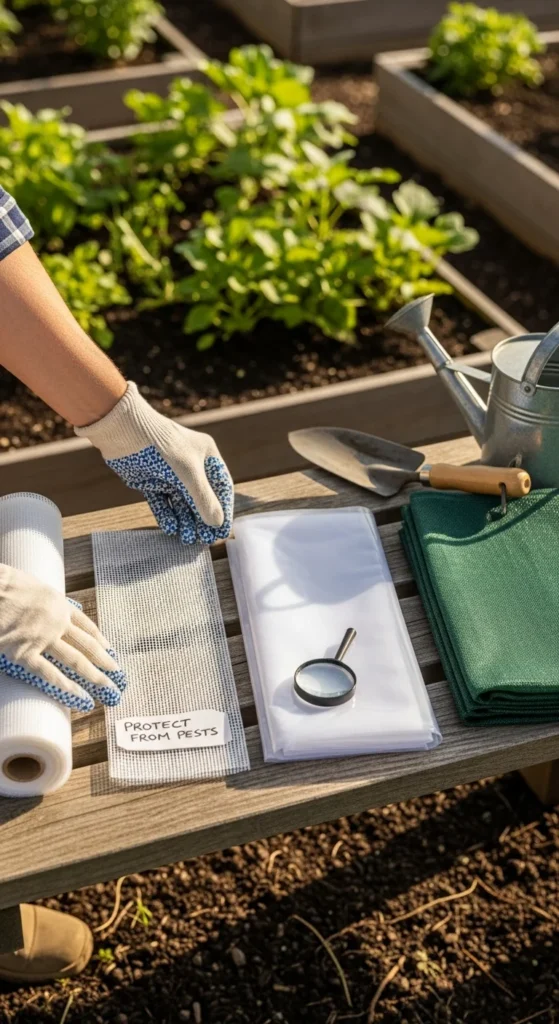
- Mesh or netting covers: Great for keeping insects, birds, and rabbits out.
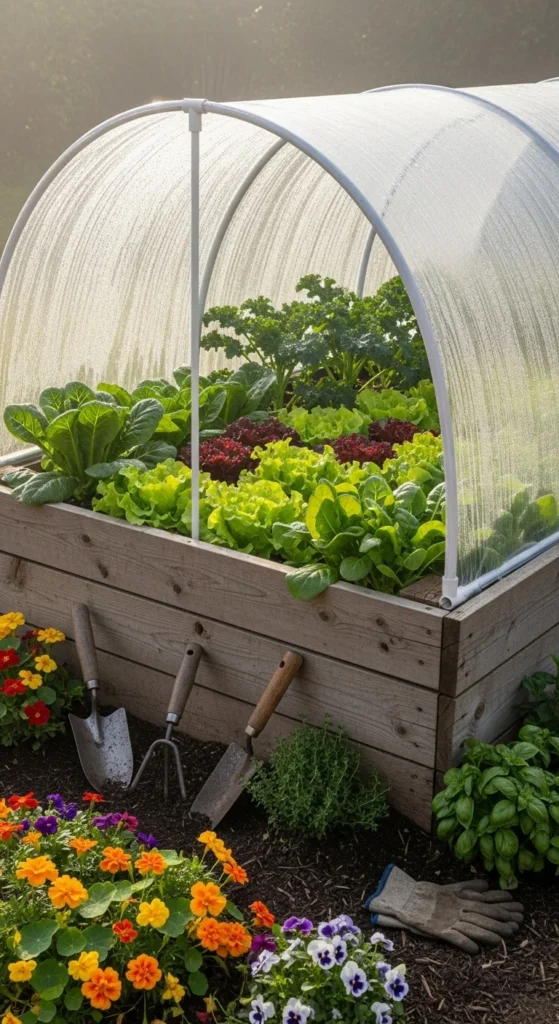
- Plastic covers: Ideal for creating mini greenhouses that trap warmth and moisture.
- Shade cloth covers: Perfect for protecting delicate crops from strong sun.
- Frost covers: Lightweight fabric that shields plants from early or late-season chills.
You can also combine types—use mesh in summer, plastic in spring, and frost cloth in fall. Flexibility is the key to a year-round growing system.
Step 2: Gather Your Materials
You don’t need fancy tools or expensive parts to make raised bed covers. Most of what you need is available at your local hardware or garden store.
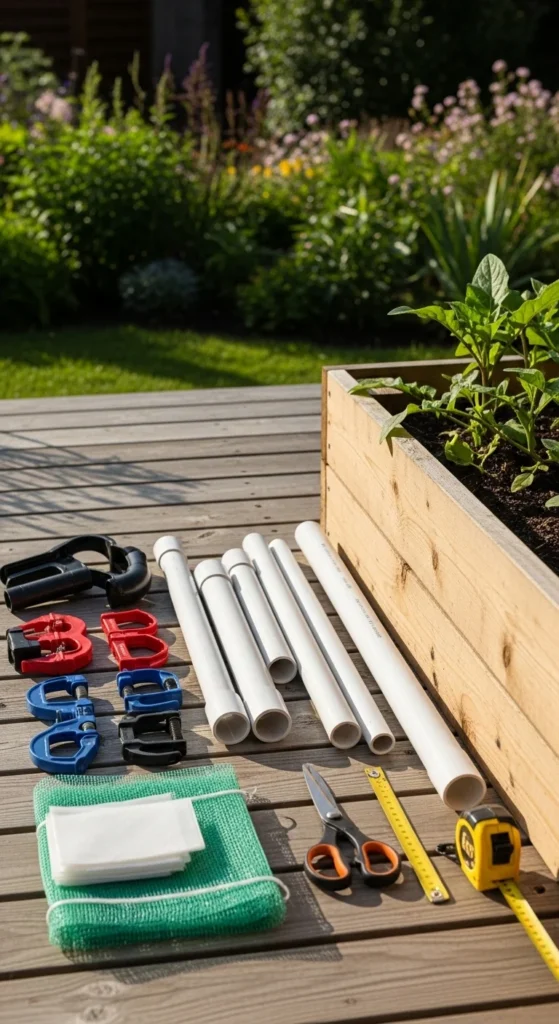
Basic Supplies:
- PVC pipes or metal hoops – to create a frame
- Plastic sheeting, mesh, or shade cloth – your chosen cover material
- Clamps or clips – to secure the cover to the frame
- Rebar or pipe stakes – to anchor the frame into the soil
- Scissors or utility knife – for trimming material
- Tape measure – for accurate fitting
Optional but useful additions include zippers or hinges if you want an easy-access flap or door.
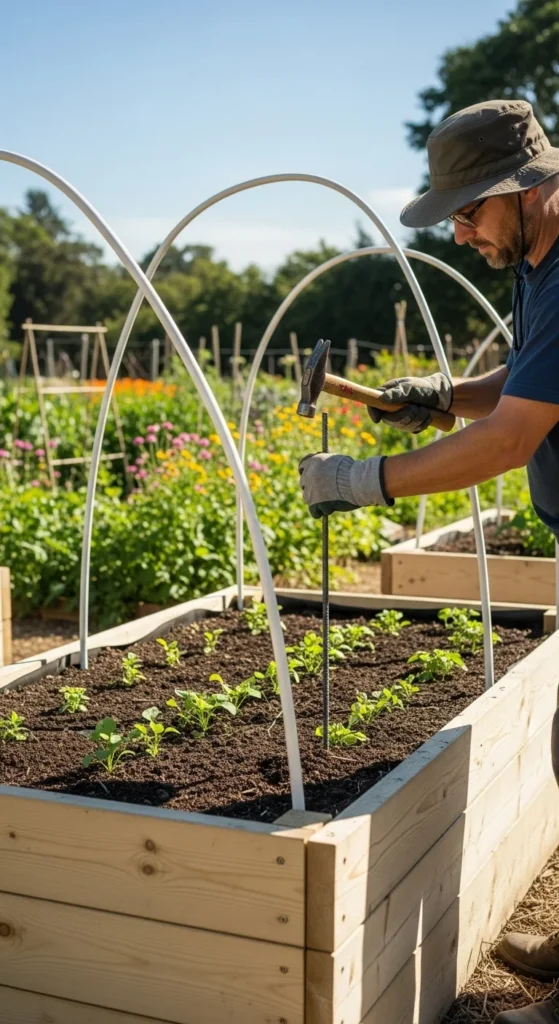
Step 3: Build the Frame
A sturdy frame is what makes your cover functional and long-lasting. The simplest option is a hoop-style frame, which curves over your raised bed like a mini tunnel.
How to build:
- Cut PVC pipes to the desired height—usually 2–3 feet tall.
- Insert each end of a pipe into rebar or pipe stakes driven into the soil inside your bed corners.
- Repeat every 2–3 feet along the length of the bed.
- For added stability, run a horizontal pipe or wooden strip across the top to connect all hoops.
This creates a flexible and strong skeleton ready for your cover material.
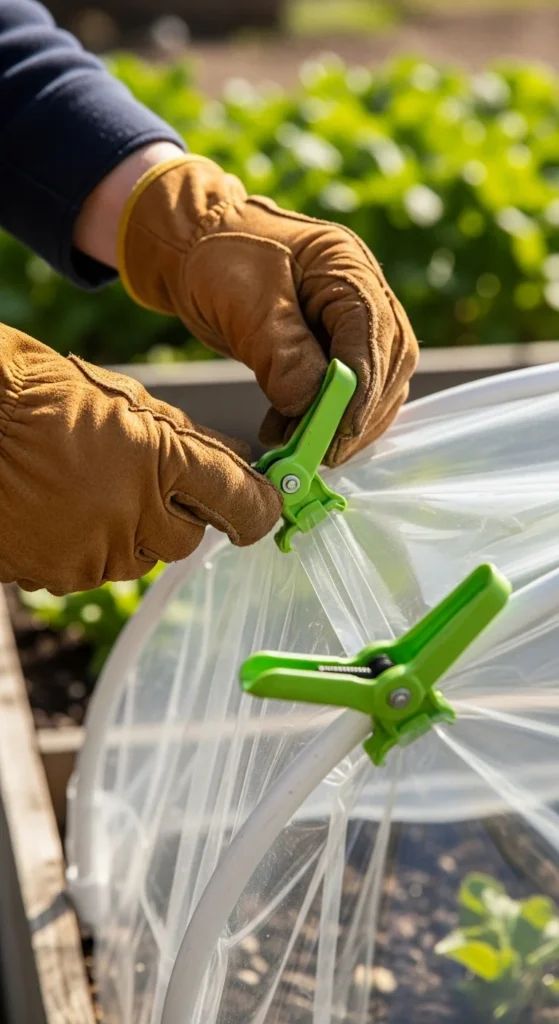
Step 4: Attach the Cover Material
Once your frame is up, it’s time to drape your chosen material over it. The goal is a snug but not tight fit—it should allow air to circulate while staying secure in wind or rain.
Tips for each type:
- Plastic sheeting: Use spring clamps or clips to hold it down. Keep one side loose or create a flap for easy watering.
- Mesh or netting: Drape loosely and secure edges with clips or garden staples. Ensure it reaches the ground to block small pests.
- Shade cloth: Stretch tightly over the hoops to prevent sagging.
If you live in a windy area, consider adding weights or tying the material to small ground hooks for extra stability.
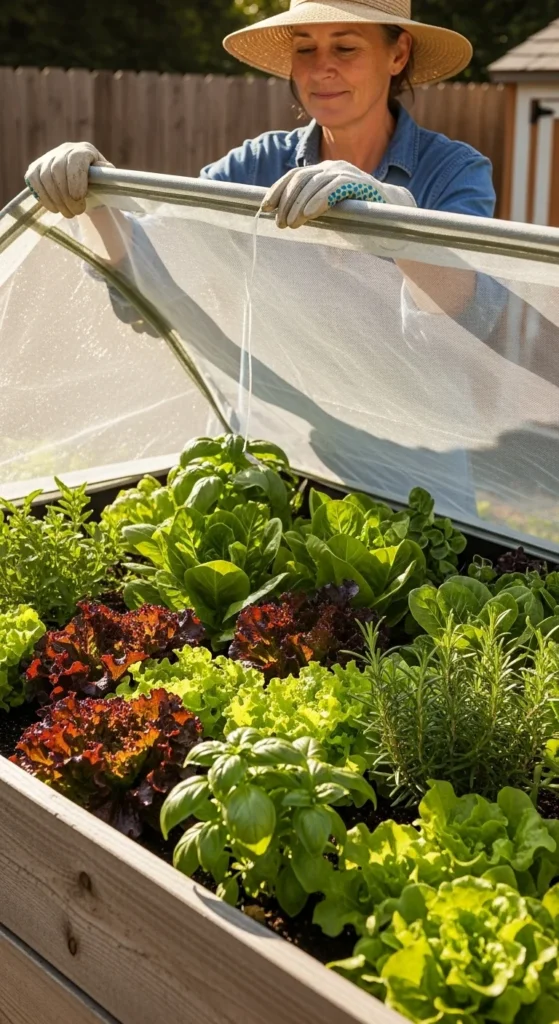
Step 5: Make It Easy to Access
A good raised bed cover should protect your crops without making it a hassle to reach them.
Here are a few easy access ideas:
- Add hinges to turn one side into a lift-up door.
- Install Velcro strips or zipper flaps for quick openings.
- Simply remove a few clips on one side for a quick harvest session.
Think about your workflow—watering, pruning, and harvesting should be convenient, not complicated.
Step 6: Adjust Seasonally
The best part about raised bed covers is how adaptable they are. You can change materials with the seasons to keep your crops thriving year-round.
Seasonal swaps:
- Spring: Use clear plastic to warm soil and jumpstart seedlings.
- Summer: Switch to mesh or shade cloth to keep pests away and reduce heat stress.
- Fall: Reinstall plastic or frost covers to protect late crops.
- Winter: Add an extra layer of insulation or straw under plastic for cold-hardy greens.
This rotation keeps your raised beds productive long after your neighbors have packed away their tools.
Step 7: Maintain and Store Your Covers
After each season, remove and clean the materials before storing them. Brush off dirt, check for tears, and roll them up neatly. Keep them dry and out of direct sunlight to extend their lifespan.
PVC and metal frames can stay in place year-round if you prefer—they’re weather-resistant and ready for next season’s setup.
Final Takeaway
Building raised bed covers is one of the smartest investments you can make for your garden. They’re inexpensive, customizable, and incredibly effective at protecting your crops from nature’s challenges.

Leave a Reply