
If you love gardening but wish your growing season could last just a little longer, a DIY hoop house is your answer. This simple structure can turn a chilly backyard into a cozy haven for plants, letting you grow fresh greens and veggies well into winter. Whether you’re a backyard grower or a small-scale farmer, building one doesn’t require fancy skills or expensive materials—just a weekend, a few basic tools, and some enthusiasm.
Let’s walk through how to build your own hoop house step-by-step.
What Is a Hoop House?
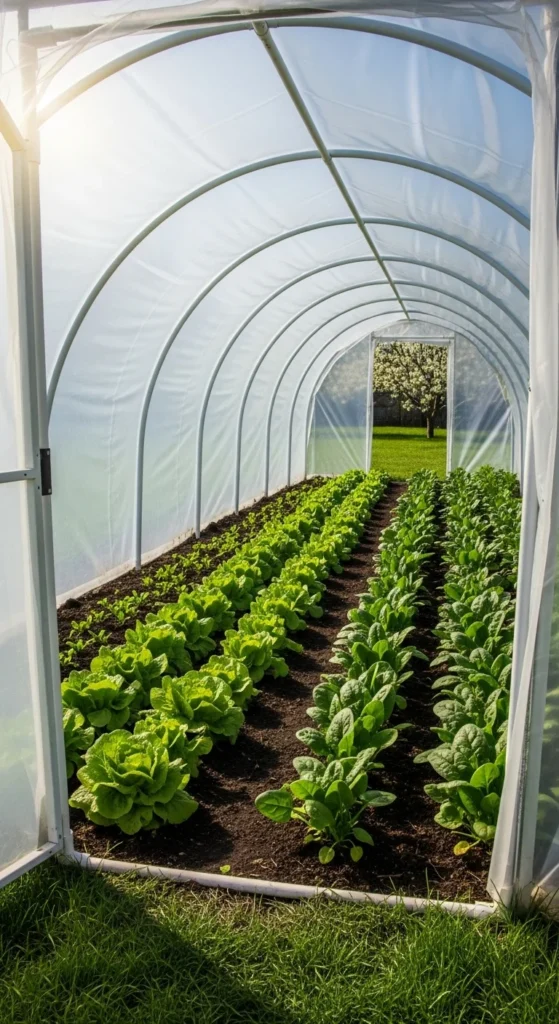
A hoop house is a mini greenhouse made by bending flexible pipes (usually PVC or metal conduit) into arches and covering them with clear plastic. It protects crops from frost, wind, and pests, while trapping warmth from the sun to create a stable growing environment.
Unlike permanent greenhouses, hoop houses are lightweight, affordable, and easy to move, making them ideal for seasonal or rotating garden plots.
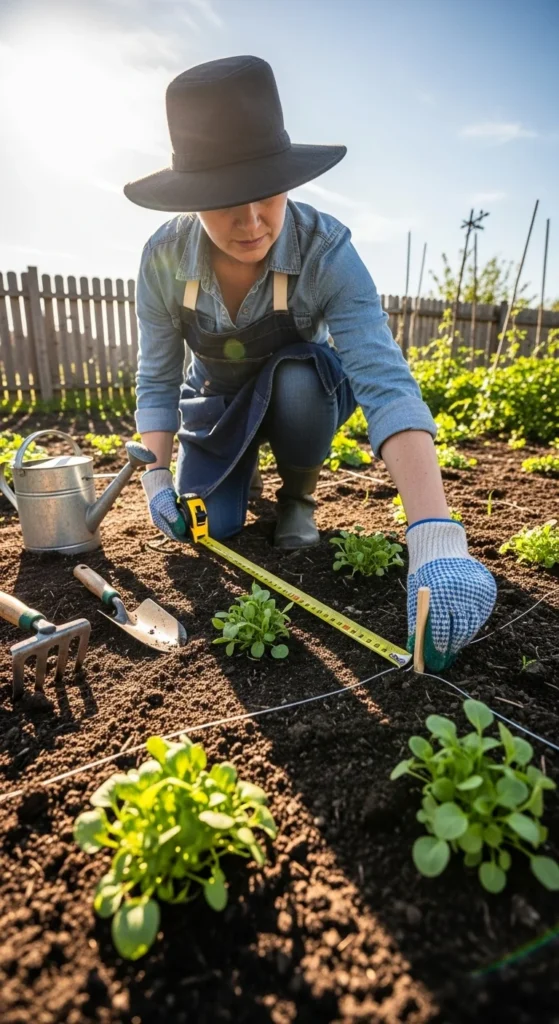
Step 1: Choose the Perfect Spot
Start by picking a sunny, well-drained area. Your hoop house should get at least six hours of sunlight per day. Avoid spots with overhanging trees or where water tends to pool after rain.
Tips:
- Face the length of the hoop house east to west to capture maximum sunlight.
- Make sure there’s space for easy access and ventilation.
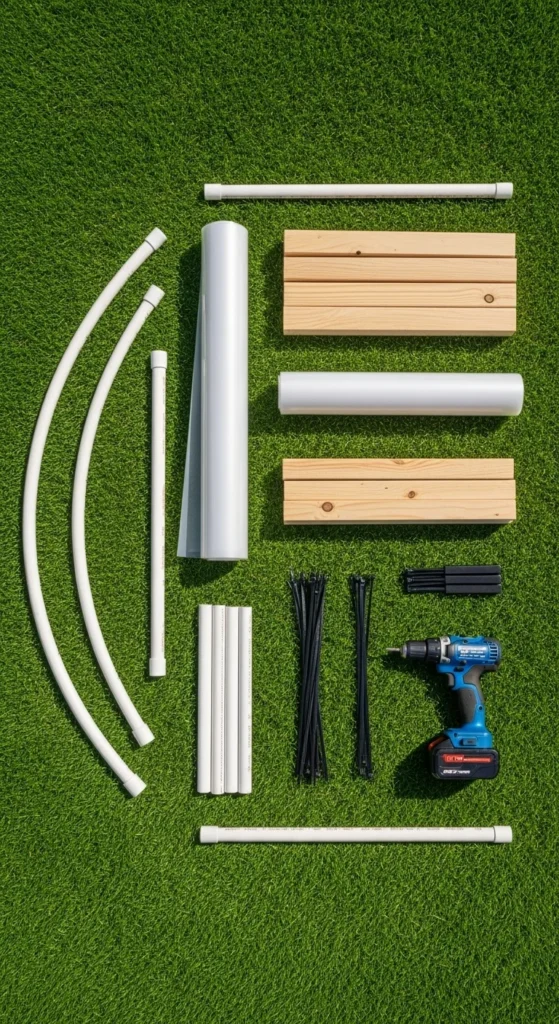
Step 2: Gather Your Materials
You don’t need specialized supplies—most can be found at a local hardware store.
You’ll need:
- PVC pipes (¾ inch) or metal conduit
- Wooden boards for the base frame
- Clear greenhouse plastic (6 mil)
- Rebar stakes or pipe anchors
- Zip ties, screws, and clamps
- Door frame material (optional)
- A drill, saw, and measuring tape
Pro Tip:
Go with UV-resistant plastic for durability. It can last two to three seasons before needing replacement.
Step 3: Build the Base Frame
Construct a sturdy wooden rectangle to anchor your hoop house.
- Use 2×6 boards for a base that sits flush with the ground.
- Screw the corners tightly for stability.
- Anchor the frame with stakes to prevent movement during strong winds.
This frame serves as both a foundation and a weight that holds the plastic in place.
Budget-Friendly Tip: Recycle wood from old raised beds or pallets to save money.
Step 4: Install the Hoops
Slide each PVC pipe end over a rebar stake driven 12–18 inches into the ground.
Space the hoops evenly—usually about 3 to 4 feet apart—to provide strong support for the plastic covering.
Once all hoops are in place, the structure should look like a ribcage.

Optional Reinforcement:
Run a long PVC pipe or wooden beam along the top (the ridgepole) and secure it with zip ties to keep the hoops from wobbling.
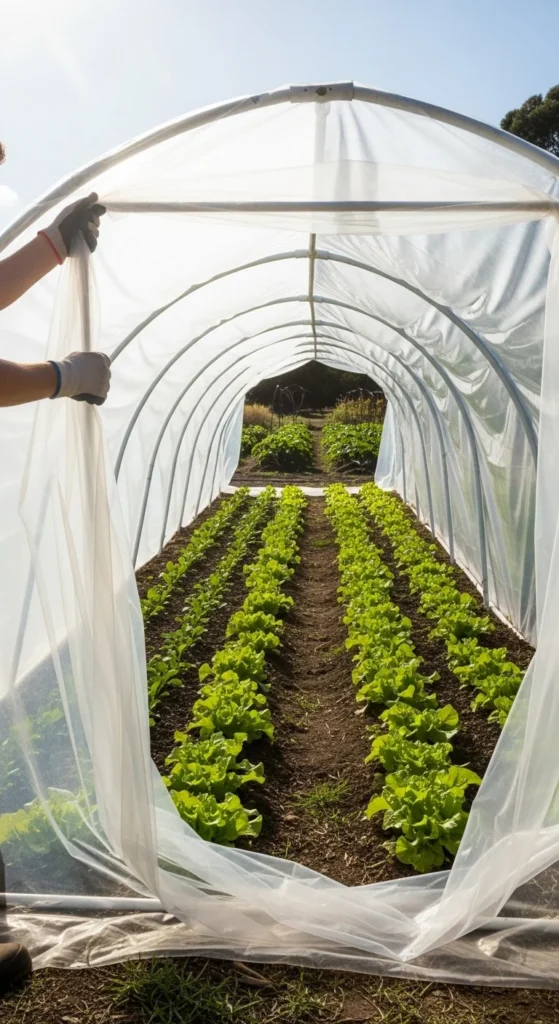
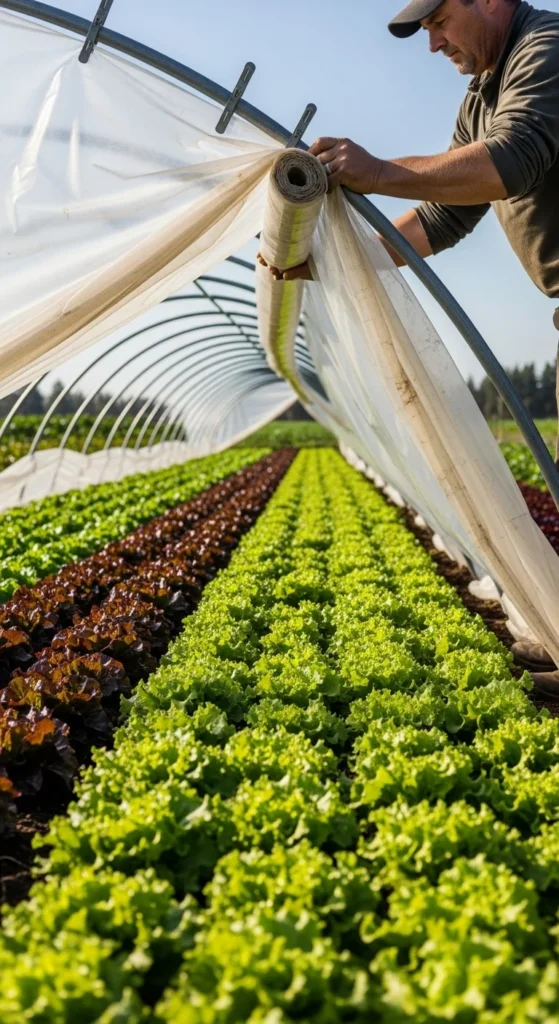
Step 5: Cover It with Plastic
Drape your greenhouse plastic over the hoops, leaving extra material at both ends.
Pull it tight to avoid sagging, then staple or clamp it to the wooden base.
For the ends:
- Fold and tuck the plastic neatly.
- Secure it with heavy boards, clips, or even sandbags.
Add a simple door flap by cutting a slit and attaching Velcro or binder clips, or build a lightweight wooden frame door for easier access.
Step 6: Ventilate and Maintain
Good airflow prevents mold and overheating.
During warmer days:
- Roll up the sides or ends for ventilation.
- Secure them with clips or bungee cords.
Inspect the plastic regularly for tears or loose spots. Tighten any slack and repair small holes with greenhouse repair tape.
Quick Maintenance Tip:
In snowy regions, brush off heavy snow to prevent sagging or collapse.
What to Grow Inside
A hoop house is perfect for:
- Leafy greens (lettuce, spinach, kale)
- Root crops (carrots, beets, radishes)
- Herbs (parsley, cilantro, dill)
- Early-season transplants like tomatoes and peppers
You can even use it to start seedlings earlier in spring or extend your harvest through late fall.
Final Thoughts
Building a hoop house is one of the smartest and most satisfying gardening projects you can take on. It’s simple, affordable, and gives you the gift of fresh food year-round—no matter what the weather brings.

Leave a Reply