
Starting your compost journey can feel tricky, but with a few simple techniques, even beginners can create rich, nutrient-packed soil. Backyard piles, bins, and simple DIY setups make it easy to recycle kitchen scraps and yard waste. The key is balancing greens and browns, keeping the pile moist, and turning it regularly. Follow these 30 tips, and your compost will be ready faster, with no odors or pests, giving your garden a natural boost right from the start.
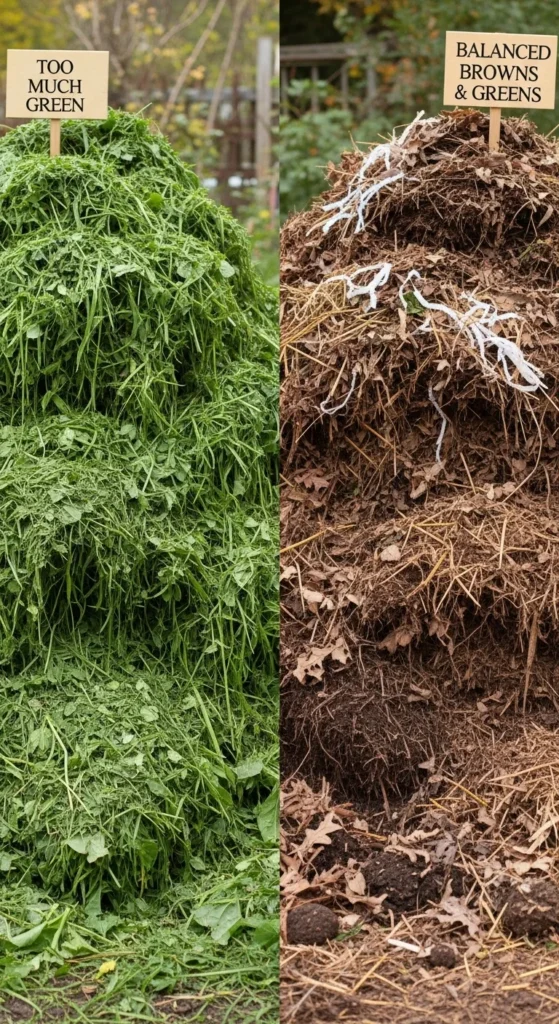
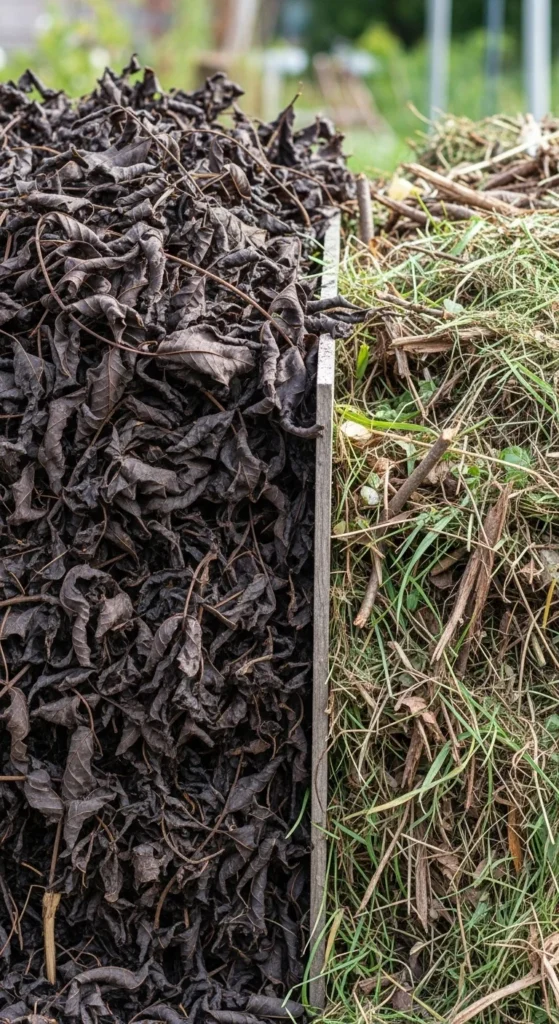
1. Master the Greens-to-Browns Ratio
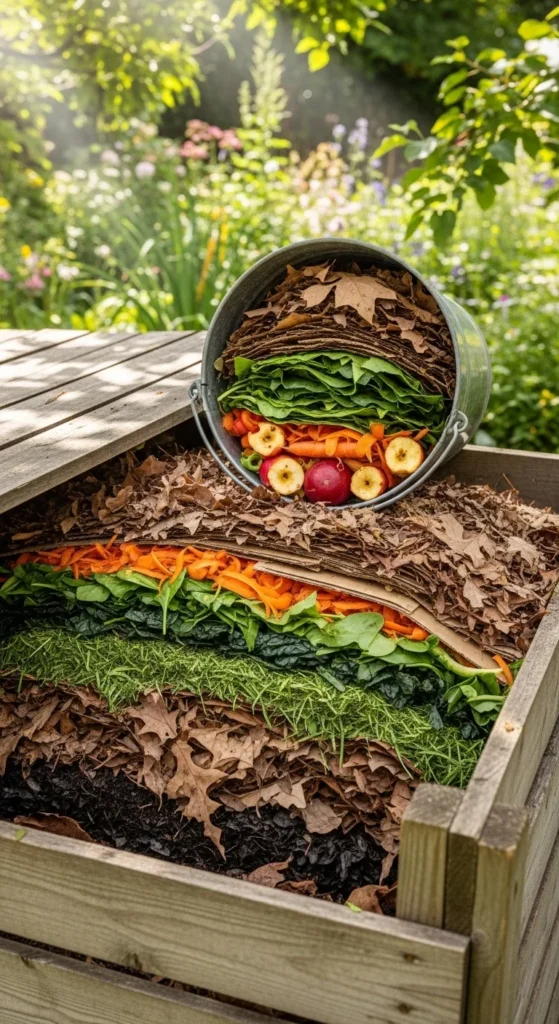
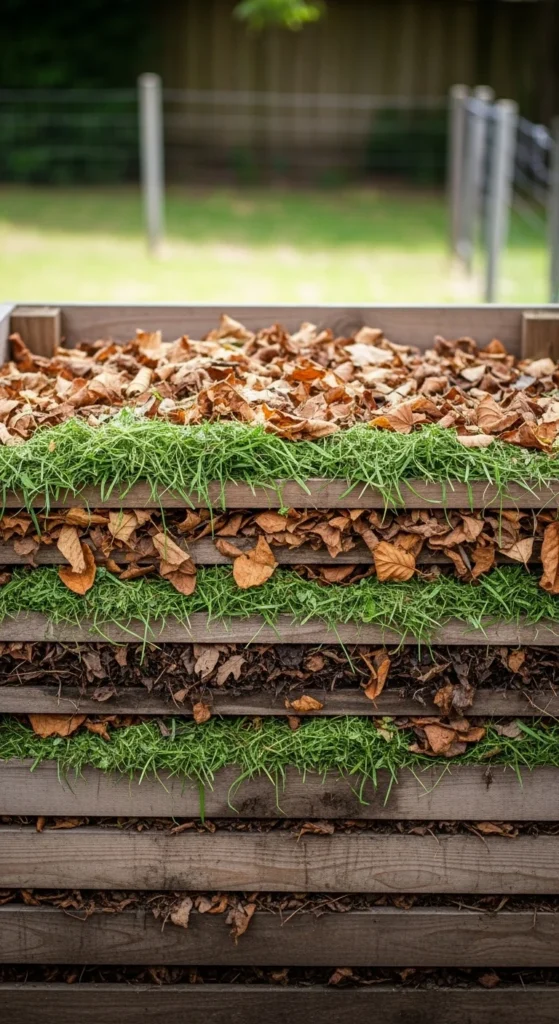
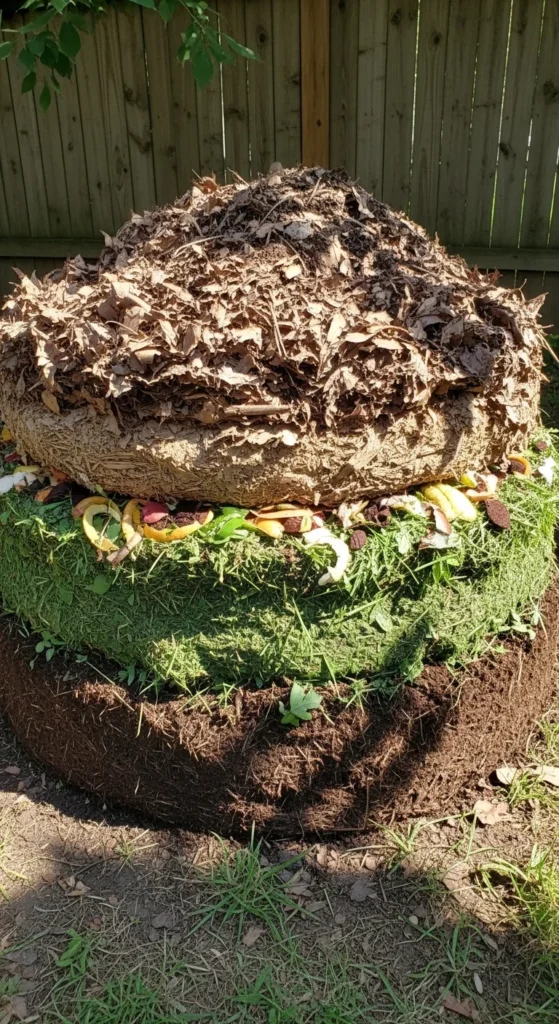
Layer 2-3x more browns like leaves, straw, or shredded paper than greens such as kitchen scraps or grass clippings. This balance prevents odor and encourages fast decomposition. Use buckets or trays to measure roughly before adding. Visualizing the layers like a lasagna makes it simple. Over time, adjusting based on smell and moisture keeps the pile healthy.
2. Start With the Right Pile Size
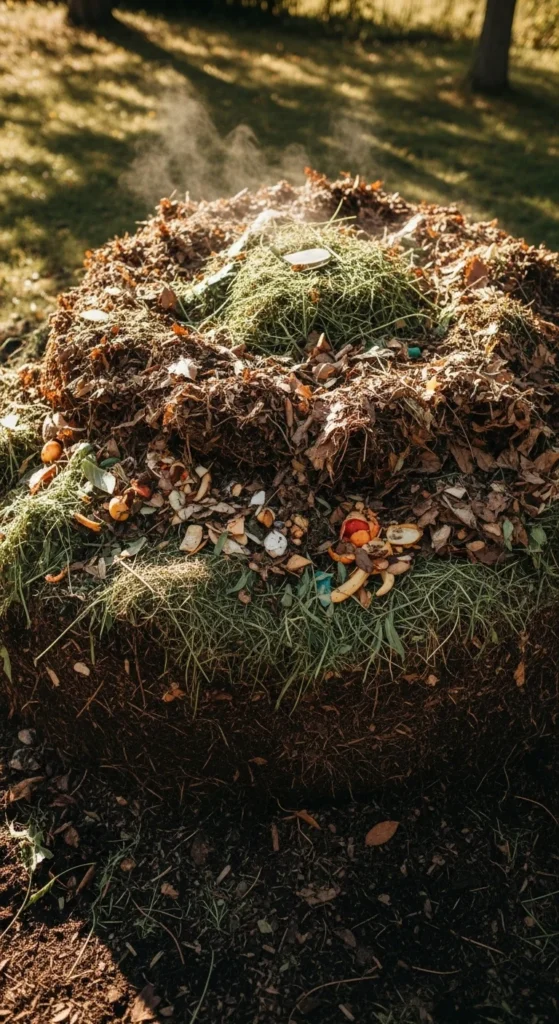
A minimum 3x3x3 feet pile helps retain heat, allowing microbes to work efficiently. Smaller piles can be slow or fail to reach high temperatures. Stack your layers within a bin or frame for a tidy, productive compost heap.
3. Check Moisture Like a Wrung-Out Sponge
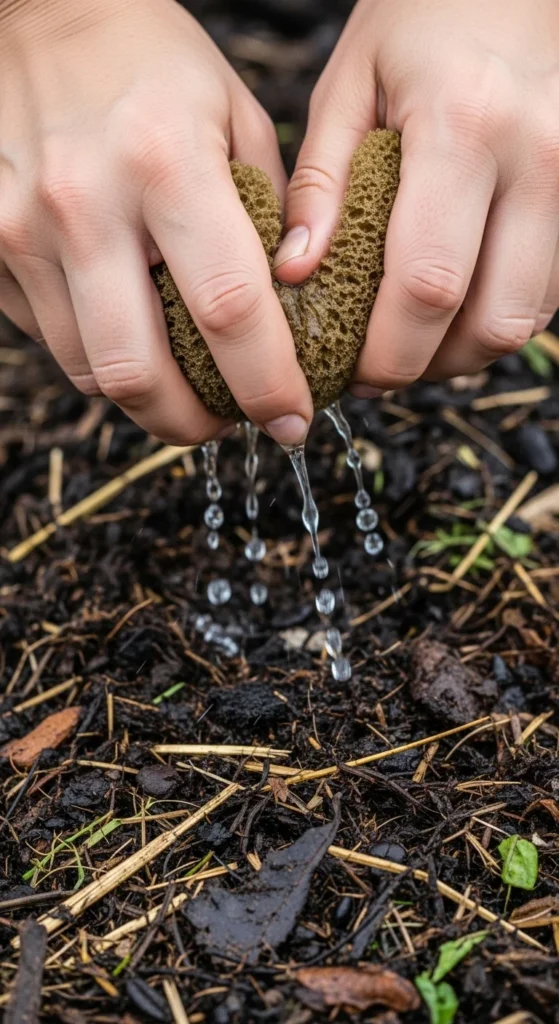
The compost should be damp but not soggy. Too dry slows breakdown; too wet leads to smells. Mist with a hose or sprinkle water gently when turning. Small adjustments prevent common beginner mistakes.
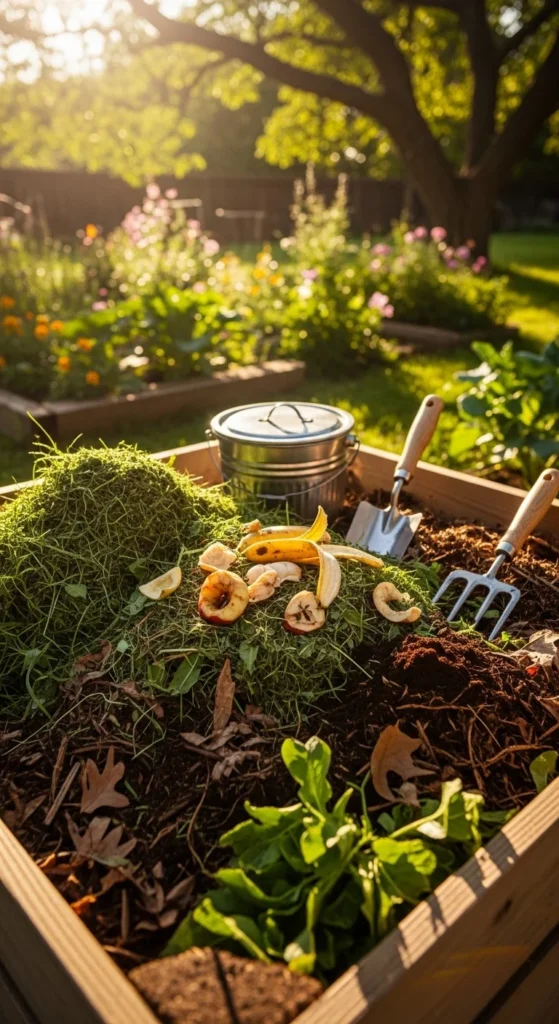
4. Turn the Pile Regularly
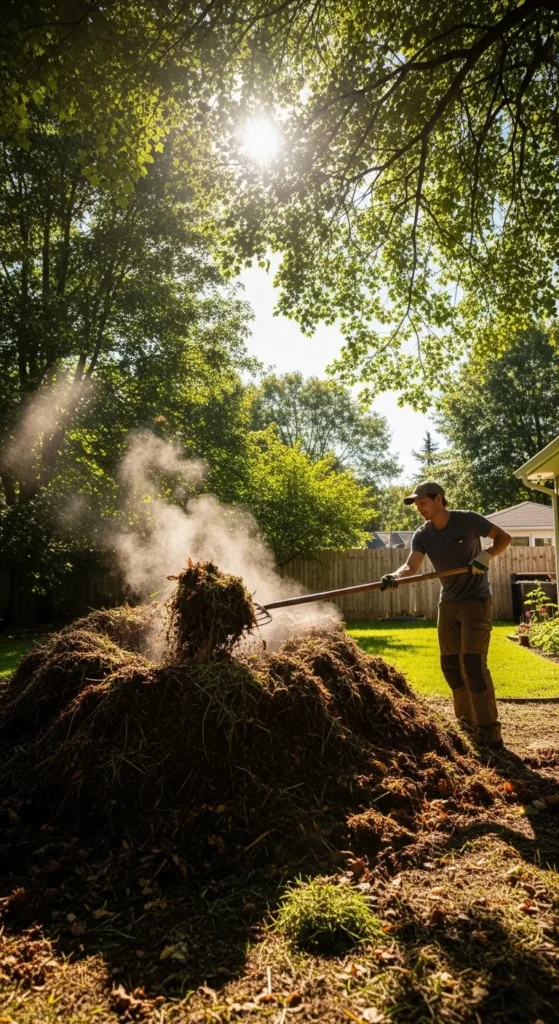
Flip or stir the compost every 3–7 days. This introduces oxygen, helps heat build up, and speeds decomposition. Pitchforks, shovels, or tumblers all work. Even minimal turning improves results.
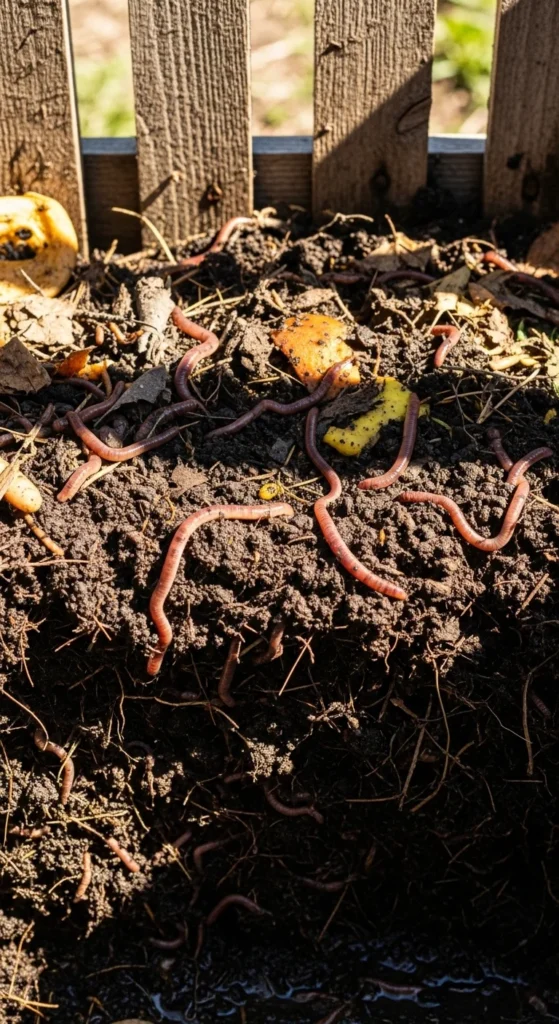
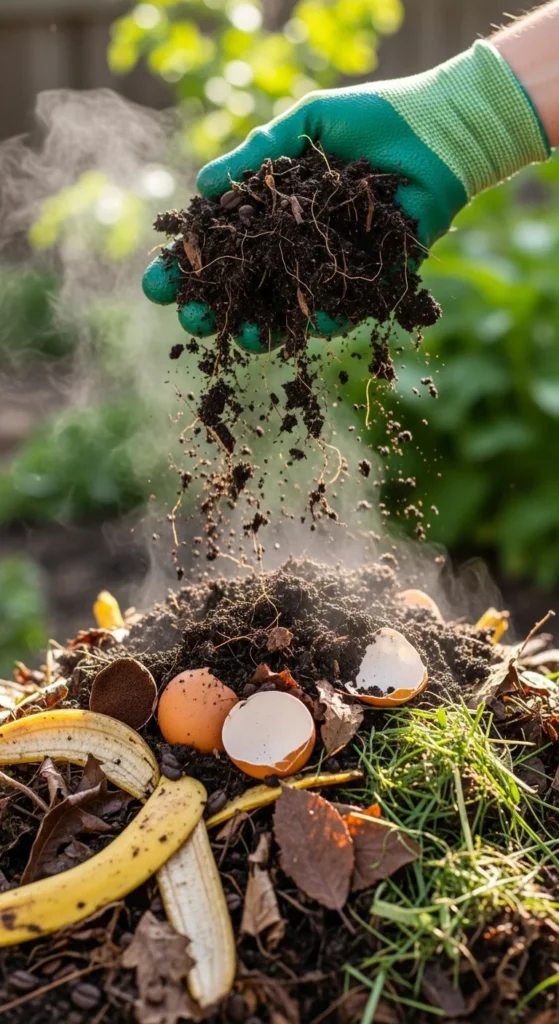
5. Bury Food Scraps Under Browns
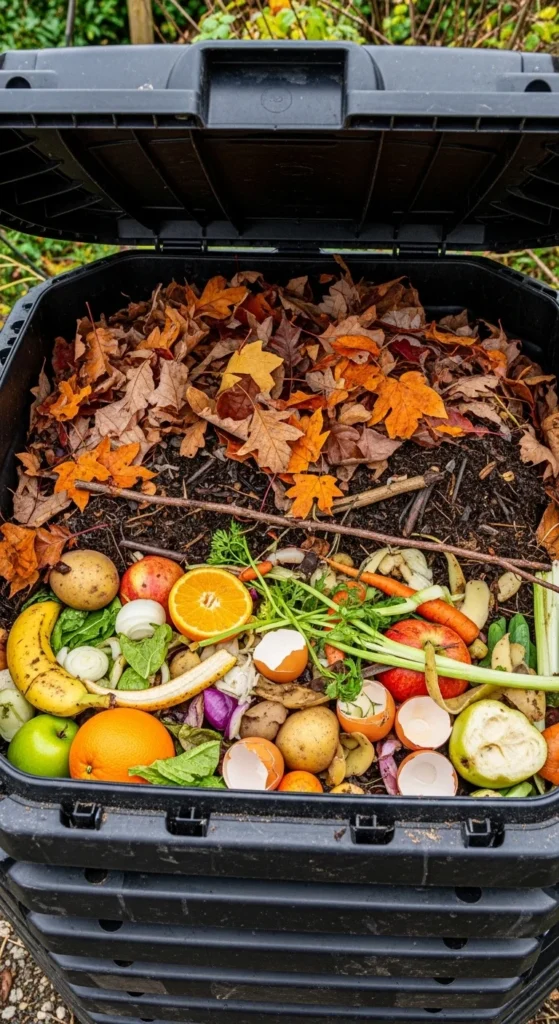
Layering greens beneath browns keeps pests away and reduces odors. Kitchen scraps like peels or coffee grounds benefit from a protective cover of leaves or straw.
6. Chop Scraps Small for Faster Breakdown
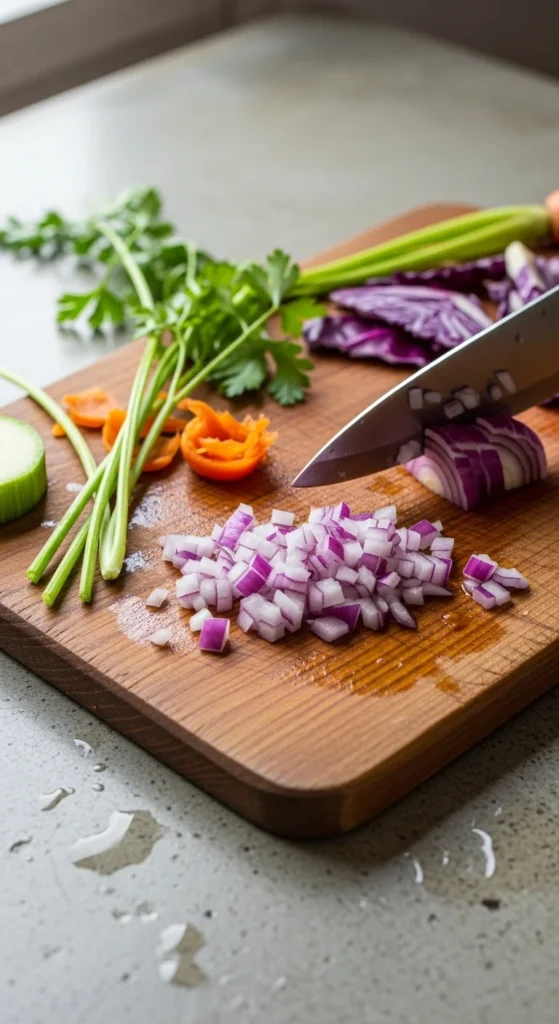
Smaller pieces decompose quicker. Cut fruit peels, veggie ends, and yard waste before adding. This is a simple speed-up hack that even beginners can apply without special tools.
7. Include Kitchen Must-Adds
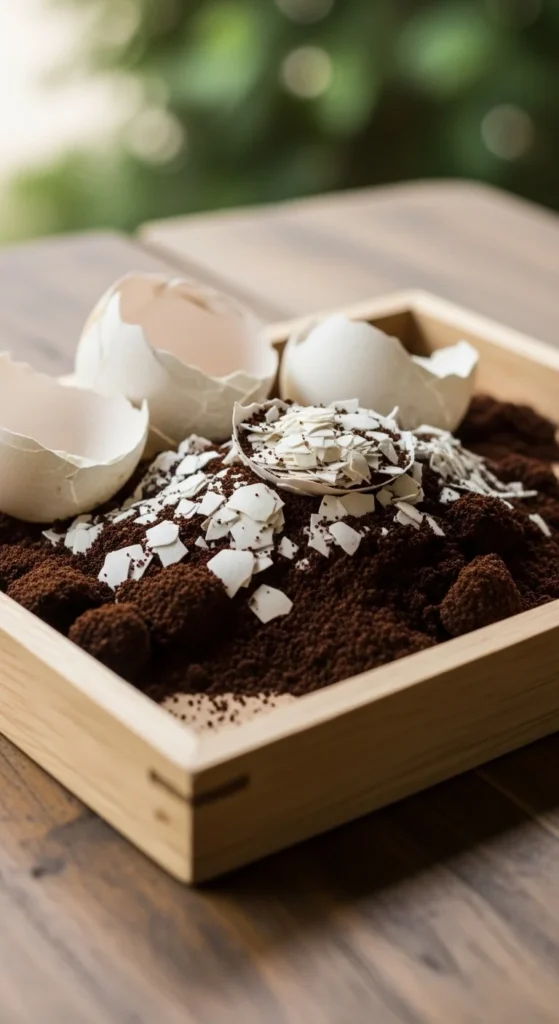
Coffee grounds, eggshells, and veggie scraps make excellent green material. They supply nitrogen and minerals. Avoid meat, dairy, and oils at first.
8. Pick an Ideal Location
Place the bin in a sunny spot on soil, not concrete, to encourage worms and microbes. Sun helps maintain warmth and moisture balance.
9. Elevate Bins for Drainage
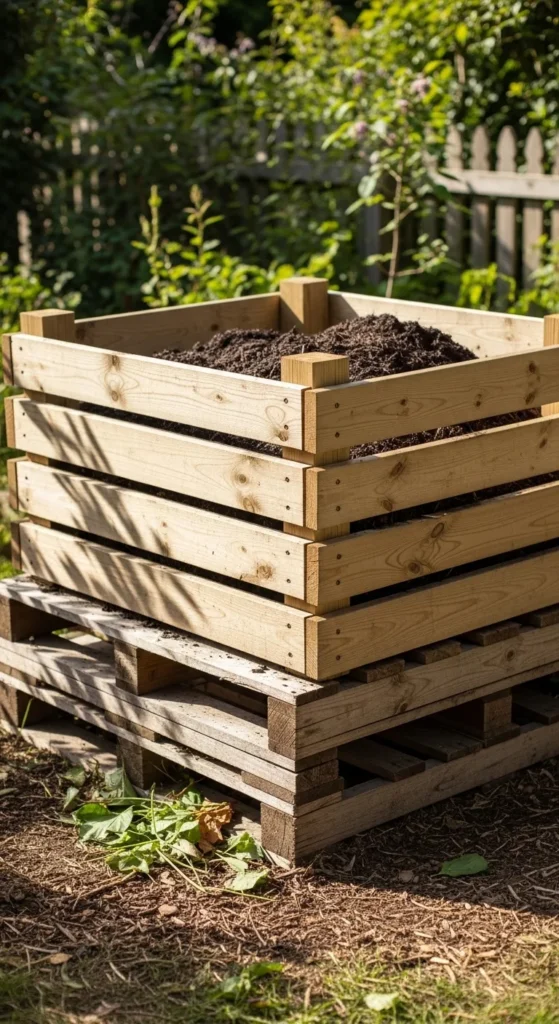
Using wood pallets or a platform allows air circulation and prevents soggy bottoms. It’s a simple DIY upgrade with free or cheap materials.
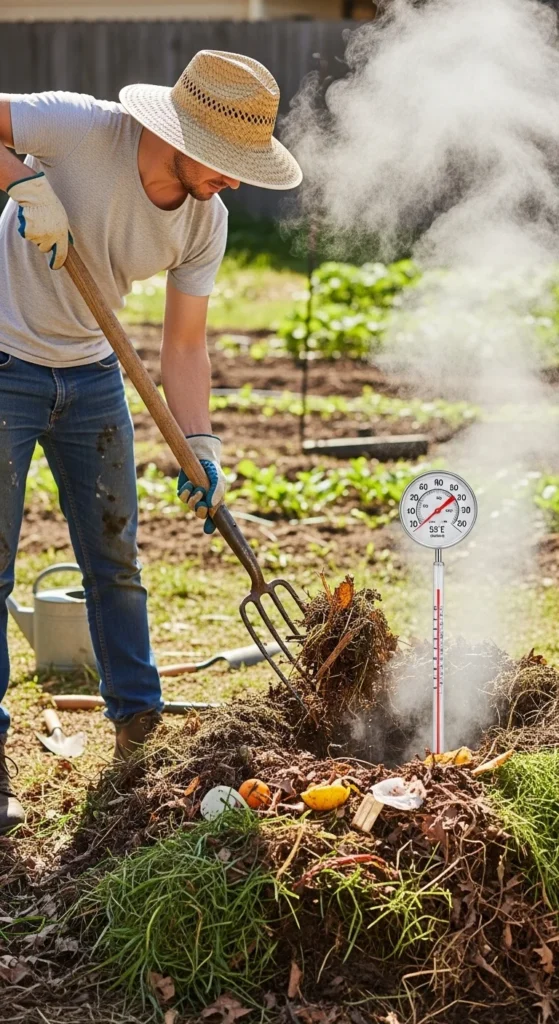
10. Monitor Temperature
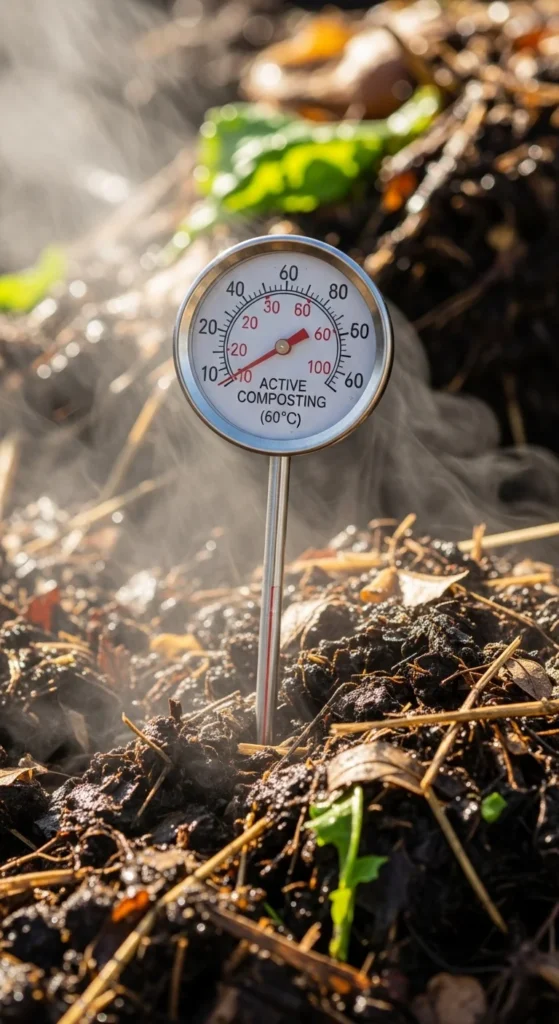
Hot compost reaches 130–160°F, killing pathogens and speeding decomposition. A basic compost thermometer helps beginners track progress.
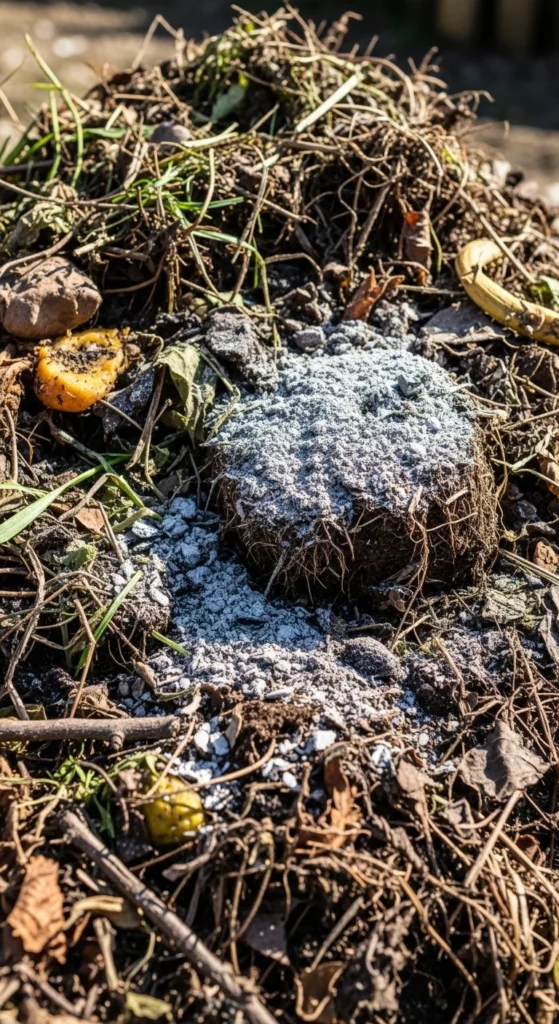
11. Rescue Smelly Piles With More Browns
If your compost smells, add extra brown material. Leaves, straw, or shredded cardboard absorb excess moisture and neutralize odor.
12. Use Grass Clippings Sparingly
Grass is green and nitrogen-rich but can mat and smell if added in large amounts. Mix with browns for balance.
13. Collect Free Brown Material
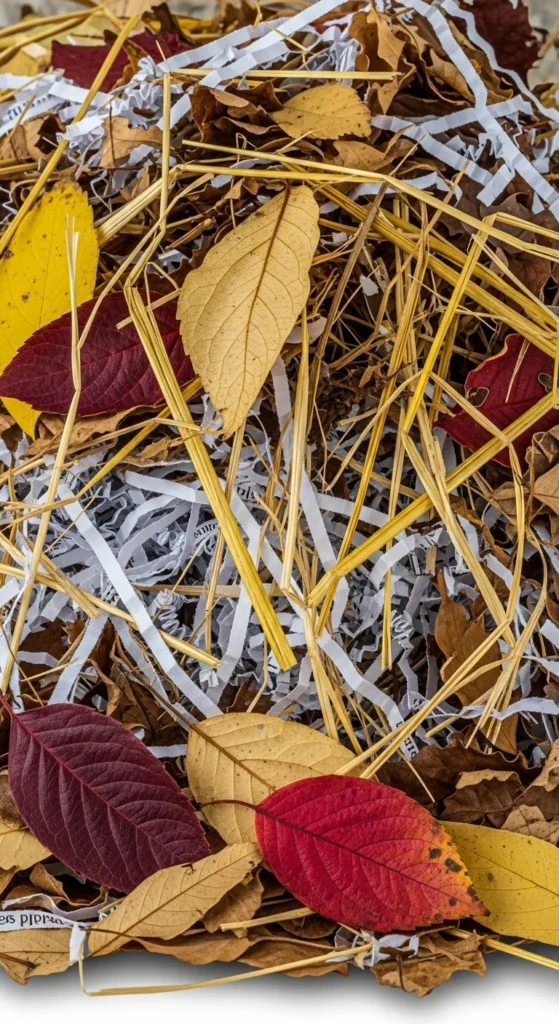
Yard leaves and straw are carbon-rich and often free. Stockpile them for easy layering.
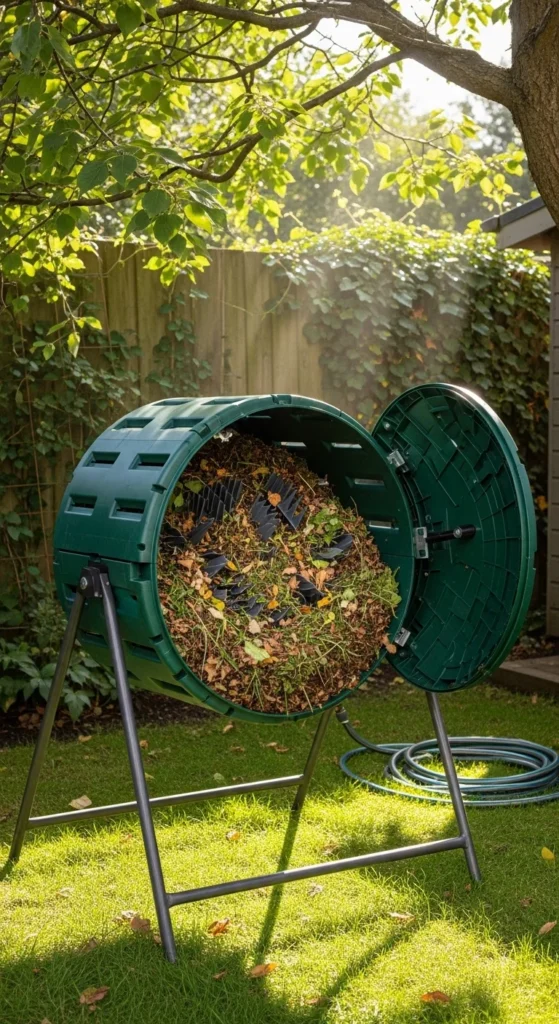
14. Try Tumblers for Easy Turning
Compost tumblers simplify aeration. Rotate weekly for consistent results. Ideal for beginners who dislike manual turning.
15. Know When Compost is Ready
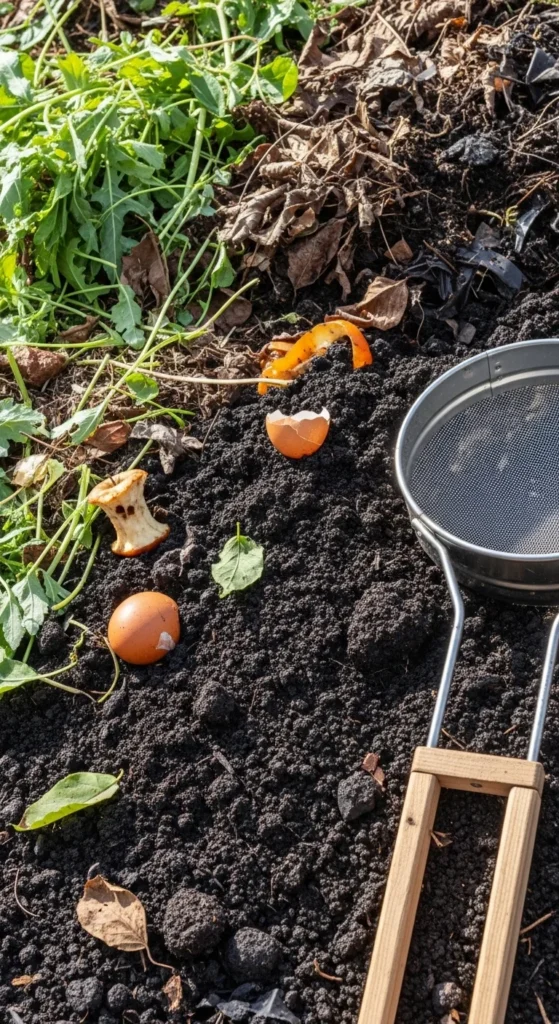
Finished compost is dark, crumbly, and earthy-smelling. Sieve for smooth texture if needed for seed starting.
16. Add Soil or Manure to Jumpstart Microbes
A small amount introduces beneficial microbes and accelerates decomposition. Works for both piles and bins.
17. Chop Yard Waste Before Adding
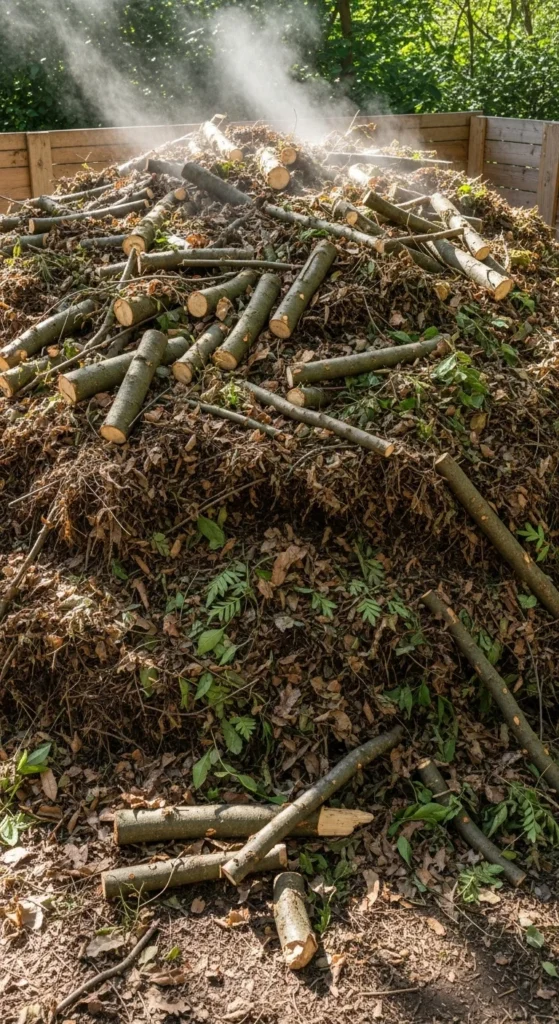
Large sticks or leaves slow the process. Smaller pieces break down faster and mix more easily with greens.
18. Secure the Lid to Keep Pests Out
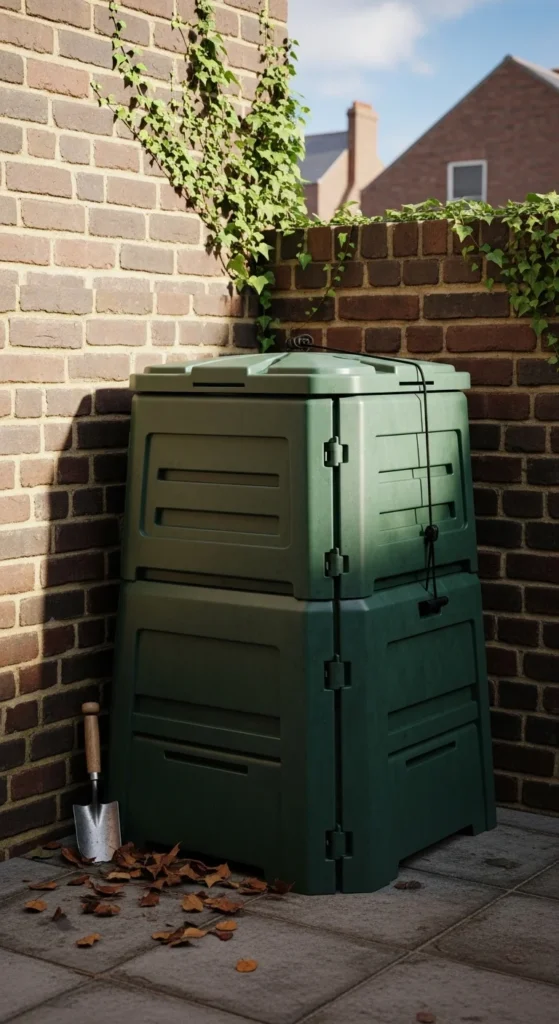
Tight lids prevent rodents, flies, and raccoons from accessing scraps. Bungee cords or simple latches work well.
19. Try Internal Fins for Auto-Mixing
Adding small fins or paddles in tumblers improves mixing when rolled. Helps even beginners achieve uniform compost without extra effort.
20. Use a Sturdy Frame for Stability
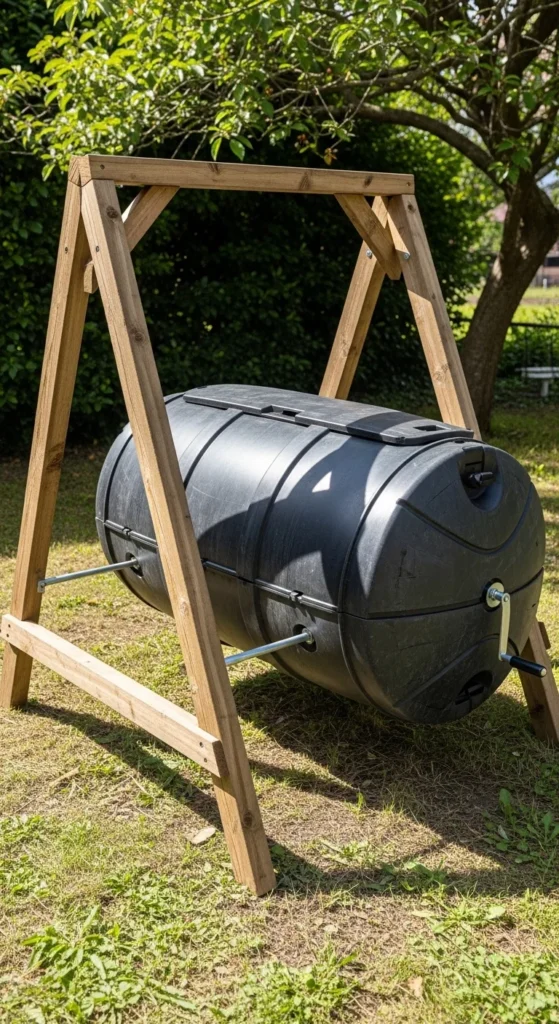
A-frame supports or sawhorses prevent tumblers from wobbling. Makes turning easier and safer.
21. Install Passive Ventilation
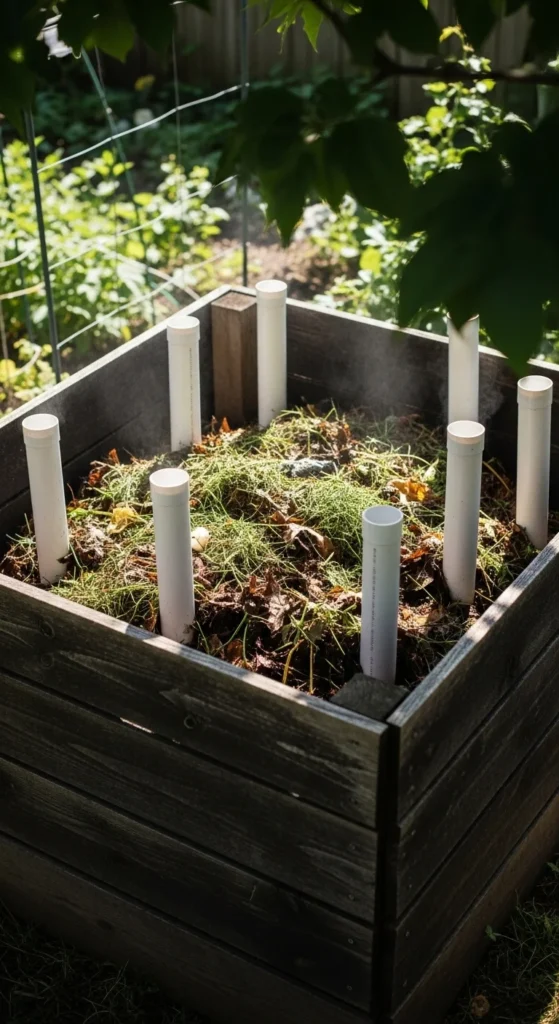
PVC or drilled holes ensure oxygen flow. Aeration prevents anaerobic smells and improves microbe activity.
22. Consider Black Soldier Fly Larvae
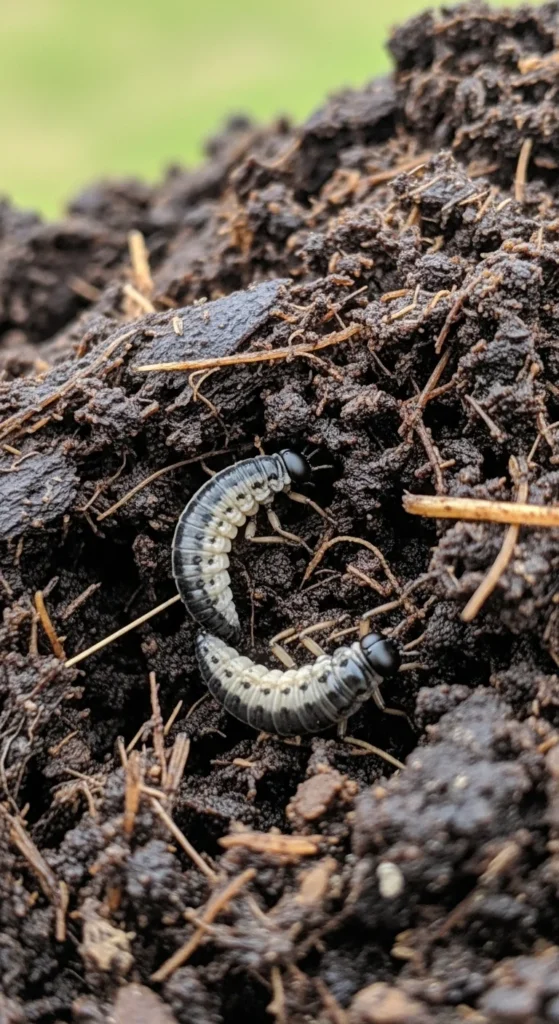
Larvae eat organic waste fast and help reduce volume. Great natural accelerators for beginner-friendly composting.
23. Experiment With No-Turn Method
Deep layering of browns and greens allows composting without frequent turning. Perfect for busy or lazy gardeners.
24. Use Wood Ash Sparingly
Ash adds alkaline minerals. Only a small amount is needed to adjust pH without harming microbes.
25. Isolate Allelopathic Leaves
Leaves like walnut can inhibit plant growth. Keep them separate or compost in small amounts only.
26. Sieve Compost for Fine Texture
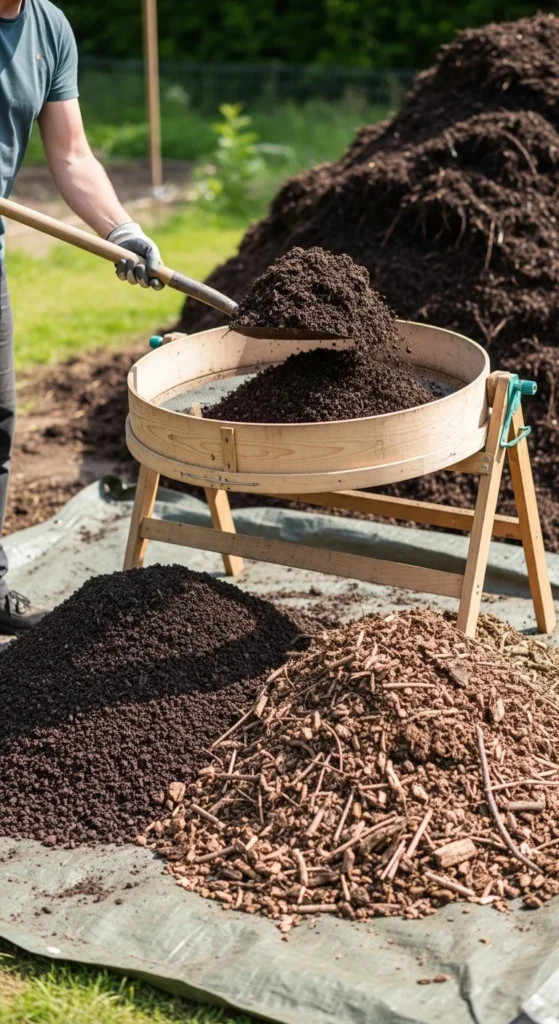
Sieved compost is ideal for seed starting. Coarse material can go back to the next pile.
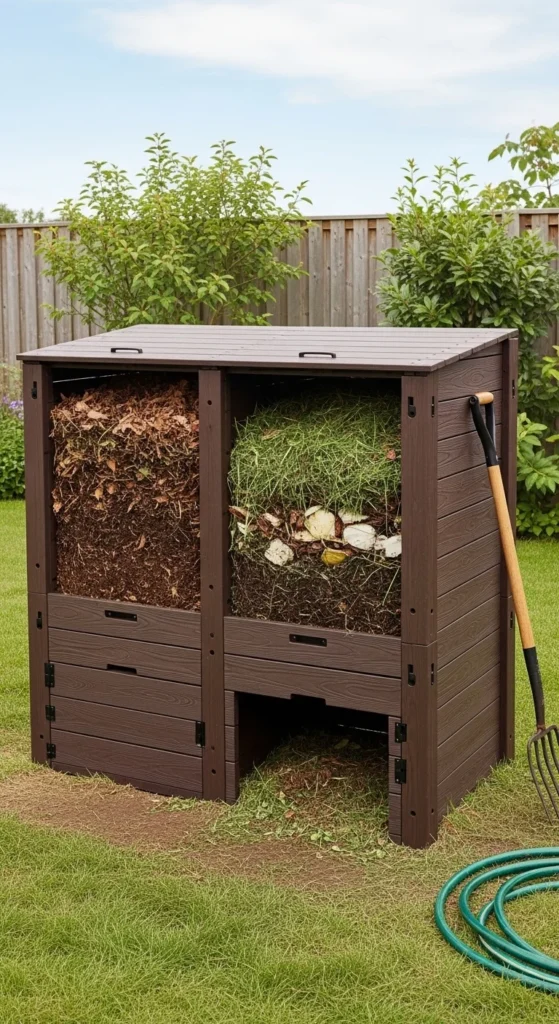
27. Try a Triple-Bin System
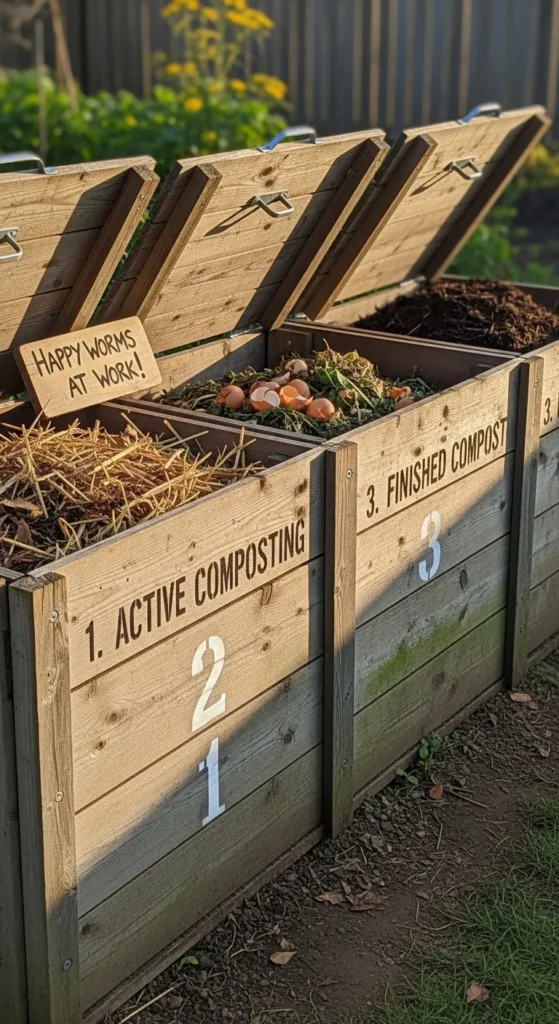
Allows batch rotation: one pile decomposes, one is active, one is ready to harvest. Keeps supply constant.
28. Protect Compost From Cold
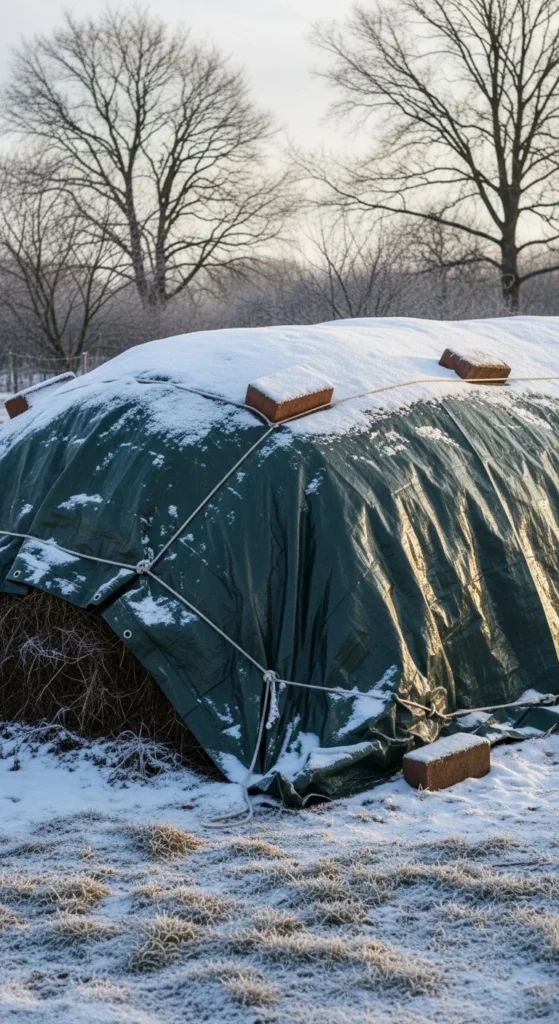
Cover piles or bins in winter to retain heat and moisture. Cold slows microbial activity.
29. Hardware Cloth Flip Method
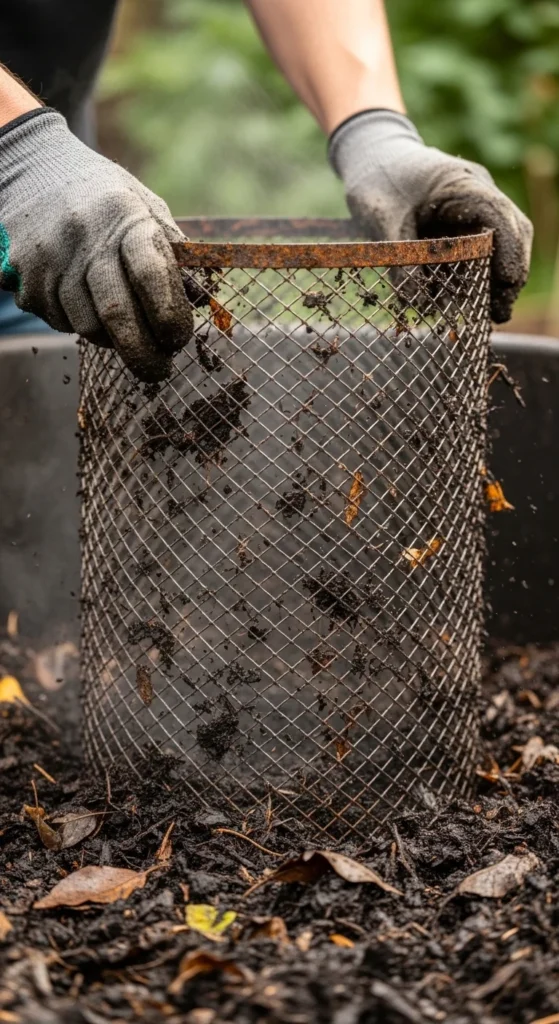
Elaine Ingham’s cylinder method helps aerate without touching the pile directly. Useful for small, contained piles.
30. Track Progress and Adjust
Check moisture, temperature, and odor regularly. Adjust layers, add water, or turn as needed. Observation is key for beginner success.
Conclusion
Composting doesn’t have to be complicated. By following these 30 beginner tips, you’ll quickly develop a system that produces rich, dark soil without smells, pests, or wasted effort. Layer your greens and browns, maintain moisture, turn when needed, and watch your kitchen scraps and yard waste transform into a valuable garden resource. Start small, observe, and refine—your garden will thank you for it.
Do you want me to also create Pinterest-ready titles and descriptions for this article to maximize reach?

Leave a Reply