
Dreaming of fresh herbs in winter or early tomato seedlings before spring hits? A DIY greenhouse makes it possible — without draining your wallet. You don’t need fancy glass panels or high-end materials. With a little creativity, you can build a warm, light-filled space that keeps your plants happy all year round.
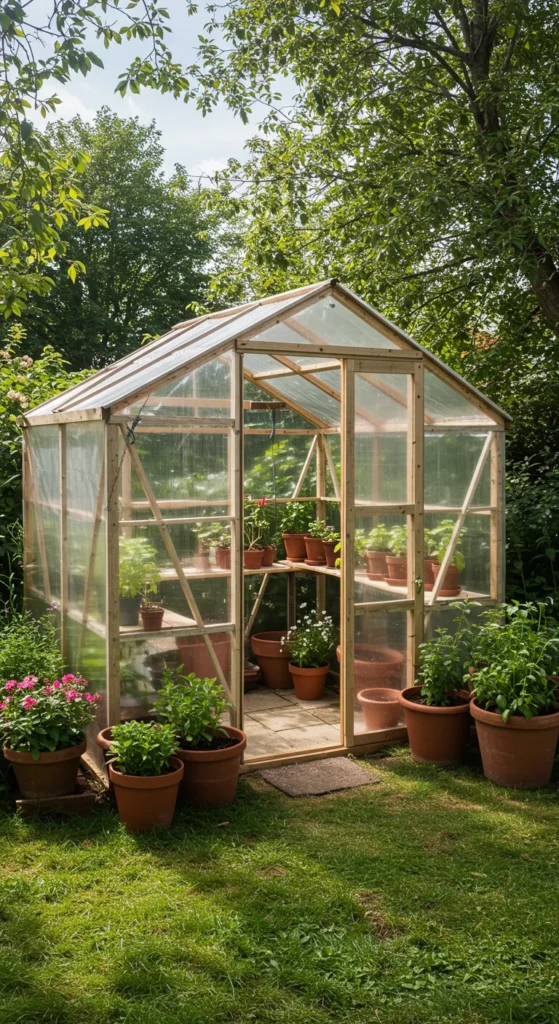
Let’s walk through how to build a budget-friendly greenhouse step by step — perfect for gardeners who want big results without big costs.
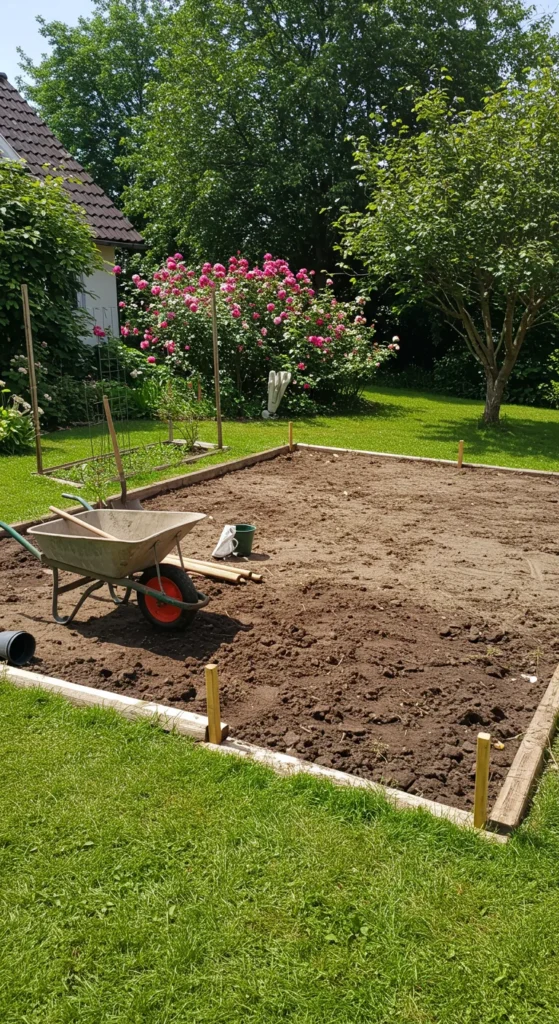
Pick the Perfect Spot
Before you grab any tools, choose the right location. A greenhouse thrives on sunlight, stability, and easy access.
Here’s what to look for:
- Sun exposure: Aim for at least 6–8 hours of sunlight daily. A south-facing spot is ideal.
- Shelter from wind: Strong gusts can damage lightweight structures.
- Level ground: Keeps the frame sturdy and ensures even water drainage.
- Accessibility: You’ll want to check plants often, so make sure it’s easy to reach.
Tip: If your yard is shady, consider trimming nearby branches or building on wheels to move your greenhouse seasonally.
Choose a Simple, Budget-Friendly Design
When building on a budget, think simple and smart. You can make a functional greenhouse using inexpensive or recycled materials.
Popular low-cost designs include:
- Hoop House: Made with PVC pipes and plastic sheeting — lightweight, quick, and cheap.
- Wood Frame Greenhouse: Uses basic lumber and clear plastic panels — perfect for small spaces.
- Upcycled Window Greenhouse: Repurpose old windows for a charming, rustic look.
Materials checklist:
- PVC pipes or 2×4 wood boards
- Clear polyethylene plastic or old windows
- Screws, nails, or zip ties
- Stakes or anchors for stability
- Optional: Door hinges, vents, or shelving
Tip: Many gardeners find free or low-cost windows, doors, or frames on local marketplaces — great for keeping your project affordable and sustainable!
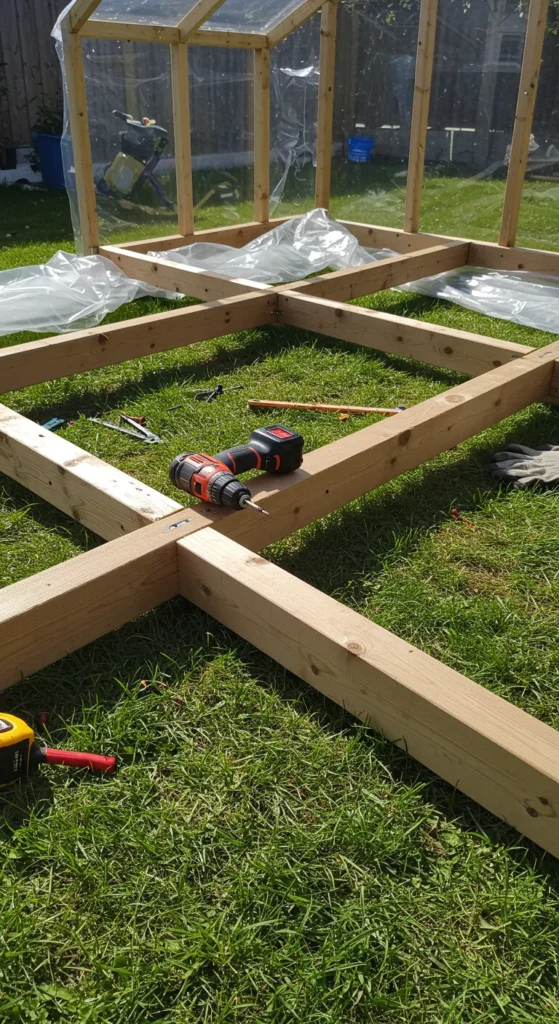
Build the Frame
The frame is the backbone of your greenhouse. It should be sturdy but flexible, especially if you’re using lightweight materials like PVC.
For a PVC Hoop House:
- Use 10–12 foot PVC pipes and bend them into arches over your garden bed.
- Space them evenly (about 3–4 feet apart).
- Anchor both ends of each pipe securely into the ground or wooden base.
- Run a longer PVC pipe along the top to connect all arches for support.
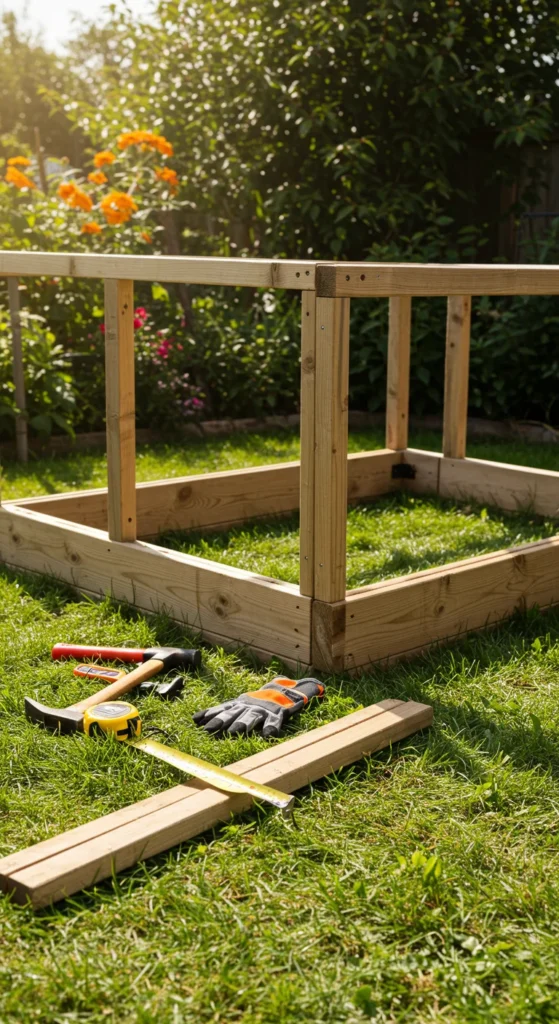
For a Wooden Frame Greenhouse:
- Build a rectangular base using 2×4 lumber.
- Attach vertical posts at each corner and horizontal supports at the top.
- Add a slanted or arched roof for proper water runoff.
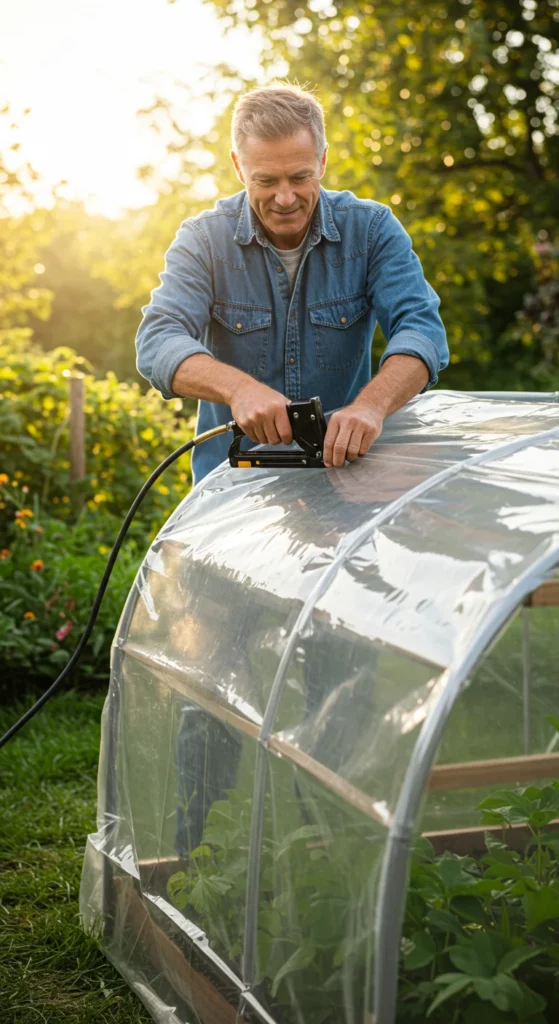
Cover and Secure It
Once your frame is up, it’s time to cover it! The covering material traps warmth and creates that ideal greenhouse environment.
Best budget-friendly options:
- Plastic sheeting (6 mil polyethylene): Cheap, lightweight, and easy to attach.
- Old storm windows or sliding doors: Excellent for an eco-friendly, rustic build.
How to attach:
- Stretch the plastic tightly across the frame to prevent sagging.
- Use staples, clamps, or zip ties to secure it firmly.
- Leave room for a door flap or hinged panel so you can easily enter and vent heat.
Pro tip: Double up the plastic layers with a small air gap between them for extra insulation during colder months.
Add Simple Features for Functionality
Even a basic greenhouse can benefit from a few smart upgrades:
- Ventilation: Open a door, window, or small vent on warm days to prevent overheating.
- Shelving: Use reclaimed wood or metal racks to organize pots and seedlings.
- Pathways: Lay down gravel, wood chips, or old bricks to keep things clean and dry.
- Rainwater collection: Place a small barrel nearby to make watering easy and sustainable.
You don’t need to overcomplicate — the goal is to create a space that’s practical, cozy, and plant-friendly.
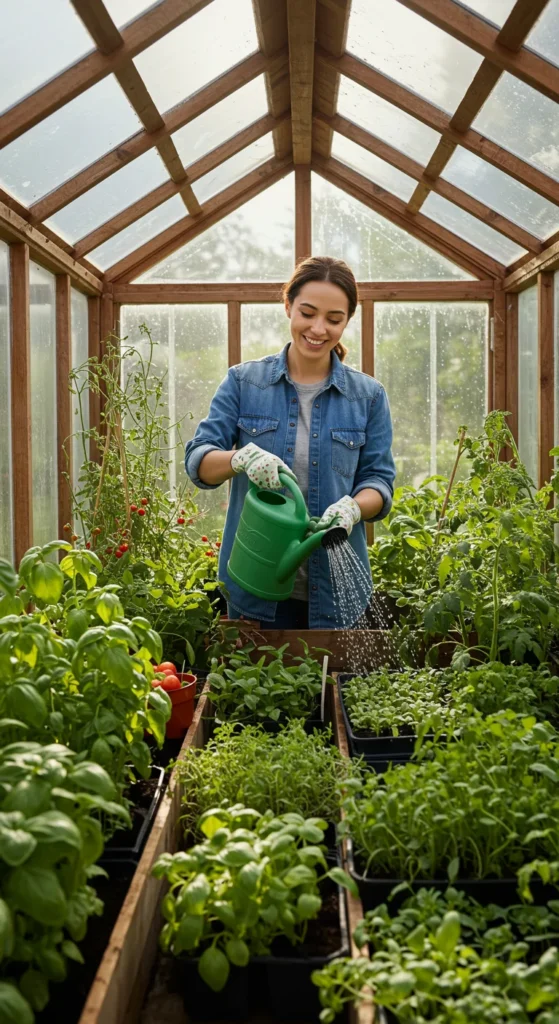
Maintain and Enjoy
Once your DIY greenhouse is up and running, a little upkeep keeps it thriving:
- Check plastic covers regularly for tears and patch them with repair tape.
- Water plants in the morning to reduce humidity buildup.
- Clean panels occasionally so sunlight reaches your plants clearly.
Soon, you’ll have a thriving mini ecosystem producing herbs, veggies, and blooms even when it’s frosty outside.
Final Takeaway
Building your own greenhouse doesn’t have to be expensive — just resourceful. With a few basic materials and weekend effort, you can create a cozy haven that extends your growing season and brings fresh life to your garden year-round.

Leave a Reply