
If you’ve ever wanted to take your cooking from “pretty good” to “wow, what’s your secret?”, the answer might just be in your soil — homegrown garlic. This simple crop adds depth and punch to any dish, and the best part? It’s surprisingly easy to grow, even if you’re new to gardening.
Let’s dig in (literally) and learn how to plant garlic for a huge flavor payoff — from choosing the right cloves to harvesting those perfect bulbs.
Choose the Right Garlic Variety
The first step to flavorful garlic is picking the right type. There are two main categories to know:
- Hardneck Garlic: Grows well in cold climates and has a rich, complex flavor. Perfect if you want strong-tasting cloves.
- Softneck Garlic: Best for warmer regions and longer storage. This is what you often find in grocery stores.
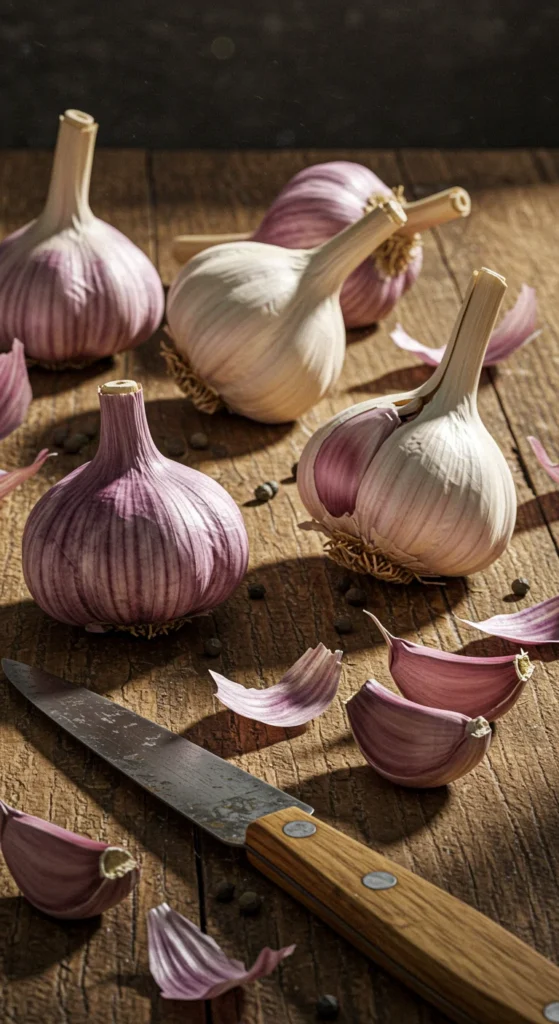
Tip: If you want that chef’s-kitchen-level flavor, go for hardneck varieties like ‘Rocambole’ or ‘Purple Stripe’. Their bold taste is worth the effort.
Pick the Perfect Spot
Garlic loves sunshine and well-drained soil. Choose a spot that gets 6–8 hours of sunlight daily. The soil should be loose, crumbly, and rich in organic matter.
Quick prep checklist:
- Remove weeds and rocks.
- Mix in compost or aged manure.
- Avoid soggy spots — garlic hates wet feet.
If your soil holds too much moisture, build raised beds to keep it happy.
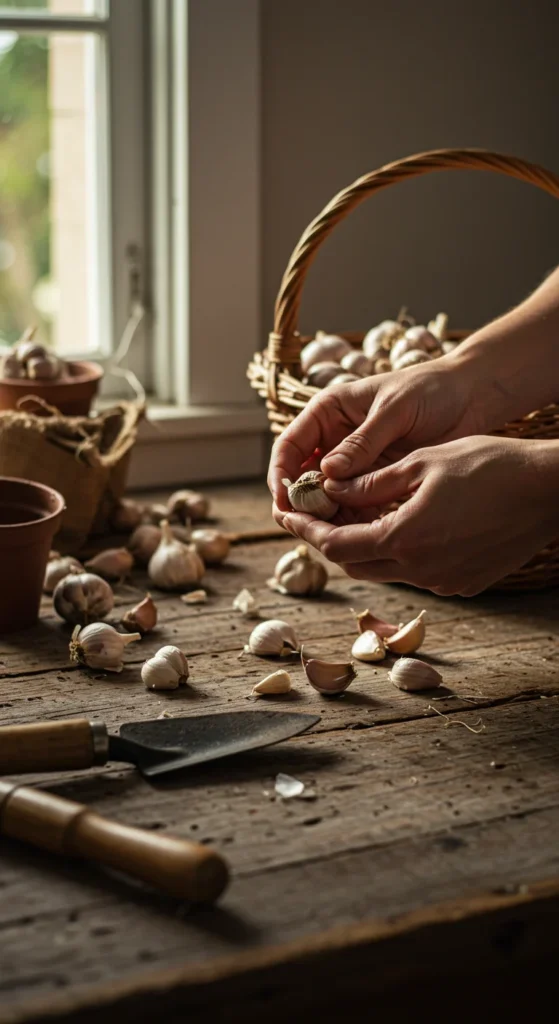
Break and Prepare Your Cloves
Before planting, separate the garlic bulb into individual cloves. But don’t peel them — that papery skin protects the clove while it grows.
- Select the largest, healthiest cloves — they’ll produce the biggest bulbs.
- Avoid any soft or shriveled cloves.
- Keep the pointy end facing up when you plant.
Planting Time: Get It in the Ground
Timing is everything! Garlic needs a cool start to form strong roots before winter.
- In cold climates: Plant garlic in the fall (2–4 weeks before the ground freezes).
- In warm areas: You can plant in late winter or early spring once the soil is workable.
Plant cloves about:
- 2 inches deep
- 6 inches apart
- With the pointed end up
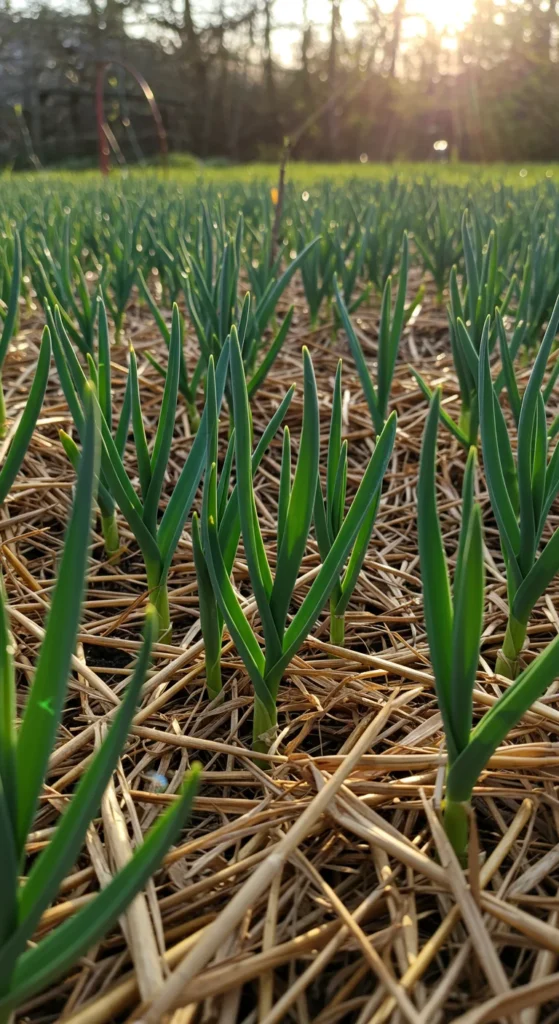
After planting, cover with soil and add a thick mulch layer (straw or shredded leaves). This keeps the soil warm and prevents weeds.
Water and Care for Your Garlic
Garlic doesn’t like to stay thirsty. Water regularly, especially during dry spells, but avoid overwatering.
Helpful care tips:
- Water once or twice a week — aim for moist, not soggy.
- Weed often — garlic doesn’t like competition.
- Mulch helps keep moisture consistent.
Come spring, remove the mulch once the shoots start growing strong.
Feeding for Maximum Flavor
If you want those bulbs to pack serious punch, give them a boost.
- Apply a balanced organic fertilizer or compost tea early in spring.
- When the plants start forming bulbs (around mid-season), switch to a low-nitrogen fertilizer.
- Stop fertilizing 3–4 weeks before harvest.
Healthy plants equal rich, aromatic garlic that will make every meal memorable.
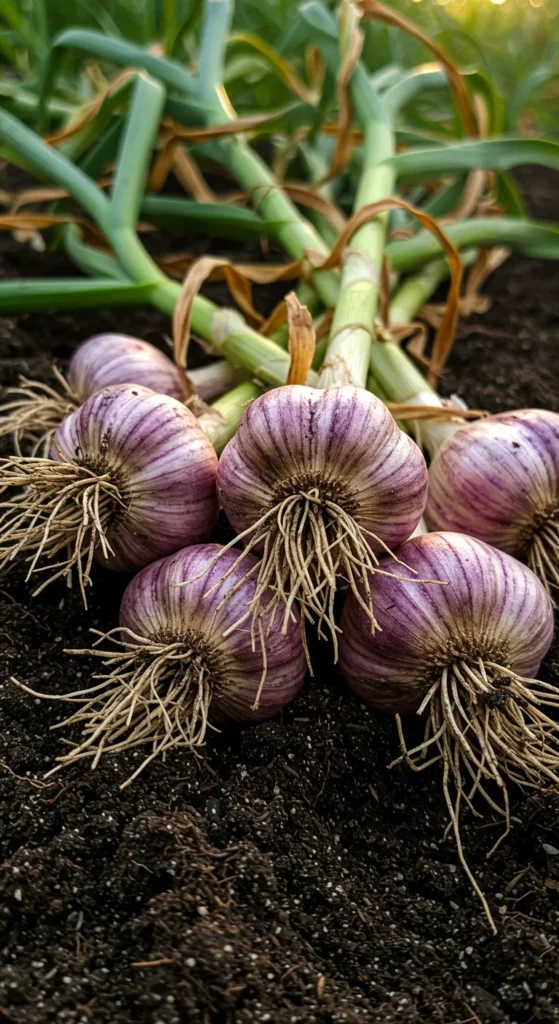
Harvest at the Right Time
Timing your harvest makes all the difference. When about half of the leaves have turned brown, it’s garlic time!
Steps:
- Loosen the soil gently with a garden fork.
- Pull the bulbs carefully — don’t yank!
- Brush off dirt but don’t wash yet.
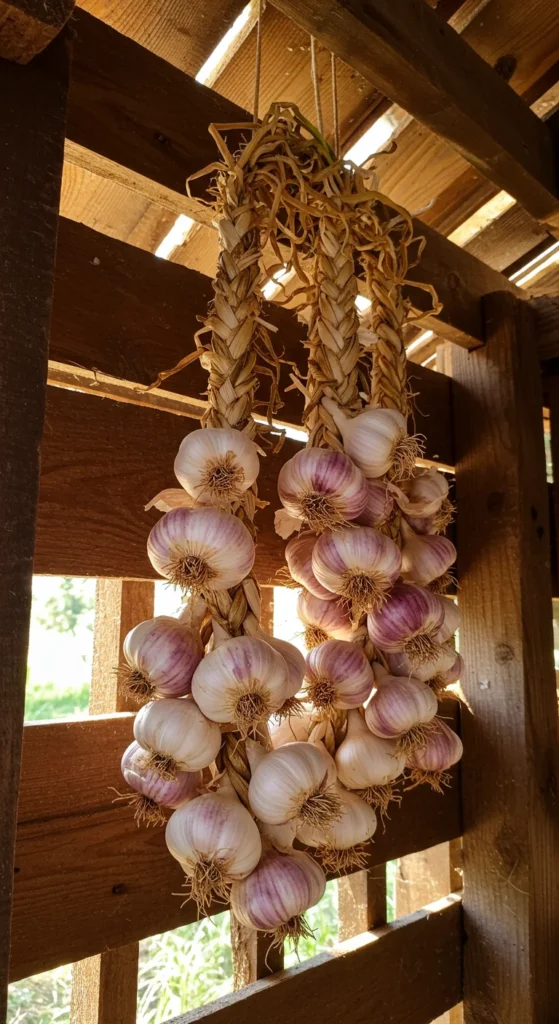
Let the garlic cure in a dry, airy spot for 2–3 weeks. Once dry, trim the roots and tops.
Storing and Enjoying Your Garlic
After curing, store your garlic in a cool, dry place — ideally around 60°F. Mesh bags, baskets, or paper bags work great. Avoid plastic; it traps moisture.
Stored properly, your garlic can last:
- Softneck: up to 9 months
- Hardneck: around 4–6 months
Now every time you cook — pasta, soup, or roasted veggies — you’ll taste the difference of homegrown flavor.
Final Takeaway
Planting garlic is one of the easiest ways to upgrade your kitchen. With just a few cloves and some patience, you’ll have a steady supply of fresh, flavorful bulbs that make every dish shine.

Leave a Reply