
Balcony gardening looks dreamy on Pinterest… until you realize your “garden” is basically one windy corner, a few hours of sun, and zero floor space. 😅
That’s exactly why bucket gardens are such a win. A humble 5-gallon bucket can become a compact home for tomatoes, herbs, greens, and even climbing vines—without needing a yard, fancy planters, or permanent setup. It’s renter-friendly, budget-friendly, and easy to move when the sun shifts (or the weather turns).
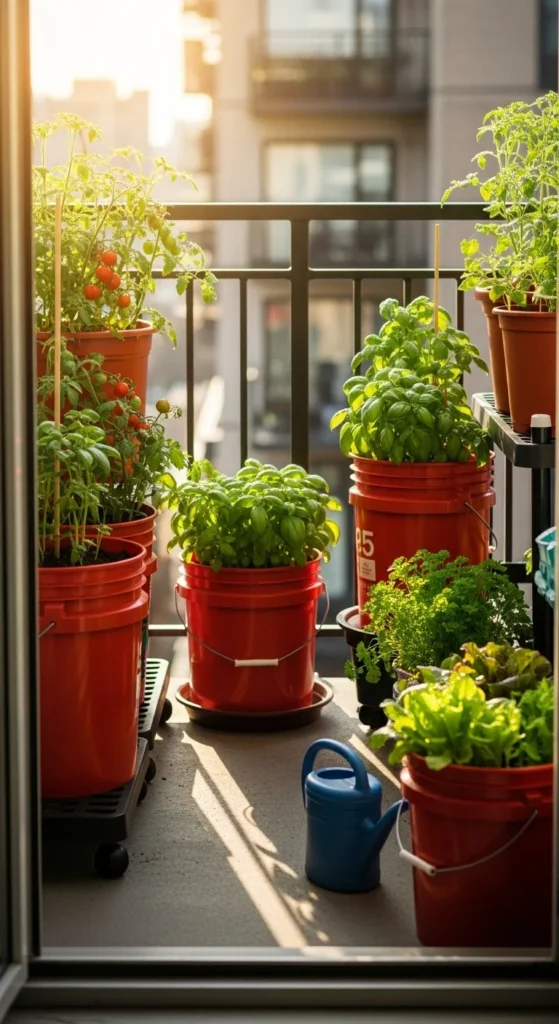
Why Bucket Gardens Are Perfect for Balconies
Bucket gardening works because it’s simple, contained, and customizable. You can start with one bucket and scale up to a full mini-garden in a weekend.
Balcony-friendly benefits
- Small footprint (fits tight corners and rail edges)
- Portable (move buckets to chase sun)
- Easy to control soil + watering
- Fewer weeds than ground gardening
- Pests are easier to spot because everything is contained
If you’re working with limited sun, buckets also let you experiment with different spots until you find your balcony’s “sweet zone.”
What You’ll Need (Simple DIY Setup)
You don’t need a lot of tools—just a few basics to convert a bucket into a healthy planter.
Supplies
- 5-gallon bucket (food-grade is best if possible)
- Drill + drill bit
- Potting mix (not garden soil)
- Compost (optional but highly recommended)
- Gravel or small stones (optional)
- Catch tray/bowl (helps protect balcony floors)
- Stakes or trellis (for tomatoes/vines)
- Plant caddy (optional but amazing for moving buckets)
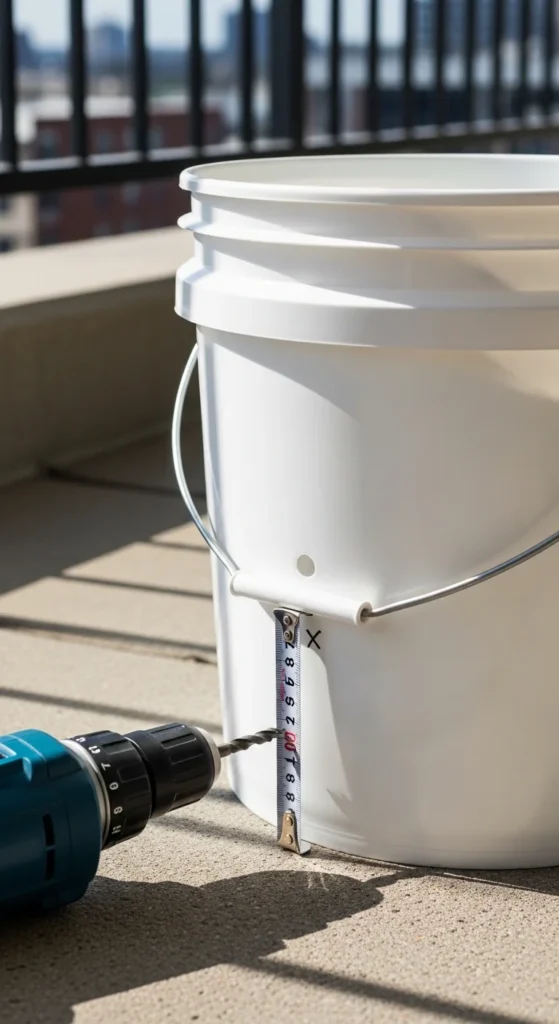
Step 1: Prep Your Bucket Like a Pro (Drainage Matters)
Drainage is the difference between thriving plants and root rot.
Drill your drainage holes
- Drill 4–6 holes in the bottom of the bucket
- Add a few small holes around the lower sides for extra airflow (optional but helpful)
Optional: gravel layer
Some gardeners like adding a thin gravel layer to improve runoff. If you do this, keep it light—too much gravel can reduce soil space.
Don’t forget a tray
Put a catch tray or bowl under each bucket to:
- protect balcony floors
- catch runoff
- reduce how often you need to water (some water reabsorbs)
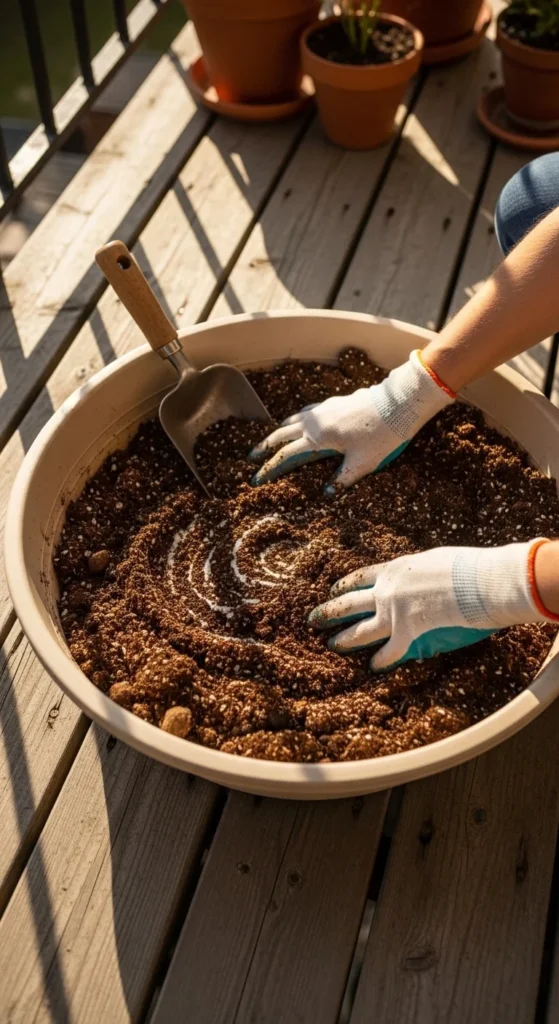
Step 2: Mix the Best Soil for Buckets (Urban Soil Recipe)
Buckets are small, so your soil needs to be high-quality from day one.
Easy “Urban Soil Recipe”
- 70% good potting mix
- 20% compost
- 10% perlite or coco coir (for air + moisture balance)
Tip: Avoid heavy garden soil—it compacts fast in containers and can suffocate roots.
Step 3: Choose the Best Balcony Crops (High Yield, Low Fuss)
You’ll get the most success with compact, fast-growing plants.
Best bucket crops for balconies
- Cherry tomatoes (compact + heavy producers)
- Lettuce + spinach (quick harvests, shallow roots)
- Herbs like chives, parsley, basil (continuous picking)
- Peppers (love warm balconies)
- Cucumbers (with a trellis)
“Power pairs” that save space
- Tomatoes + basil (classic companion combo)
- Lettuce + chives (fast + flavorful)
- Parsley + spinach (similar watering needs)
If your balcony gets strong wind, start with sturdier plants like herbs and peppers before going all-in on tall tomatoes.
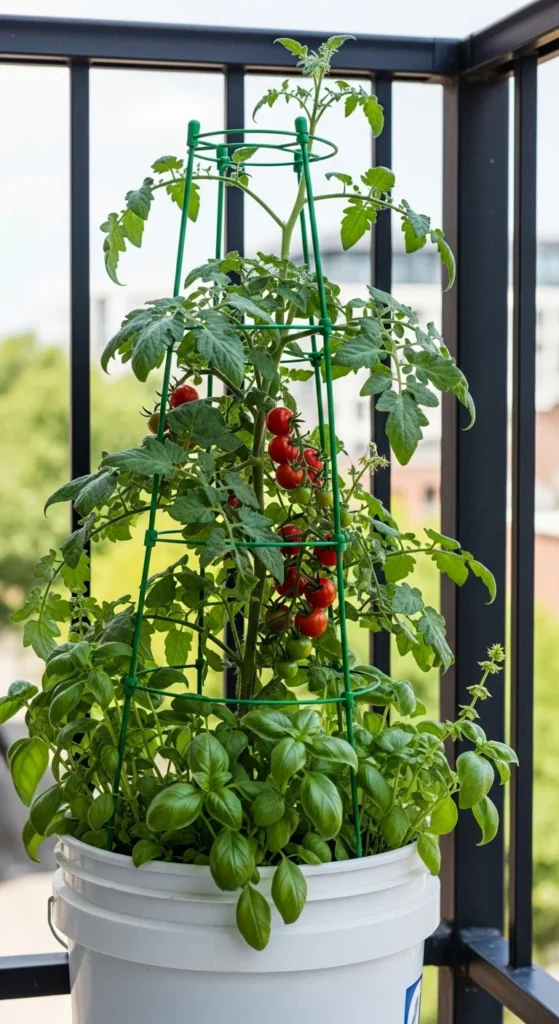
Step 4: Plant + Support (So Your Bucket Doesn’t Turn Into a Jungle)
Buckets can grow a lot—especially vines. Give your plants a support plan early so you don’t disturb roots later.
Support ideas
- Tomato cage or stake for tomatoes
- Bamboo teepee for cucumbers
- Wall-mounted trellis behind buckets for vertical growth
- Simple railing tie-up (for light vines)
Step 5: Maximize Space with Vertical + Stack Tricks
When you’re short on floor space, go up.
Space-saving bucket layouts
- Pallet tower: buckets placed in staggered levels
- Corner stacking stand: multiple buckets in one footprint
- Wall-mounted buckets (for herbs or greens)
- Rail-side “edge” planters for extra growing room
Important: If stacking, make sure every bucket still gets sun and airflow—overcrowding can lead to mildew and pests.
Step 6: Watering Hacks for Busy People (And Hot Weather)
Balconies can get hot fast, which means buckets dry faster than raised beds.
Easy watering hacks
- Water deeply until you see drainage
- Use a catch tray to reduce waste
- Add an olla watering spike for slow-release watering (great for summer)
- Mulch the top with straw or dry leaves to slow evaporation
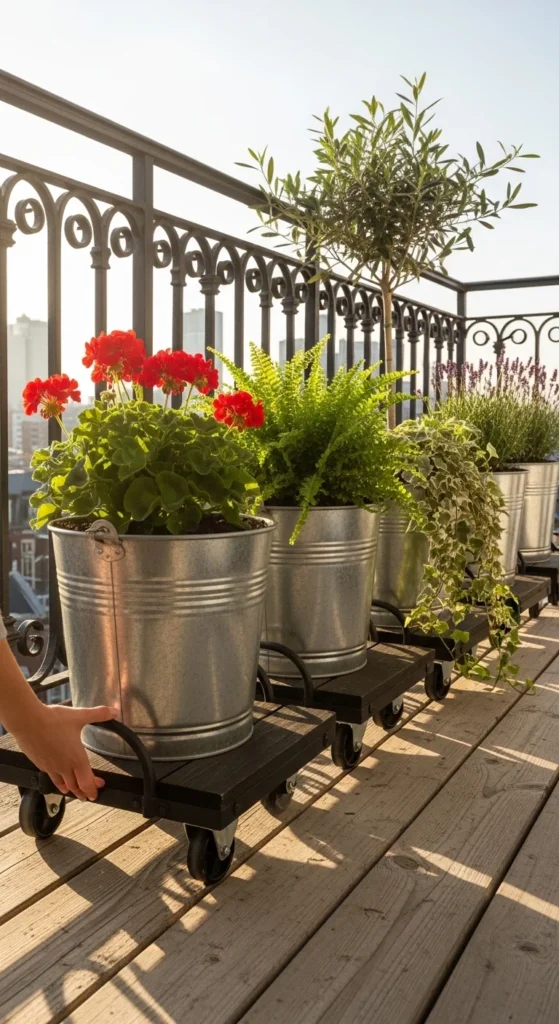
Sun-chasing trick (renter favorite)
Put buckets on rolling plant caddies so you can:
- move plants into the best sun
- protect them during storms
- rotate for even growth
Quick “Small Space Win” Checklist
Before you start planting, run through this fast list:
- ✅ 4–6 drainage holes drilled
- ✅ Catch tray underneath
- ✅ Compost-rich potting mix
- ✅ Crop choices match your sunlight
- ✅ Support (stake/trellis) ready
- ✅ Buckets placed where you can reach them easily
Final Thoughts
A balcony bucket garden is proof that you don’t need a yard to grow real food. With a few buckets, good soil, and smart placement, you can harvest herbs, greens, and veggies right outside your door—without spending a fortune or committing to a permanent setup.
Save this guide for later, and start with just one bucket this week—your balcony will feel like a mini garden in no time!

Leave a Reply