
Blank wall? Tiny patio? Small balcony that feels… well, boring?
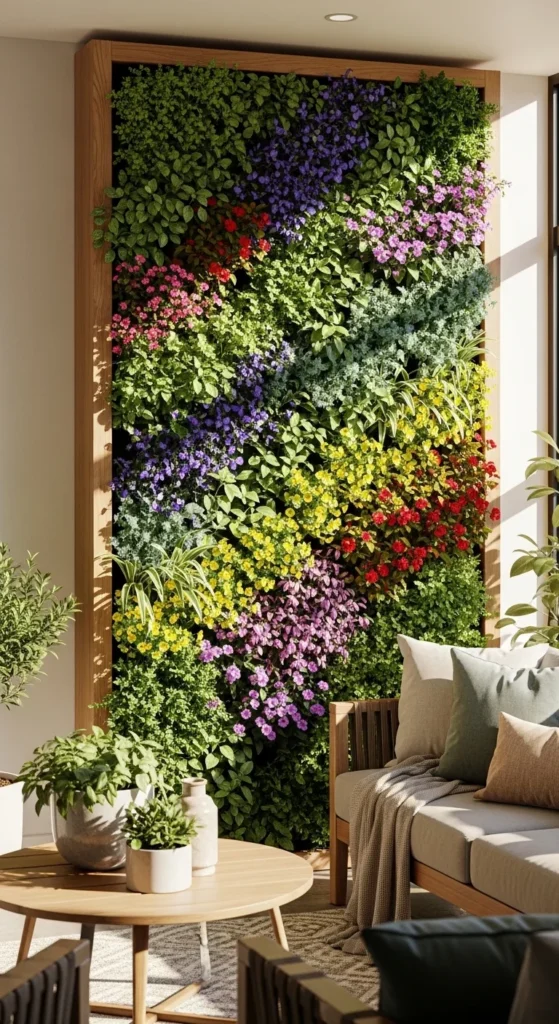
A vertical garden wall can completely transform that empty space into a lush, living feature. Imagine stepping outside (or into your kitchen) and seeing layers of herbs, flowers, and greenery climbing upward like a modern plant tapestry.
It’s dramatic. It’s space-saving. And surprisingly doable—even for beginners.
With the right structure, moisture protection, and lightweight planters, you can build a vertical wall that looks professional and lasts for years. Let’s break it down step by step.
Step 1: Plan the Perfect Spot First
Before picking up tools, choose your wall carefully. Light and airflow matter more than design.
Quick location checklist
- 6–8 hours sun = herbs, veggies, flowers
- Partial shade = ferns, leafy greens
- Good airflow = prevents mold and rot
- Easy access to water
Also check:
- Can you anchor into studs or posts?
- Will water drip onto anything sensitive?
A strong, sunny spot saves you tons of frustration later.
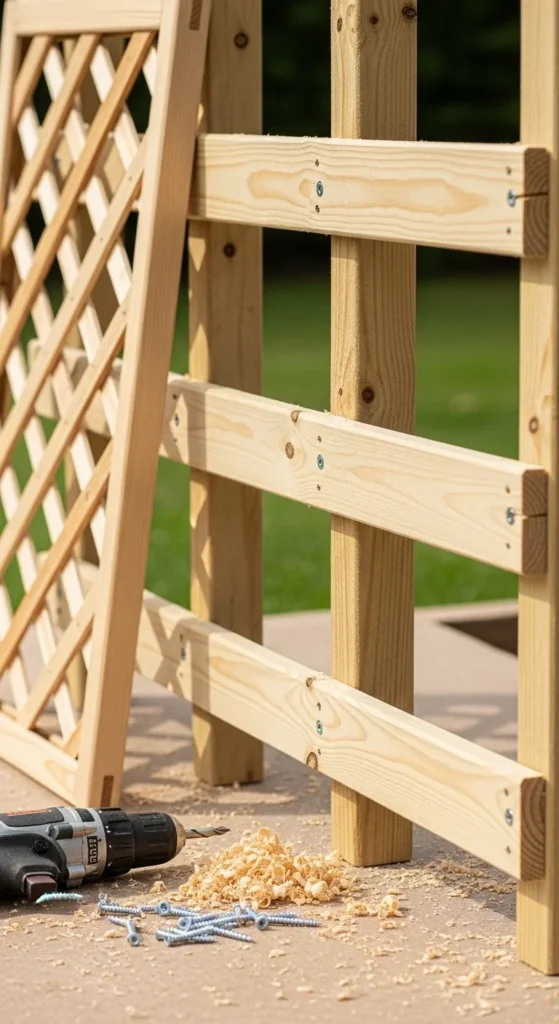
Step 2: Build a Strong Frame (The Backbone of Your Wall)
A vertical garden wall needs a sturdy skeleton. Most successful builds use simple wooden frames.
Materials you’ll need
- Pressure-treated lumber or rot-resistant wood
- Posts or uprights
- Horizontal rails (about 12 inches apart)
- Lattice or backing panel
- Deck screws or structural screws
Frame tips
- Predrill holes to avoid splitting wood
- Use a level while mounting
- Secure directly into studs or posts
- Add extra brackets if the wall will hold many pots
For a clean, professional look, bevel the rail edges at 45° and stain the wood after assembly.
Step 3: Add Waterproof Protection (Don’t Skip This!)
Water + walls = trouble if you don’t protect surfaces.
Before attaching any planters, install a moisture barrier.
Must-have protection layers
- Plastic sheet or waterproof membrane
- Backing board or liner
- Small gap for airflow behind frame
This prevents:
- mold
- wall damage
- wood rot
If mounting outdoors on siding, use standoffs and seal screw holes with caulk to keep moisture out.
Think of this as insurance for your house.
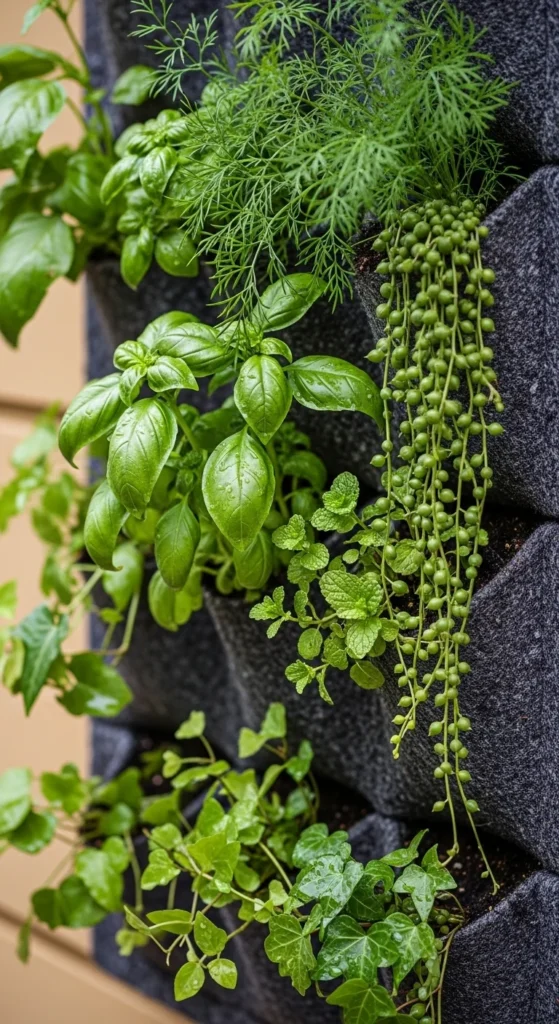
Step 4: Choose Lightweight Planters or Pocket Systems
Heavy pots strain your wall. Lightweight containers are safer and easier to maintain.
Great vertical options
- Fabric pocket planters
- Small metal or plastic pots
- Hanging baskets with liners
- Wire mesh grids
- Grommet fabric bags screwed into place
If using metal or plastic:
👉 Always drill 1/4-inch drainage holes.
Soil tip
Use a light mix:
- 2 parts potting mix
- 1 part compost
Never use heavy garden soil—it’s too dense for vertical systems.

Step 5: Mount Planters Securely
This is where stability matters most.
Safe mounting methods
- Screw into studs
- Use planter cleats or lips
- Install nailing blocks behind rails
- Avoid stacking pots directly above each other
Pro layout trick
Stagger pots instead of lining them up vertically.
This:
- improves sunlight
- boosts airflow
- prevents plants from shading each other
Staggering also gives that lush, layered “living wall” look.
Step 6: Plant for a Full, Lush Effect
Now the fun part—planting.
To avoid a sparse look, plant densely from the start.
Planting formula
- 3 small plants per pocket
- Mix textures: bushy + trailing + upright
- Leave soil 2 inches below rim for watering
Great combinations
- Herbs: basil, thyme, chives
- Trailers: ivy, pothos, petunias
- Fillers: lettuce, spinach, ferns
- Color pops: begonias or marigolds
Loosen roots gently before planting to help them spread faster.
Step 7: Water Smart (Vertical Walls Dry Fast)
Gravity pulls water downward, so the top dries out quickly.
Easy watering tips
- Water from top down
- Check top pockets first
- Install drip or soaker hoses
- Use timers for consistency
A simple drip irrigation line can turn daily watering into once-a-week maintenance.
Huge time saver.
Step 8: Maintain for That “Wow” Look
Vertical walls stay beautiful with just a few minutes of care.
Weekly routine
- Trim fast growers
- Remove dead leaves
- Check drainage holes
- Tighten mounts
- Rotate plants if needed
Pruning keeps growth even and prevents overcrowding.
Final Thoughts
A vertical garden wall isn’t just functional—it’s a statement piece.
It:
- saves floor space
- grows food or flowers
- adds privacy
- makes small areas feel luxurious
Start with a strong frame, protect your wall, use lightweight planters, and plant densely for that full, magazine-worthy look.
🌿 Save this guide and build your own vertical garden wall this weekend—you’ll be amazed how fast a plain wall turns into living art.

Leave a Reply