
Wish you could grow herbs, flowers, or veggies… but only have a tiny balcony or blank wall?
Good news: you don’t need a yard. You just need vertical space.
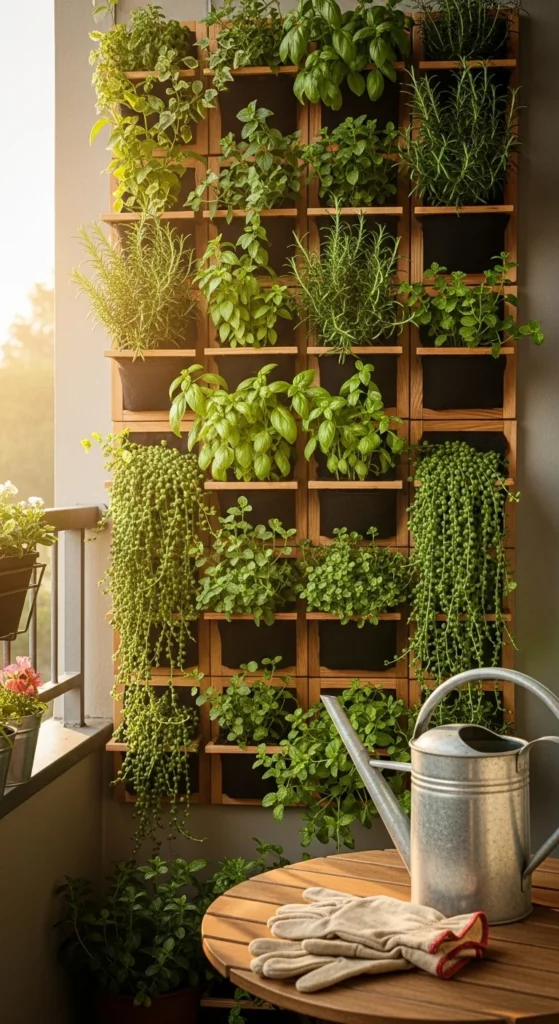
A vertical garden turns empty walls into living greenery, saves floor space, and makes even the smallest apartment feel lush and cozy. And the best part? You can build one yourself with simple tools and budget-friendly materials.
Let’s walk through it step by step — beginner-friendly, renter-friendly, and totally doable in a weekend.
Step 1: Scout Your Location First (Sunlight Matters Most)
Before building anything, check your light.
Plants care more about sun than design.
Quick site checklist
- 6–8 hours sun → herbs, tomatoes, flowers
- 4–6 hours → leafy greens, mint, spinach
- Bright indoor window → kitchen herb garden
Also check:
- wind exposure
- heat from walls
- access to water
Tip: Watch the wall for a full day to see how the sun moves.
Choosing the right spot first prevents 90% of plant problems later.
Step 2: Choose Your Vertical Garden Style
You’ve got options. Pick one based on your skill level and whether you’re renting.
Beginner-friendly builds
- Wood frame + planters (sturdy and long-lasting)
- Fabric pocket systems (lightweight, modular)
- Gutter towers (super budget DIY)
- Stackable vertical towers (high yield in tiny space)
- No-drill mounts using strong fasteners for lightweight pots (great for renters)
If you want something solid and pretty, a simple wooden frame is the most versatile.
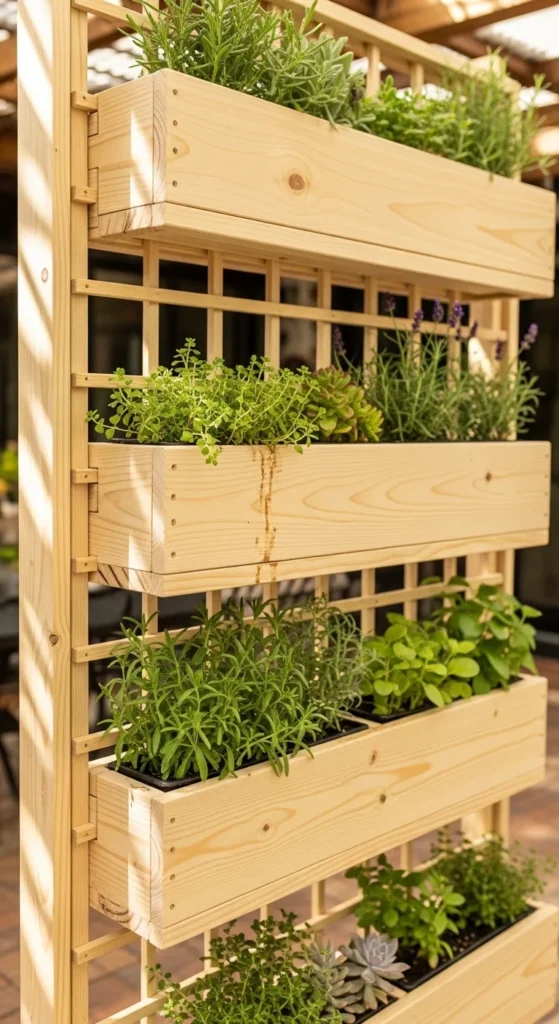
Step 3: Build a Simple Wooden Frame (Sturdy + Affordable)
This is the most popular DIY approach because it’s strong and customizable.
Basic materials
- Pressure-treated lumber or rot-resistant wood
- Lattice or slats for backing
- Deck screws
- Exterior stain or sealant
- Planters or pots
Simple build steps
- Cut two vertical uprights
- Attach horizontal rails
- Add lattice backing
- Level the frame before mounting
- Secure firmly to wall or fence
Pro tips:
- Use a level so pots don’t tilt
- Add beveled edges for a clean look
- Seal wood with exterior stain for durability
A solid frame means fewer headaches later.
Step 4: Protect Your Wall (Don’t Skip This)
Water damage is the #1 mistake beginners make.
Before hanging anything:
Add protection
- Waterproof plastic lining
- Backing board
- Drainage trays
This keeps moisture from touching your wall or siding.
If you’re mounting outside on siding, small standoffs help airflow and prevent rot.
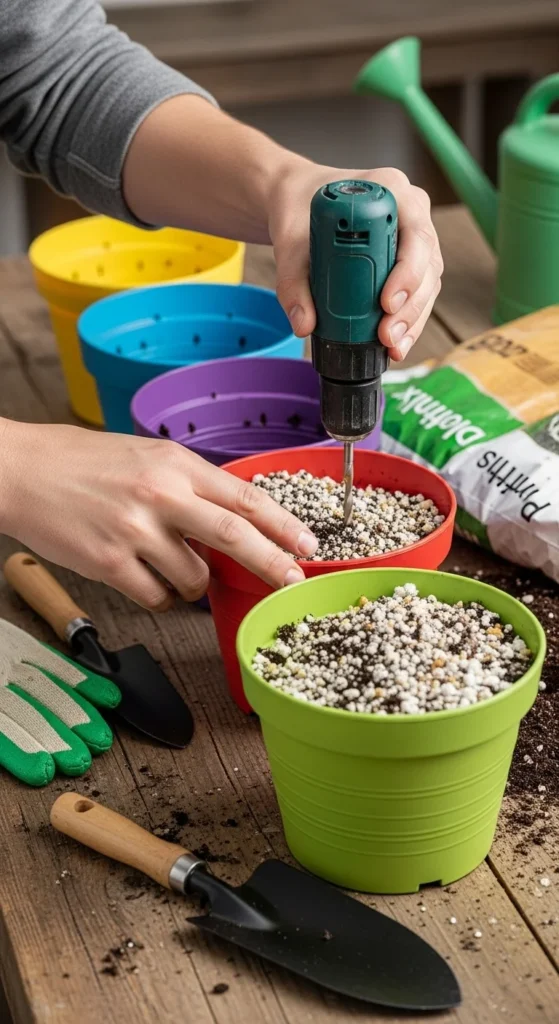
Step 5: Prep Your Planters (Drainage = Happy Roots)
Vertical gardens dry fast… but they also rot fast without drainage.
Always:
- Drill 1/4-inch holes in containers
- Use lightweight pots
- Avoid heavy garden soil
Best soil mix
- 2 parts potting mix
- 1 part compost
This combo holds nutrients but still drains well.
Step 6: Choose Easy Starter Plants
Start simple. You want quick wins.
Foolproof vertical plants
- Basil
- Mint
- Chives
- Thyme
- Lettuce
- Spinach
- Succulents
- Trailing ivy or petunias
Layout tip:
- Water-loving plants → bottom
- Drought-tolerant → top
- Trailing plants → edges for cascading effect
This creates both function and beauty.
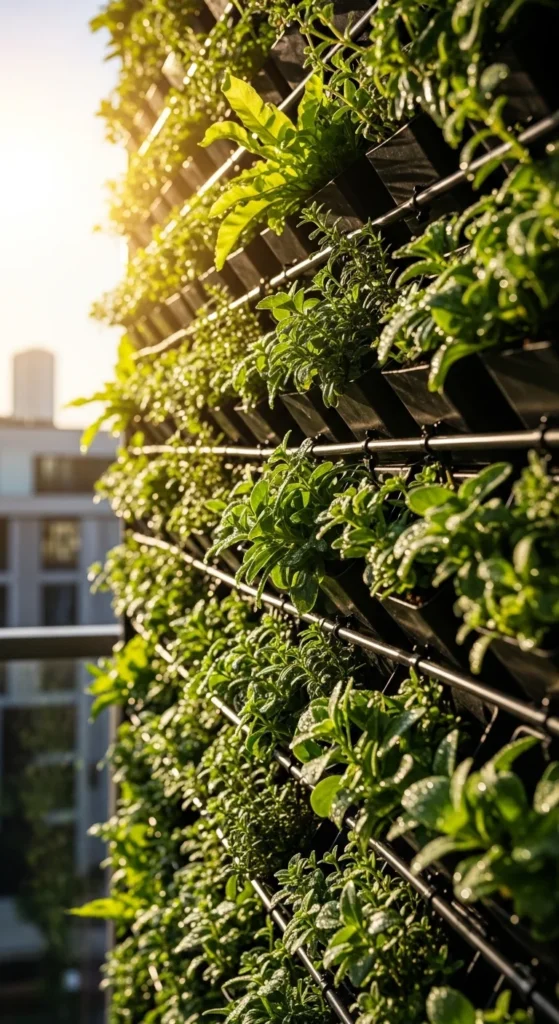
Step 7: Install Smart Watering (Save Yourself Time)
Here’s something most people learn the hard way:
Vertical gardens dry out fast.
Hand watering every day gets old.
Easy upgrades
- Drip irrigation hose
- Soaker hose
- Timer system
- Top-down watering design
Even a cheap drip line saves tons of effort.
Step 8: Mount and Plant
Now the fun part.
Planting steps
- Fill containers with soil
- Loosen roots gently
- Plant seedlings
- Press soil lightly
- Water thoroughly
Work from top to bottom so falling soil doesn’t mess up lower pots.
Then step back and admire your living wall 🌿
Step 9: Maintain With a 5-Min Weekly Routine
Vertical gardens are surprisingly low effort once set up.
Weekly check
- Trim dead leaves
- Look for pests
- Check soil moisture
- Fertilize lightly every few weeks
- Tighten mounts or fasteners
That’s it.
Just a few minutes keeps everything thriving.
Final Thoughts
A vertical garden is one of the smartest upgrades for small homes.
It:
- saves space
- looks amazing
- grows fresh food
- and turns plain walls into life
Start simple. Use sturdy materials. Protect your wall. Pick easy plants.
Then watch your tiny space turn into a green oasis.
🌿 Save this guide for later and build your vertical garden this weekend!

Leave a Reply