
Healthy spring growth starts long before seeds touch the soil.
The way you treat your beds in late autumn and early winter shapes structure, drainage, soil life, and nutrient levels for the next growing season.
Instead of leaving beds bare, you can add organic matter, protect the surface, and let winter weather do gentle work for you.
The ideas below focus on simple winter soil habits, using common materials like leaves, compost, cardboard, and light tools.
Each step is practical, budget-friendly, and designed for real backyards, from small raised beds to larger in-ground plots.
1. Clear Spent Plants Without Over-Tilling
Start by taking out summer and fall crops, but keep soil structure as calm as possible.
Snip stems off at the base instead of yanking roots up.
Roots left underground break down slowly and create natural channels for air and water.
Pile disease-free plant material onto your compost area.
Avoid composting anything with mold, blight, or insect infestations; bag those and remove them.
Rake the soil surface gently to lift only the top crust.
This gentle cleanup leaves soil life in place while creating a tidy base for winter work.
You can use simple hand pruners and a small rake, rather than heavy machines.
Less disturbance now means softer, easier beds when spring planting arrives.
2. Map Soil Zones Before Winter Weather Hits

Before the ground hardens, quickly map out how your soil behaves.
Walk your garden after rain and notice where puddles linger, where soil drains well, and where plants struggled.
Sketch a simple diagram on paper or your phone.
Mark heavy clay spots, sandy strips, and compacted paths.
This rough map guides where to add compost, sand, or mulch layers.
You don’t need fancy tools; a pencil and notebook work fine.
Label beds by sunlight too: full sun, part shade, or shade edges.
That way, when you improve soil, you can match crops to both soil and light.
Ten minutes of simple notes now saves guessing when spring schedules get busy.
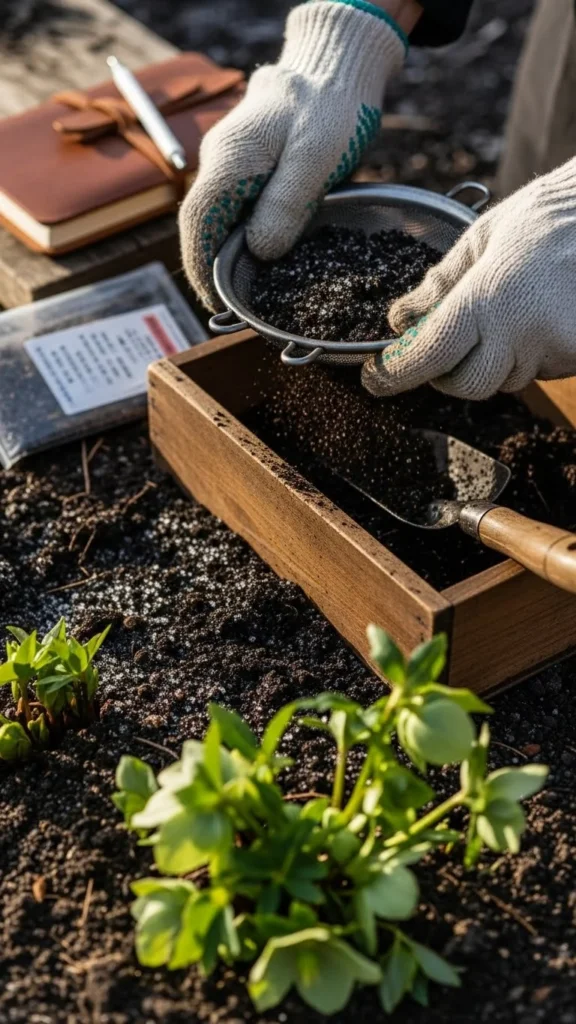
3. Run a Basic Soil Test and Keep Results Handy

A simple soil test kit can tell you pH and key nutrient levels before winter.
Collect small samples from several beds and mix them in a clean bucket.
Follow the test directions and record the results on your garden map.
If the pH leans very low or high, winter is a good time to start gentle corrections.
Add lime or sulfur according to package guidance, keeping doses modest.
Spread them evenly and scratch them lightly into the top layer.
Store your test results in a clear folder or take a photo for quick reference.
When you plan spring crops, you can match heavy feeders like tomatoes to improved beds.
One autumn afternoon with a basic test kit sets the stage for smarter soil work all season.
4. Lay Down a Thick Autumn Leaf Blanket
Fallen leaves make an excellent winter cover.
Rake them from your yard and spread a 10–15 cm layer over bare beds.
Shred them with a mower if you can; smaller pieces break down faster.
This leaf blanket protects soil from pounding rain and harsh wind.
It slows erosion and keeps earthworms closer to the surface.
As leaves decay, they feed soil life and add organic matter.
If leaves slide off raised beds, hold them in place with spare sticks or light netting.
Avoid using thick layers of oak leaves alone; mix them with other tree leaves for easier breakdown.
By spring, much of this cover turns into a soft, dark layer that mixes easily into the top soil.
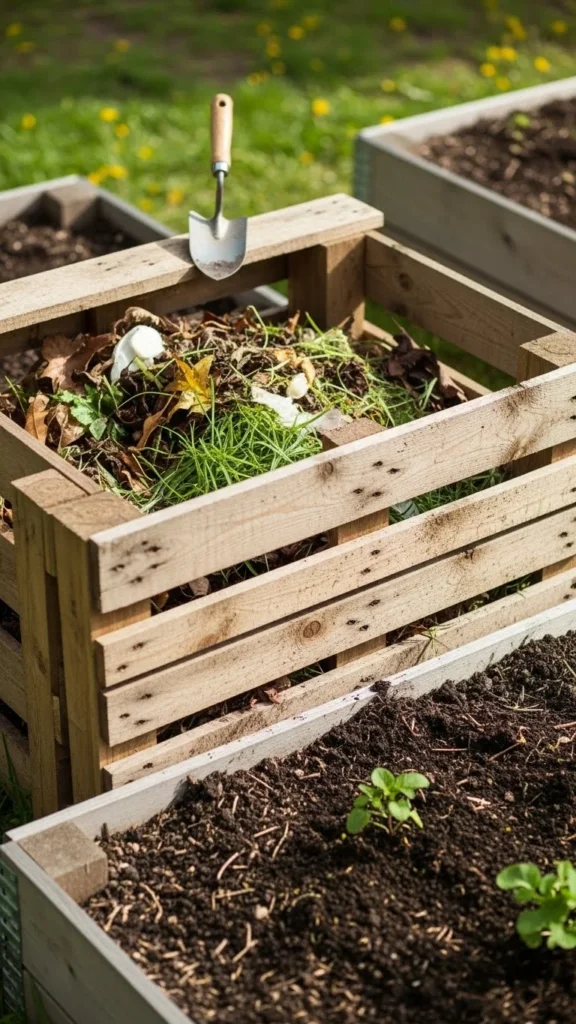
5. Top-Dress Beds With Finished Compost
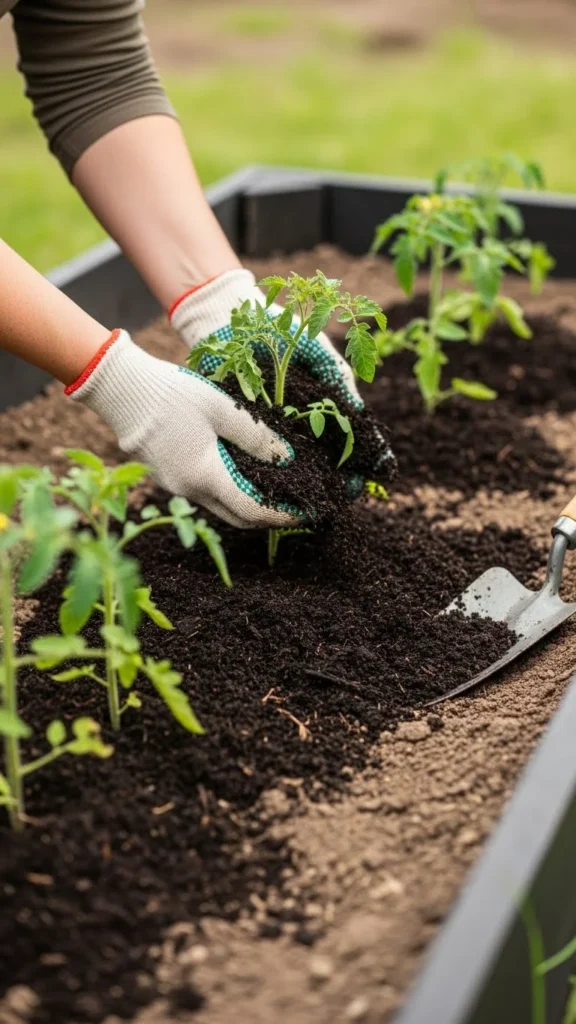
Adding a light compost layer before winter gives soil life steady food.
Spread 2–5 cm of mature, crumbly compost over the surface of each bed.
No heavy digging required; just lay it down like frosting.
Winter rain and frost will gradually carry nutrients downward.
Microbes and worms pull compost into the soil structure.
You only need a wheelbarrow, shovel, and a rake.
If your compost pile is small, focus on your most important beds first.
You can also buy bagged compost and use it sparingly across beds.
This quiet top-dressing step often makes spring soil darker, softer, and easier to plant.
6. Use Cardboard to Smother Weeds Gently
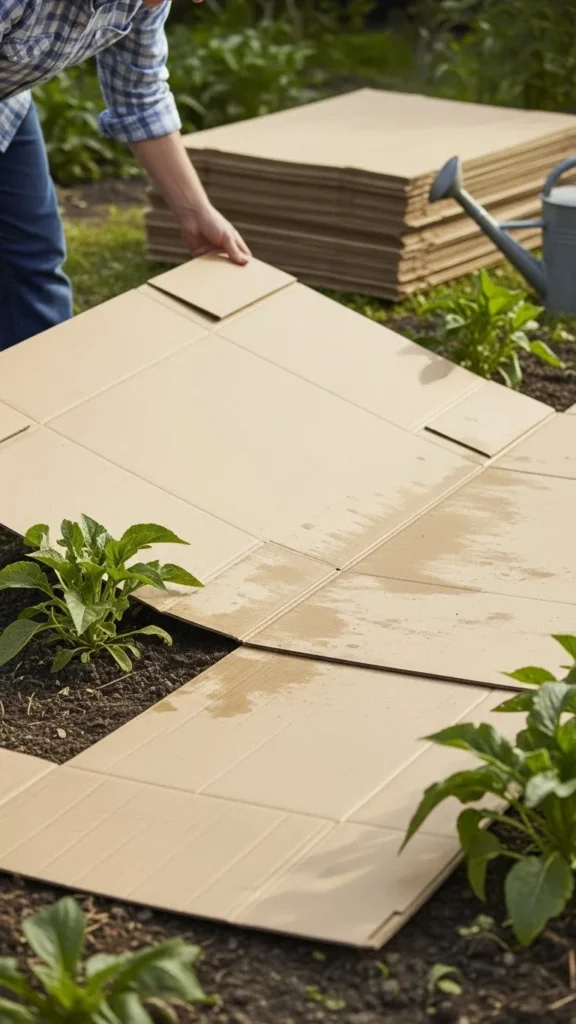
Sturdy cardboard sheets offer an easy way to calm weed pressure over winter.
Remove tape and glossy labels, then lay flattened boxes across problem areas.
Overlap edges so light cannot slip through.
Wet the cardboard with a hose so it hugs the soil.
Add a layer of leaves, straw, or compost on top to hold it down.
Over winter, roots under the barrier weaken while soil organisms stay active.
By early spring, much of the cardboard softens and breaks down.
You can cut planting holes right through it or peel back softened pieces.
This method works well for new beds, paths, or weed-heavy corners and uses materials that often end up in the recycling bin.
7. Spread Aged Manure Before Freezing Weather
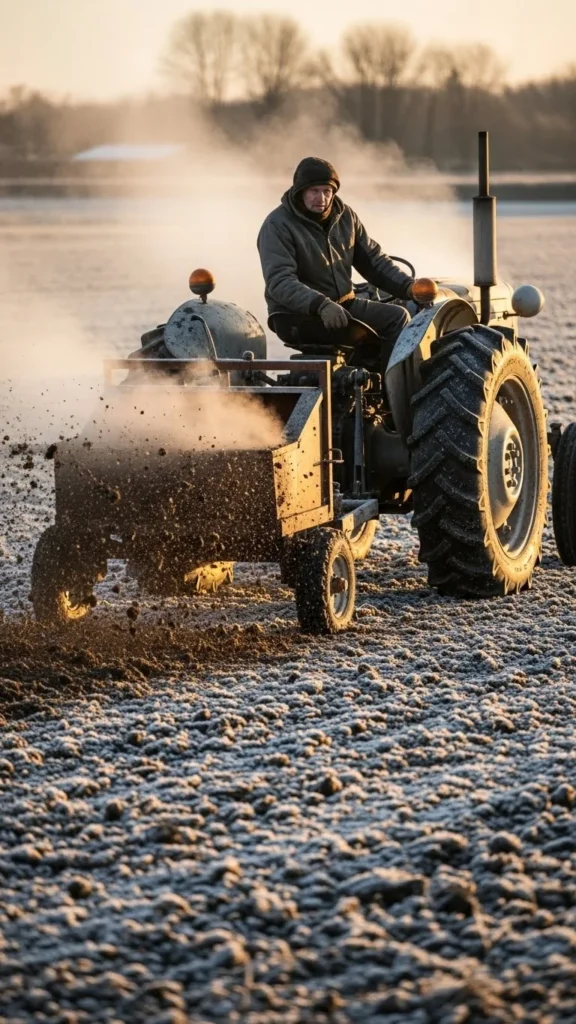
Well-aged manure adds organic matter and nutrients, especially for hungry crops.
Use only manure that has composted for many months and no longer smells strong.
Spread a thin layer across open beds, about 1–2 cm thick.
Cover it with leaves or straw to keep nutrients from washing away.
Avoid using fresh manure on active beds, as it can burn roots and carry pathogens.
Winter weather gives soil time to process gentle amounts.
Ask local farms or stables for aged piles; many are happy to share.
Bring a few buckets and a tarp in your car.
By spring, this manure layer mixes easily with topsoil, providing a rich base for veggies and flowers.
8. Sow Winter Cover Crops Where Ground Stays Open
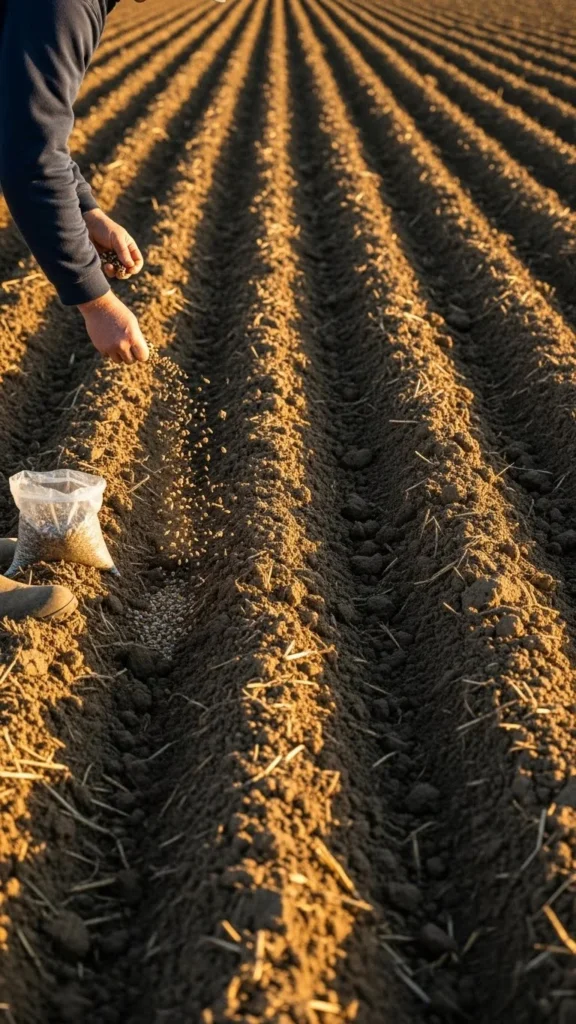
Cover crops protect bare soil and add organic matter.
Scatter seeds like winter rye, clover, or hairy vetch over beds that won’t host winter veggies.
Rake lightly so seeds touch soil, then water once.
These plants hold soil in place, catch leftover nutrients, and soften compact areas with their roots.
Choose one or two species based on your climate and seed availability.
Seed packets often explain timing for your region.
In early spring, trim cover crops low and let them wilt.
Then cut and drop the foliage on the bed as mulch, or gently mix it into the top few centimeters.
This living cover acts like a living blanket all winter and turns into organic matter when the growing season returns.
9. Build Simple Windbreaks for Exposed Beds
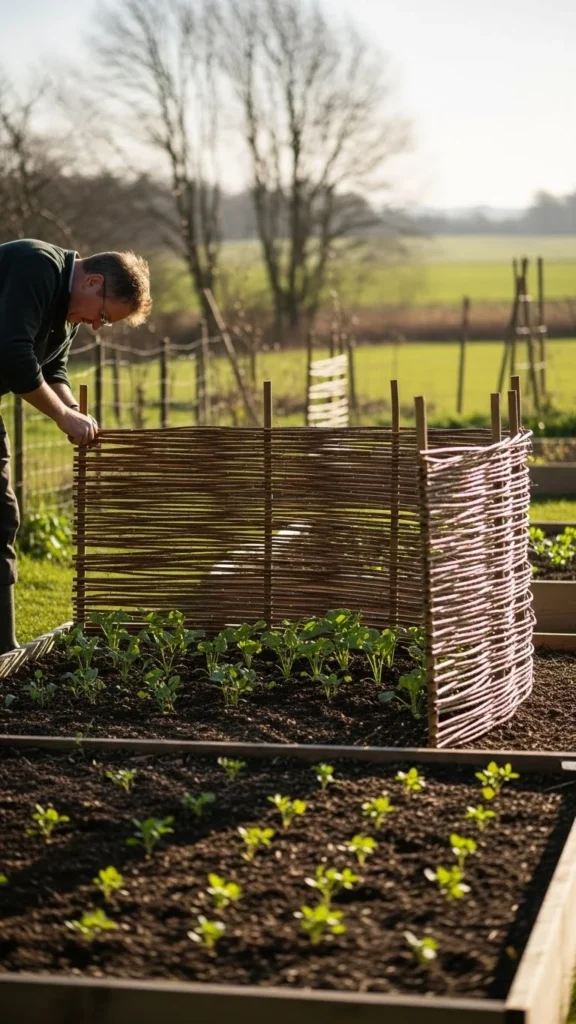
Cold winter wind dries soil and strips away surface particles.
Protect exposed beds by setting up low windbreaks.
Use scrap wood, pallets, straw bales, or even snow fencing along the windward side.
The goal is not a perfect wall but a gentle barrier that slows air movement.
Place it a short distance from the bed so airflow softens as it crosses.
Secure light materials with stakes.
This small structure keeps mulch from blowing off and helps soil stay slightly more stable.
You can take the windbreak apart in spring and reuse the pieces later.
Simple barriers like this cost very little and make a real difference in open, windy gardens.
10. Shape Slight Raised Ridges for Wet Areas

If certain beds stay soggy, winter is a good time to shape gentle ridges.
Use a hoe or shovel to pull soil up into long, low mounds.
Create shallow paths between them to guide water away.
Spread compost on top of each ridge and cover with straw or leaves.
Over winter, water settles in the lower paths while ridges drain more quickly.
This structure helps when you plant early crops that dislike wet roots.
You don’t need perfectly straight lines; follow the natural slope of your yard.
In small gardens, even a few centimeters of extra height can make a big difference.
These ridges can become permanent raised rows you reuse year after year.
11. Mulch Pathways to Protect Soil Structure
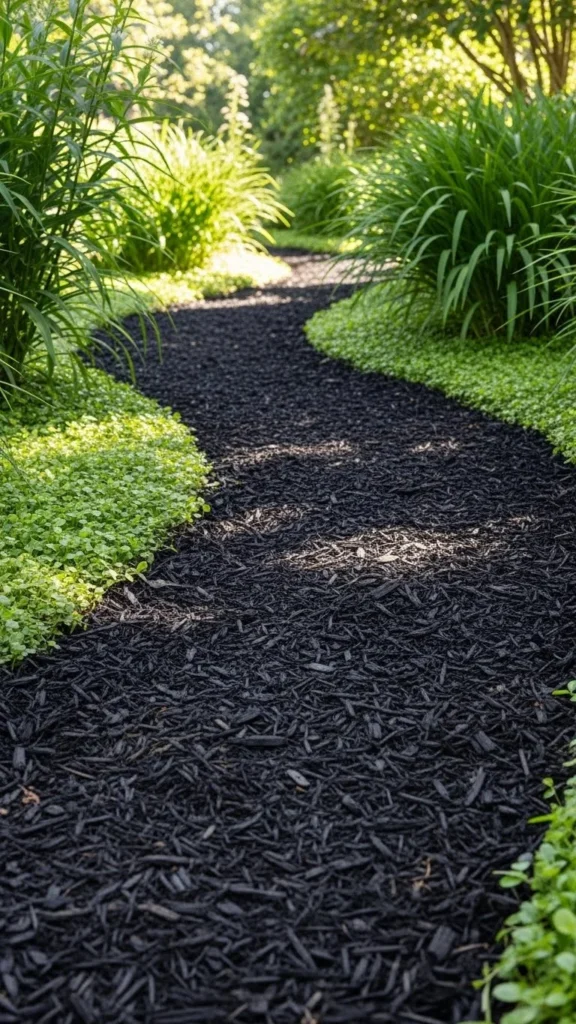
Garden paths often become muddy, compacted channels that send water into beds.
Cover them with wood chips, straw, or coarse leaves before winter.
Spread a thick layer so your boots don’t press directly into the soil.
This keeps you from compacting the ground during winter visits.
It also gives your garden a clean, organized look when everything else is quiet.
Wood chips are especially helpful for long-term paths.
Ask tree services for free chipped branches; many will drop a load nearby.
In spring, you can rake older chips into new beds as rough organic material.
Smooth, mulched paths mean less mess and healthier soil around them.
12. Loosen Compacted Spots With a Garden Fork
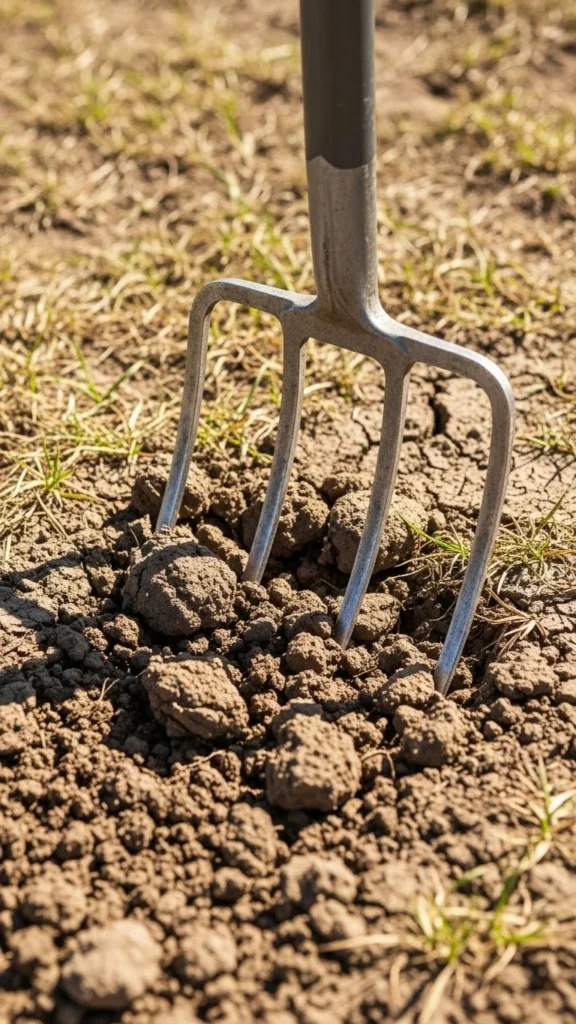
Instead of heavy tilling, use a garden fork to loosen compacted areas.
Push the fork into the soil and rock it gently back and forth.
Do not flip the soil; just crack it open.
Work in a simple grid pattern so the whole bed receives small openings.
This allows air and moisture to enter deeper layers, supporting soil life.
After loosening, spread compost or leaves on top.
The freeze-thaw cycle will further open those cracks.
Over time, roots and worms use these channels, creating a more open structure.
This low-impact approach keeps soil layers distinct while still relieving compaction.
13. Create a Simple Soil Amendment Bin Near Beds
Keeping amendments close by makes winter prep easier.
Set up a small bin or covered tote near your beds to hold lime, gypsum, sand, and compost.
Label each container clearly.
On a calm afternoon, you can quickly sprinkle what each bed requires based on your soil map and test results.
No long walks to a shed are necessary.
Cover the bin with a lid or tarp to keep moisture out.
You can repurpose food-grade buckets, storage bins, or old trash cans.
Store a scoop or cup in each so application stays tidy.
Having materials at hand encourages small, regular soil improvements rather than one heavy rush.
14. Add Coarse Sand to Improve Heavy Clay Beds
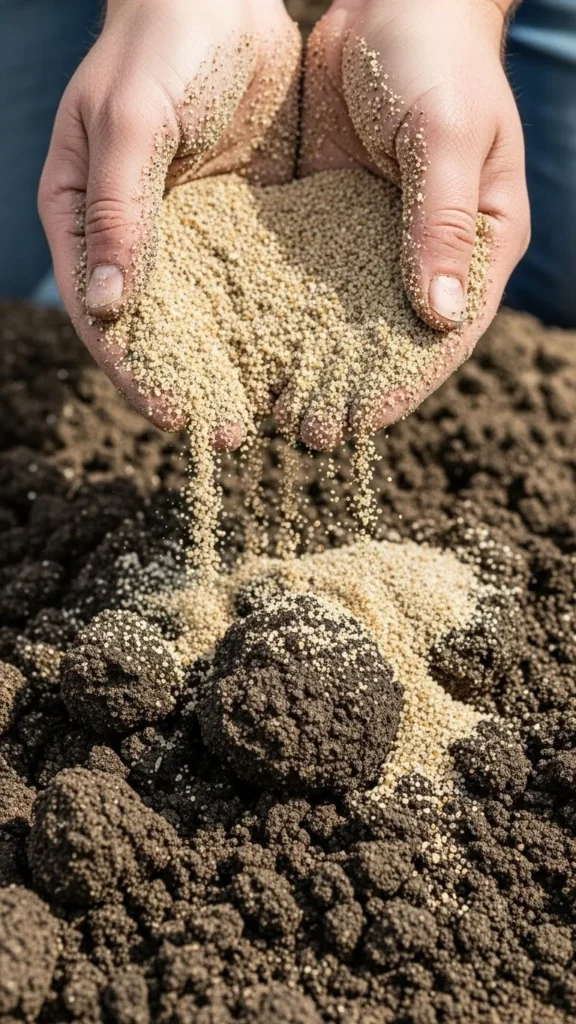
If your soil holds water like a sponge, clay may be part of the issue.
Residential gardens often benefit from coarse sand mixed with organic matter.
Spread sand lightly over capped clay areas, then add compost and leaves on top.
Do not pour huge amounts of sand alone; that can create a hard layer.
The goal is a slow, yearly mix of mineral and organic materials.
Winter weather helps these layers move together.
Buy construction-grade coarse sand, not fine play sand.
Use a wheelbarrow and shoveled heaps for even coverage.
Over several winters, this approach gently improves drainage without aggressive digging.
15. Save Kitchen Scraps in a Trench Bed
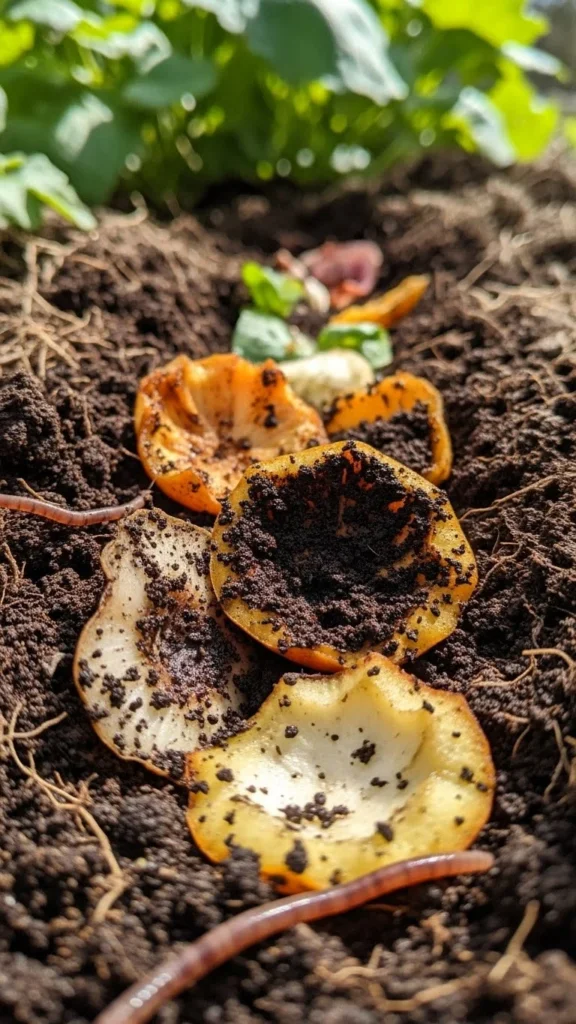
Trench composting lets you turn kitchen scraps into soil food directly in the bed.
Dig a narrow trench down the center or side of an empty bed.
Drop in vegetable scraps, coffee grounds, and crushed eggshells, then cover with soil.
In winter, decomposition slows but does not stop.
Soil organisms gradually break down the buried scraps.
By spring, you often see darker, looser soil in that zone.
Rotate trench spots each year so different parts of the bed benefit.
This method keeps scraps out of the trash and avoids dealing with large bins.
Just skip meat, dairy, and oily foods to avoid pests.
16. Protect Soil Microbes With Gentle Watering

Even in winter, long dry spells can harm soil life.
If your region experiences cold but dry weather, check moisture under mulch.
Push aside leaves and feel the soil a few centimeters down.
If it is powdery, give beds a gentle watering during daytime when temperatures stay above freezing.
Use a watering can with a rose head for a soft flow.
Water slowly so it soaks in rather than running off.
Do this only occasionally; winter soil does not require frequent watering.
The goal is to keep soil life from completely drying out.
Healthy microbes and worms set the stage for strong spring root systems.
17. Use Straw or Hay for Extra Insulation
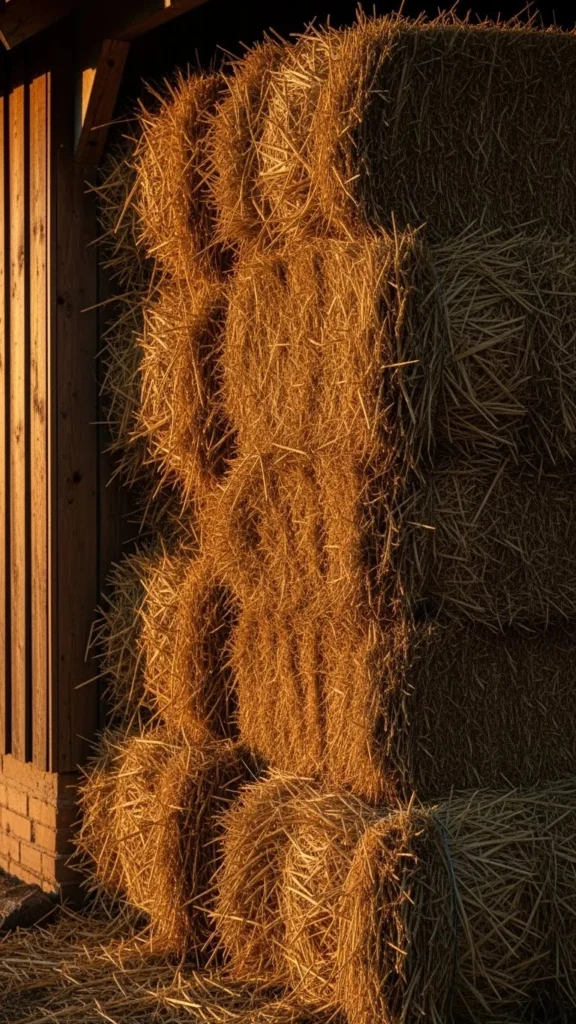
In colder regions, extra insulation helps soil stay more stable.
Spread straw or seed-free hay over composted beds in a loose layer.
Aim for a depth that hides soil but still lets air reach it.
This blanket softens temperature swings and shields soil from pounding snow or heavy rain.
It also gives soil organisms a cover zone to move under.
If the straw mats down, fluff it slightly with your hands.
Ask local farms for bales at the end of the season; often they sell them cheaply.
Store any extra under a tarp for patching bare spots.
In spring, rake straw aside to warm the soil, then reuse it as path mulch or around early crops.
18. Install Simple Drip Lines Before Ground Freezes
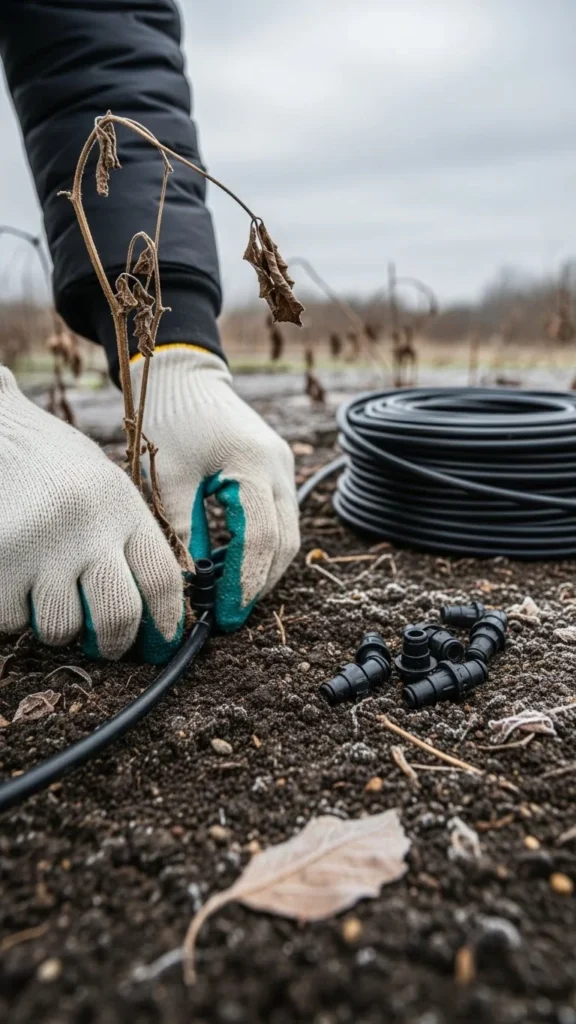
Winter is a calm time to lay out basic drip lines or soaker hoses along your beds.
Place them on top of the soil, then cover with compost and mulch.
You can leave the main connections dry and capped until spring.
Planning water routes now means less disturbance later, when seedlings are tender.
You also see bed shapes clearly without foliage in the way.
Use simple connectors and standard hoses; perfection is not required.
Label each line with tags so you remember which valve controls each bed.
In early spring, connect the system and test for leaks.
This preparation step helps you water evenly while keeping soil structure undisturbed during the growing season.
19. Mark Bed Edges and Permanent No-Dig Zones
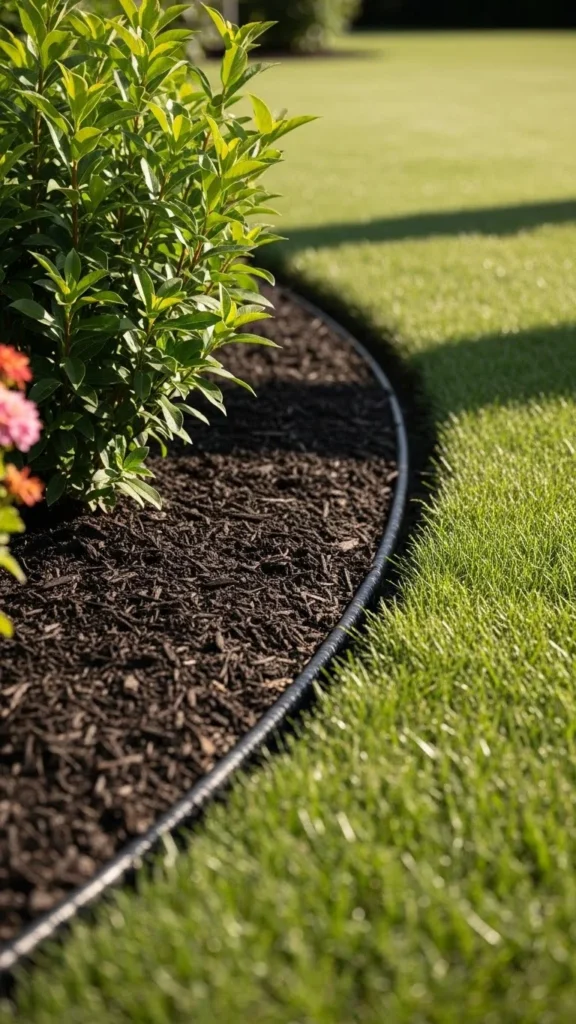
Clear bed edges make winter soil care more focused.
Use boards, stones, or simple string lines to outline where beds end and paths begin.
This keeps footsteps off areas you want to protect from compaction.
Decide which beds will follow a no-dig approach.
Once chosen, avoid any deep turning in those zones from now on.
Only add compost and mulch to the top.
Label these areas with small stakes or painted stones.
Family members or helpers then know where not to step or dig.
Over seasons, no-dig zones often show better structure and richer life near the surface.
20. Start a Leaf Mold Pile as a Future Soil Conditioner
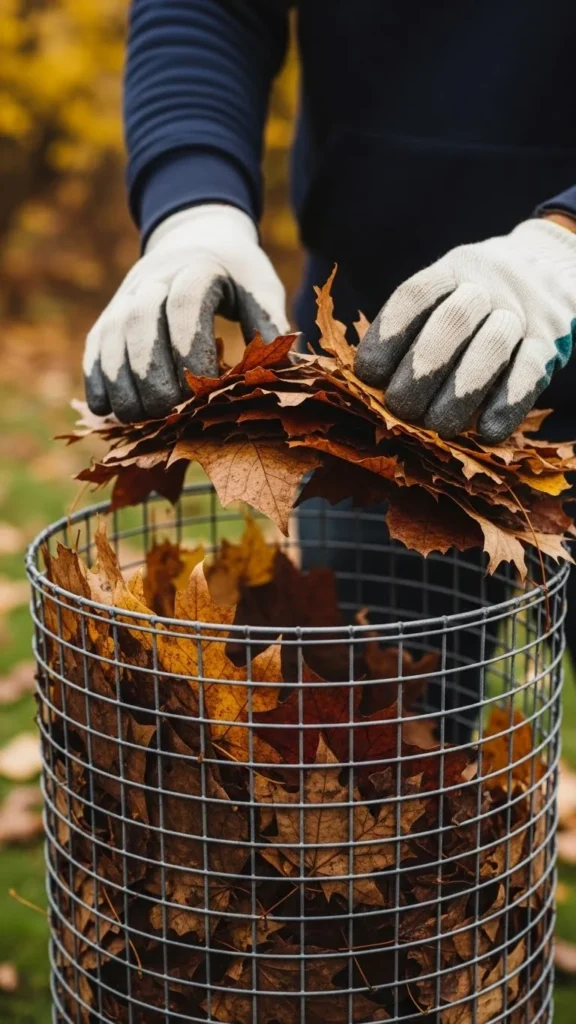
Leaf mold is simply rotted leaves, but it works wonders for soil texture.
Gather raked leaves into a dedicated cage or wire bin.
Moisten them slightly and let them sit for months, even years.
You don’t have to fuss over this pile.
Give it an occasional watering if it dries completely.
Over time, leaves collapse into dark, crumbly material.
Use finished leaf mold as a soil conditioner mixed into beds, especially where soil feels sandy or hard.
It improves moisture holding and gives soil a gentle, spongy feel.
Starting a leaf mold pile this winter means you’ll have a regular source of material for seasons ahead.
21. Label Future Crop Zones on Garden Stakes
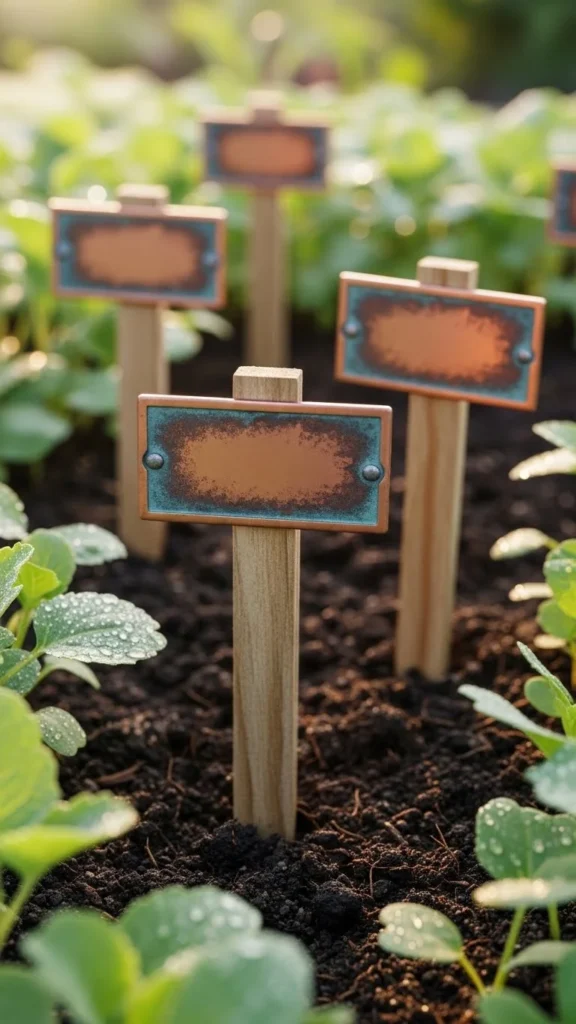
Winter soil prep ties closely to crop rotation.
Use weatherproof markers to label future crop zones on simple wooden stakes.
Write “tomatoes,” “roots,” “greens,” or “beans” rather than specific varieties.
Place stakes at bed corners or ends.
This reminds you which beds will host heavy feeders or light feeders.
When adding manure or compost, give heavier feeders richer beds.
You can make stakes from scrap wood or old fence pickets.
Seal the writing with clear nail polish or a spray so rain doesn’t erase it.
When seed packets arrive in spring, your soil plan is already mapped out in the garden itself.
22. Cover Raised Beds With Simple Row Fabric
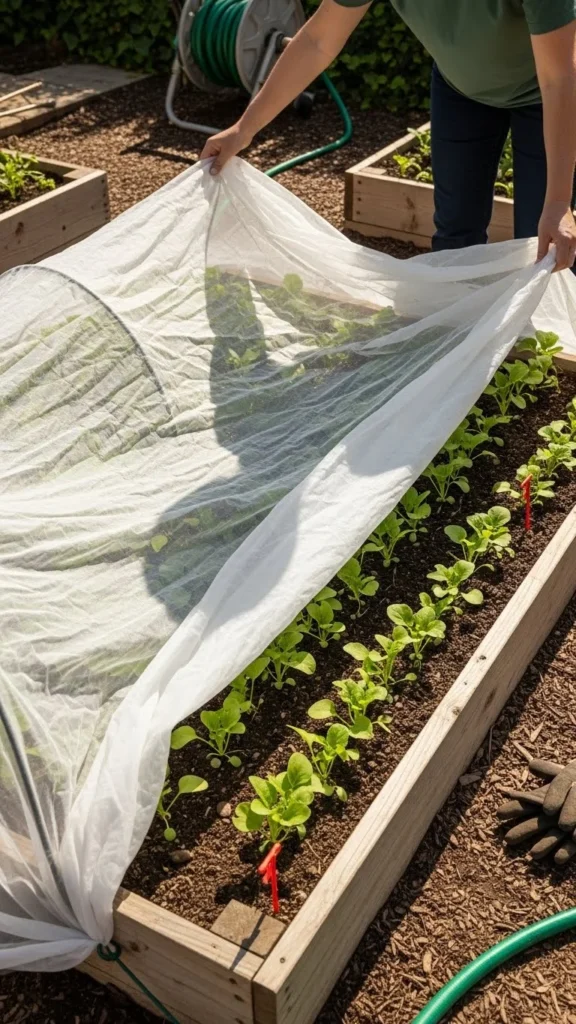
Light row fabric helps protect both soil and any overwintering crops.
Stretch it over hoops or simple stakes on raised beds.
Secure the edges with boards, bricks, or soil.
This cover softens rain impact, reduces wind, and slightly moderates temperature swings.
It also keeps cats or wildlife from using mulched beds as litter areas.
Under the fabric, compost and mulch layers stay more stable.
Row fabric is reusable from season to season.
Store it dry and folded when not in use.
With this simple cover, your winter soil work sits guarded until planting time.
23. Keep a Winter Garden Journal of Soil Changes
A small notebook or digital file dedicated to soil makes progress easier to track.
Each time you add compost, leaves, sand, or amendments, jot down what, where, and how much.
Note weather events that affected the garden, like heavy storms or long freezes.
Record any observations about puddles, frost heave, or areas that stayed crumbly.
Over months, patterns start to appear.
You can then adjust winter routines based on real results.
This journal does not need fancy charts.
Simple dates and short lines work fine.
By spring, you’ll have a clear record of how you cared for your soil, making future decisions smarter and more grounded in your own garden’s behavior.
Conclusion
Winter soil prep is quiet work, but it carries real weight for the growing season ahead.
By clearing beds gently, covering them with compost and mulch, adding organic matter, shaping drainage, and protecting structure from wind, water, and footsteps, you set up your garden for easier planting and stronger growth.
Pick a handful of ideas from this list—maybe leaf mulch, trench composting, and a soil test—and apply them to one or two beds this year.
As you watch those areas perform in spring, you can expand these habits across the whole garden, building soil that improves year after year with simple, steady winter care.

Leave a Reply