
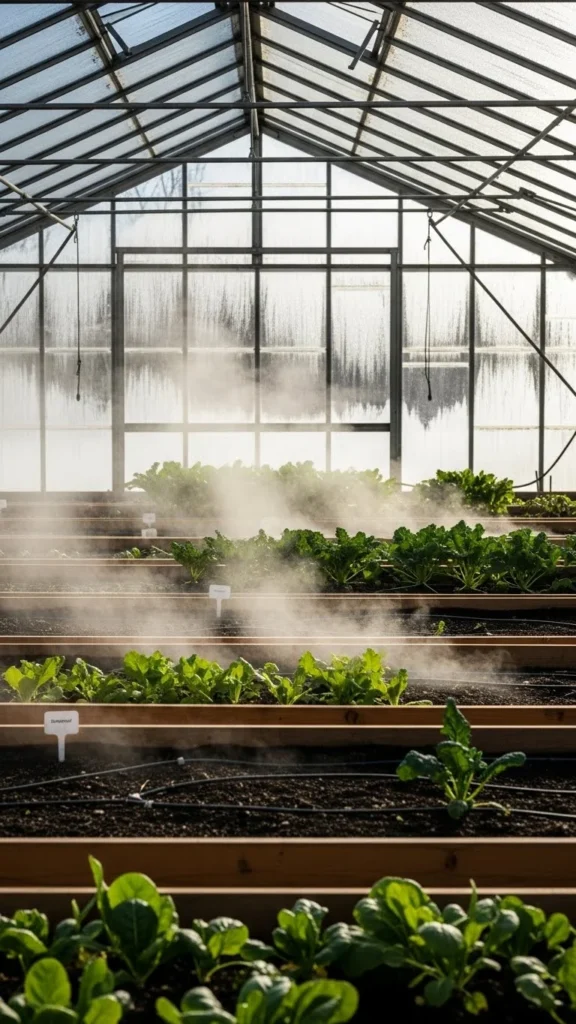
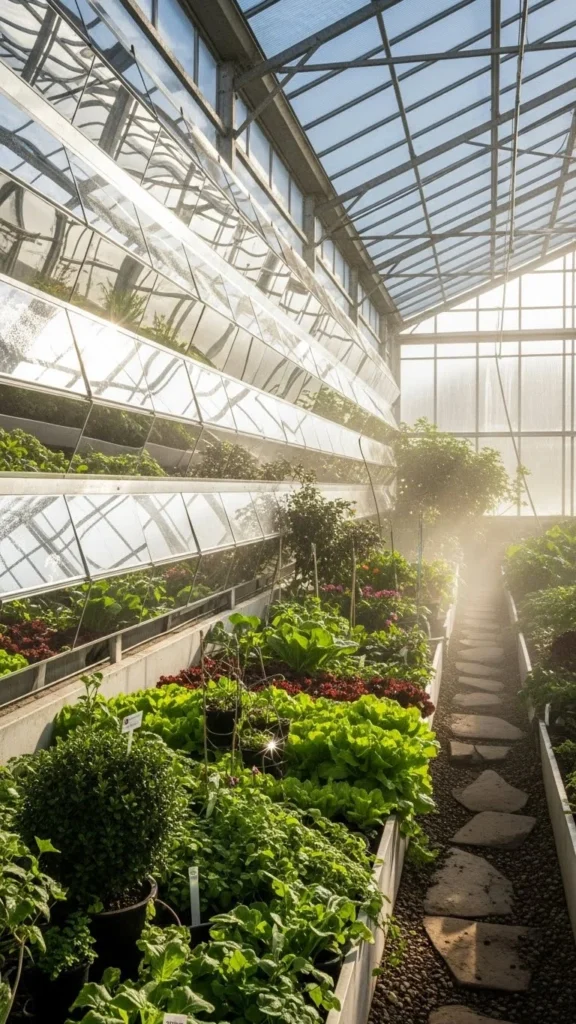
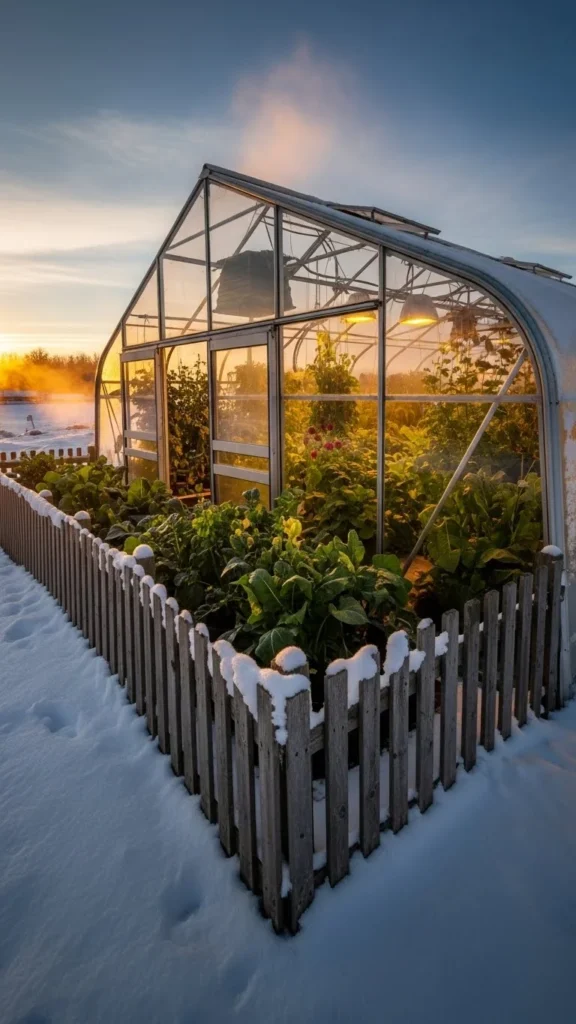
Cold seasons often feel like the moment gardening slows, but a smart winter greenhouse setup can stretch your growing months with simple, practical adjustments. With the right layout, heat management, and insulation tricks, you can keep crops thriving even after frost settles in. Each idea below focuses on real-world steps you can apply quickly without expensive upgrades.
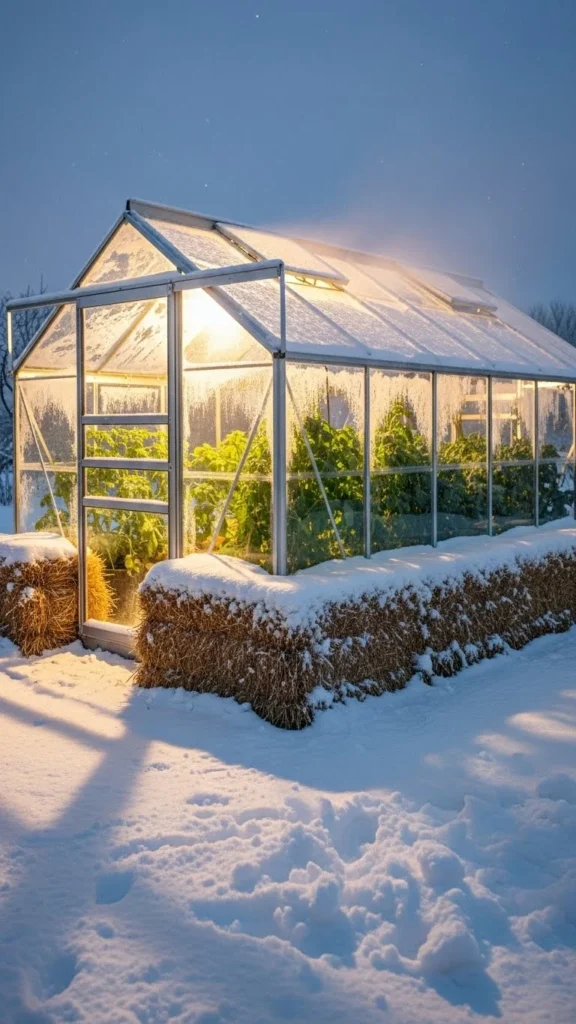
1. Double-Layer Poly Film Insulation
Adding a second poly layer helps trap warm air between the sheets. This makes the inside feel more stable even on freezing nights. It’s a quick upgrade you can do without replacing your whole structure.
Use wiggle wire channels or clips to secure the film. Keep it tight so wind doesn’t flap it around. The trapped air pocket acts as a simple buffer.
If money is tight, start with the side walls only. Even partial coverage helps hold warmth. You can also patch small gaps with clear tape. This slows heat loss and keeps the temperature steady.
Small greenhouses benefit the most from this setup. They hold warmth better because the space is compact. Try adding a small solar fan to keep air moving so moisture doesn’t build up.
A roll of film is usually enough for most home setups. This is one of the easiest upgrades for colder months and can help your plants stay stable through frosty weeks.
2. Thermal Water Barrels for Heat Storage
Water holds warmth better than air, making barrels an easy heat bank. They absorb sunlight during the day and release the stored warmth at night. Dark barrels work best because they absorb more light.
Line them along the north wall so they don’t block sun rays. This helps with temperature stability. You’ll notice less extreme highs and lows.
If you don’t have large barrels, use jugs or buckets. Grouping smaller containers creates the same effect. Make sure lids stay tight so algae doesn’t form.
This setup supports leafy crops, herbs, and root vegetables through cold nights. Many gardeners see a few extra degrees of warmth, which often makes the difference between wilt and survival.
Paint the containers black for better heat absorption. You can also stack bricks around them to create additional thermal mass. Start with two or three barrels and add more when you see improvement.
3. DIY Bubble-Wrap Wall Lining
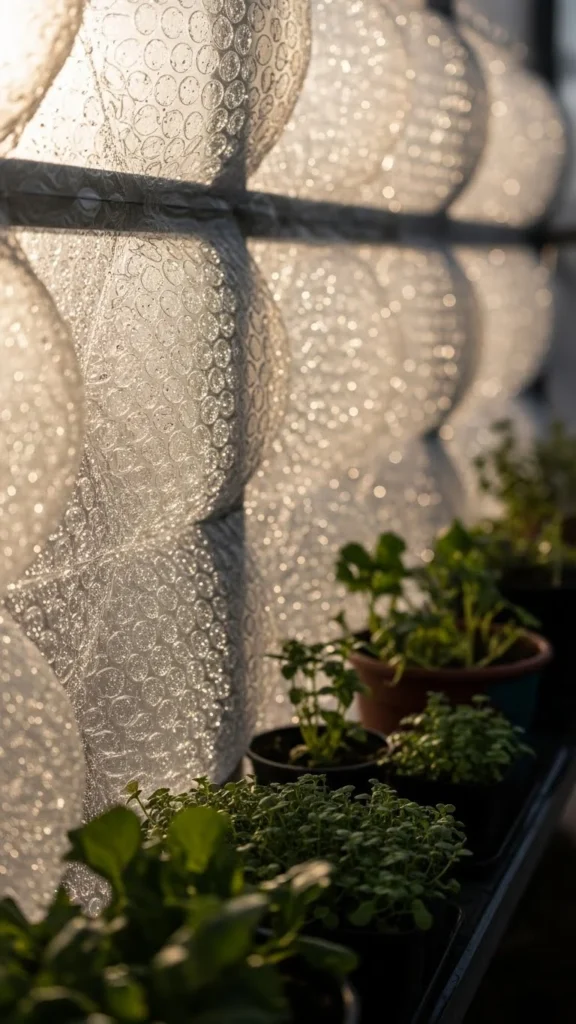
Bubble wrap helps hold warm air while still allowing enough light through. It’s cheap, quick to install, and surprisingly effective.
Attach it using clips or double-sided tape. Cover the north, east, and west sides first. These are the coldest areas. Leave the south side with lighter insulation so sun rays can reach your beds.
If the wrap starts to sag, add small support strips. Keep it tight so condensation doesn’t collect too much. A quick wipe every few days helps keep light flowing.
This method is great for small greenhouses or beginners. You can adjust or remove sections easily when weather changes.
Try using large-bubble wrap. It allows more light while still holding warm pockets. For shelves, wrap individual units to create mini warm zones around delicate seedlings.
4. Raised Bed Soil Warmers
Warming cables beneath raised beds give roots a stable environment. Cold soil slows plant growth, so keeping it slightly warm helps crops continue producing.
Installation is simple. Lay the cable evenly, cover it with soil, and plug it into a thermostat. Set the temperature low. You don’t need high heat, just enough to keep the soil above freezing.
If cables are out of budget, use compost heating instead. Alayer of fresh compost near the bed releases gentle warmth while breaking down. This works surprisingly well for greens and herbs.
You can test soil warmth with a cheap thermometer. Even a few degrees can improve germination and growth.
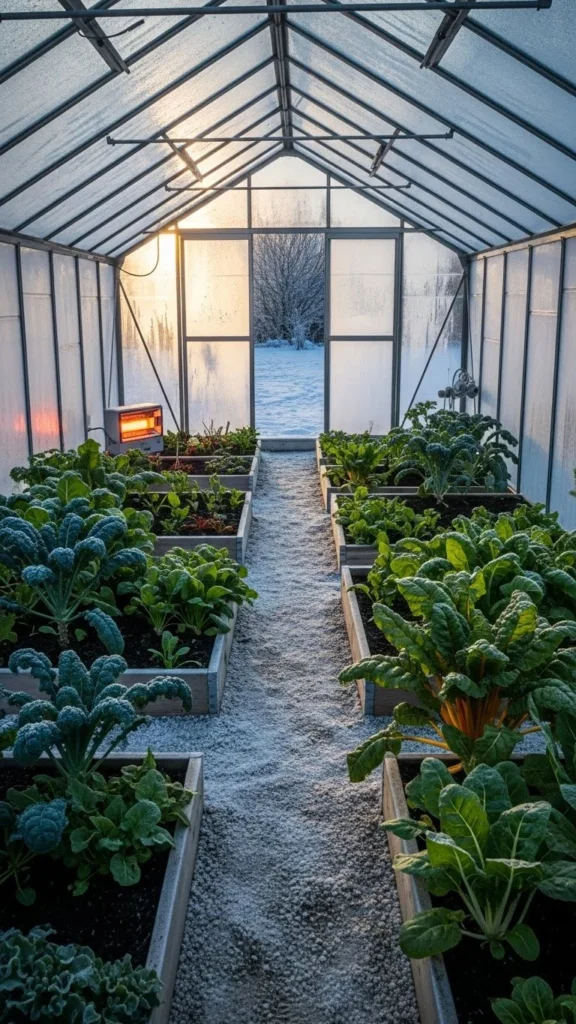
5. Compact Space Heater Corner Setup
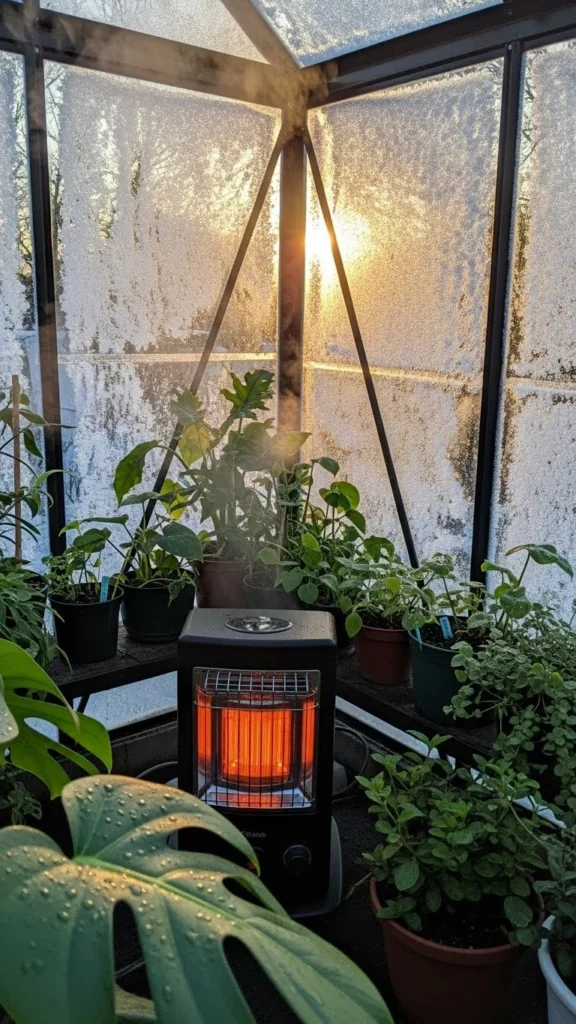
A compact heater helps keep the greenhouse livable during freezing nights. Place it in a corner and point it toward an open space, not directly at plants.
Choose a model with a thermostat for better control. Set it low. You only want enough warmth to protect plants, not create a hot room.
Add a small fan to move air gently. This prevents hot pockets and helps keep humidity stable. Many gardeners plug heaters into timers so they run only during the coldest hours.
Keep cables off the ground. Use hooks or brackets to lift them. This keeps them dry and safe. Start small with one heater and adjust based on temperature readings.
6. Cold Frame Inside the Greenhouse
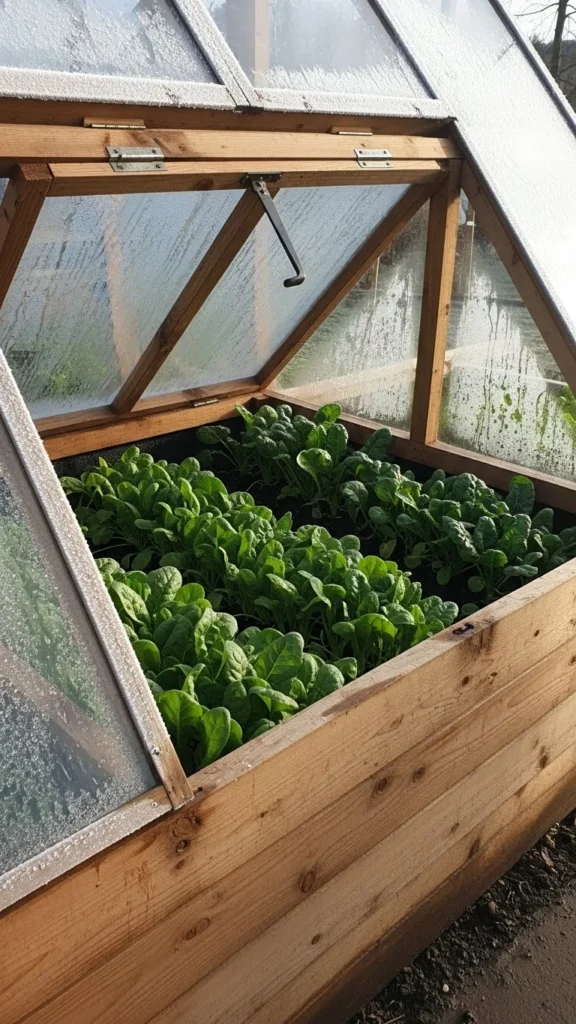
Placing a cold frame inside your greenhouse creates a second layer of protection. This mini-enclosure helps delicate crops survive harsh drops in temperature.
Build one from scrap wood and old windows. Even lightweight panels work well. The lid helps trap warm air close to the soil.
Position it on the warmest side of the greenhouse. A sunny patch works best. You’ll be surprised how much warmer the soil feels inside the frame.
Try growing spinach, cilantro, and lettuce inside it. These crops tolerate cold but thrive even better with the extra layer.
7. South-Facing Shelving System
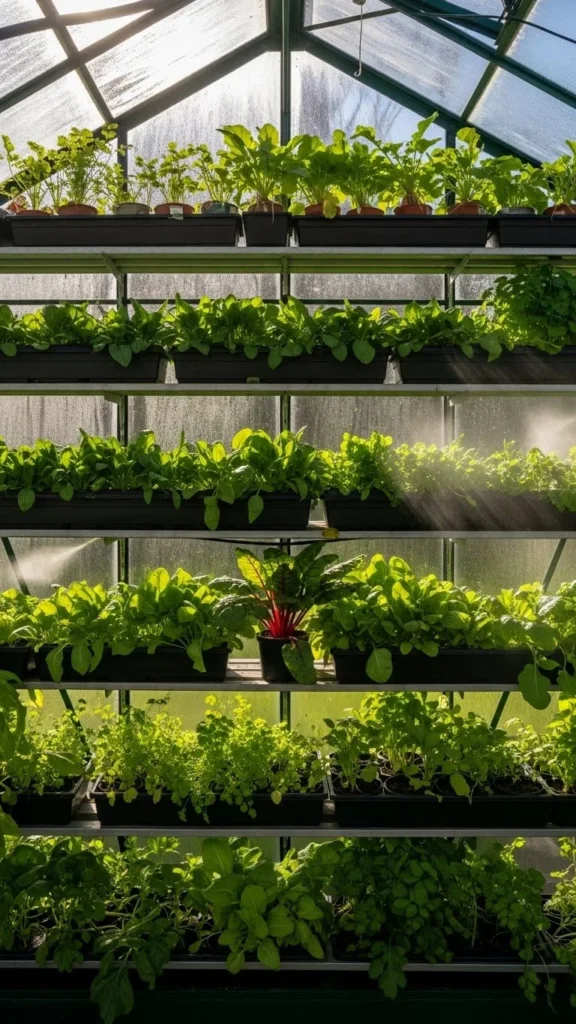
South-facing shelves capture maximum sunlight. This helps keep small pots warm during short winter days.
Use wooden or metal shelves. Make sure they don’t cast too much shade on lower areas. If needed, space the tiers wider apart.
Add reflective material behind the shelves. Foil or Mylar redirects light onto plants. This simple trick brightens dark corners without extra lights.
Rotate pots every few days. This helps plants grow evenly. Specialty greens like mizuna and claytonia love these warm spots.
8. Reflective Light Panels
Reflective panels brighten low-light days. They redirect rays from weak winter sun onto your crops.
Install them behind plant rows or along the north wall. Make sure the panels are clean. Dust reduces light reflection.
Foil-covered cardboard works if you’re on a tight budget. Cut panels to match your layout. They help brighten dark corners where plants struggle.
This trick supports leafy crops like kale or chard. They respond well to increased light. Replace panels if they wrinkle or tear.
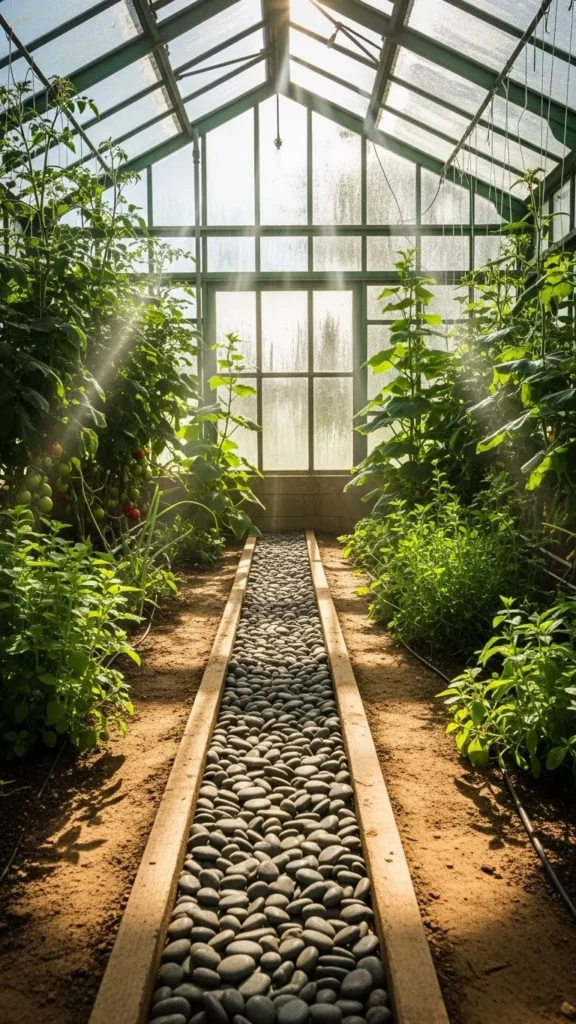
9. Gravel Floor for Heat Stability
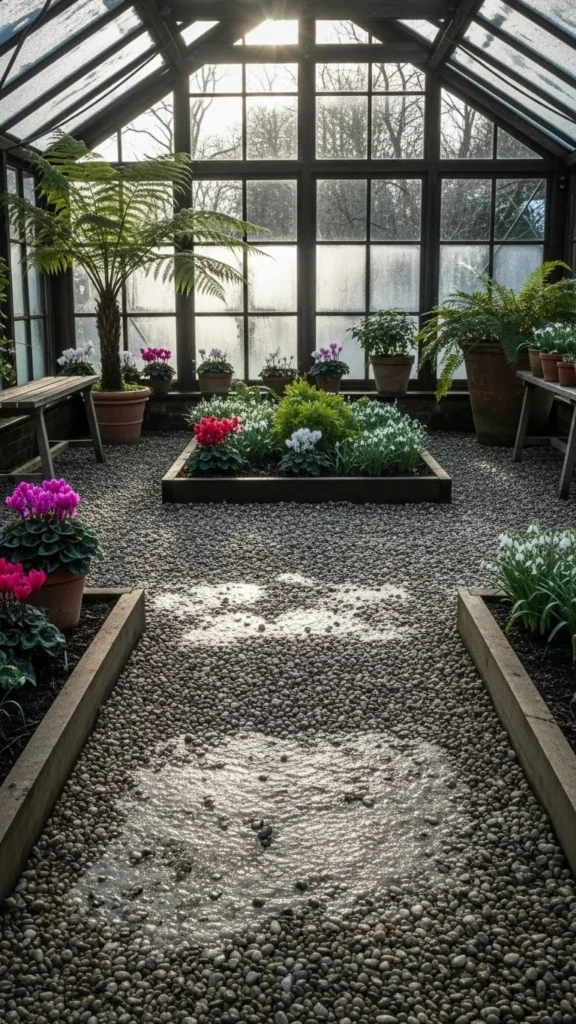
A gravel floor helps manage moisture and temperature. Stones warm slowly during the day and release warmth evenly through the night.
Spread a thick layer to create a stable walking surface. Add stepping stones if you want cleaner paths. Gravel drains well, reducing standing water in winter.
If you already have soil flooring, convert just the main path. Even partial coverage helps keep humidity in check. Use darker gravel for better heat absorption.
10. Solar Vent Opener for Airflow
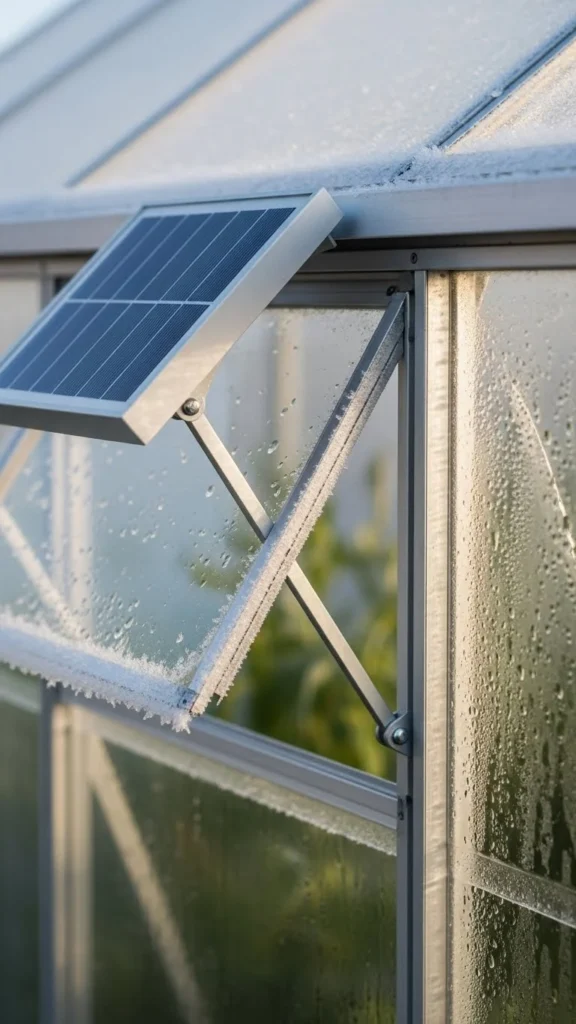
Winter still requires good airflow. A solar vent opener provides hands-free ventilation when temperatures rise during sunny hours.
Install it near the roof where warm air collects. It opens automatically when temperatures rise. This prevents overheating and plant stress.
You won’t need batteries. It works on its own. Pair it with a small window on the opposite wall for cross-ventilation.
11. Windbreak Fence or Hedge
Cold winds pull warmth from greenhouse walls. A windbreak helps reduce heat loss. It also protects poly film from tearing.
Use pallets, hedge plants, or simple wooden slats. Position the barrier on the side facing the strongest winds. Even a short fence helps reduce pressure on your structure.
Add straw bales as seasonal windbreaks. They’re cheap and easy to move around. Remove them in spring to improve airflow.
12. Straw Bale Perimeter Insulation
Straw bales create a natural insulating wall around your greenhouse. They block cold air near the base where heat typically escapes.
Stack them neatly along the outer walls. Avoid gaps. Replace wet bales as needed. They can last the whole winter if shielded from excessive moisture.
This is a quick seasonal fix. It works well for plastic and metal greenhouses. Remove them when weather warms so pests don’t settle in.
13. Compost Heat Box
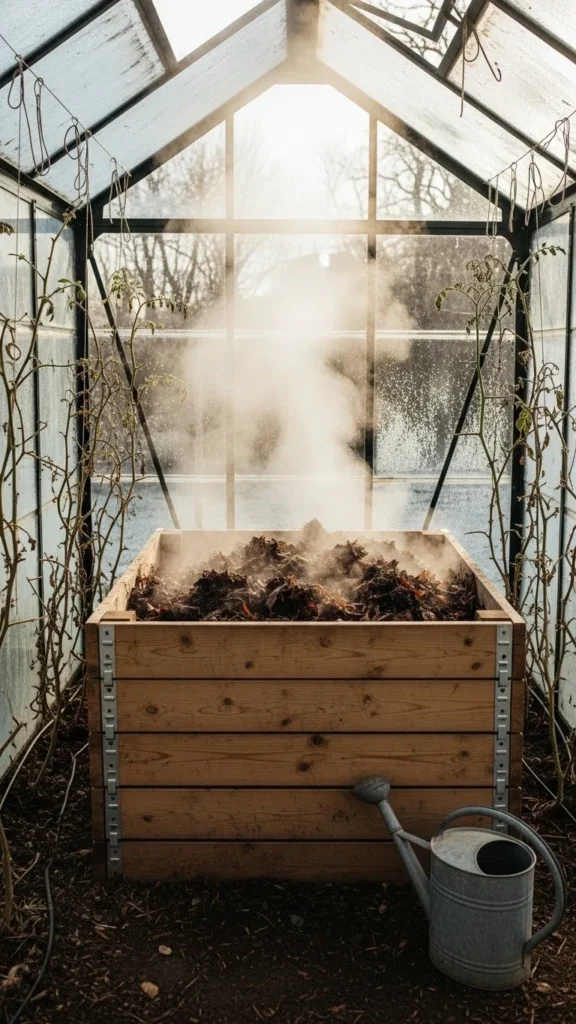
A compost heat box acts like a natural heater. As materials break down, they release warmth.
Fill it with straw, leaves, and kitchen scraps. Keep it moist but not soggy. Turn it lightly every week to maintain activity.
Place it near hardy crops or along the coldest wall. The gentle heat radiates outward. Many gardeners pair this with water barrels for better temperature stability.
If you don’t want a box, make a compost pile in one corner. Cover it with a breathable tarp.
14. LED Grow Light Supplementation
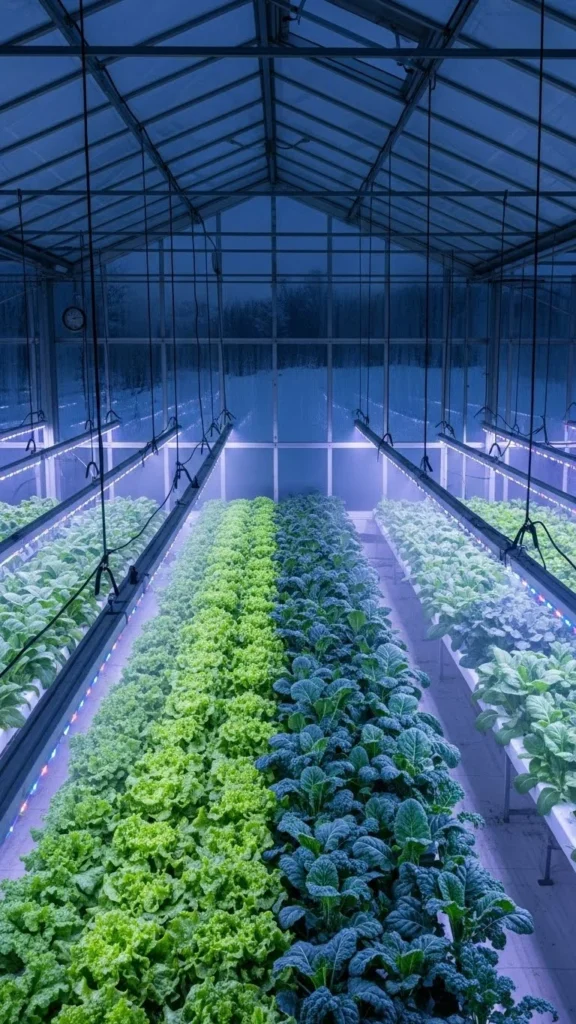
Winter days are short. LED lights help plants get enough hours of brightness. Hang them just above your crops but not too close.
Use a timer for consistency. Many gardeners use 10–12 hours of light for winter greens. Choose full-spectrum bulbs for balanced color.
You can start with one light bar above your busiest bed. Add more only if plants stretch toward the light. Keep bulbs clean for better brightness.
15. Heat-Retaining Stone Wall
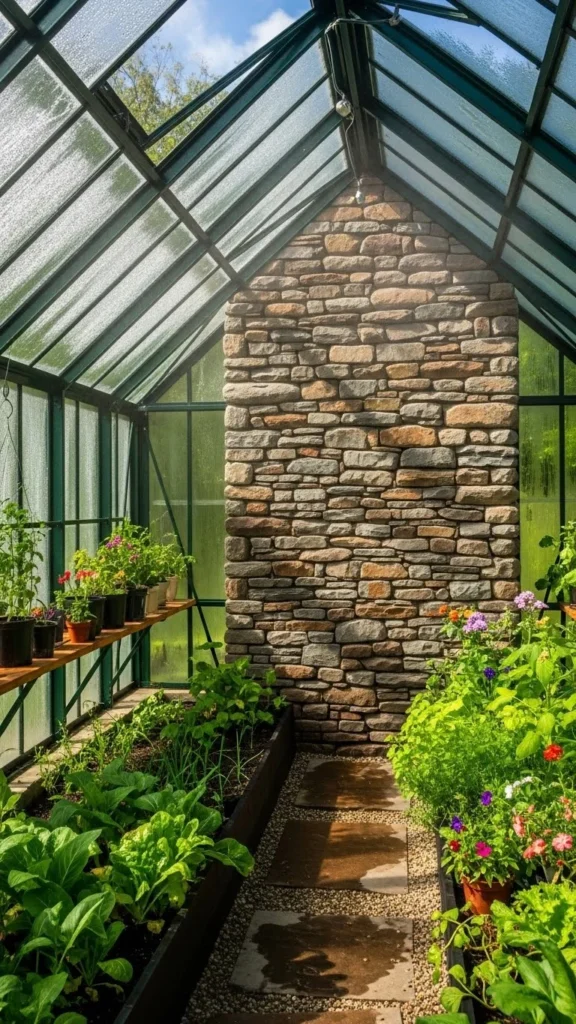
A stone wall acts as thermal mass. It absorbs sunlight during the day and releases warmth slowly at night.
Line the north side or an inner walkway. Stones are cheap if you source them locally. Even a short wall helps stabilize your space.
Keep plants near the wall on cold nights. You’ll notice a warmer microclimate. Add dark stones if you want more heat absorption.
16. Hanging Planters for Warm Air Zones
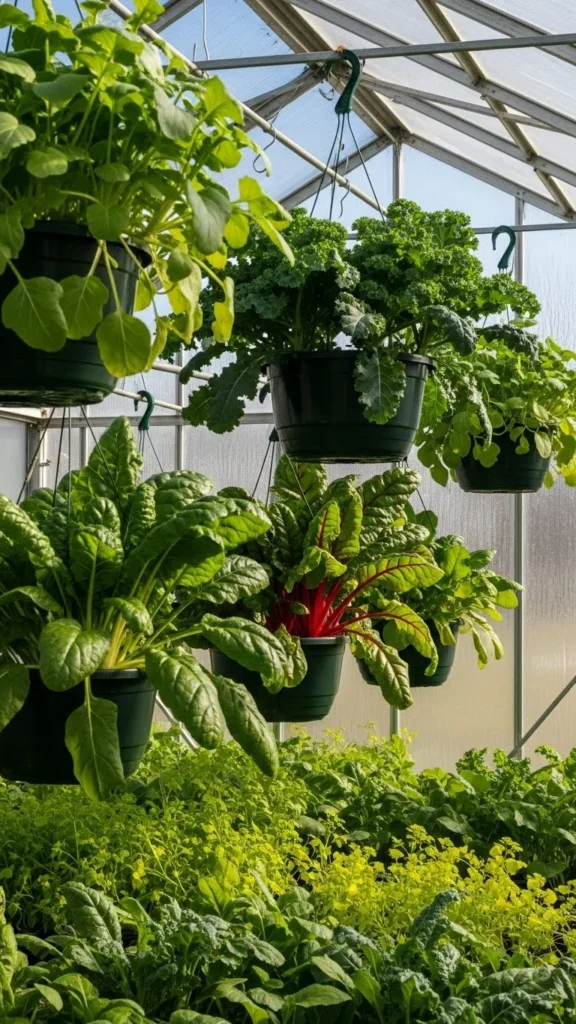
Warm air rises, which makes the upper area useful for hanging crops. Many winter herbs love these slightly warmer pockets.
Use sturdy hooks to hang baskets. Place them on the south side where sunlight is strongest. Water lightly because baskets dry faster in warm pockets.
Try oregano, mint, parsley, and small leafy greens. Rotate baskets weekly so they grow evenly.
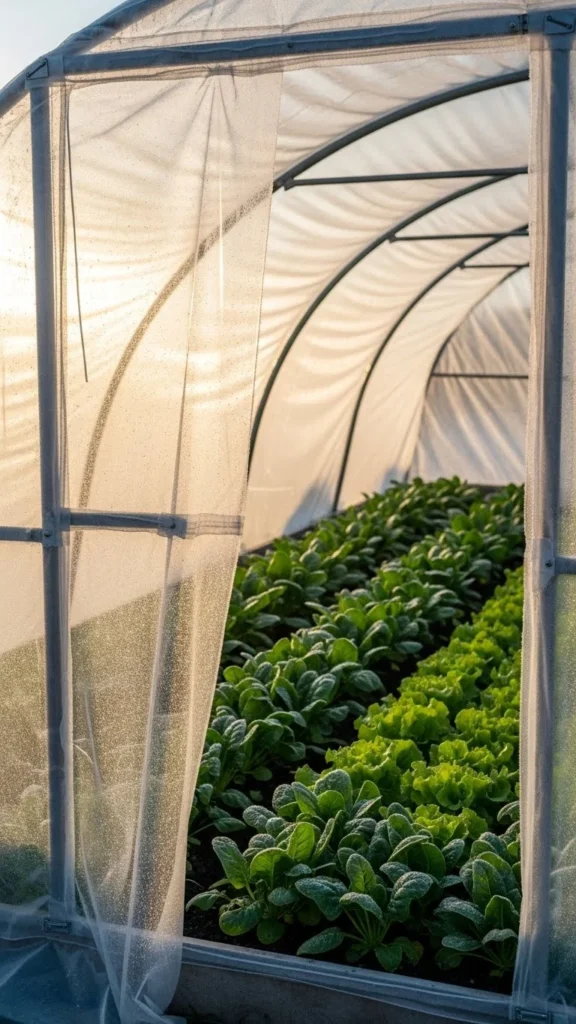
17. Row Covers Inside the Greenhouse

Row covers add another layer of warmth. They trap air directly around the plants.
Use lightweight fabric for easy handling. Drape it loosely so leaves don’t press too hard against the cloth.
This creates a warmer microclimate for sensitive crops like lettuce or arugula. Combine it with a heater or water barrels for better stability.
Remove covers on sunny days if temperatures climb too high. Replace them in late afternoon to keep warmth near the soil.
18. Pebble Heat Sink Trench
Pebbles act as mini thermal masses. They absorb warmth during daylight and release it when temperatures drop.
Dig a shallow trench and fill it with dark stones. Keep it near the plants so warmth spreads evenly. On cloudy days, it still offers moderate temperature support.
If pebbles are hard to find, mix gravel and rocks. Try adding bricks on the edges for extra heat retention.
19. Reflective Water Tray Under Pots
Shallow trays filled with water add brightness and warmth. They reflect sunlight onto the lower parts of plants while holding gentle heat.
Add a thin layer of water. Don’t submerge pots. Keep trays clean so they reflect well. This trick helps seedlings and leafy crops that need extra light.
Use metal trays or pans for better reflection. Place them below south-facing shelves for maximum effect.
20. Mini Hoop Houses Over Beds
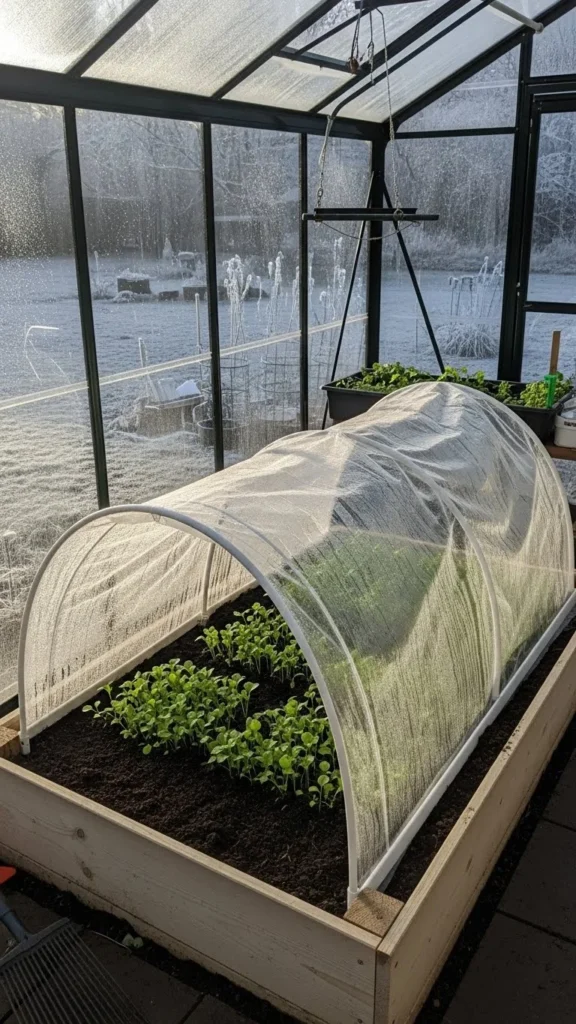
Mini hoops add a third layer of warmth. They trap heat directly around the crops and work well inside a larger greenhouse.
Use PVC or metal rods. Cover them with plastic or row cover fabric. Keep ends slightly open for airflow.
These small tunnels help hardy crops stay productive well into winter. They’re easy to move and adjust as weather shifts.
21. Drip Irrigation with Warm Water Reservoir
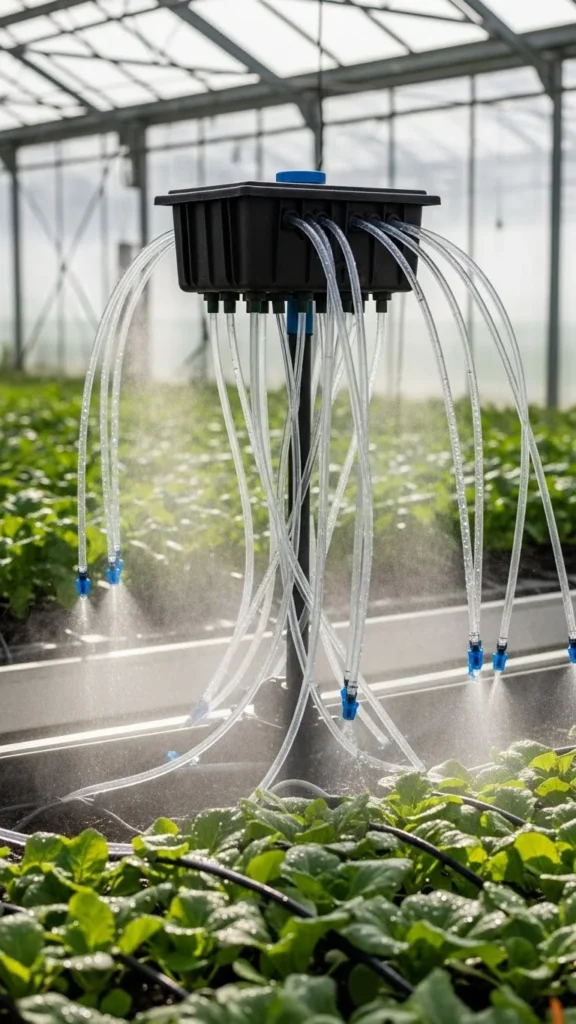
Cold water shocks roots. A small heated reservoir keeps irrigation gentle.
Use a dark container so sunlight warms it naturally. Connect it to a simple drip line. Water lightly to prevent soggy soil during the cold months.
This approach supports steady growth in leafy crops. Keep the reservoir elevated for smoother flow.
22. Concrete Block Heat Columns
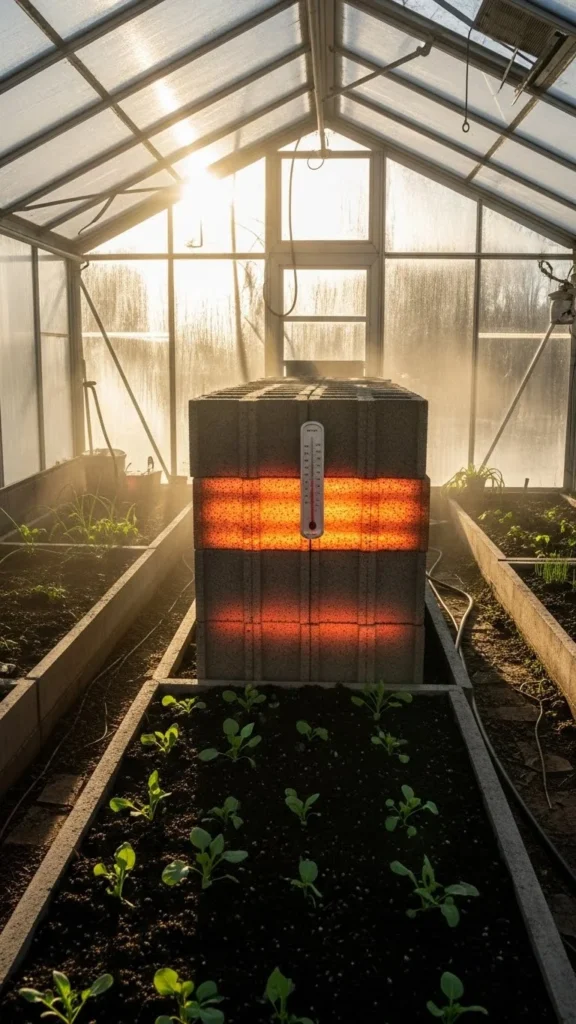
Concrete blocks absorb and release warmth slowly. Stack them along cold walls or near walkways.
They create small warm pockets for plants. You can even place pots on top so roots stay warm. Darken the blocks with non-toxic paint for better heat storage.
This is a cheap, long-lasting upgrade you can adjust easily through the season.
23. Mulched Pathways for Temperature Stability
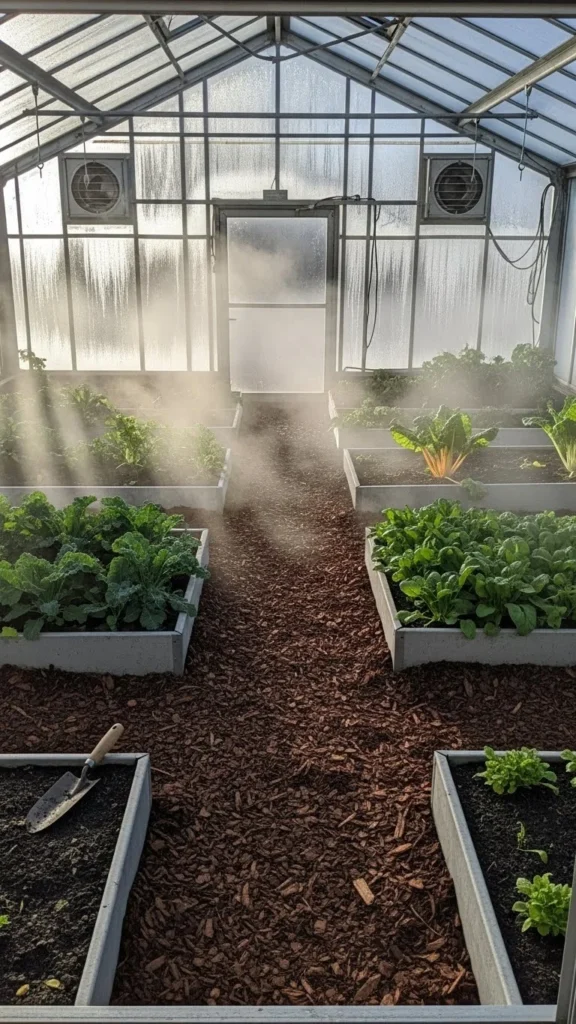
Mulched paths help stabilize humidity and warmth. Wood chips or straw work well.
Spread a thick layer along walkways. This reduces cold air settling on the ground. It also keeps moisture balanced inside the structure.
If mulch gets too wet, turn it lightly with a rake. Replace patches when needed.
24. DIY Thermal Curtains for Nighttime
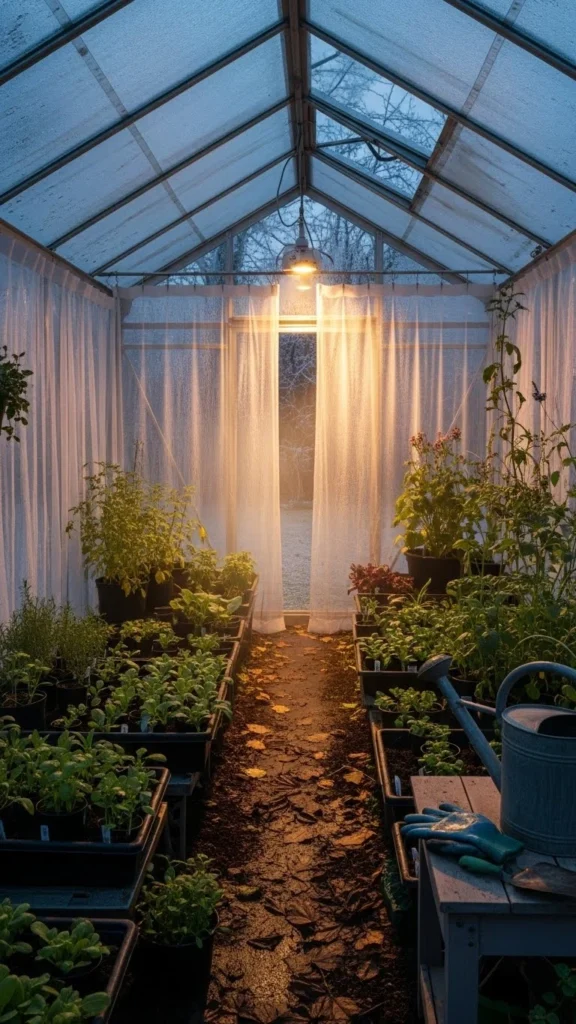
Thermal curtains help hold warmth during long winter nights. Pull them closed after sunset and open them in the morning.
Use quilted fabric or reflective insulation sheets. Attach them with hooks so they’re easy to move. You can cover just the north side for a quick upgrade.
Small greenhouses benefit greatly from this simple nightly habit.
Conclusion
A winter greenhouse doesn’t require complicated systems or expensive equipment. Simple layers, thoughtful placement, and small heat-holding tricks help your plants stay productive long after the first frost. Try one or two ideas this week and watch how quickly your growing space becomes more stable and reliable even during colder months.

Leave a Reply