
Winter hedge trimming helps your yard look clean, balanced, and well cared for during quieter garden months. With growth slowed, structure becomes easier to see, making this the perfect moment to refine shapes, remove damaged sections, and create tidy silhouettes. These plans focus on easy shaping styles, simple tools, and practical winter-friendly approaches that give your hedges a cleaner presence heading into spring.
1. Straight-Line Hedge Shape
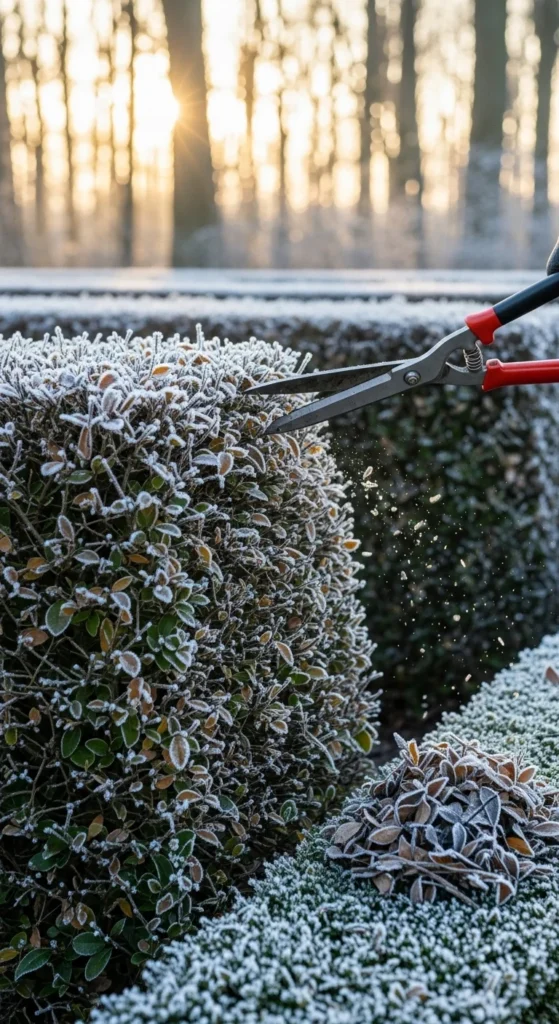
A straight-line cut gives hedges a sharp, tidy profile. This shape works well for hedges that border driveways or pathways. Start at one end and move steadily along the top, keeping trimmer strokes smooth.
To stay budget-friendly, stretch a string line between stakes to guide your cuts. This keeps everything level. Trim the top first, then move to the sides. Take off small amounts at a time so you don’t cut too deep. Step back every few minutes to check your progress. Winter light helps you see uneven sections clearly. Sweep up loose branches once finished to keep the yard neat.
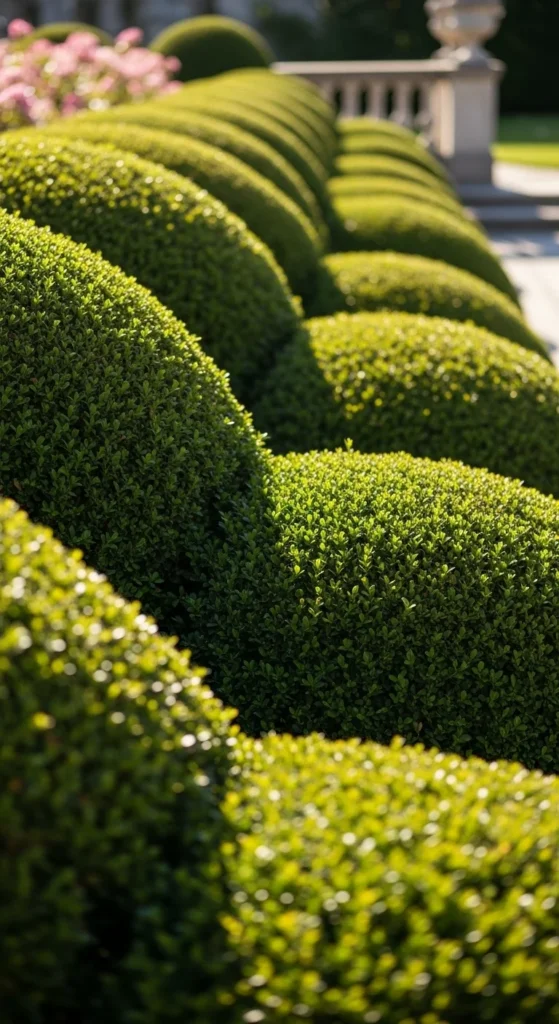
2. Soft Rounded Top Shape
Rounded tops give hedges a relaxed, friendly look. This style works best on evergreen shrubs that have flexible branches during winter.
Use light, sweeping motions as you trim across the top. Imagine a gentle arc and follow it from end to end. You can use cardboard cutouts as shaping guides if you want more consistency. A simple DIY method is bending a flexible rod and using it as a template. Remove stray shoots along the sides after shaping the top. Rounded shapes handle snow better because snow slides off instead of weighing down branches.
3. Sloped Hedge Sides for Better Light
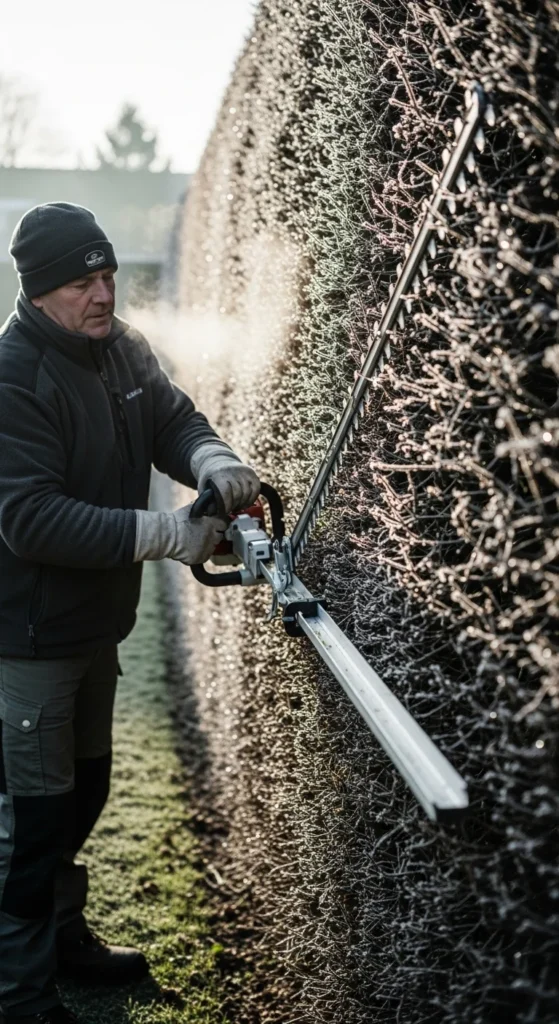
Angled sides help sunlight reach lower branches, keeping hedges fuller. Winter is a good time to create this structure since leaves are less dense.
Trim the top slightly narrower than the base. Use a long trimmer or manual shears to guide the angle. A budget trick is leaning a board against the hedge at the angle you want, then trimming along the edge. This reduces patchiness later. Once finished, remove inner dead twigs so new growth can fill in come spring.
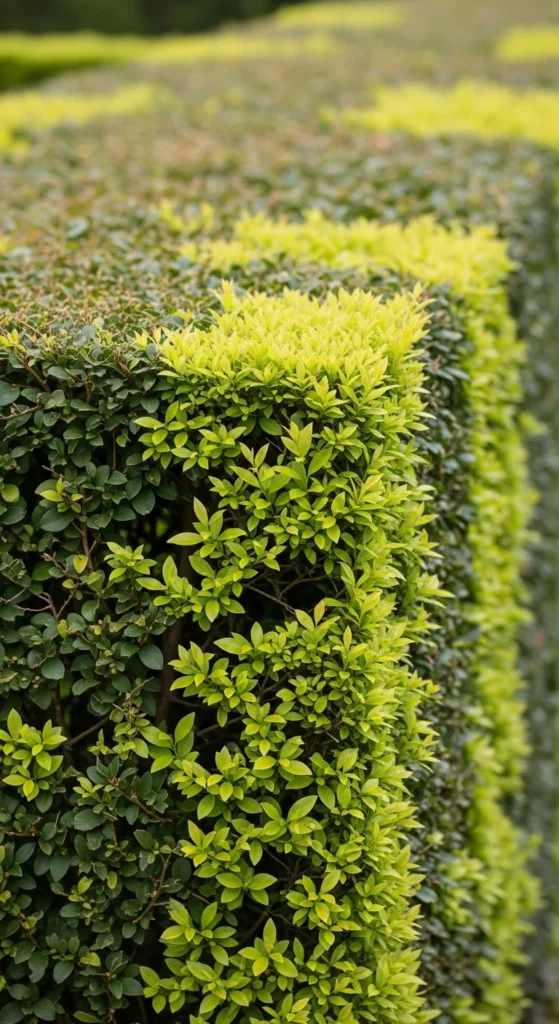
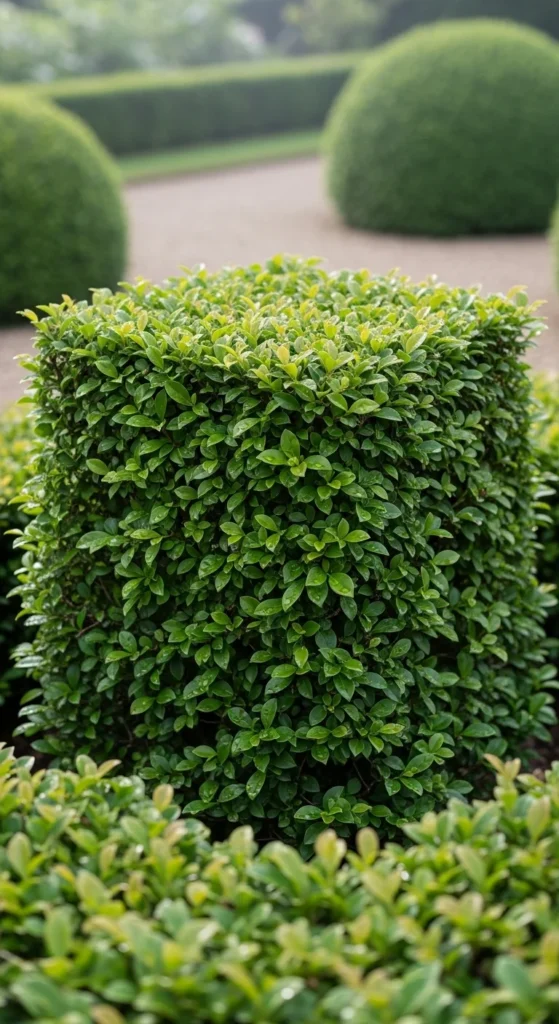
4. Boxed Corner Shape for Modern Yards

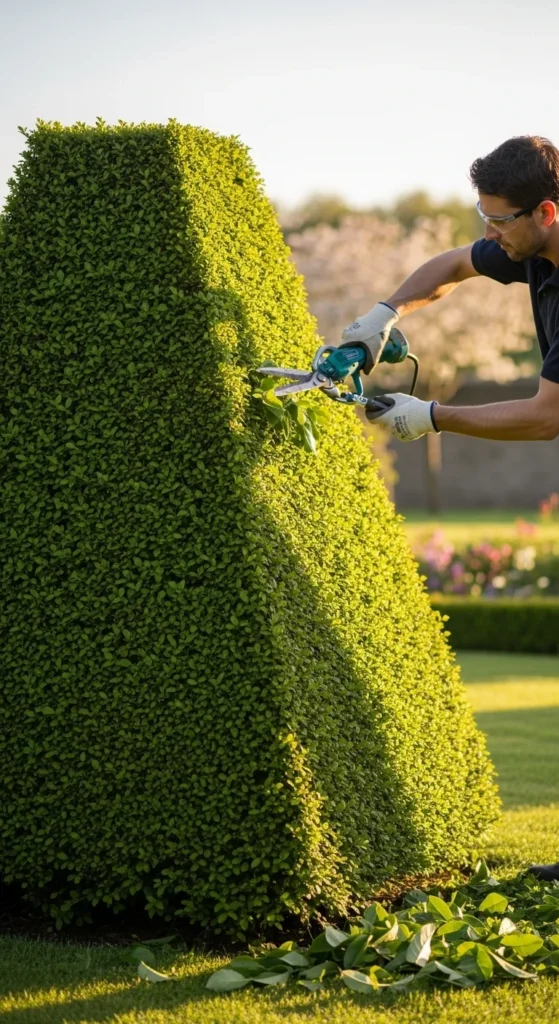
Box-shaped corners create a clean, modern style. This shape works best for hedges that grow dense and respond well to clipping.
Use a carpenter’s square or cardboard L-shape to guide the corners. Trim slowly to avoid chopping too deeply. Keep stepping back to check balance. A cheap method is using wooden sticks as guides. This boxed style pairs well with stone pathways or minimalistic yards. Finish by trimming stray side shoots.
5. Snow-Friendly Dome Shape

Dome shapes prevent snow from piling on top. This protects branches from bending.
Start by cutting the top into a shallow curve. Trim downward in smooth motions. For a DIY guide, place a half-circle template on top. Dome shapes work well for hedges in open areas where snow collects easily. Remove any broken branches while shaping.
6. Tiered Layer Hedge

Tiered hedges add visual interest and help improve airflow.
Trim the top section first, keeping it narrower than the lower tiers. Work downward, cutting each layer slightly outward. This structure supports stronger growth later. A budget method is using sticks and twine to outline each tier. Keep layers shallow so the hedge stays natural-looking.
7. Arched Walkway Entrance

Arched hedge entrances add charm to garden paths. Winter helps reveal structure clearly.
Trim the center first, then shape both sides to meet in the middle. Use a flexible PVC pipe bent into an arch as a guide. Clip slowly to avoid removing too much. Sweep debris for clean entry pathways.
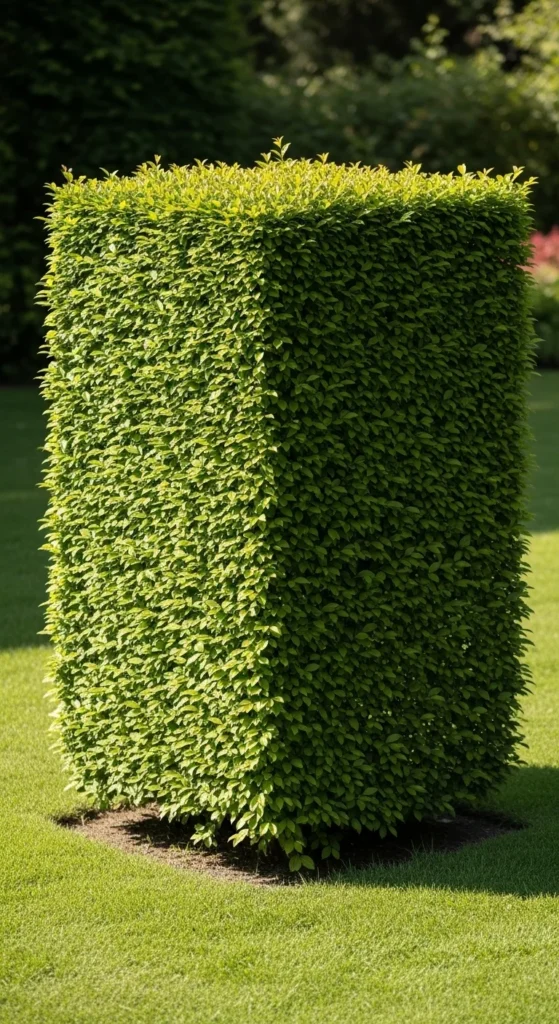
8. Pillar-Style Hedge Columns

Tall, narrow pillars create striking accents in winter gardens.
Choose hedges with upright growth habits. Trim the sides vertically using steady downward strokes. Use a wooden plank as a guide for straightness. Budget-growers can even convert overgrown shrubs into pillars by cutting deep and letting new growth fill in.
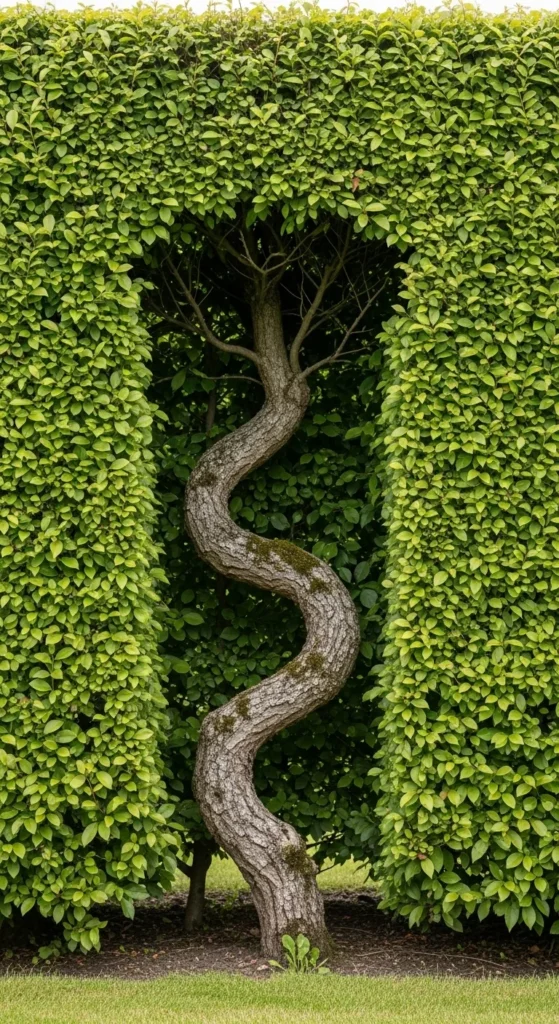
9. Window Cutout Design

Window cutouts add character and highlight views.
Mark the cutout area with chalk. Trim slowly inside the outline. Remove branches cleanly so light passes through. A budget-friendly guide is a cardboard square taped to the hedge. Clear out debris so the opening stays crisp.
10. Soft Cloud-Shaped Hedge
Cloud shapes bring a playful vibe. They fit naturalistic gardens.
Trim your hedge into rounded mounds of different sizes. Keep transitions smooth. Use manual shears for better control. For a DIY template, cut curved outlines from cardboard. Work slowly to avoid flat spots. This style hides minor imperfections well.
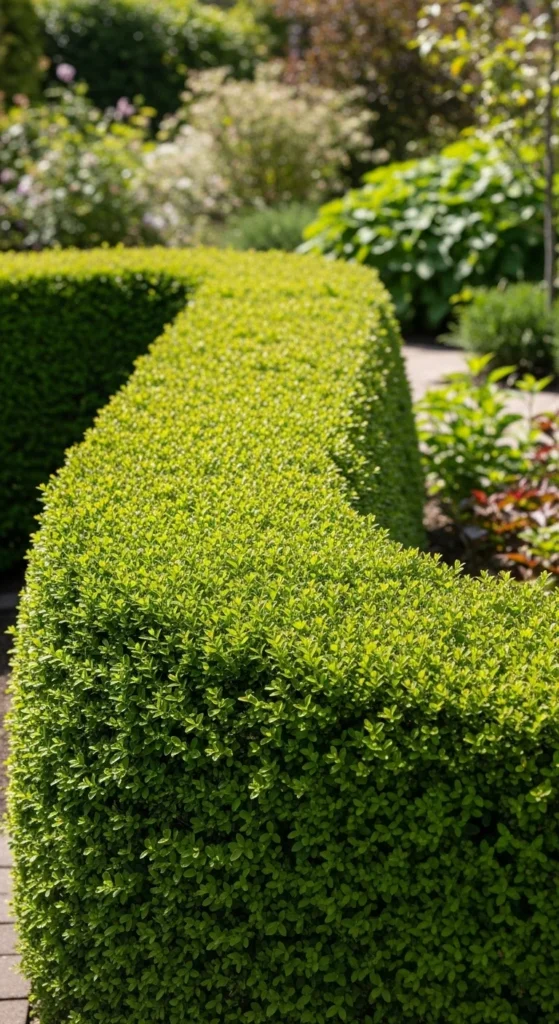
11. Mixed-Height Wave Pattern

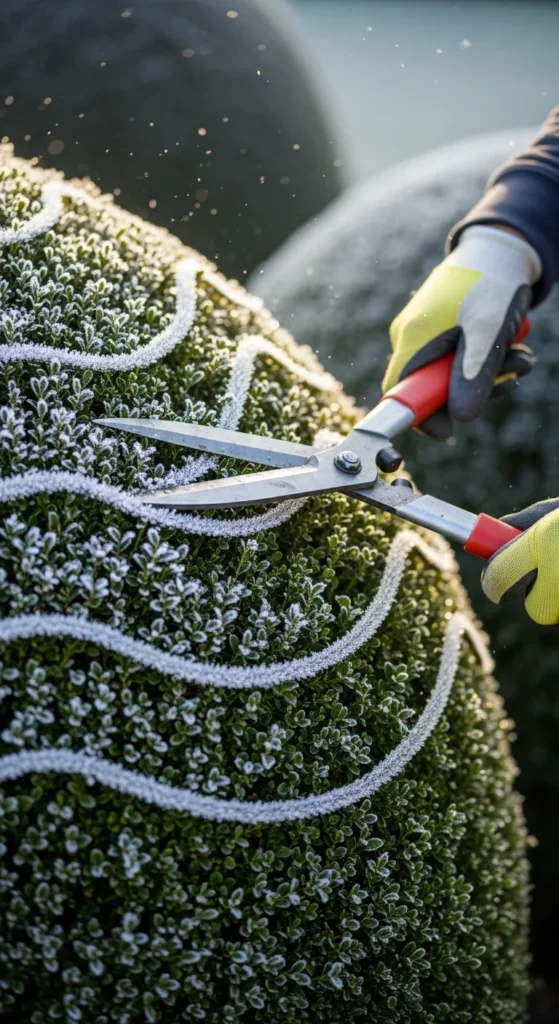
Wave patterns create motion and rhythm along fences or driveways.
Mark high and low points with stakes. Trim between them in a flowing curve. Step back often to check continuity. A cost-saving trick is bending a garden hose into a wave shape for guidance.
12. Clean Base Lift
Lifting the base shows clean trunks and reduces dampness.
Trim lower branches so they sit above ground level. This prevents moisture buildup. Use shears for precise cutting. For a cheaper tool option, repurpose pruners from indoor plants. Remove debris at the base to keep the line sharp.
13. Corner-Softening Side Curve
Rounding a hedge corner softens the look of garden boundaries.
Trim the corner lightly at first. Increase the curve gradually. Use a rope tied between two stakes to visualize the arc. This style adds flow near patios or walkways.
14. Tight Compact Shrub Form
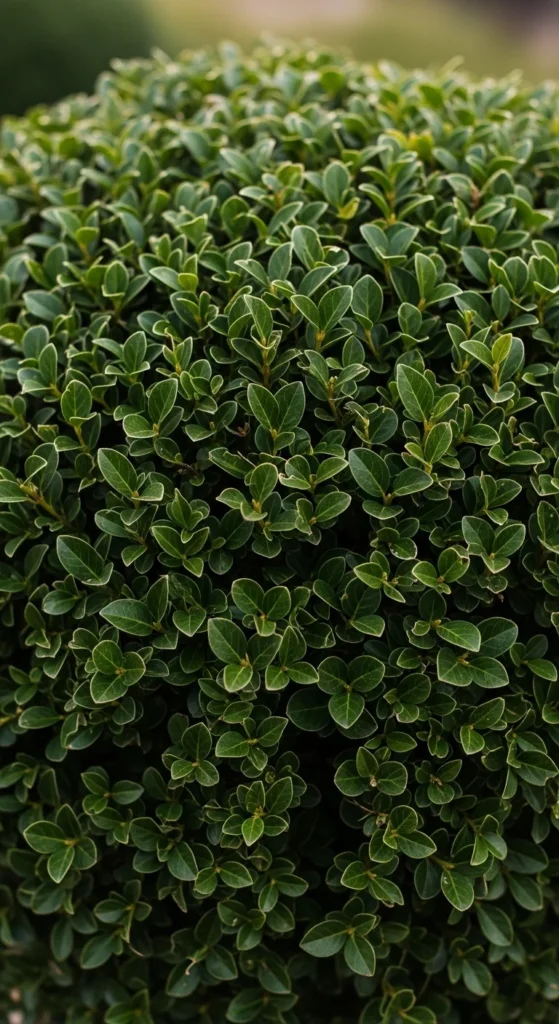
Compact forms create tidy winter silhouettes.
Use sharp shears and trim small bits at a time. Keep checking for symmetry. A budget trick is spinning the pot or walking around the shrub for a full 360° view. Remove dead twigs for better airflow.
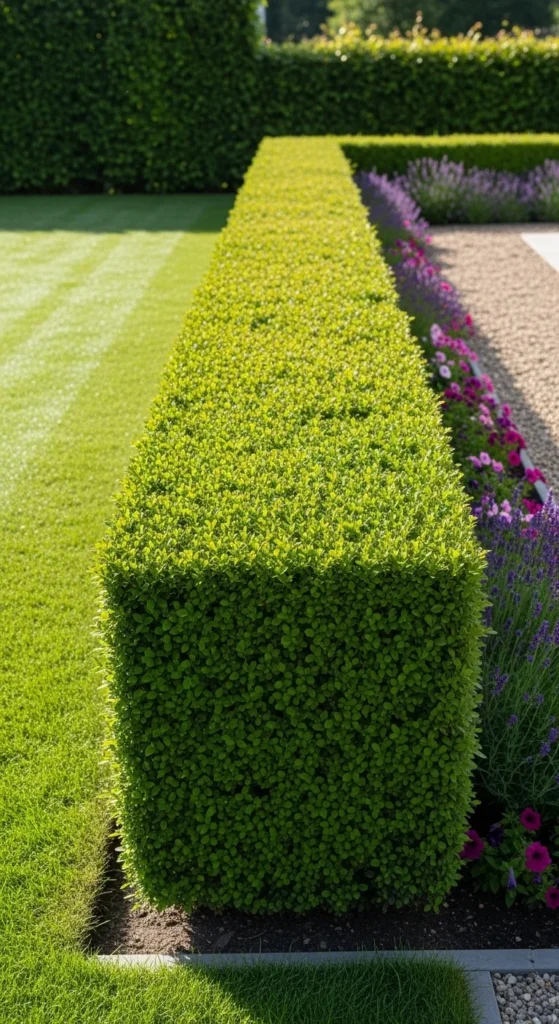
15. Square Block Hedge
Square blocks create bold structure.
Use stakes and strings to square off edges. Trim the top flat and sides straight. This works well for hedges lining walkways. Keep the base slightly wider for stability.
16. Slender Divider Hedge
Slender dividers help section off spaces while staying minimal.
Trim hedges narrow while keeping height moderate. Use a board as a width guide. Sweep frequently so you see the true shape. This style works well for small yards.
17. Clean Ice-Damage Repair Trim
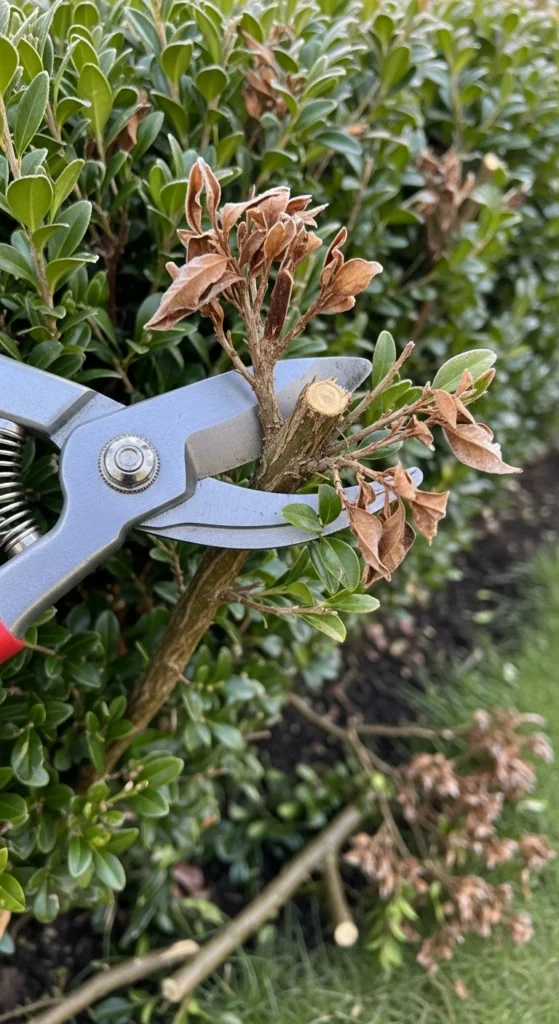
Winter storms can break branches. Cleaning them now helps hedges recover.
Cut damaged sections back to healthy growth. Avoid tearing bark. For a budget method, sharpen old shears instead of buying new ones. Remove broken sticks from inside the hedge to avoid mold.
18. Hedge Top-Cut Reduction

Reducing height keeps hedges manageable.
Cut small amounts evenly across the top. Avoid chopping big chunks at once. Use a level or string to maintain consistency. Clean up loose twigs afterward for a tidy yard.
19. Gap-Filling Structural Trim
If hedges have bald spots, winter trimming helps encourage new growth later.
Trim surrounding branches lightly so light reaches the gap. Add compost at the base. A DIY idea is tying branches across the gap to guide new growth.
20. Topiary Starter Shape
Winter is a good time to begin simple topiary forms.
Cut rough shapes first, like spheres or cones. Use cardboard patterns to guide edges. Smooth the shape gradually over several sessions. Water after trimming if soil is dry.
21. Pathway Edge Hedge Trim

Trimming pathway hedges keeps walkways open and clean.
Cut inward-facing branches first. Keep the hedge narrow so guests don’t brush against it. Use inexpensive electric shears for quicker work. Sweep paths afterward so they look finished.
Conclusion
Winter hedge trimming helps your yard stay organized, balanced, and ready for spring growth. These shaping styles make winter cleanup easier while giving your hedges clear structure. Choose a few techniques, trim lightly, and check your progress as you go. With steady small cuts and simple guides, your yard can look cleaner, calmer, and more defined through the entire season.

Leave a Reply