
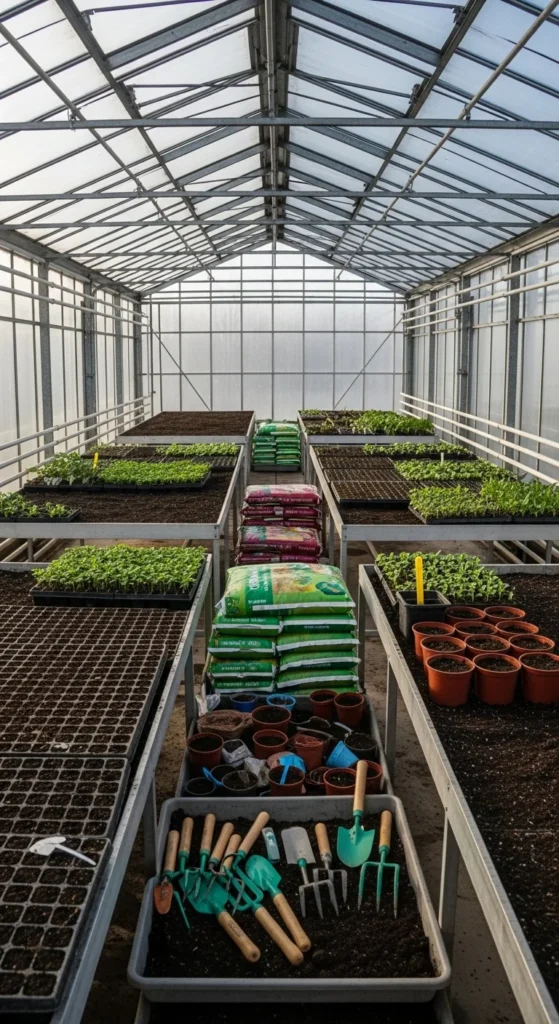
Preparing your greenhouse early in the year sets the stage for stronger crops, smoother gardening routines, and longer growing cycles. Simple upgrades and small tweaks help plants stay warm, hydrated, and supported even when outdoor conditions shift. These ideas focus on practical steps you can take right now—using budget-friendly tools, recycled materials, and easy improvements—to keep your greenhouse productive well into the new season.
Deep Clean for Better Airflow
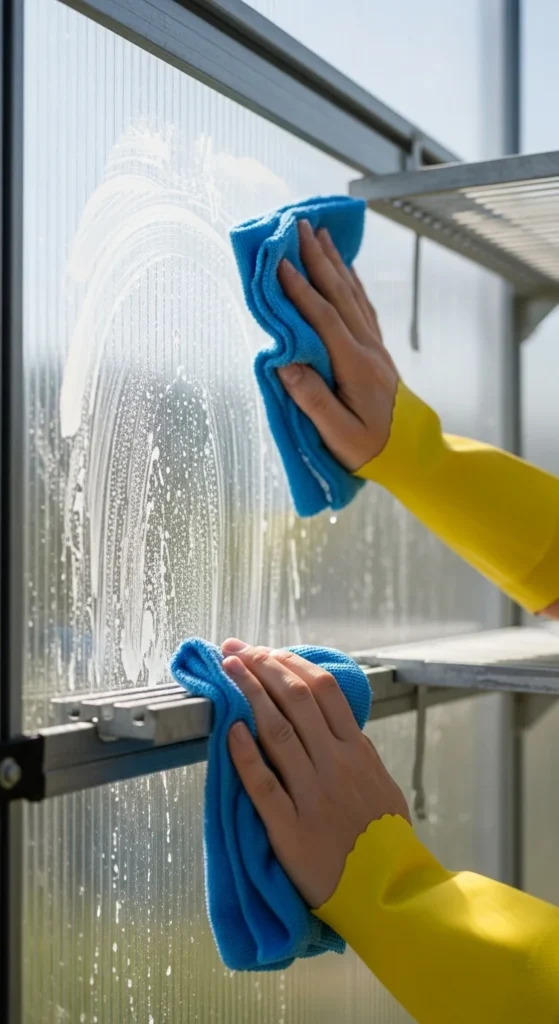
Keeping the greenhouse clean helps air move well and keeps harmful buildup from spreading. Start with shelves and trays. Remove old soil, wipe surfaces with warm soapy water, and let everything dry. Clean the inside and outside of panels so light reaches your plants more easily. Old leaves or debris can attract pests, so sweep the floor and check corners. Use a simple scrub brush for stubborn dirt. Rinse tools and dry them before placing them back. If your greenhouse has vents, clean the frames so they open smoothly. This step takes little money but makes a big difference in how your plants grow. You can spread the work across two or three days if the weather feels cold.
Patch Drafty Spots
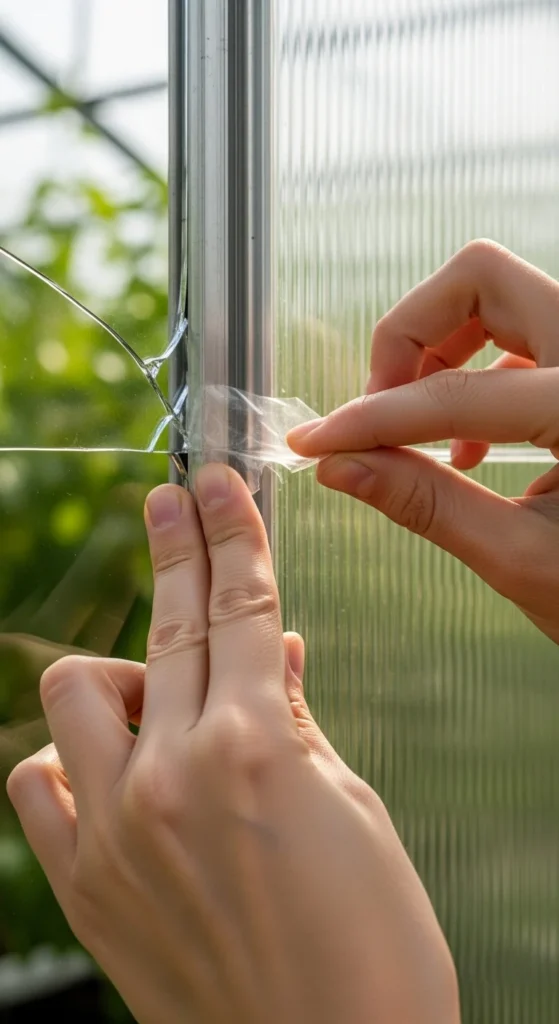
Check for small gaps around panels, doors, and frames. Cold air slips in easily during winter, so seal cracks with clear repair tape or flexible caulk. Worn rubber strips around doors can be replaced cheaply. If you find a larger opening, cover it with plastic sheeting until you can fix it properly. These simple patches help hold warmth longer. Walk around the entire structure and feel for cold air with your hand. Fixing small gaps now saves time later.
Add a Soil-Warming Cable
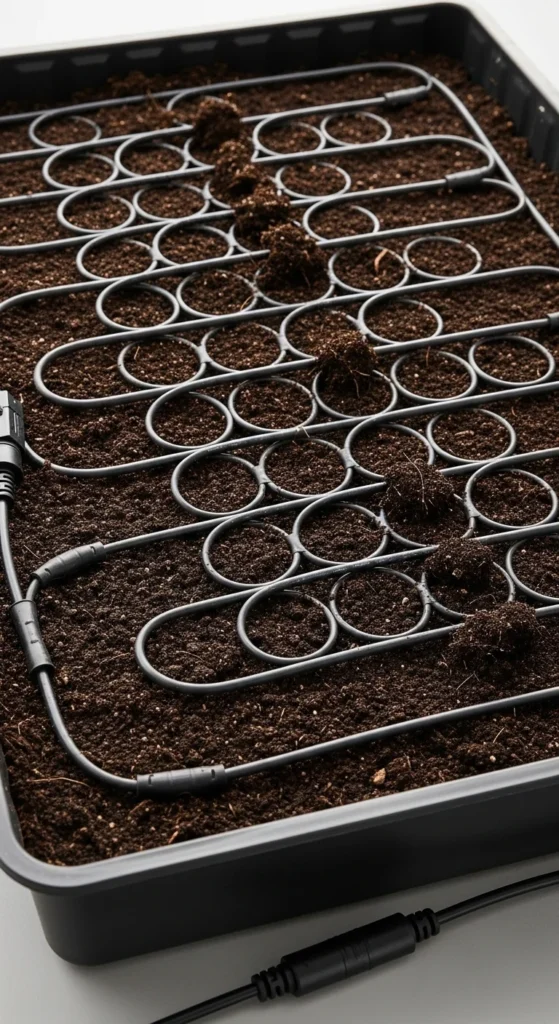
Soil-warming cables help seeds sprout earlier. Lay the cable in a tray and cover it with a layer of soil. Place seed trays on top. Turn the cable on only when needed to save electricity. This setup helps tomatoes, peppers, and herbs germinate faster. Keep a small thermometer nearby so the soil doesn’t get too warm. You can DIY a simple insulation layer underneath using old foam boards.
Set Up a Compost Corner
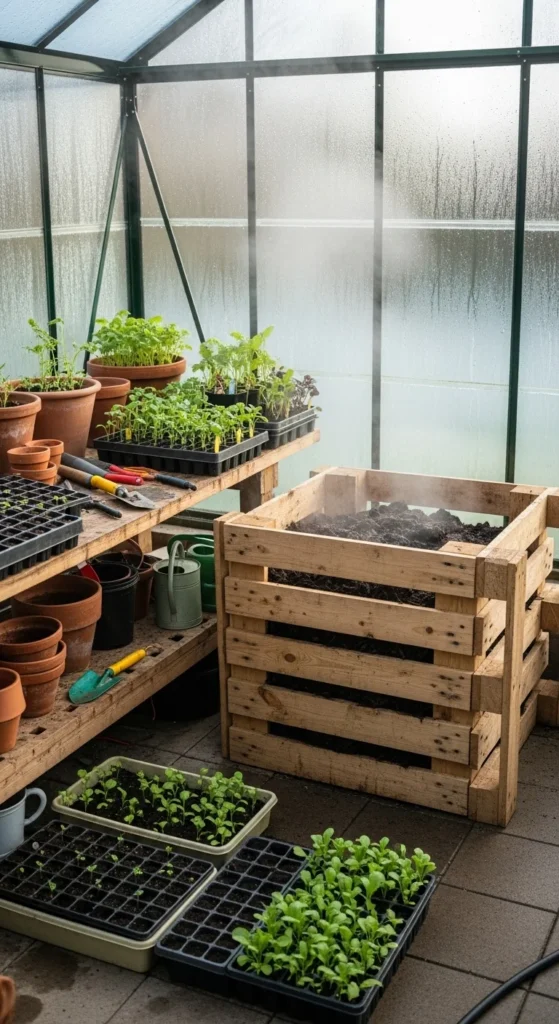
A small compost area gives you nutrient-rich material without stepping outside. Use a bucket or small bin with holes drilled in the sides. Add garden scraps, kitchen peels, and shredded paper. Turn it every few days with a small trowel. The compost generates gentle warmth, which can help nearby plants during cold nights. Keep the bin away from delicate seedlings so the heat stays controlled. This setup fits well in unused corners.
Install a Simple Heat Sink
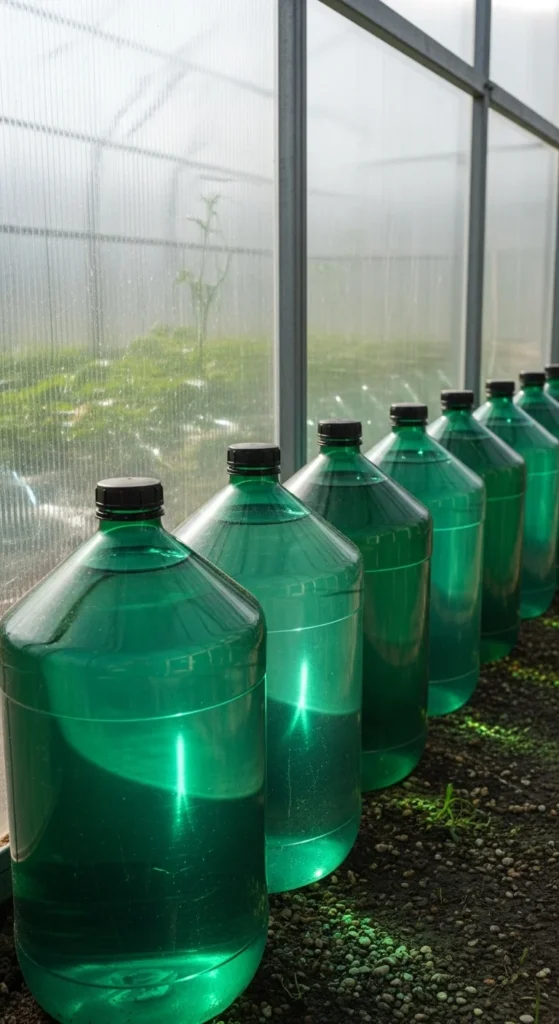
Dark water jugs absorb heat during the day and release it when temperatures drop. Place several along the north wall or any shaded side. Use recycled jugs to keep the project cheap. Fill them with water and paint them black if needed. Spread them evenly so they don’t crowd your walkway. Over time, these jugs help soften temperature swings, which helps young plants stay steady.
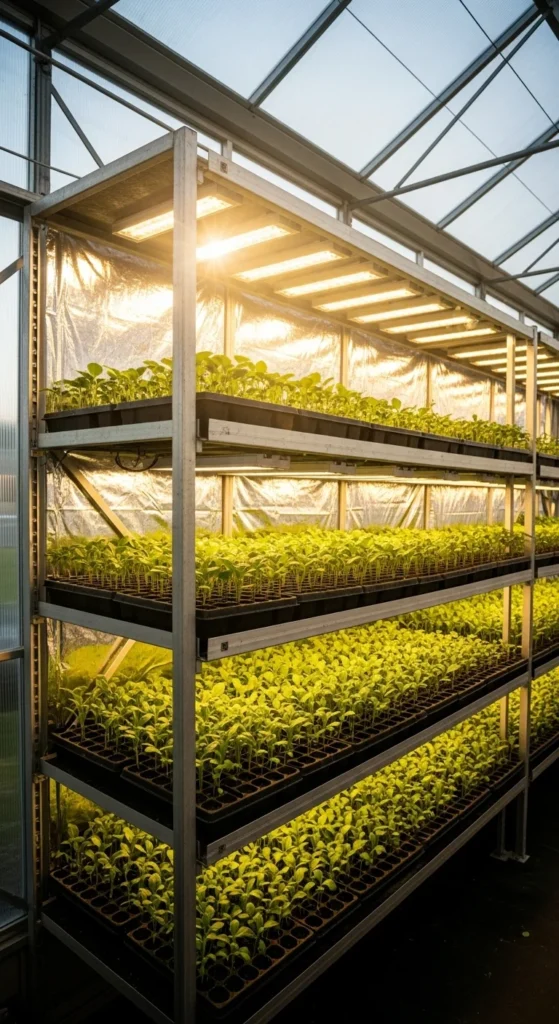
Create a Seed-Starting Zone
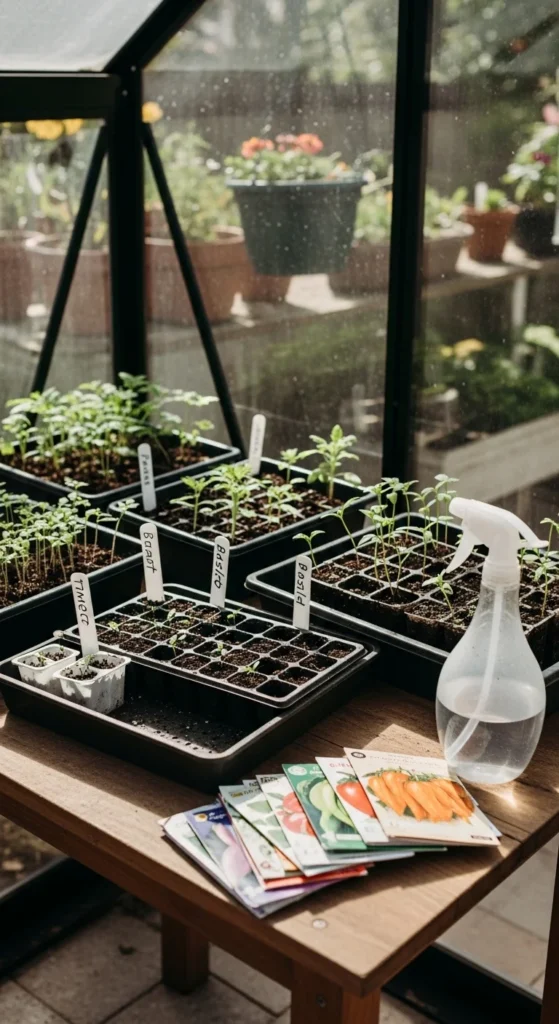
A dedicated seed-starting area keeps your work organised. Use a small table or shelf and place trays, potting mix, labels, and a spray bottle within reach. Keep a notebook nearby to track dates. This zone helps you avoid clutter when planting multiple varieties. Add a low-cost LED grow light if natural light feels weak. Water trays lightly to avoid soggy soil. Keep seeds that prefer warmth closest to the light source.
Use Insulating Bubble Wrap
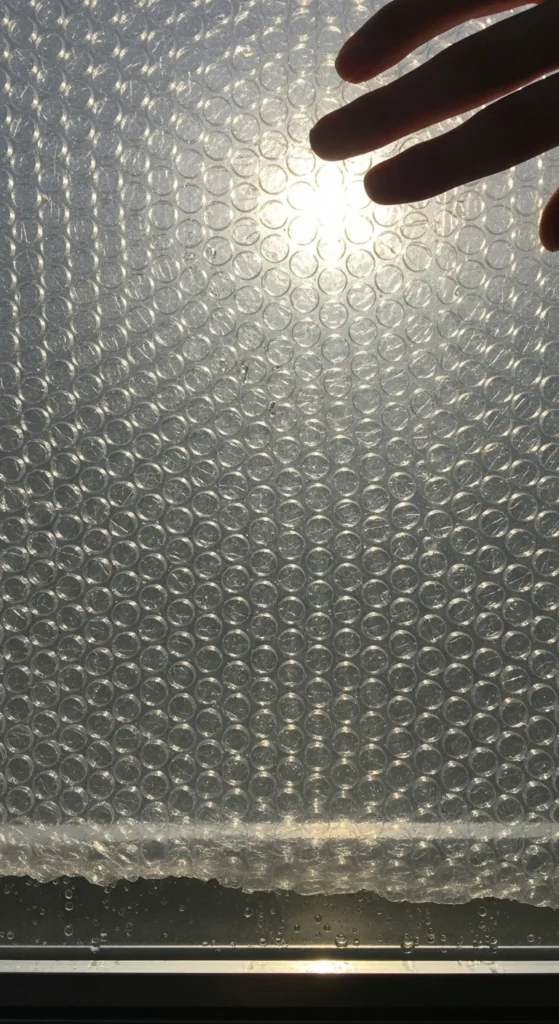
Bubble wrap acts like a simple insulating layer. Attach sheets to the inside of panels using clips or tape safe for plastic. It traps warmth and helps your greenhouse stay stable. Leave small gaps near vents so air can still move. Larger bubbles insulate better. You can cut wrap into smaller pieces to fit around corners. Keep a roll handy in case a panel needs extra support.
Organise Tools on a Wall Rack
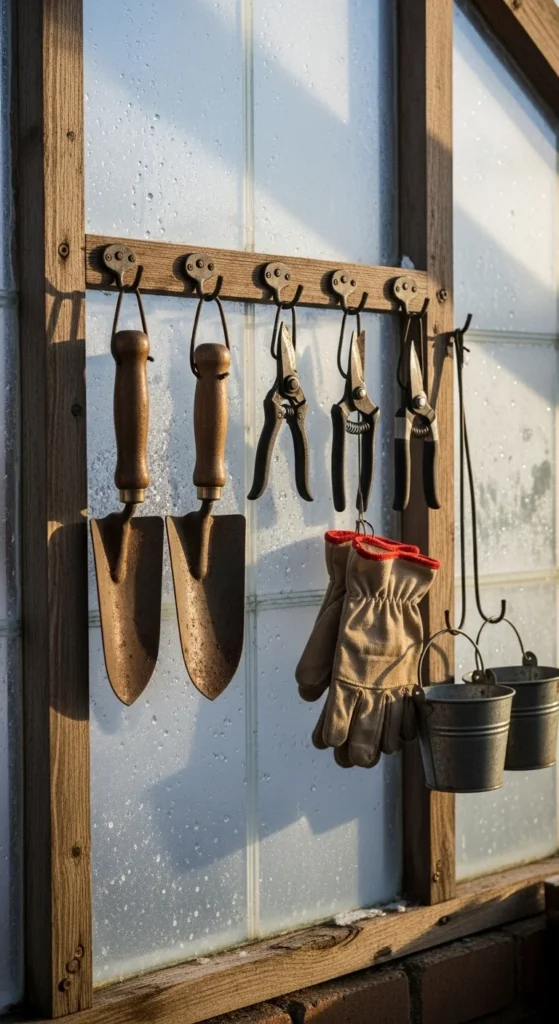
A wall rack helps tools stay clean and easy to grab. Install a wooden board or metal bar with hooks. Hang pruners, trowels, gloves, and spray bottles. Keep a cloth nearby to wipe tools before hanging. This saves you from digging through crates or boxes when working quickly. Label hooks if you share the greenhouse with others. A well-organised rack saves time and keeps your workflow smooth.
Refresh Old Soil Mix
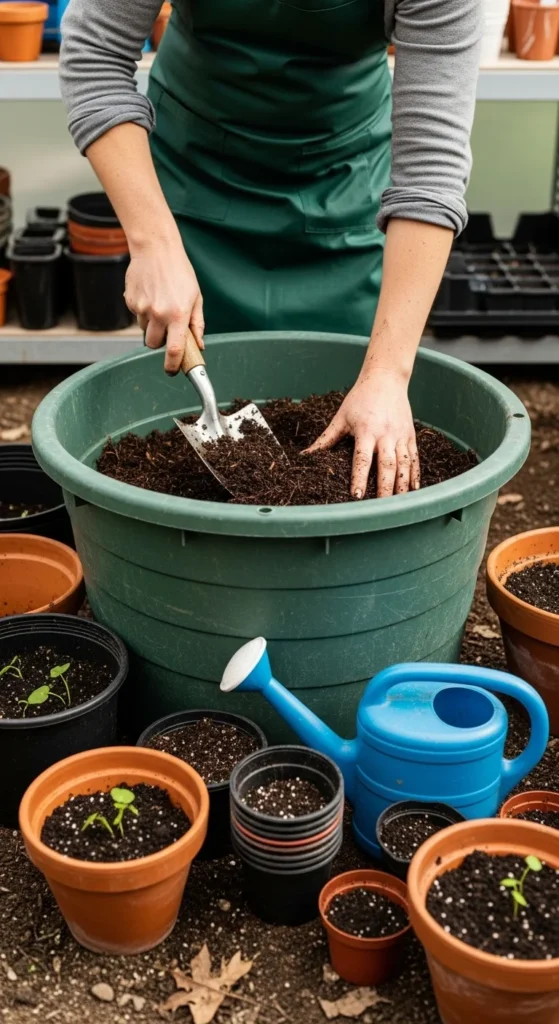
Old soil can be revived with compost and perlite. Scoop soil into a tub and break up clumps. Add compost and mix evenly. This gives your seedlings a stronger start. You can prepare several tubs at once and store them under a bench. Keep a few covered with a cloth to prevent drying. Refreshing soil is cheaper than buying new bags.
Add a Simple Drip System
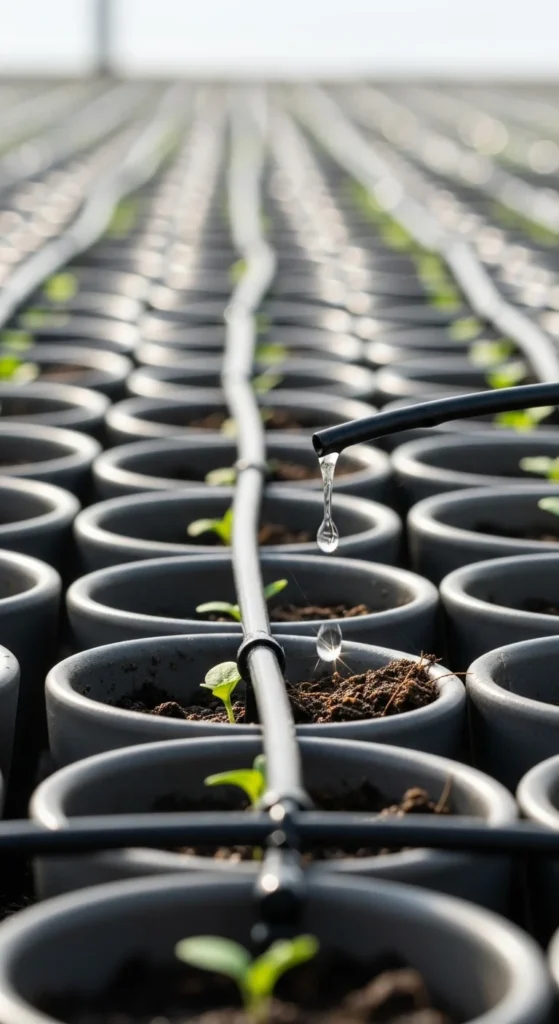
A drip system helps water reach roots slowly and evenly. Use thin tubing and a small water container placed higher than your pots. Gravity pulls the water down. Adjust the flow with simple valves. This setup reduces overwatering. You can run one line for each row. Use clean water and check lines for clogs. It’s cheap, quiet, and easy to maintain.
Set Up a Pot Storage Shelf
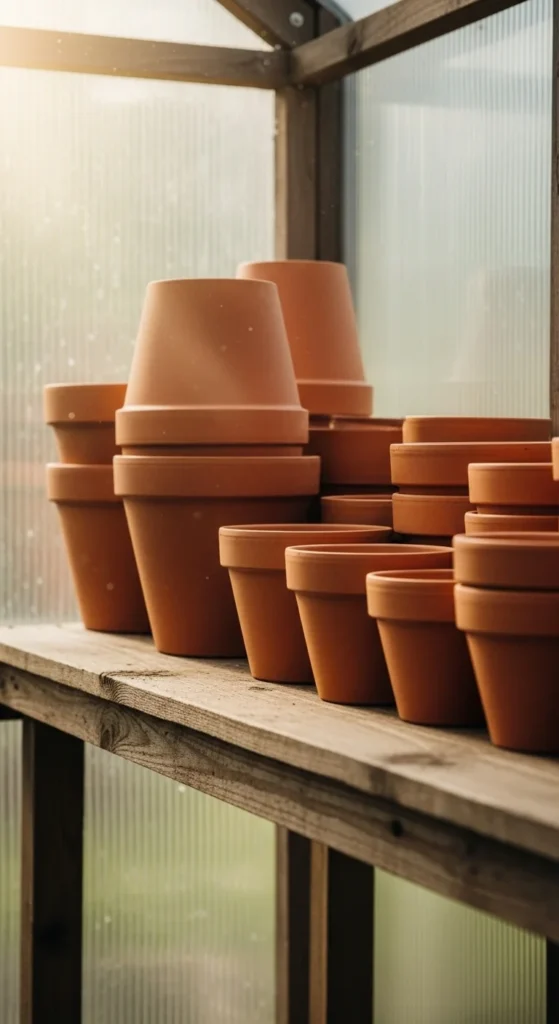
A dedicated shelf for pots keeps things tidy. Sort pots by size and stack them so they don’t fall. Keep trays on the lower shelves. Cleaning pots before storing them helps prevent problems during planting season. Use labeled bins for small items like plant ties and stakes. This shelf helps you find the right pot fast when transplanting seedlings.
Lay Down Weed Fabric
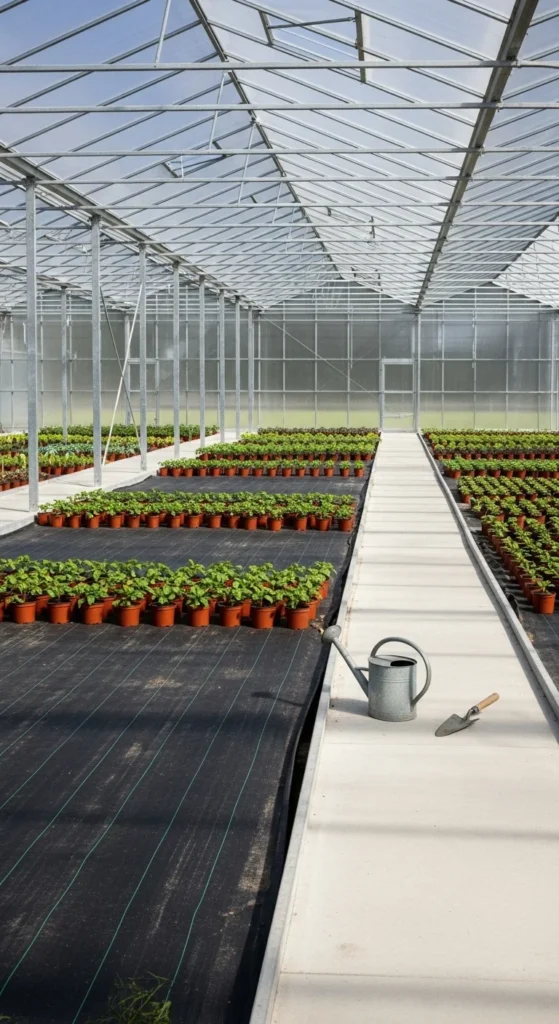
Weed fabric stops unwanted plants from taking root. Cut the fabric to fit your walkway and pin it down. Sweep regularly so dirt doesn’t pile up. You can place trays and pots directly on top. This keeps the floor clean and reduces extra work later. Replace worn sections every few months.
Add a Small Thermometer Station
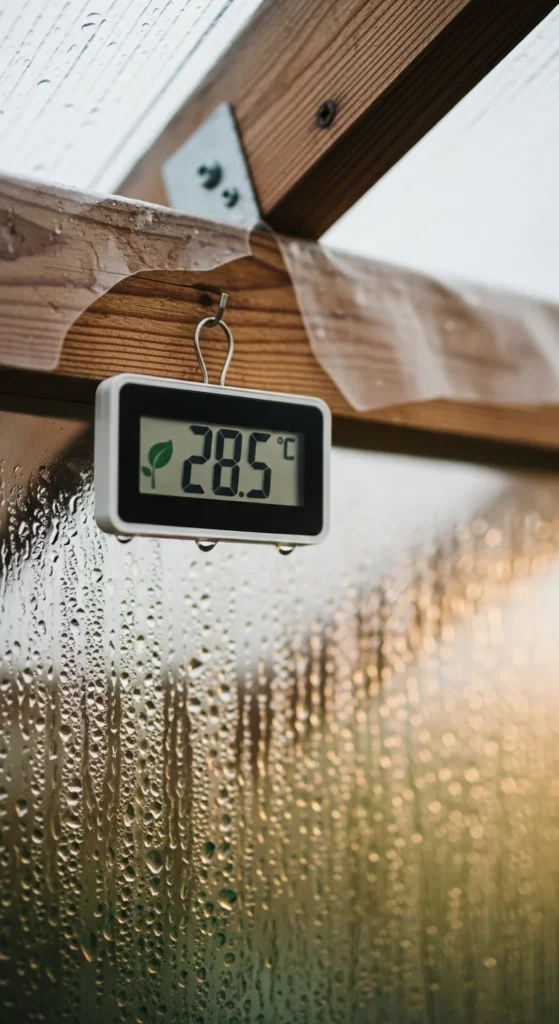
Monitoring temperature helps you adjust watering and ventilation. Hang a small thermometer where you can check it easily. A digital one gives quick readings. Track morning and night temperatures for a week. This helps you understand how your greenhouse behaves on cold days. You can write notes in a small journal or keep a chart on the wall.
Build a Simple Potting Bench
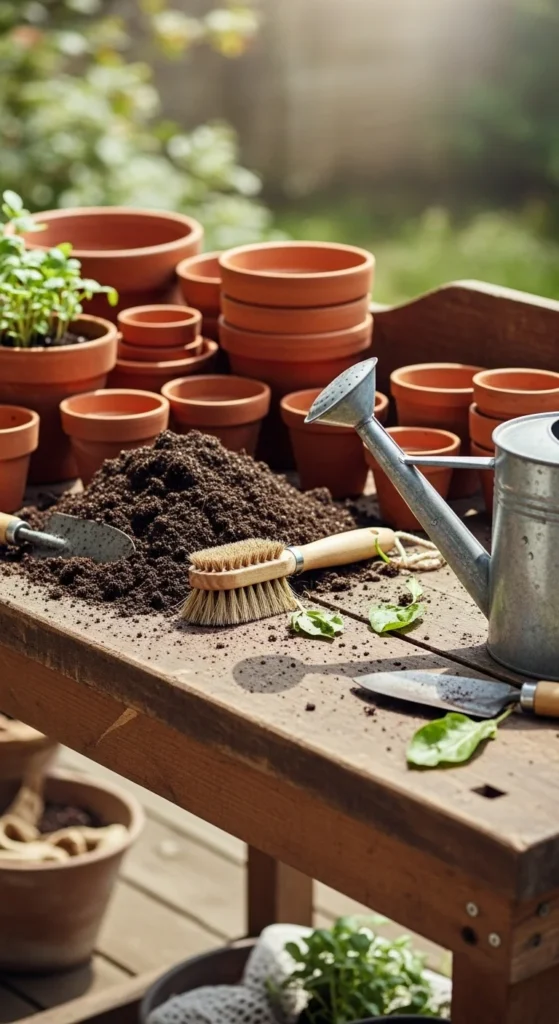
A potting bench makes planting easier. Build one with scrap wood or use an old table. Add a small hook for tools and a bin under the bench for leftover soil. Keep a brush nearby to sweep spills. Having a stable surface helps you plant more comfortably. Place the bench near the door for good airflow.
Add Reflective Panels
Reflective panels help redirect light onto seedlings. Use foil-covered foam boards or reflective emergency blankets. Place them behind trays so they catch and bounce sunlight. This helps plants stay upright. Attach panels with clips so you can move them as needed. It’s a low-cost fix for dark corners.
Prepare Sticky Traps for Spring
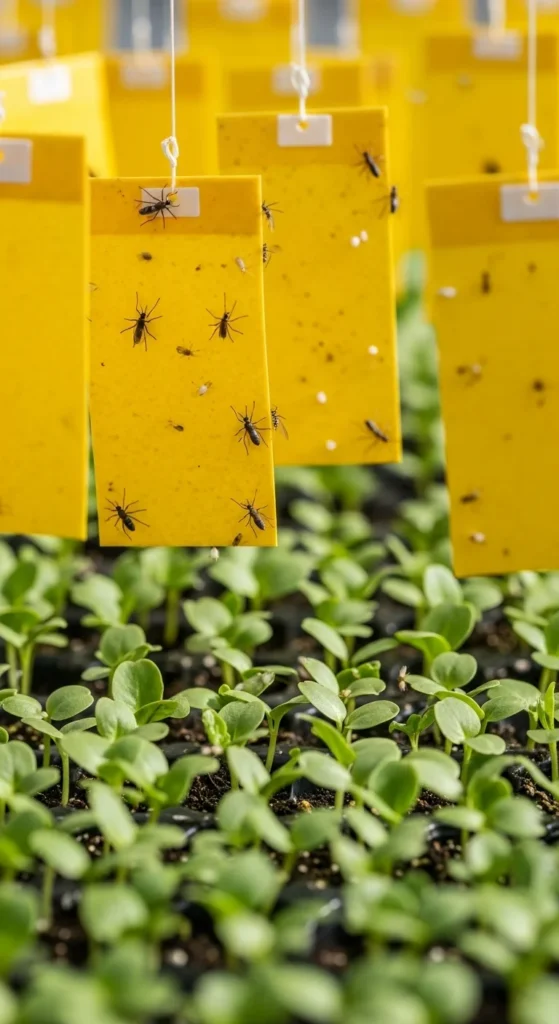
Sticky traps catch flying pests early. Place a few near seedlings and vents. Check them weekly and replace when full. Traps help you spot issues before they spread. Keep extra traps in a sealed bag so they stay sticky. This early prep helps you stay ahead of problems during spring growth.
Label Your Planting Schedule
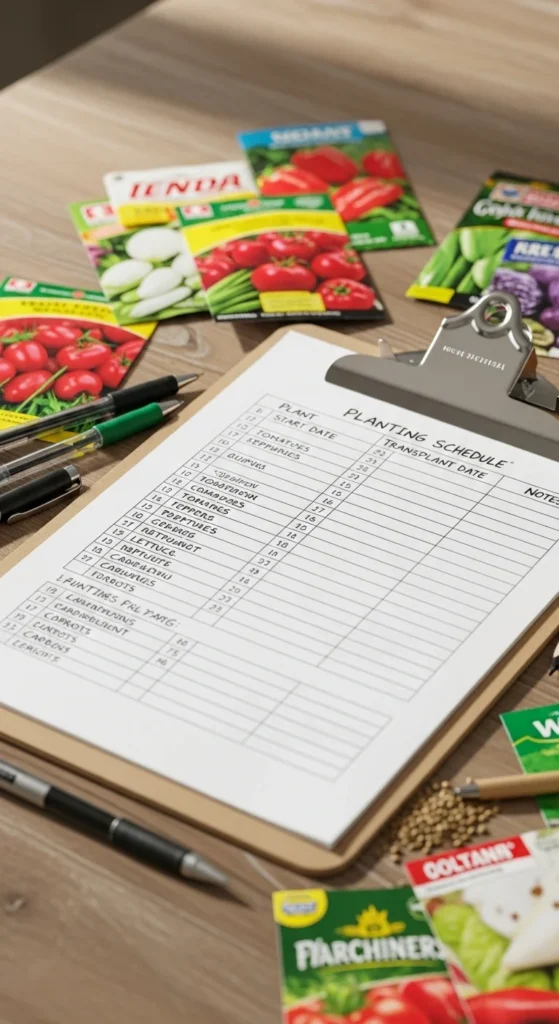
A simple planting schedule helps you stay consistent. Use a clipboard or whiteboard to write planting dates and expected germination times. Place it on a wall where it’s easy to see. Update it whenever you add new trays. This keeps your workflow steady during busy weeks.
Hang Shade Cloth for Later

Even though shade cloth may not be needed now, preparing it early saves time later. Roll it, label it, and hang it on a hook. Check if it has any tears and repair them with fabric tape. When warmer days arrive, you can cover your plants quickly. Keeping the cloth ready prevents you from rushing when heat increases suddenly.
Improve Ventilation Paths
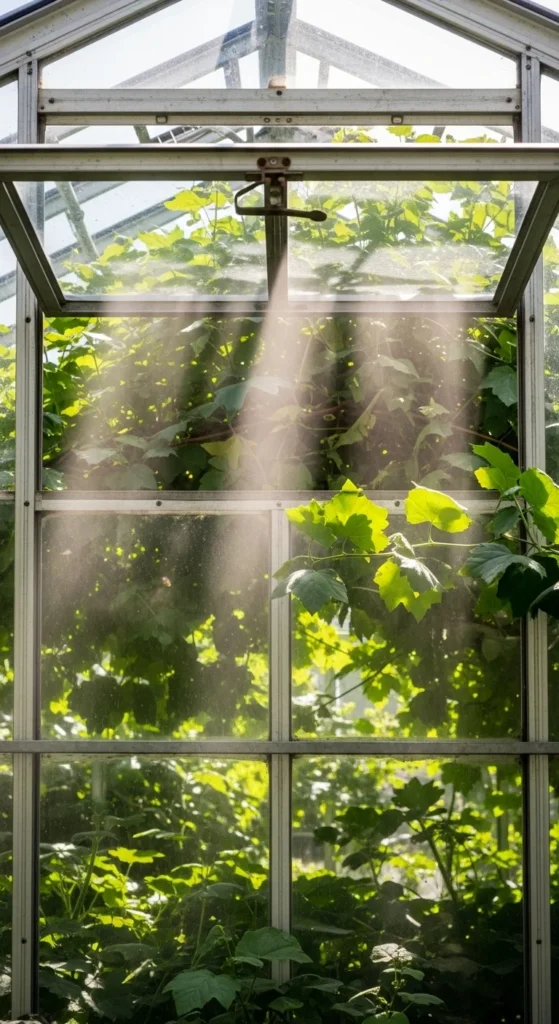
Healthy airflow helps plants stay strong. Check all vents and windows to make sure they open and close smoothly. Keep pathways clear so air can move. If your greenhouse has automatic vent arms, test them on a warm day. Small fans can help move air in tight areas. These small steps prevent stagnant air from harming your plants.
Prepare Seed Storage Boxes
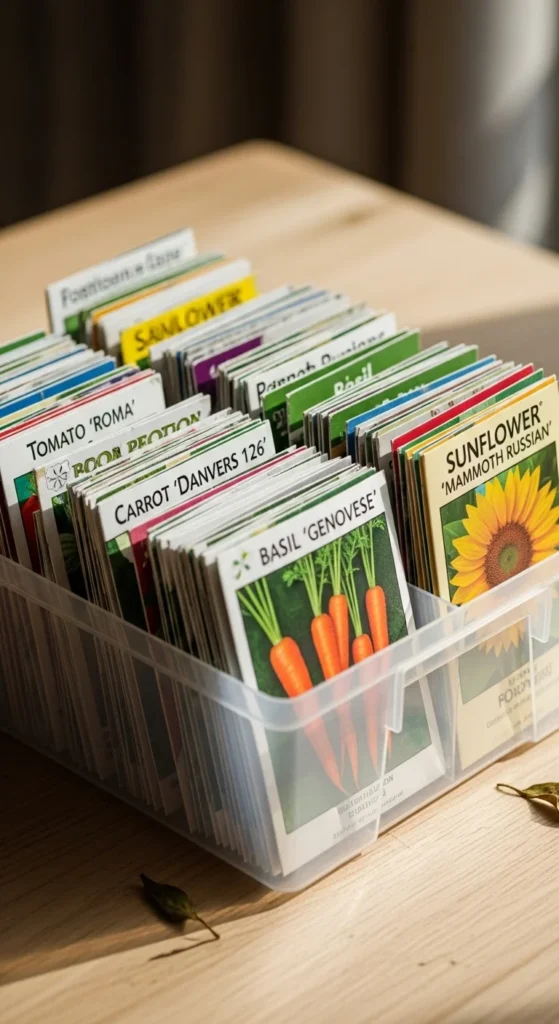
Keep seeds dry and sorted. Use airtight containers or small plastic boxes. Add silica packets to absorb moisture. Label sections by the type of plant. Check older packets and decide which ones to use first. This helps you start the season with confidence and saves you from last-minute searching.
Upgrade Paths with Gravel
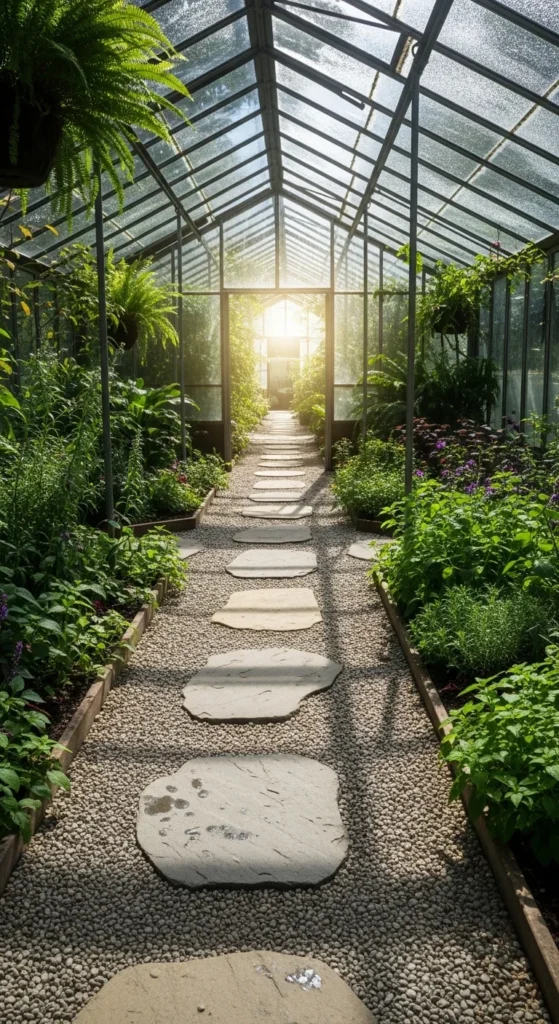
Gravel paths reduce mud and improve drainage. Spread a thin layer of gravel and level it with a rake. Add stepping stones if you prefer a clean walkway. This makes your space safer when watering. Gravel also helps reduce weeds along paths. If some areas feel uneven, add more gravel and pat it down.
Add a Water Catchment Barrel
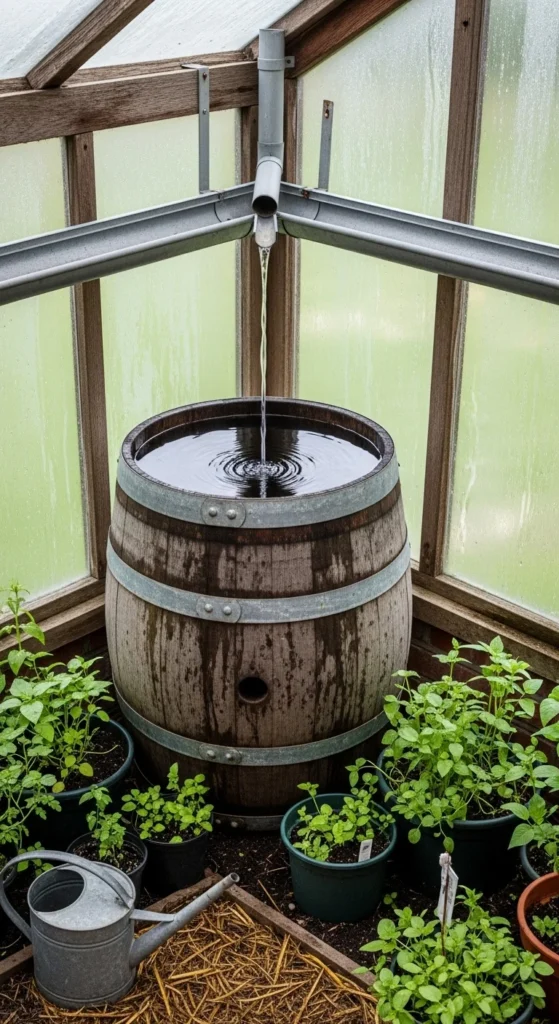
A water barrel helps you collect and store rainwater. Place it near a downspout or gutter. Add a lid to keep debris out. Use a small spigot to fill watering cans easily. Rainwater is gentle on seedlings. Keep the barrel on a sturdy platform. You can paint it dark to prevent algae growth.
PREP a Cold Frame for Early Starts
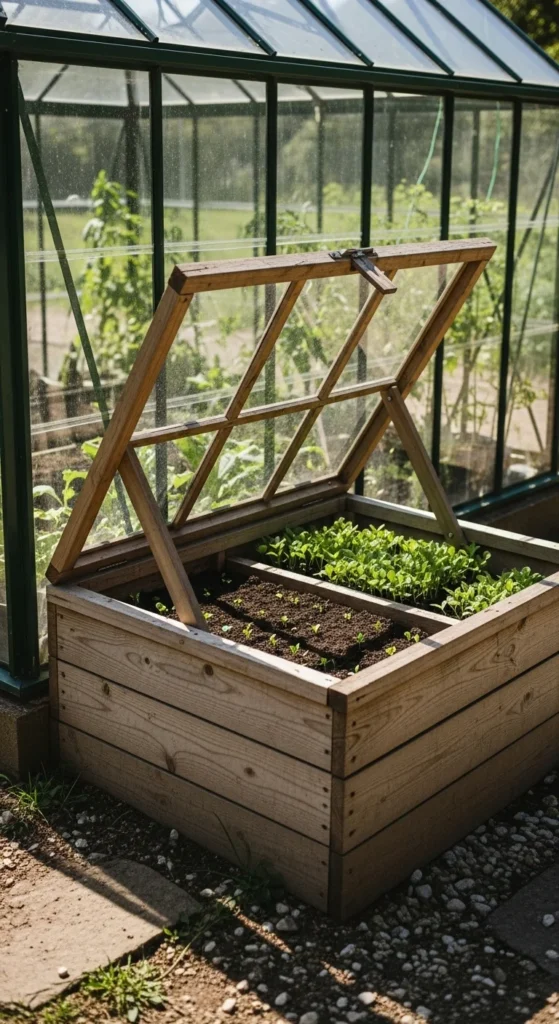
A cold frame extends your growing space. Build one with scrap wood and clear plastic or old windows. Place it near the greenhouse to make watering easier. Start hardy seedlings inside. Open the lid on warm days and close it at night. Cold frames help young plants adjust before moving into beds or larger pots.
CONCLUSION
Small adjustments now set your greenhouse up for calmer, more productive months ahead. Each idea helps you organise, protect, and support your plants without spending much. Pick the steps that fit your space, add them one at a time, and watch your season stretch longer with steady progress.

Leave a Reply