
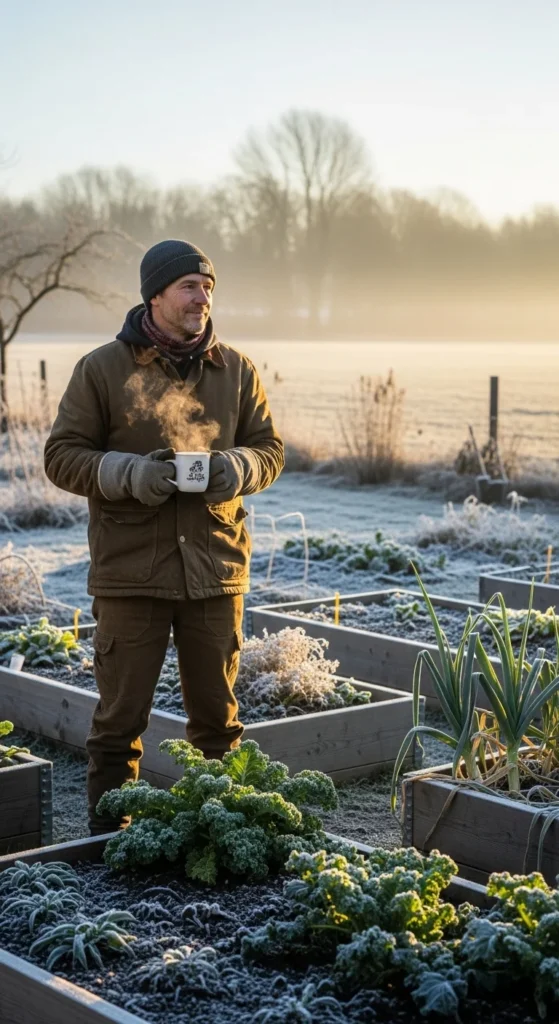
Starting the year with a clear vegetable-garden plan helps you stay organized and ready when planting time arrives. This guide offers practical, small-step ideas that fit any space. You can map layouts, prepare soil early, save money with simple DIY setups, and choose crops that match your climate. Everything here focuses on ways to plan ahead without complication so you can grow confidently all year.
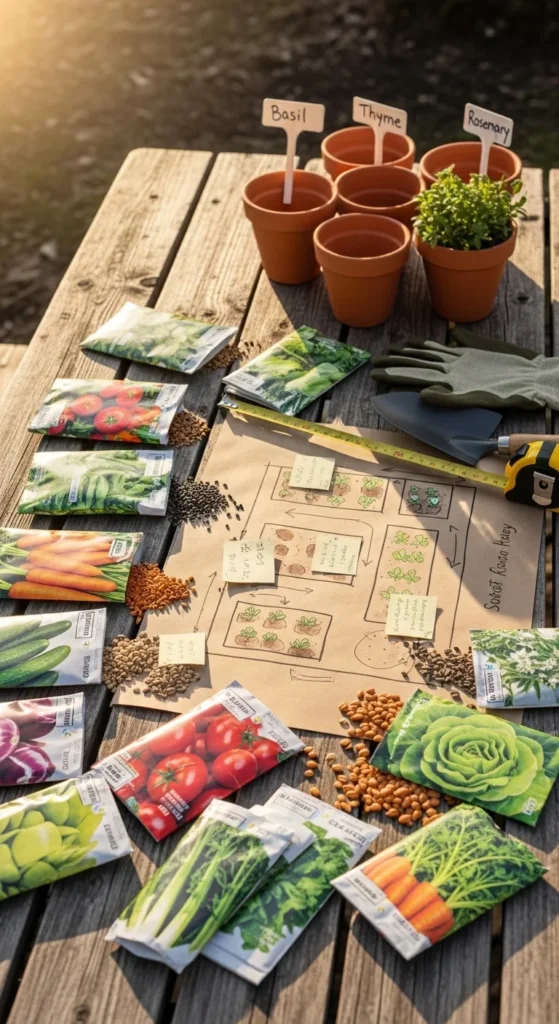
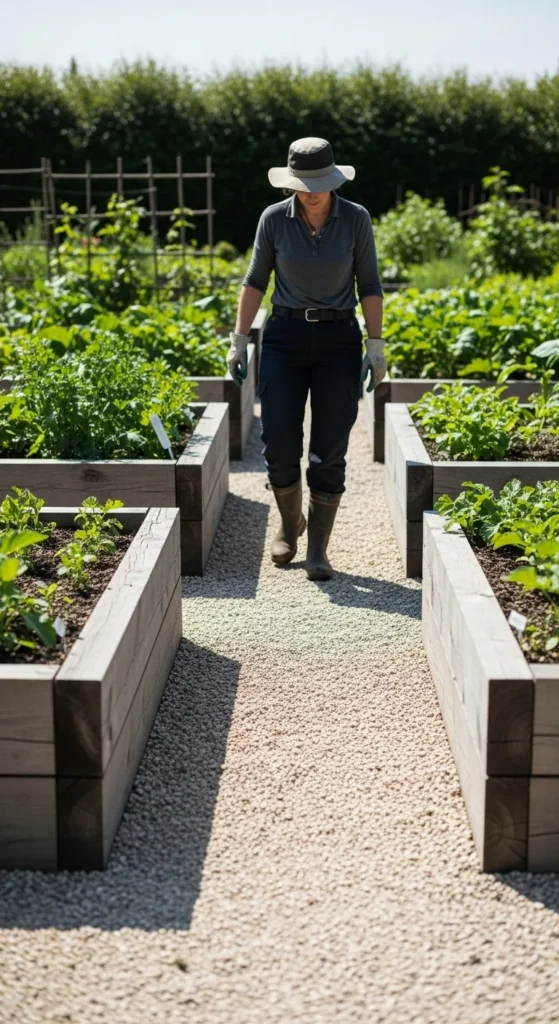
1. Map Out Your Garden Layout
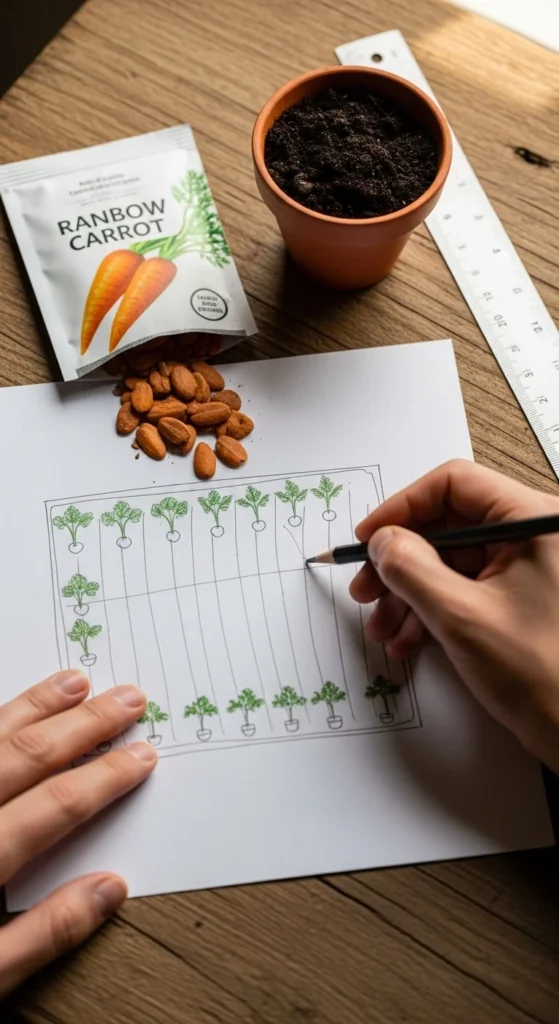
Sketching your layout is an easy way to start planning. Use any notebook or scrap paper. Draw simple boxes for beds or containers. Label where larger crops go so they don’t shade smaller plants. This avoids crowding later.
If you garden in containers, outline how many pots fit comfortably on your patio or balcony. Keep spacing loose so you can walk through easily. Add a note about sunny spots. Mark where tall crops like tomatoes should go to avoid blocking light. These small visual cues guide your planting when spring arrives.
You don’t need fancy tools. A basic pencil and ruler work fine. If you enjoy digital tools, free phone apps make it easy to move boxes around. Add a list of crops on the side so you don’t forget what you planned. Keep your sketch handy through the season so you can update it as you plant.
2. Pick Crops That Match Your Climate
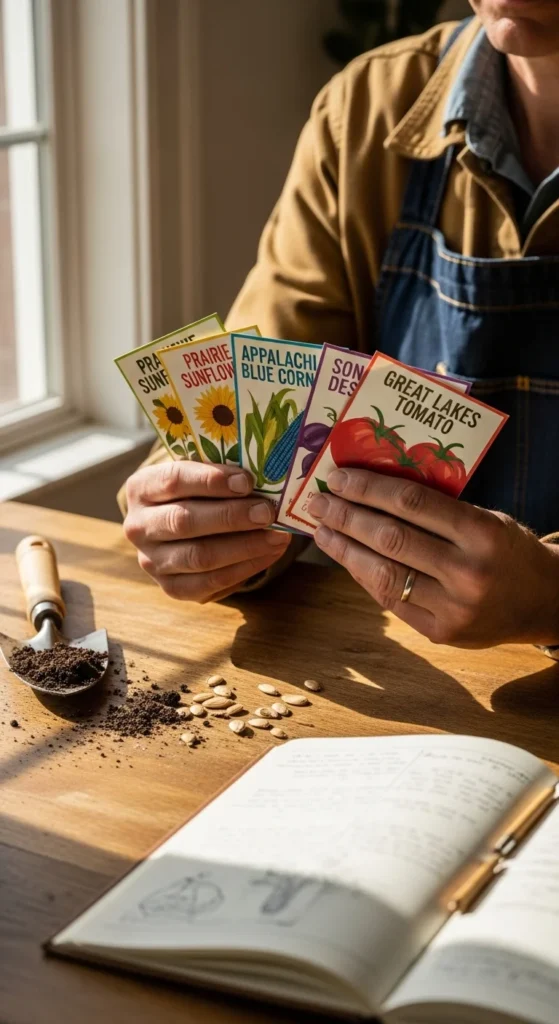
Choosing crops that do well in your region saves effort later. Check your local climate and pick varieties known to grow well there. Look at planting charts for timing. Early-season greens, heat-loving peppers, or cool-weather root crops may fit differently depending on your area.
If you’re unsure, visit a local nursery and ask which varieties perform well. You can also search online for charts connected to your zone. Pick crops you enjoy eating so your harvest feels useful. Start small and expand as you gain confidence.
For a low-cost approach, swap seeds with neighbors. Many people have extra packets. This gives you a wider variety without spending extra. Keep a small notebook with your choices so you remember what worked last year.
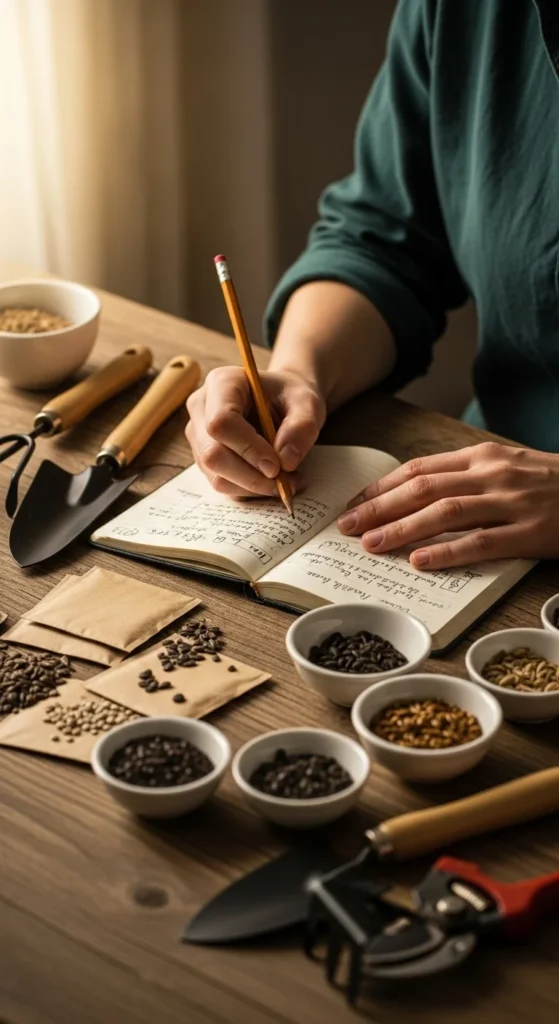
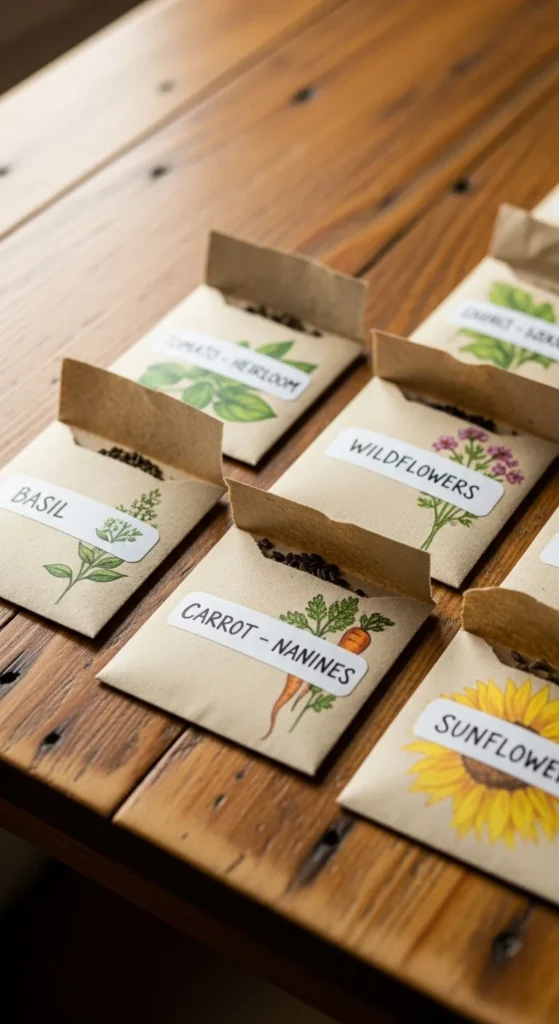
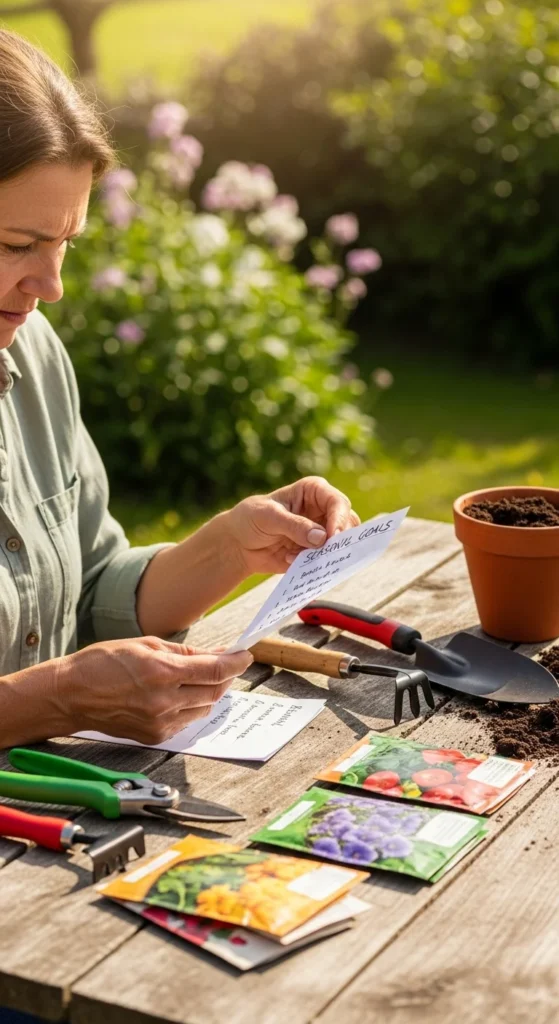
3. Create a Simple Seed Inventory
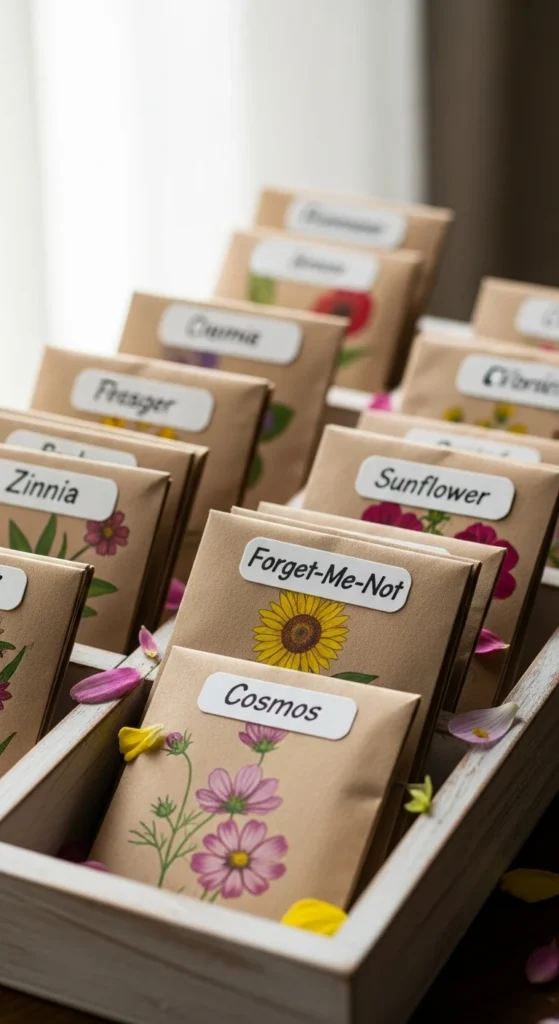
A seed inventory keeps you from buying duplicates. Gather all your seed packets and lay them out. Sort by type—greens, roots, herbs, fruits. Check expiration dates. Seeds often last a couple of years if stored well.
Write down what you have and how many packets are left. Keep this inventory in your garden notebook. When planning your beds, match your seeds to the space available. This helps you avoid overcrowding.
If some packets are low, add them to a small shopping list. You can find affordable seeds at dollar stores, local markets, or online clearance sales. Store the packets in a cool, dry container like a small tin box or plastic organizer. Label the box so you can grab it quickly during planting season.
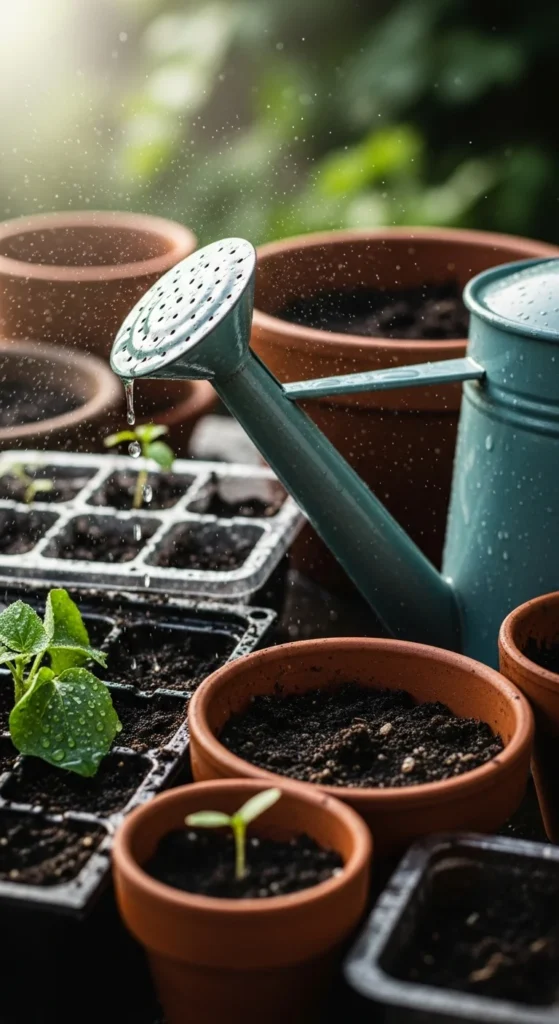
4. Set Up an Indoor Seed-Starting Spot

Starting seeds indoors gives your garden an early jump. Pick a corner near a sunny window. Use simple trays or even recycled food containers with holes. Fill them with light soil and sow seeds according to packet instructions.
Water lightly so the soil stays damp but not soaked. Turn trays every few days so seedlings grow straight. If your window doesn’t get much sun, a small clip-on grow light helps. These lights are affordable and easy to use.
Keep notes about which varieties sprout quickly. When seedlings grow strong stems, move them outdoors for short periods so they adjust to real sunlight. This makes transplanting easier later. You can reuse trays each year, making this method affordable and consistent.
5. Test Soil Drainage
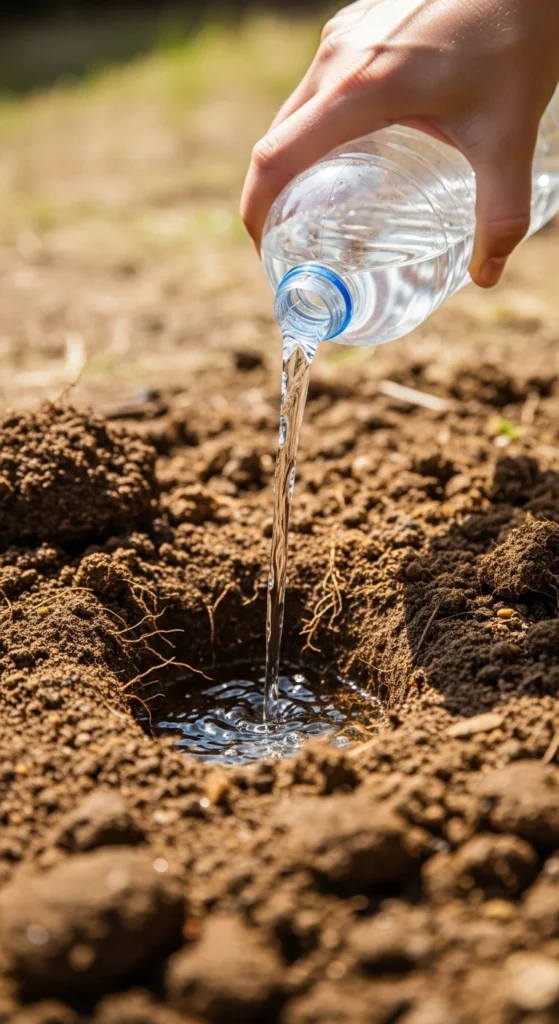
Good drainage supports healthy plants. Take a small shovel and dig a shallow hole in an empty bed. Pour water inside and watch how fast it disappears. If water drains slowly, add compost or small amounts of sand to loosen the soil.
For container gardening, pick pots with drainage holes. If your pot doesn’t have one, drill a hole at the bottom. Place a thin layer of gravel to prevent clogging. These small steps help roots breathe and avoid soggy soil.
If the area stays too wet, move crops that prefer drier soil to raised beds or containers. Mark drainage notes in your garden plan so you remember where to plant each type.
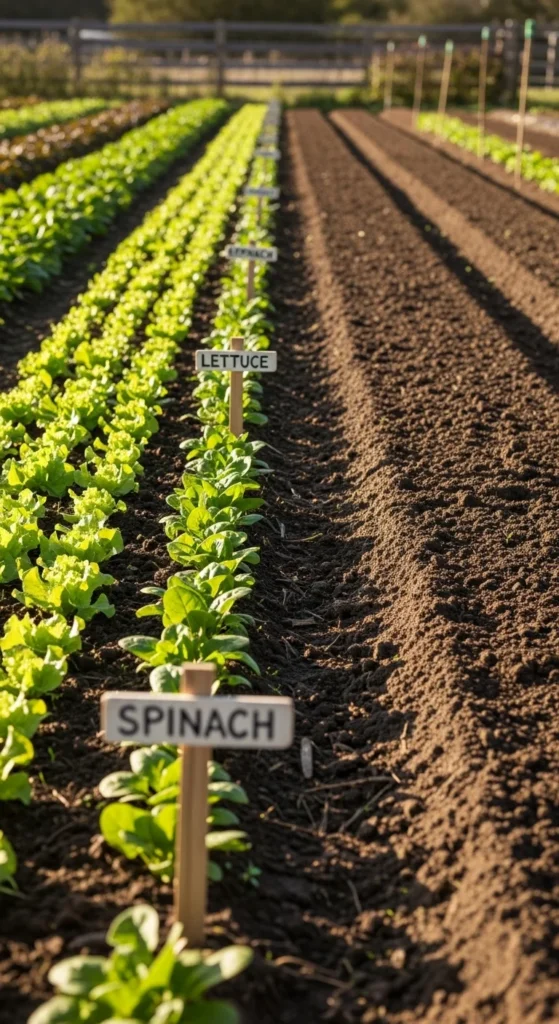
6. Make a Month-by-Month Planting Calendar
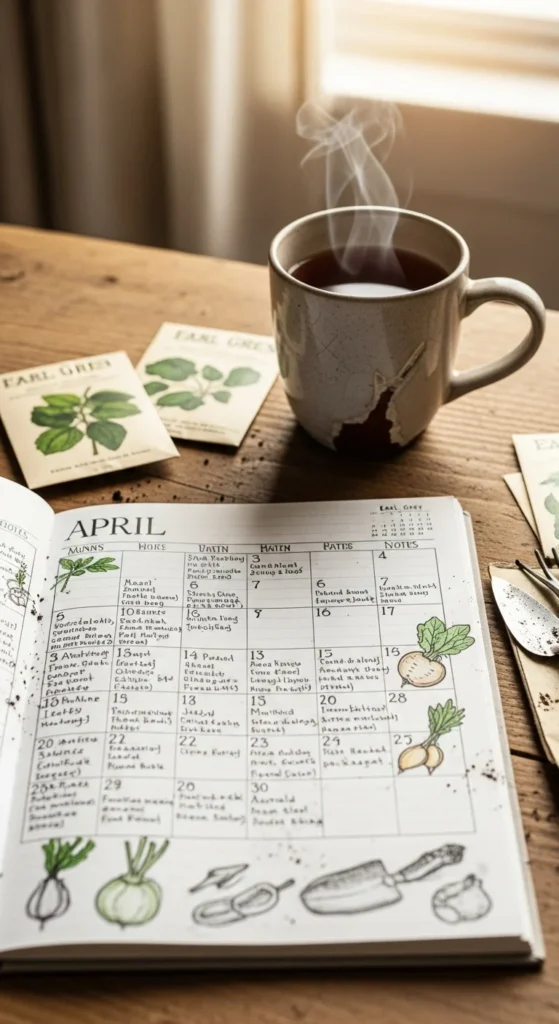
A monthly calendar keeps planting simple and organized. Write down when each crop goes outdoors. Add reminders for seed starting, transplanting, and harvesting. Use sticky notes if you like rearranging tasks.
Break tasks into small steps. For example, “Start tomatoes indoors,” “Sow spinach outdoors,” or “Add compost to raised bed.” These clear tasks prevent overwhelm. Keep the calendar on your fridge or near your garden tools.
You can color-code warm-season crops and cool-season crops. This makes it easier to switch between early and late plantings. Calendars help you build consistency through the year.
7. Plan for Crop Rotation
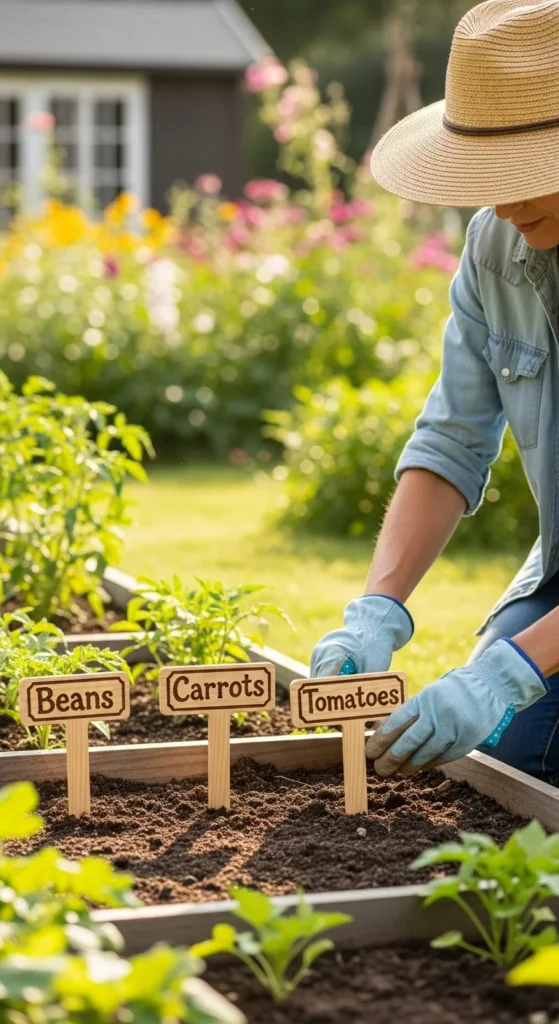
Crop rotation keeps soil balanced and prevents repeated problems. Avoid planting the same crop in the same spot each year. Rotate families such as tomatoes, beans, brassicas, and roots.
Make small labels or drawings to map where each family goes. This keeps soil healthier and makes your beds more productive. You can rotate containers too. Just move them to a different corner of your patio.
If you’re unsure how to rotate, start simple. Rotate leafy greens after root crops. Follow tomatoes with beans. Keep your notes in your garden journal so next year’s planning becomes easier.
8. Use Containers for Quick Wins
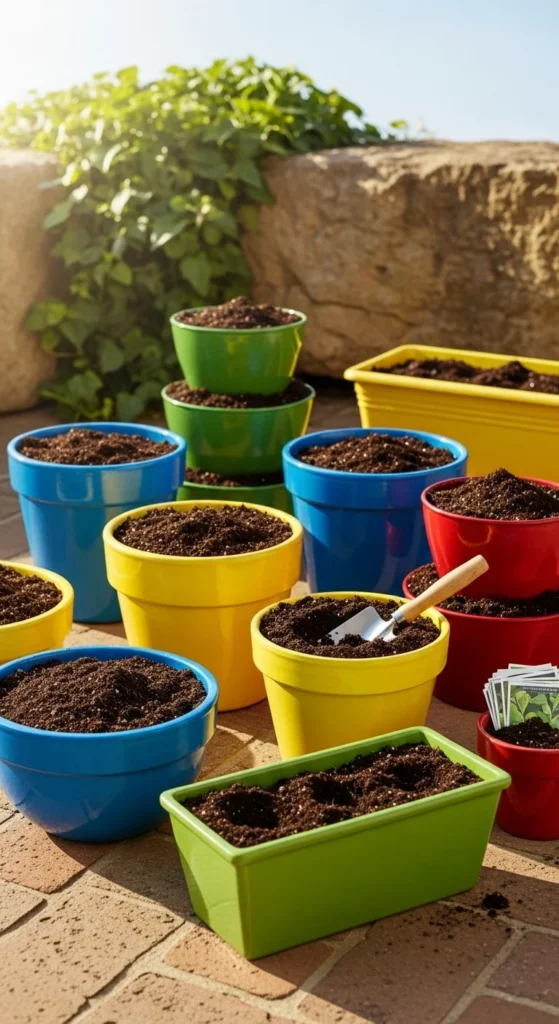
Containers help you control soil quality and sunlight. Pick pots that match the size of the crop. Small herbs fit in tiny pots, while tomatoes need larger ones. Use existing pots to save money.
Fill containers with light soil. Move them around to catch better sun. If you have windy areas, place heavy stones inside the bottom of the container to keep it steady. With containers, you can create small vegetable clusters even in tight spaces.
Water gently and check moisture often. Containers dry faster than beds. Add mulch on top to keep soil from drying too quickly.
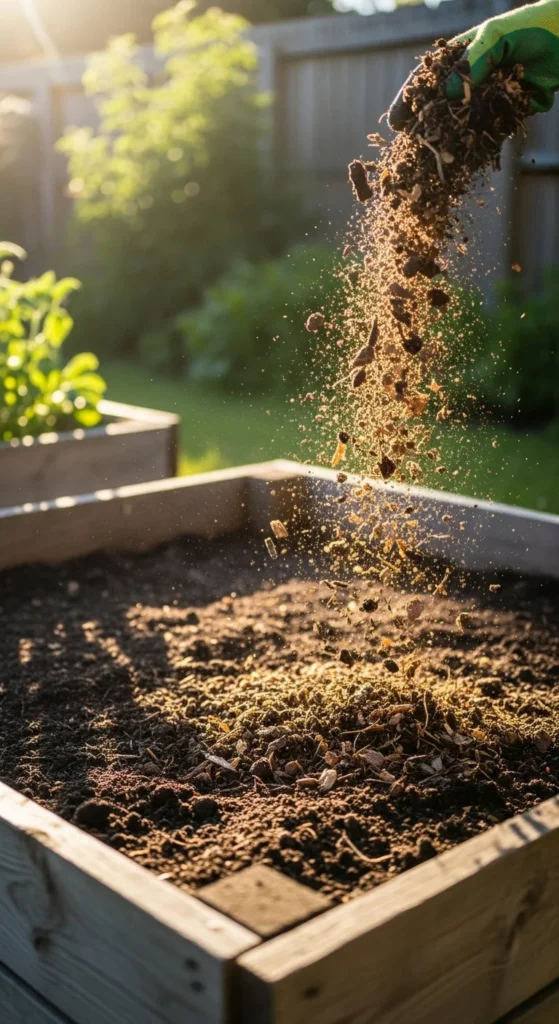
9. Build a Simple Compost Plan
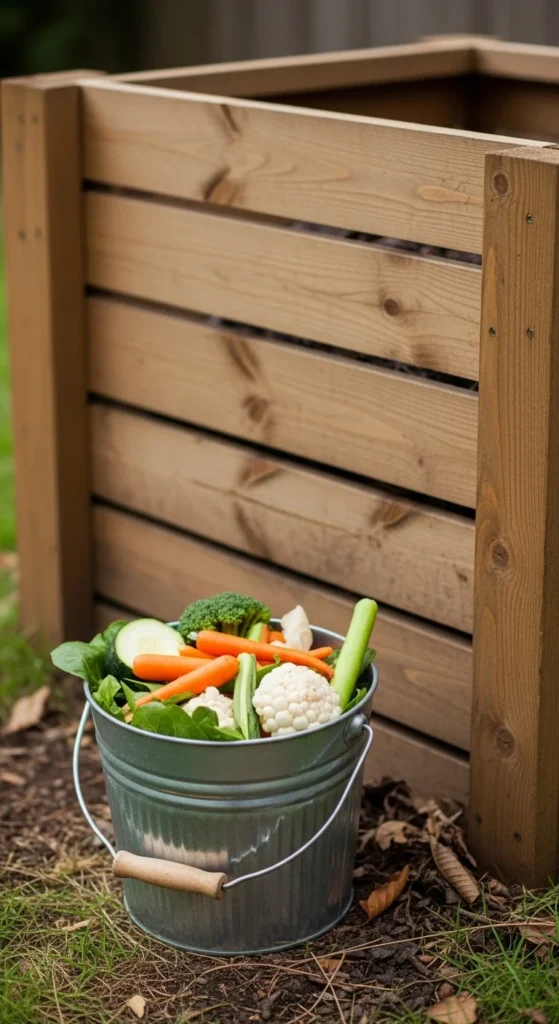
Compost feeds your soil at no cost. Use kitchen scraps like vegetable peelings, coffee grounds, and crushed eggshells. Place them in a small pail until you carry them to your outdoor bin.
If you don’t have a bin, create one using a large plastic tub with drilled holes. Add leaves or cardboard to balance the mix. Turn the pile occasionally so it breaks down faster.
Compost gives your beds richer structure. Spread a layer on top of your soil before planting. This enriches the garden while reducing household waste.
10. Block Out Sun and Shade Patterns
Understanding light patterns helps you place crops correctly. Spend a few minutes watching how the sun falls on your yard across the day. Areas with morning sun are great for greens. Hot afternoon sun fits tomatoes or peppers.
Mark sunny spots on your layout. Even small balconies have different light zones. If your space changes through seasons, keep flexible notes. Move containers when sunlight shifts.
This simple observation step helps you pick ideal spots without guesswork.
11. Prep Raised Beds Early
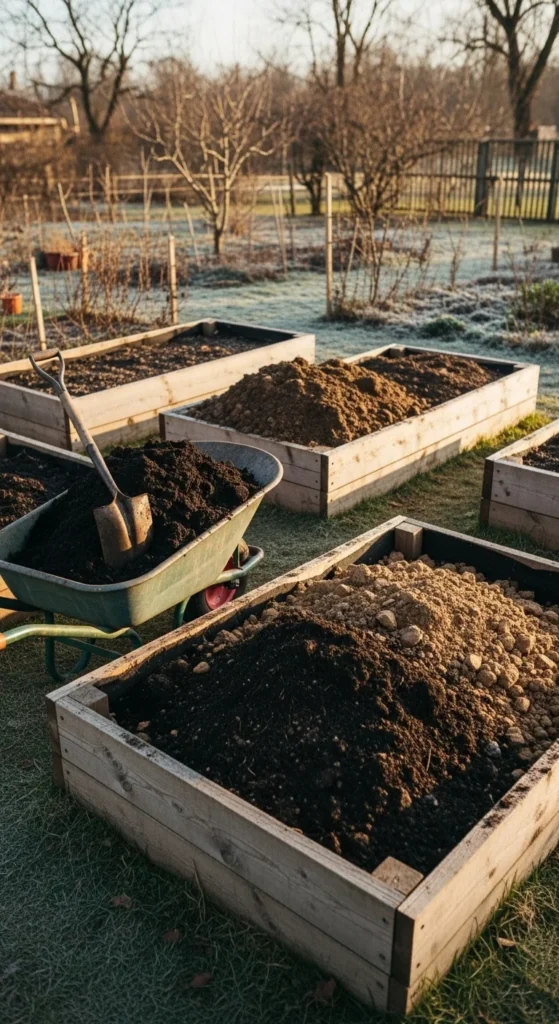
Loose, clean beds set the stage for strong crops. Remove leftover debris. Add compost across the surface and mix gently. Test the soil texture by squeezing a handful. If it crumbles softly, it’s ready.
Cover the bed with a thin mulch layer. This protects soil until planting day. You can also straighten edges or repair wood if needed. Winter and early spring are great times for these small fixes.
Beds that are ready early let you start planting quickly when temperatures warm.
12. Choose Easy Crops for Beginners
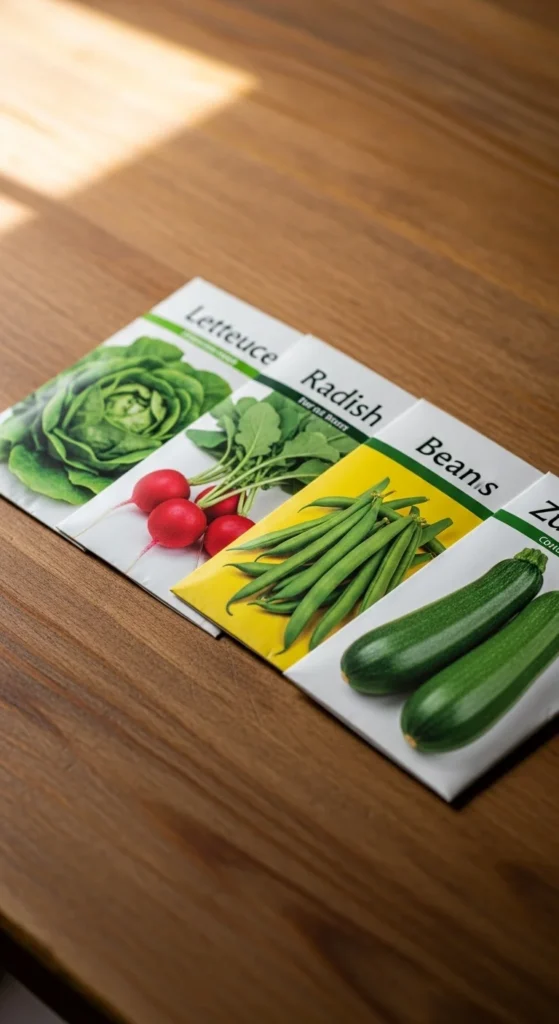
If you’re starting out or want low-stress planning, choose crops that grow reliably. Lettuce, radishes, bush beans, and zucchini grow with minimal effort. Add them to your layout for quick and rewarding harvests.
Pick varieties suited to your region. Many packets list timing for each zone. You can combine easy crops with herbs for added variety. This mix helps you stay consistent in the early months.
Plant small batches every couple of weeks to enjoy steady harvests.
13. Plan a Watering Routine
A clear watering routine supports healthy plants. Note which beds dry quickly. If some spots stay dry longer, adjust your layout. Group thirstier crops together to make watering easier.
Use simple tools like a watering can or a small hose attachment. Add mulch on top of soil to hold moisture longer. Check containers often, as they dry fast in sunlight.
If you’re busy during the week, water early in the morning. This gives soil time to absorb moisture before heat rises.
14. Add Mulch to Control Moisture
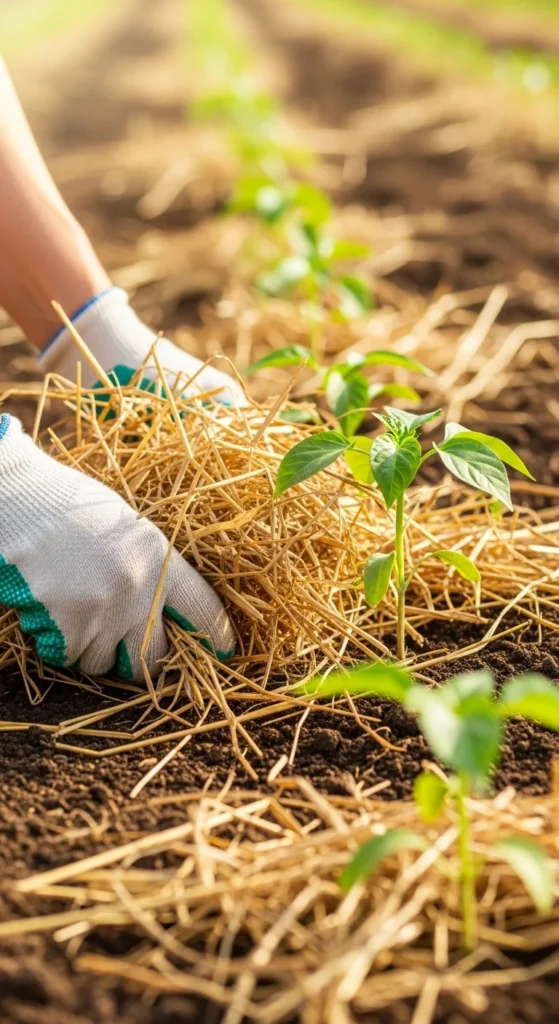
Mulch helps soil stay moist and reduces weeds. Spread straw, leaves, or grass clippings lightly on beds. This creates a soft layer that protects your crops. You can gather mulch for free by collecting dry leaves.
Add mulch around larger crops like tomatoes or squash. Keep the layer thin near stems. This helps roots stay comfortable without holding too much moisture.
Mulch also gives beds a tidy look, making your garden feel organized from the start.
15. Keep a Simple Garden Notebook
A small notebook helps you track what works. Write down planting dates, seed varieties, and harvest results. Add quick notes when you notice problems or successes. This helps you improve each season.
You can also tape empty seed packets inside. This makes it easier to remember which varieties performed well. Keep your notebook near your tools so you update it often.
Over time, your notes become a personal guide that shapes your planning more clearly.
16. Try Succession Planting
Succession planting lets you harvest crops over longer periods. Plant small batches of greens every couple of weeks. When one batch finishes, the next one begins.
Add this idea to your calendar. Mark sowing dates for each batch. Mix different greens so you vary flavors and textures. This approach works well in raised beds, containers, or small patches.
You can also add radishes or quick-growing herbs between slower crops to use space wisely.
17. Save Space with Vertical Structures
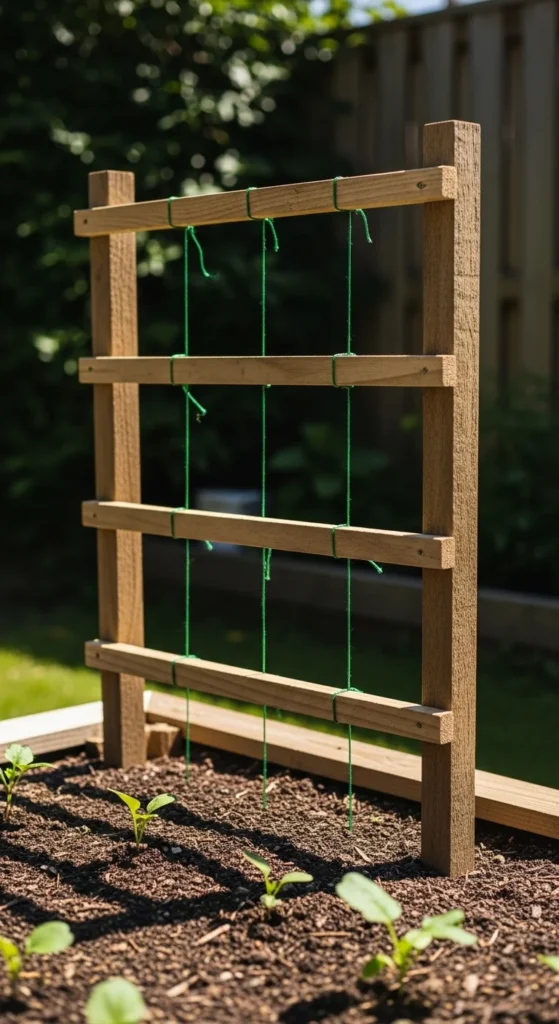
Vertical gardening opens more room for crops. Build a simple trellis using sticks or leftover wood. Add string for climbing crops like beans or cucumbers. This keeps vines off the ground and makes harvesting easier.
Place your trellis on the north side of beds so it doesn’t block sunlight. Tie young plants gently when they start climbing. Reuse the same structure each year for a low-cost setup.
Vertical spaces help small gardens feel roomy and organized.
18. Start a Seed-Saving Habit
Saving seeds cuts future costs. Pick healthy plants at the end of the season and let some fruits mature fully. Collect seeds and dry them on a plate. Store in small envelopes with labels.
Keep them in a cool, dark place. Many seeds last a couple of years when stored correctly. Add seed-saving notes to your garden notebook so you remember which varieties worked best.
This simple habit helps you build a reliable supply for each new year.
19. Plan Compost Feeding Times
Compost adds structure and strength to your soil. Mark in your calendar when to refresh compost. Early spring and mid-summer are good times. Spread a thin layer and mix gently.
If you don’t have enough compost, combine small amounts with purchased soil conditioner. This keeps costs low while improving your beds. Containers benefit from compost too. Mix a handful into each pot before planting.
Plan these small feeding times ahead so your garden stays consistent all year.
20. Keep Tools Clean and Ready
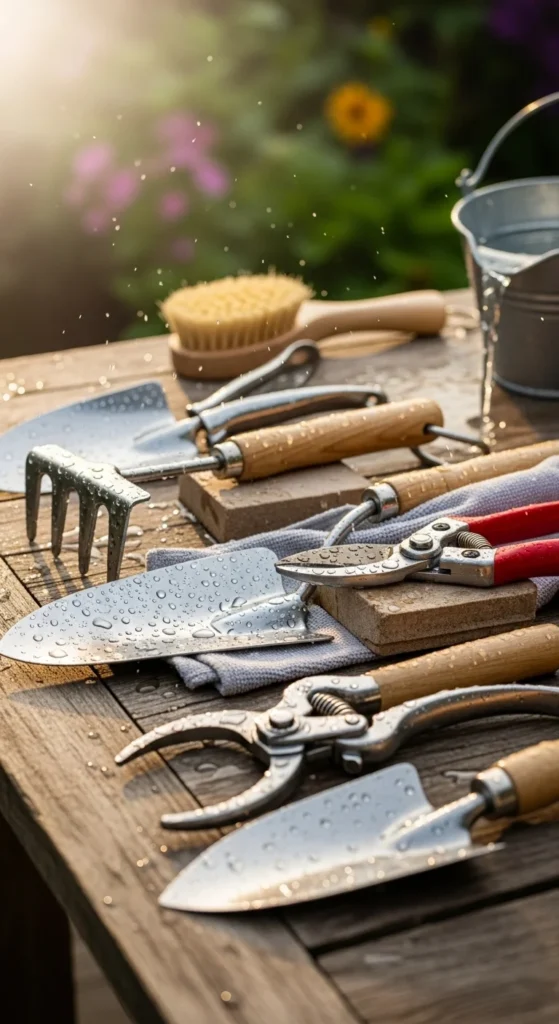
Clean tools work better and last longer. Wash mud off shovels and pruners. Wipe blades dry to prevent rust. Keep tools in a small bucket or storage box so you find them quickly during planting season.
If handles feel rough, sand them lightly and add a bit of oil. This makes them safer and smoother to use. Sharp pruners cut cleanly and reduce plant stress. A little care now saves time later.
Organized tools help your planning move smoothly whenever planting day arrives.
21. Arrange Beds for Easy Access
When arranging your layout, leave wide paths so you can walk comfortably. This makes watering and harvesting easier. Place taller crops at the back and shorter ones at the front so everything stays visible.
If your garden is small, use stepping stones or reclaimed wood pieces to create simple walkways. This keeps soil from compacting. Containers can sit on crates to lift them to a comfortable height.
These small access changes make gardening more enjoyable throughout the season.
22. Set Realistic Goals for the Season
Setting simple goals helps guide your planning. Write down a few tasks like “Grow three new crops,” “Stick to one watering schedule,” or “Try indoor seed starting.” Keep goals clear and manageable.
Add your goals to your calendar or notebook. Review them every month so you stay on track. If something changes, adjust your list. Goals keep you focused without adding pressure.
Pick tasks that fit your space, time, and interest. When your goals match your daily routine, gardening stays enjoyable and consistent.
Conclusion
Planning your vegetable garden early sets the stage for a smooth and productive growing year. By mapping layouts, choosing suitable crops, organizing seeds, preparing soil, and creating simple routines, you stay ahead of planting season with confidence. Small, steady steps make gardening easier to manage while keeping costs low. Use these ideas to shape a clear plan and start your new year with a garden layout that supports steady growth and enjoyable harvests.

Leave a Reply