
Raised beds are every gardener’s dream — tidy, productive, and easy to manage. They help you grow more food in less space, keep weeds under control, and make gardening easier on your back. Whether you’re planting vegetables, herbs, or flowers, mastering raised-bed techniques can transform your garden into a thriving oasis.
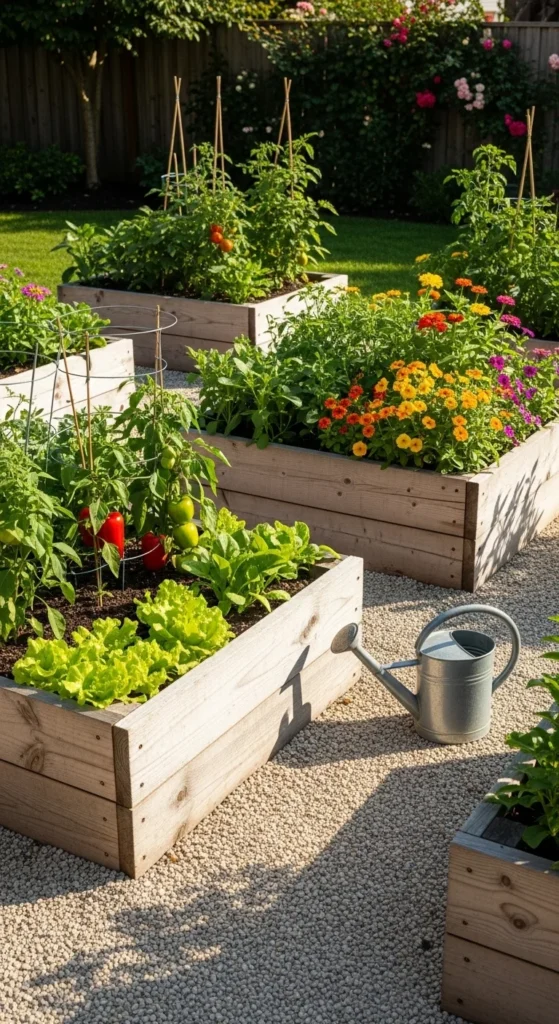
Here’s how to plant raised beds like a pro — even if you’re starting from scratch.
Start with Healthy Soil
Your soil is the heart of your raised bed. Because these beds sit above ground, you can easily create the perfect growing mix — no need to battle poor native soil.
For a strong base, mix:
- 50% topsoil or garden soil
- 30% compost (homemade or store-bought)
- 20% aeration materials like perlite, coco coir, or coarse sand
Blend everything together thoroughly before filling your bed. The goal is light, crumbly soil that drains well but still holds moisture.
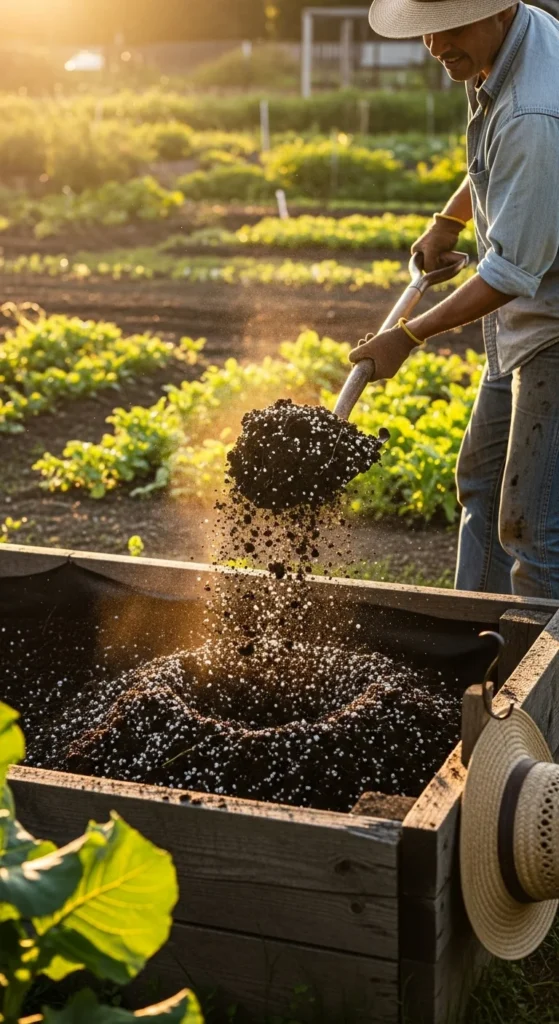
Pro Tip: Refresh your soil every season with an inch or two of compost. It keeps nutrients high and plants happy.
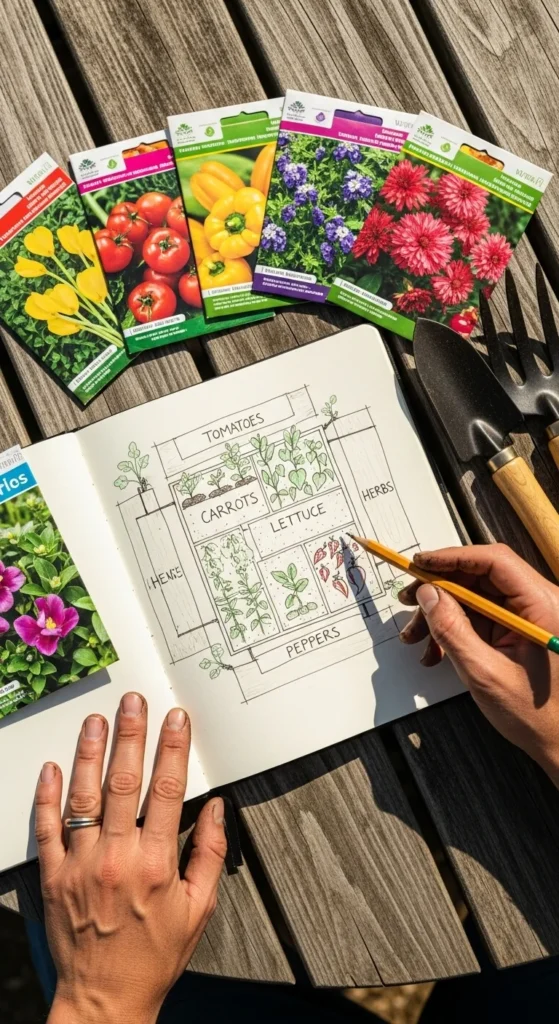
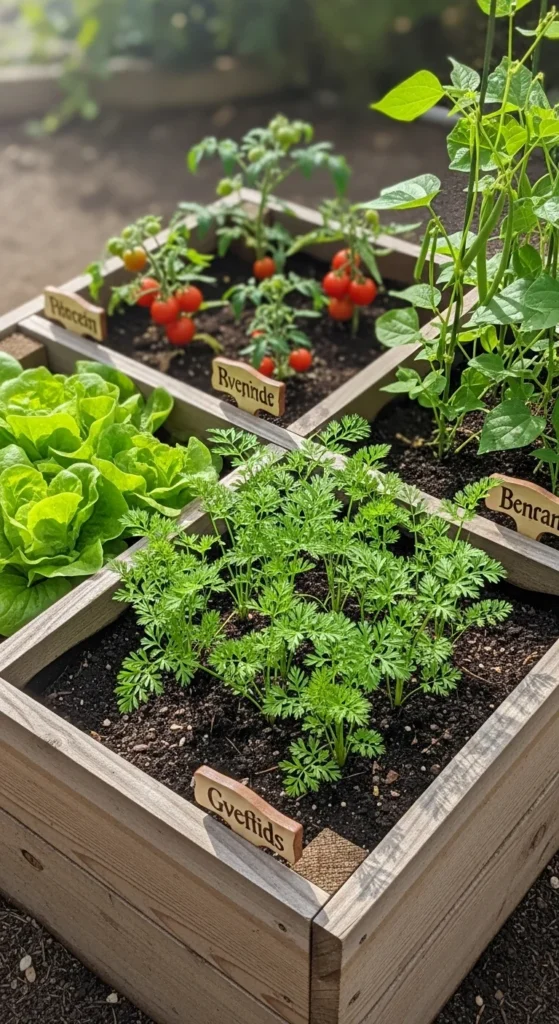
Map Out Your Planting Plan
Before planting, take a minute to visualize your garden. Raised beds are compact, so every inch counts.
Here’s how to plan smartly:
- Group plants by height. Tall crops (like tomatoes or sunflowers) go in the back; shorter ones (like lettuce or herbs) go up front.
- Use companion planting. Pair compatible plants like tomatoes and basil or carrots and onions.
- Avoid overcrowding. Give each plant room to breathe — check seed packet spacing guides.
You can even sketch your layout on paper to see how everything fits. Planning ahead prevents shading and competition for nutrients.
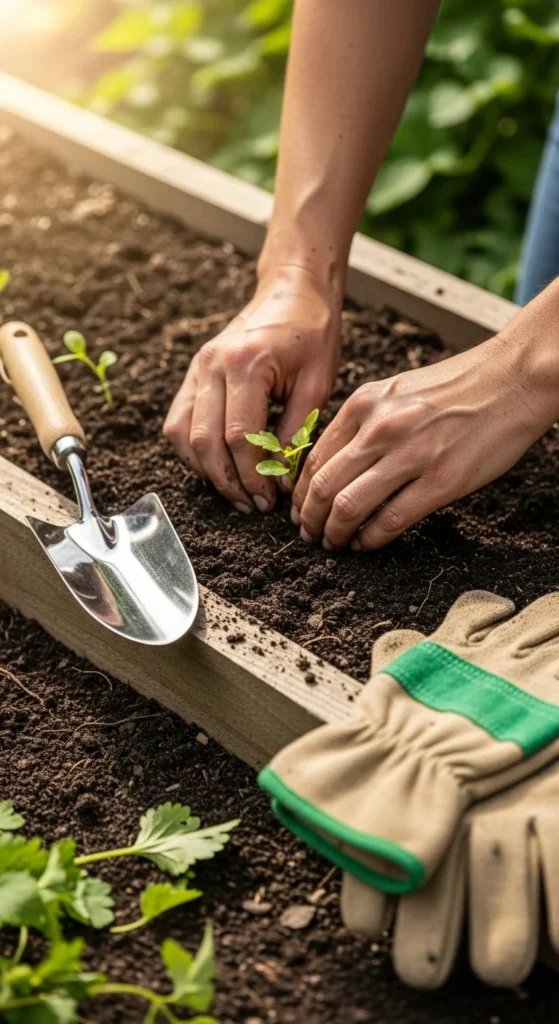
Plant at the Right Depth
Every seed and seedling has a sweet spot for planting depth. Too shallow, and roots dry out; too deep, and they may never sprout.
Here’s a quick rule of thumb:
- Small seeds (like lettuce or carrots): barely cover with soil — about ¼ inch.
- Medium seeds (like beans or peas): 1–2 inches deep.
- Transplants (like peppers or kale): plant them at the same depth they grew in their pots.
Once planted, water gently to settle the soil and eliminate air pockets around the roots.
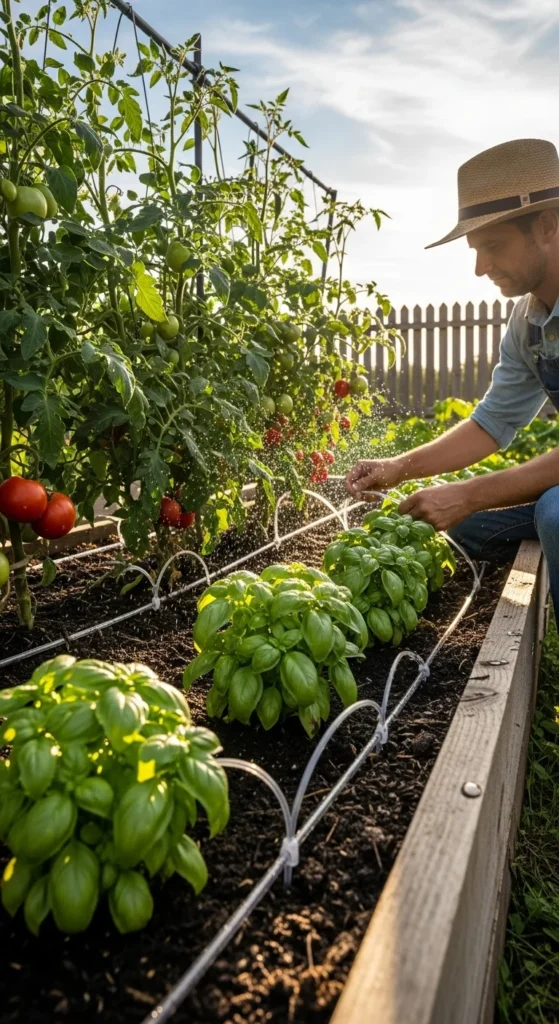
Master the Art of Watering
Raised beds tend to dry out faster than in-ground gardens because they have better drainage. Consistent moisture is key to healthy roots and steady growth.
To water like a pro:
- Water early in the morning before the sun gets hot.
- Aim for deep, slow watering — around 1 inch per week.
- Use a soaker hose or drip line for even coverage and less waste.
Add mulch (like straw, leaves, or wood chips) around your plants to help retain moisture and keep weeds down.
Feed and Maintain Regularly
Even rich soil can get depleted over time. Raised beds are hungry gardens — they reward you if you feed them often.
During the growing season:
- Add a compost top-dressing every 4–6 weeks.
- Use liquid fertilizer like fish emulsion or seaweed extract every few weeks for heavy feeders.
- Check for pests weekly — early detection saves your harvest.
Regular maintenance keeps plants vibrant and disease-free. A few minutes each morning can make a huge difference.
Rotate and Refresh Each Season
To keep your soil healthy year after year, rotate your crops. This means planting different families of vegetables in each bed each season to prevent nutrient loss and pest buildup.
Example rotation:
- Spring: Leafy greens and root vegetables
- Summer: Tomatoes, peppers, cucumbers
- Fall: Legumes or cover crops (like clover or peas)
Every fall, clean out old plant material, mix in compost, and cover with mulch or leaves. This recharges the soil naturally and prepares it for spring planting.
Bonus Tips for Raised-Bed Success
- Install trellises early. Add them before planting so roots aren’t disturbed later.
- Use square-foot gardening. Divide your bed into 1-foot grids for precise spacing.
- Add pollinator plants. Marigolds, zinnias, and nasturtiums attract bees and deter pests.
- Keep pathways clear. Gravel or wood chips between beds prevent weeds and mud.
These small steps keep your garden organized and productive all season long.
Enjoy the Harvest
Once your raised beds are established, you’ll be amazed at how productive and easy they are to manage. With healthy soil, proper watering, and thoughtful planning, you’ll harvest more veggies, herbs, and flowers than ever — without bending or battling weeds.

Leave a Reply