
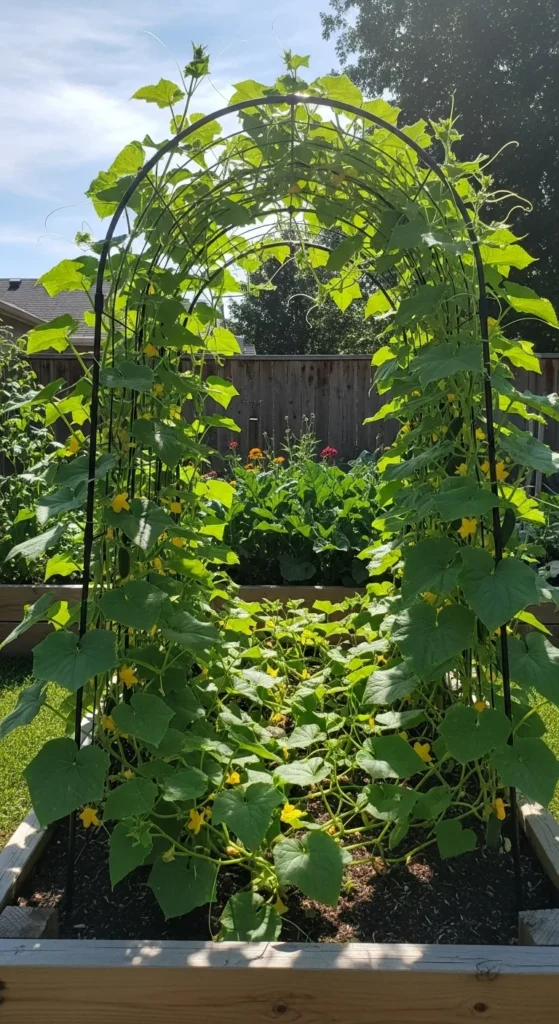
Want to grow more plants in less space? A raised bed trellis is the perfect way to let your vining vegetables, flowers, or fruits climb sky-high while keeping your garden neat and productive. It’s a simple DIY project that adds both function and beauty — ideal for cucumbers, beans, peas, or even morning glories.
Let’s walk through how to build one yourself, from choosing materials to setting it up securely so your vines can thrive all season long.
Choose the Right Location and Materials
Before you grab your tools, plan where your trellis will stand. Vining plants love sunlight, so pick a spot that gets at least 6–8 hours of direct sun daily. If your raised bed already exists, consider which side will allow vines to grow upward without shading shorter crops.
Materials You’ll Need:
- Trellis Frame: Wood, PVC pipe, or metal conduit
- Mesh or Netting: Nylon trellis net, welded wire, or garden mesh
- Fasteners: Zip ties, screws, or staples
- Tools: Drill, saw (if cutting wood or pipe), measuring tape, and garden gloves
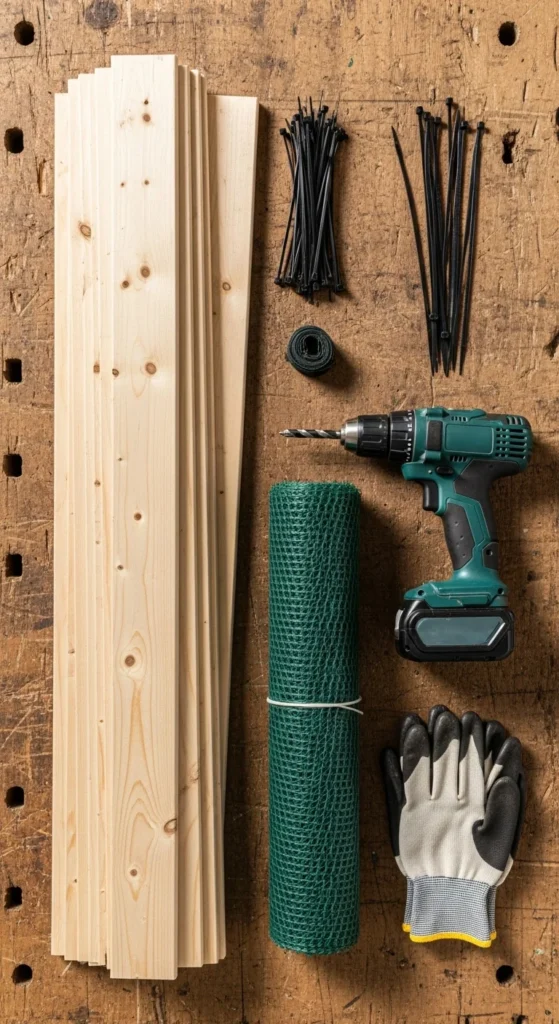
If you’re using wood, go for untreated cedar or redwood — they resist rot naturally and look beautiful against greenery.
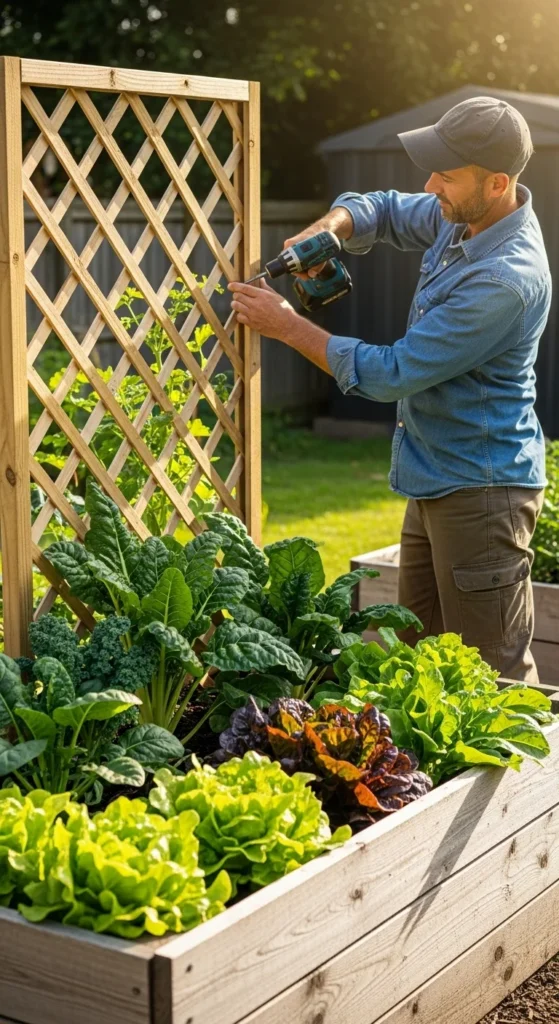
Build the Frame for Your Trellis
Your frame is the backbone of the project. It should be sturdy enough to hold mature vines and withstand wind or rain.
Steps:
- Measure your bed. Most raised beds are 4 feet wide — ideal for a trellis that arches or leans over one side.
- Cut your poles or wood pieces. Two vertical supports (5–6 feet tall) and one top bar work perfectly.
- Assemble the structure. Screw or tie the top bar securely between the vertical supports to form an “H” or “A” shape.
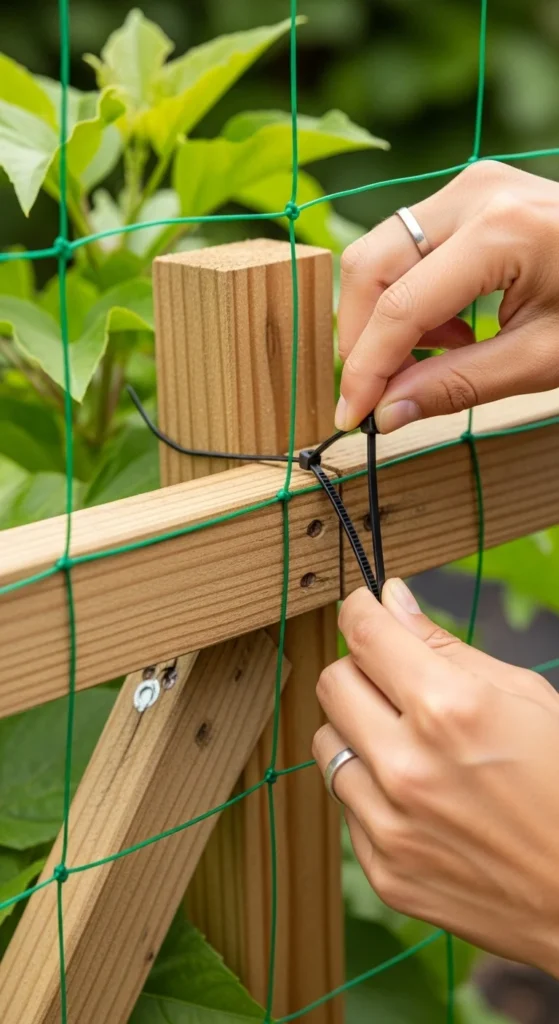
- Attach the mesh or netting. Stretch your chosen mesh across the frame and fasten it tightly.
For extra strength, use metal conduit with elbow joints, especially if you live in windy areas.
Install the Trellis in the Raised Bed
Once your frame is ready, it’s time to secure it in place. The goal is to make it stable enough to support heavy vines and fruit.
How to Set It Up:
- Anchor the posts. Push the vertical supports into the corners of your raised bed at least 8–10 inches deep, or screw them directly into the bed frame.
- Angle the trellis. You can make it vertical or slightly tilted backward for easier harvesting.
- Double-check stability. Shake it gently to ensure it doesn’t wobble — if it moves, reinforce with extra stakes.
For large beds, you can even create an arch by connecting two trellises with flexible conduit or cattle panel, forming a beautiful tunnel of vines.
Choose the Best Plants for Climbing
Now comes the fun part — choosing what to grow! A trellis isn’t just practical; it’s also decorative when filled with thriving vines.
Great Options for Vertical Growth:
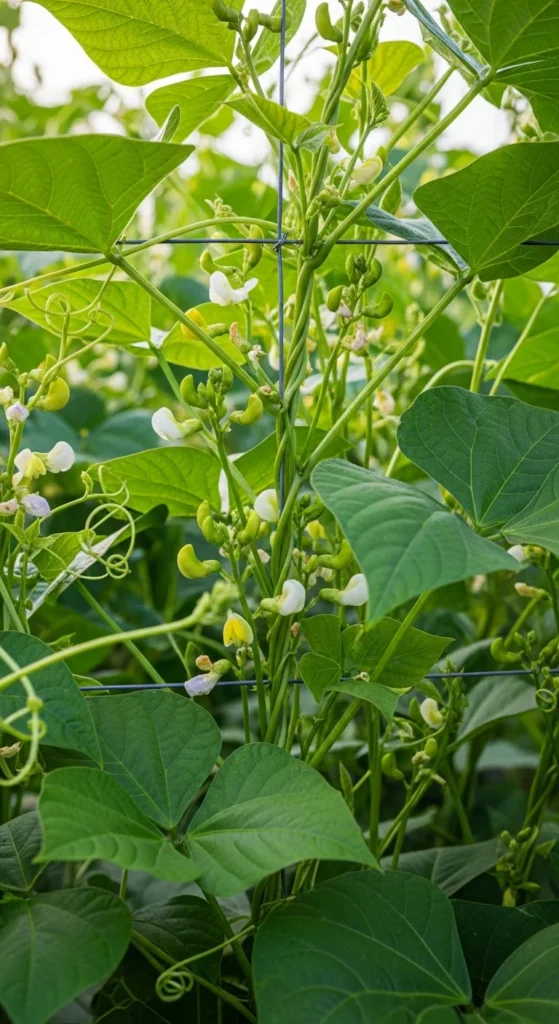
- Vegetables: Cucumbers, pole beans, peas, cherry tomatoes
- Flowers: Morning glories, sweet peas, climbing nasturtiums
- Fruits: Melons (smaller varieties), mini pumpkins, gourds
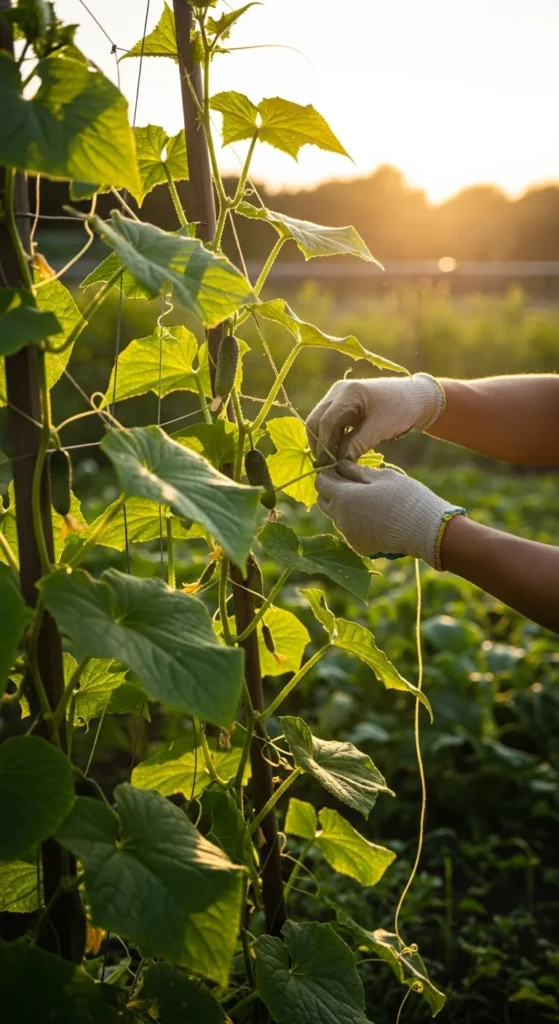
You can even mix edible and ornamental vines for a colorful, textured display. As the plants grow, gently train them to wrap around the netting or tie soft garden twine to guide them upward.
Keep It Looking Great All Season
A raised bed trellis doesn’t need much maintenance — just a little attention now and then.
Tips:
- Water deeply: Climbing plants dry out faster since they’re exposed to more air.
- Prune wisely: Trim excess leaves to improve airflow and prevent mildew.
- Support heavy fruit: Use soft slings (like old T-shirt strips) to cradle larger vegetables like melons or squash.
- Check for wear: Tighten any loose zip ties or replace sagging mesh as needed.
At the end of the growing season, you can easily remove the trellis or store it for reuse next year.
Final Takeaway
Building a raised bed trellis is one of the easiest and most rewarding DIY upgrades for your garden. It saves space, boosts airflow, and turns your backyard into a lush vertical oasis. Whether you’re growing beans, flowers, or mini melons, this simple structure will help your plants thrive and your garden look stunning.

Leave a Reply